Introduction
Cloudflare is a global cloud-based platform that provides security, performance, and reliability services for websites, applications, and networks. It acts as a reverse proxy between your users and your servers, helping to protect and accelerate your internet traffic.
The following article will help you deploy the WARP Client application on your managed Windows 10 device and above.
Steps
Download the WARP Client MSI file from the following Link.
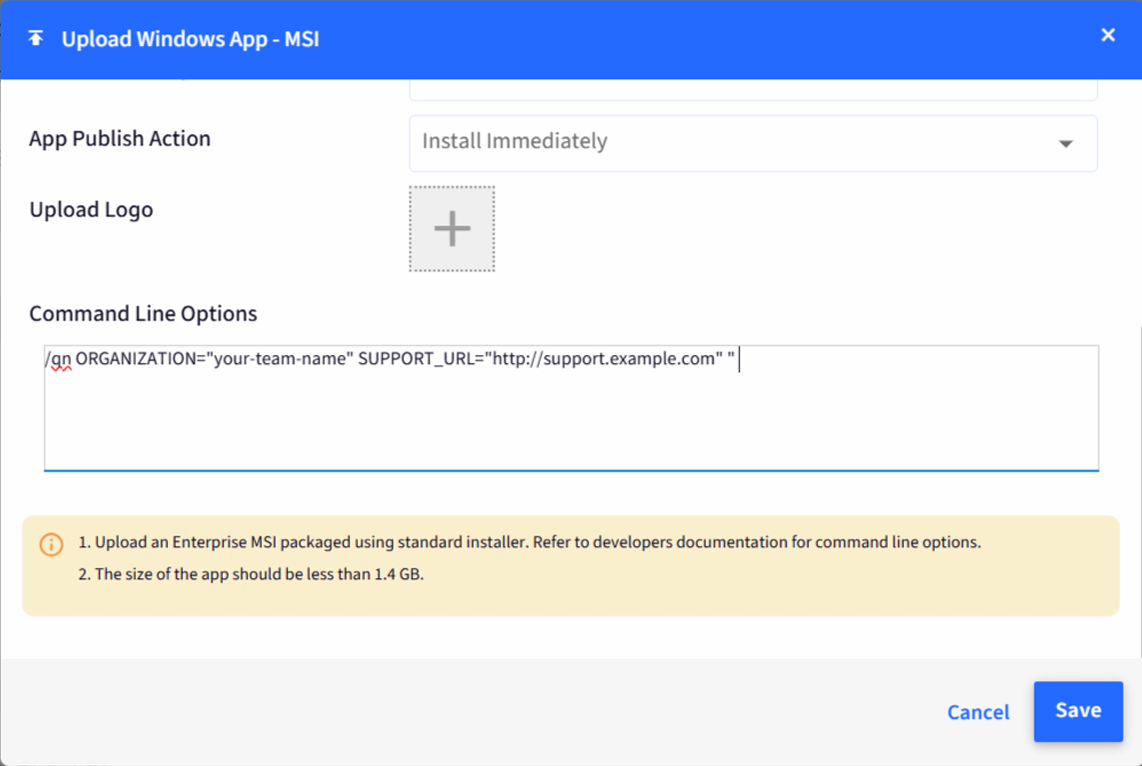
Once you have the MSI file, upload it to the Enterprise store and provide the following arguments while uploading:
/qn ORGANIZATION="your-team-name"SUPPORT_URL="http://support.example.com"
"your-team-name" is the name of your team.
SUPPORT_URL="http://support.example.com" is the email of your organization’s support team.
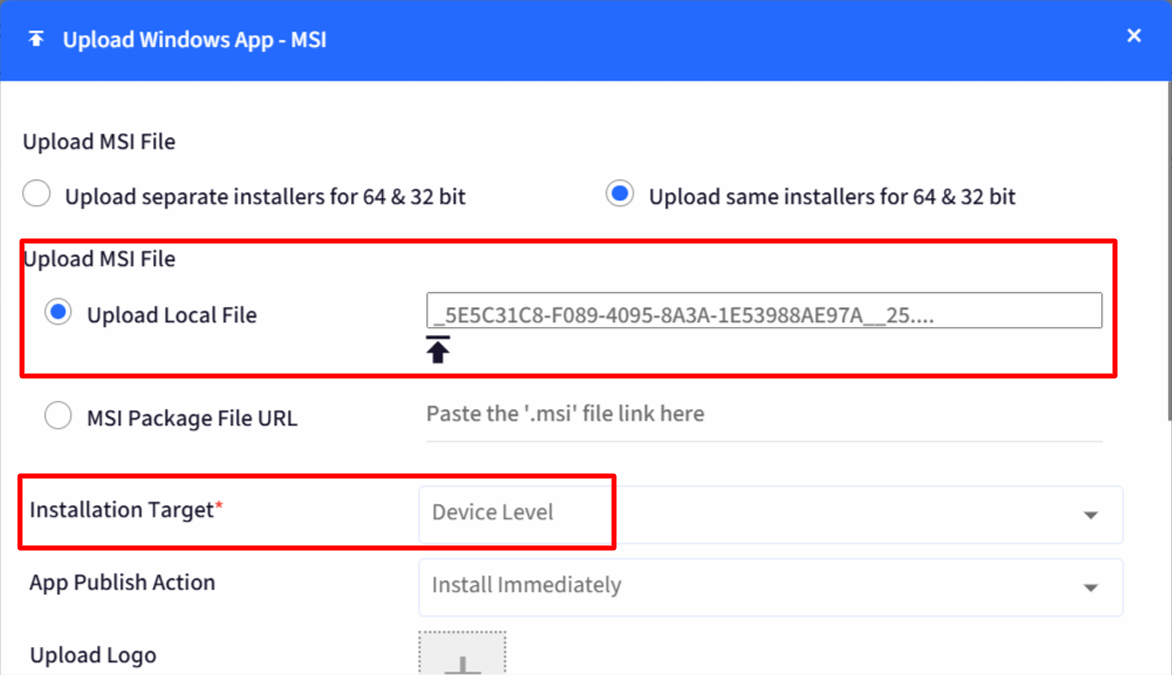
Please keep the Installation Target as “Device Level”.
Follow our guide on uploading and deploying MSI files.
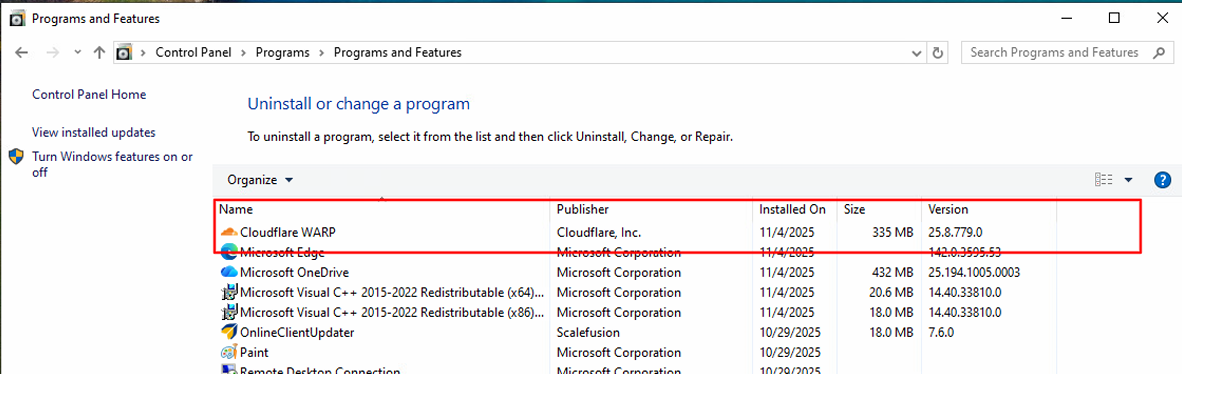
Once the MSI file is successfully installed on the device, you can verify the same on the device as shown in the images below:
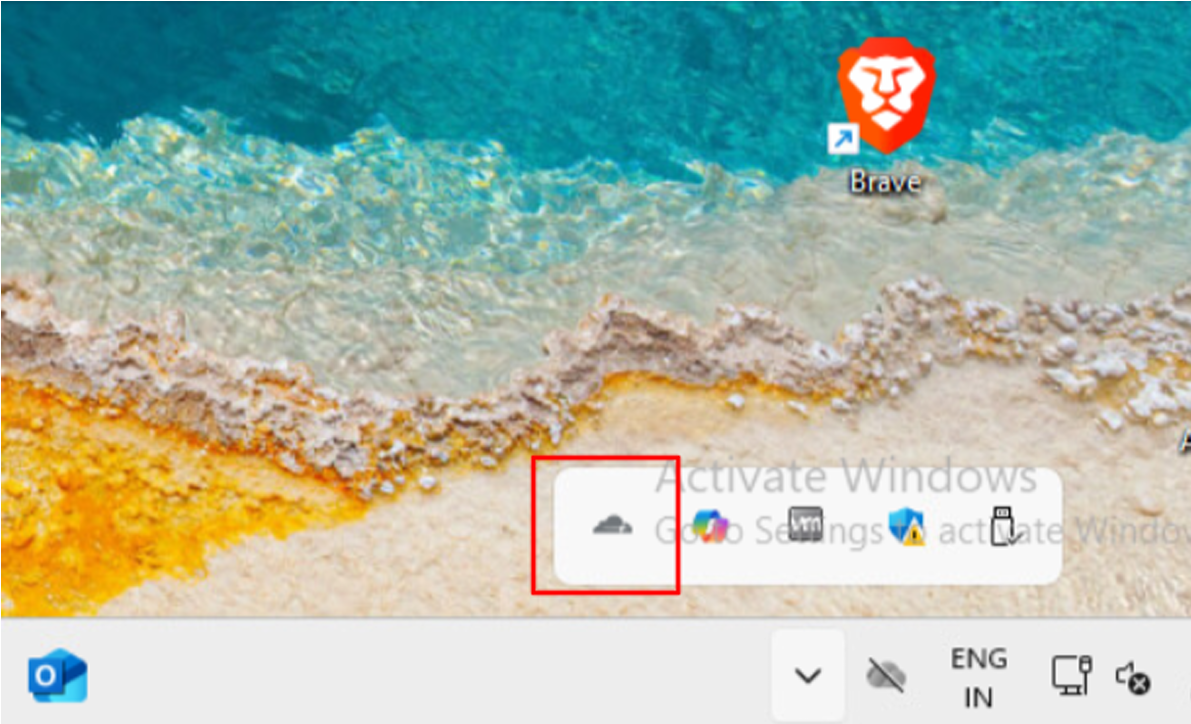
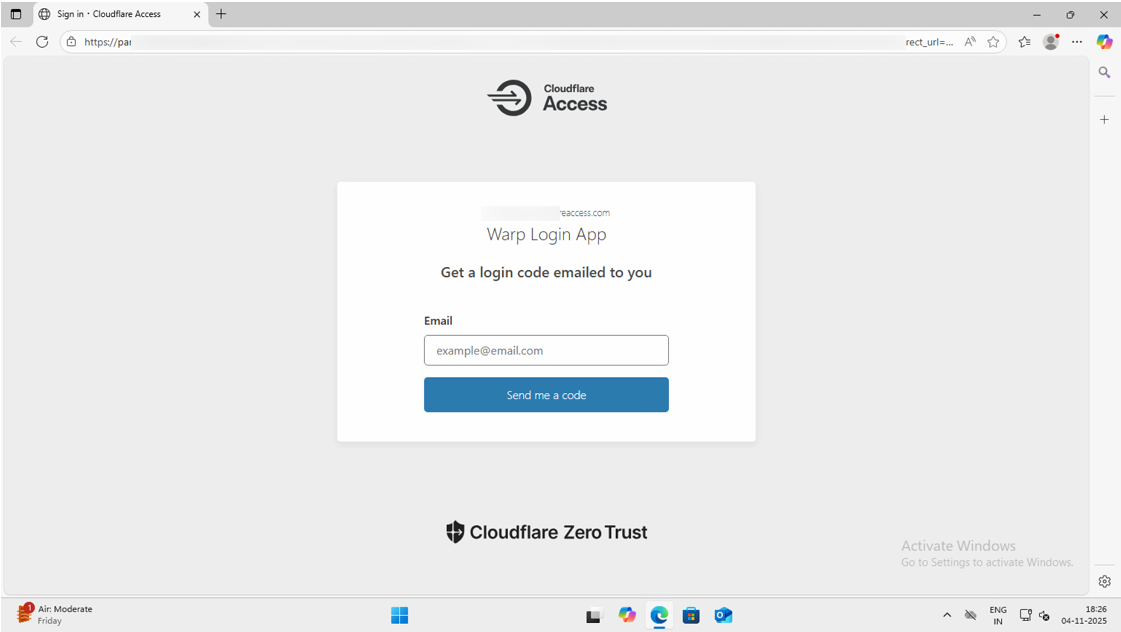
Once the Cloudflare WARP client is installed on the device, you should be able to launch it, and it will open into the Browser with the Login page for Cloudflare.
Script to update MDM parameters
In addition, you can use a PowerShell Script to update MDM parameters for the WARP client. On Windows, these parameters are stored on the local device in C:\ProgramData\Cloudflare\mdm.xml
Create a file on your desktop, for example, mdm_parameters.ps1, and open it in a text editor like notepad++
Copy the contents below to the file or click here to download the file.
# Define the path to the file
$filePath = "C:\ProgramData\Cloudflare\mdm.xml"

# Create the XML content as a string
$xmlContent = @"
<dict>
  <key>multi_user</key>
  <true/>
  <key>pre_login</key>
  <dict>
    <key>organization</key>
    <string>your-team-name</string>
    <key>auth_client_id</key>
    <string>xxxx xxxx xxxxx.access</string>
    <key>auth_client_secret</key>
    <string>xxxxxxxxxxxxxxxxxxxxxxxxxxxxxxxxxxxxxxxxxxxxxxxxxxxxxxxxx</string>
  </dict>
  <key>configs</key>
  <array>
    <dict>
      <key>organization</key>
      <string>mycompany</string>
      <key>display_name</key>
      <string>Production environment</string>
    </dict>
    <dict>
      <key>organization</key>
      <string>test-org</string>
      <key>display_name</key>
      <string>Test environment</string>
    </dict>
  </array>
</dict>
"@

# Ensure the directory exists
$directory = Split-Path $filePath -parent
if (-not (Test-Path $directory)) {
  New-Item -ItemType Directory -Path $directory | Out-Null
}

# Write the XML content to the file
try {
  $xmlContent | Out-File -Encoding UTF8 -FilePath $filePath
  Write-Host "mdm.xml file created successfully at: $filePath"
}
catch {
  Write-Error "Failed to create mdm.xml file: $_"
}
Update only the section immediately following the comment “# Create the XML content as a string” with your specific parameters. Do not modify the remainder of the script to ensure proper execution. Refer to the Cloudflare documentation for a list of supported parameters and their usage.
Choose the Execution level as: Device level.
Follow our guide to upload & publish the PowerShell script using the Scalefusion Dashboard.
Note:
The PowerShell Script will overwrite the previous mdm.xml file, if any. Once the new mdm.xml file is created, WARP will immediately start using the new configuration.
Note:
To use the PowerShell scripts, the Scalefusion MDM Agent Application must be installed on the device(s). Please follow our guide to publish and install the Scalefusion MDM Agent Application.
Note:
The scripts and their contents are sourced from various albeit authenticated Microsoft/other sources and forums.
Please validate the scripts on a test machine before deploying them on all your managed devices.
Scalefusion has tested these scripts, however, Scalefusion will not be responsible for any loss of data or system malfunction that may arise due to the incorrect usage of these scripts.