Starting iOS 16.0, Apple has opened up the option to enroll an iOS device in the Automated Device Enrollment (ADE) Program (formerly DEP) through another iOS device. Automated Device Enrollment (formerly DEP) gives an organization the extra control to enforce stricter policies and also an option to disallow users from removing the Scalefusion management from the device.
This document walks you through how to enroll an iOS 16.0 (iPhone or iPad) or higher device to ADE program using another iPhone.
Before You Begin
Make sure that you have enabled Scalefusion to manage your ADE devices as described in Manage ADE/DEP Devices using Scalefusion.
Two iOS devices with iOS 16.0 or above:
Source device: The iPhone / iPad device, using which you can make the other device ADE.
Target device: The one to be enrolled under ADE.
The source device should have a Wi-fi connection and must have the Apple Configurator app installed and logged in.
Admin should have access to the Apple Business Manager account with the Device Enrollment Manager role to log into the Apple Configurator app on the source device.
A valid Scalefusion Dashboard account.
Take a backup of your iOS device if required.
Procedure to enroll
Admin can add a new or erased iPhone or iPad.
Start up the iPhone or iPad to be enrolled under ADE. If the device is in use, please factory reset the device first.
Continue through the Setup Assistant. Stop on the screen where you see the Choose a Wi-Fi Network pane.
You must restart the iPhone or iPad if you go past the Choose a Wi-Fi Network pane.
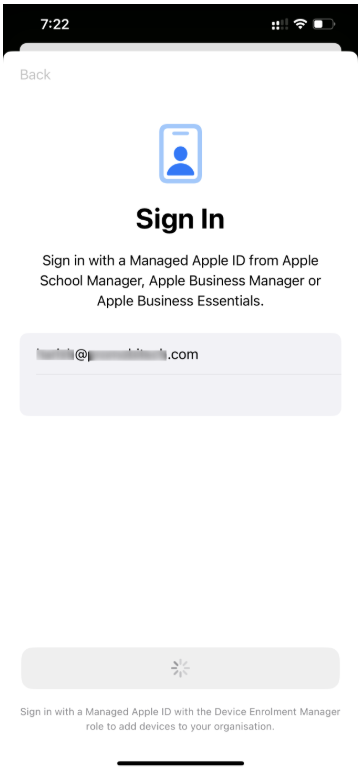
Open the Apple Configurator app on the source device and log in using the Apple Business Manager/ Apple School Manager account.
Bring it close to the target iPhone or iPad, then do one of the following:
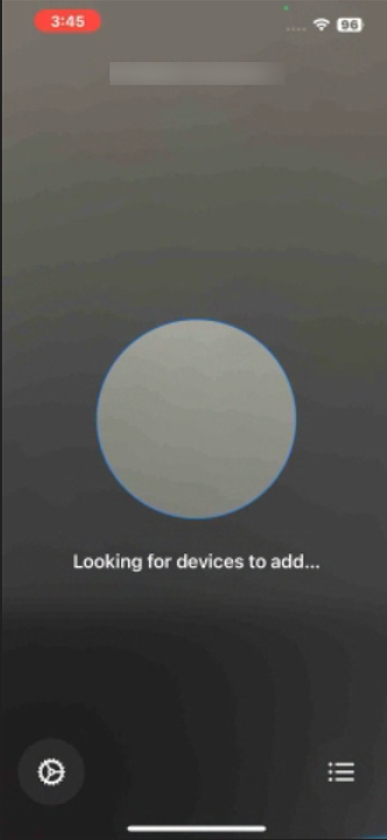
You should get a screen with an image on the target device
Scan the image that appears in Setup Assistant (target device).
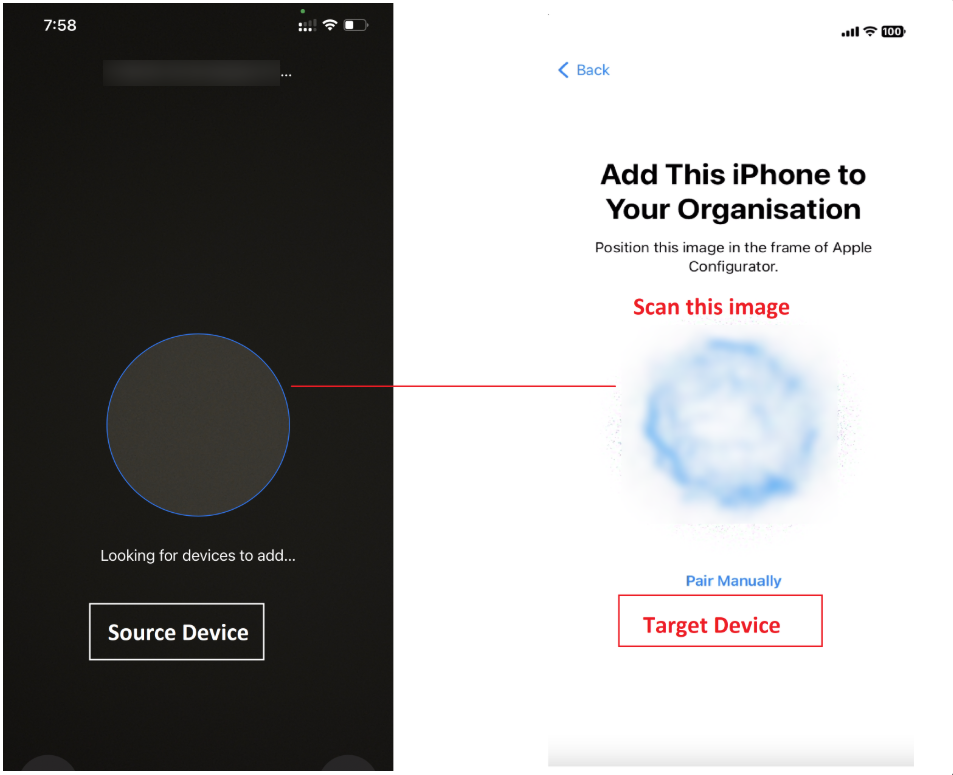
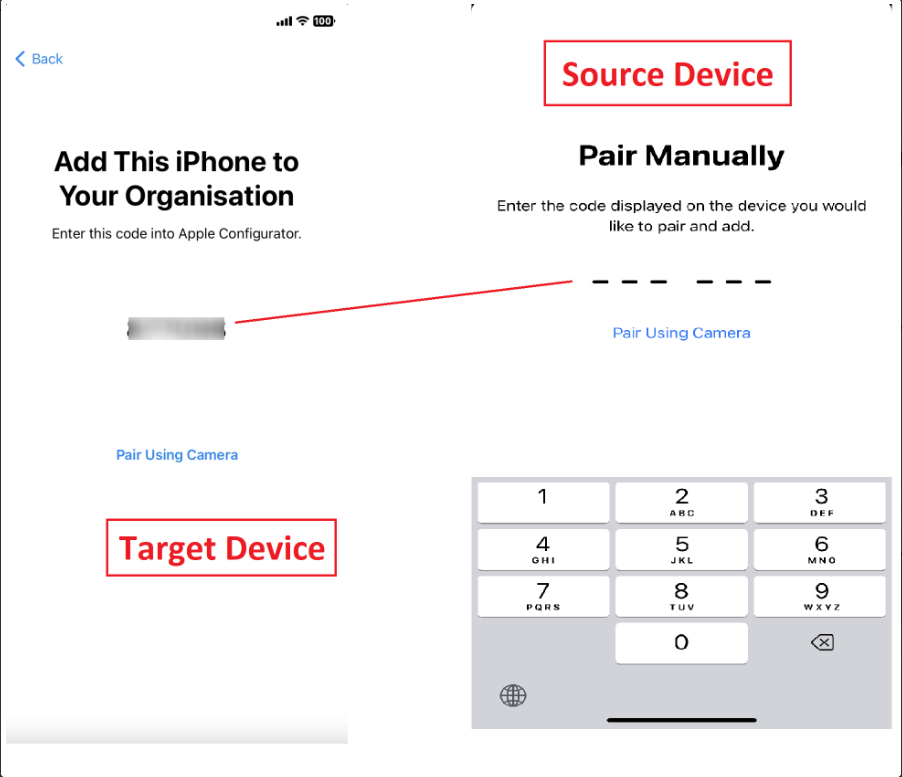
Alternatively, tap Pair Manually on the Setup Assistant, then tap Pair Manuallyin Apple Configurator and enter the six-digit code that appears on target device, on the source device.
If Setup Assistant doesn’t show the pairing pane on the iPhone or iPad you want to add, return to the Home Screen on your iPhone, then tap the Apple Configurator app again.
The target device will start getting added to the ABM account.
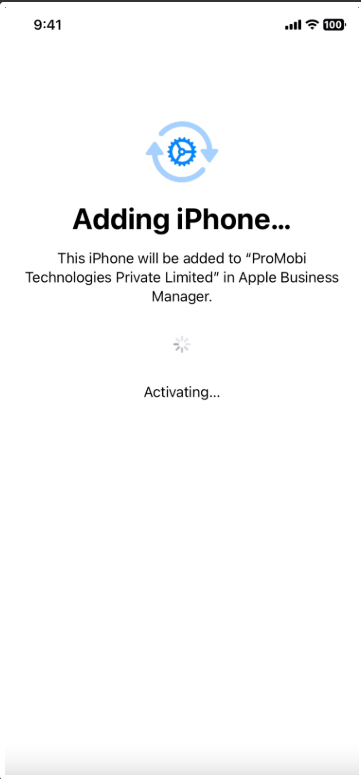
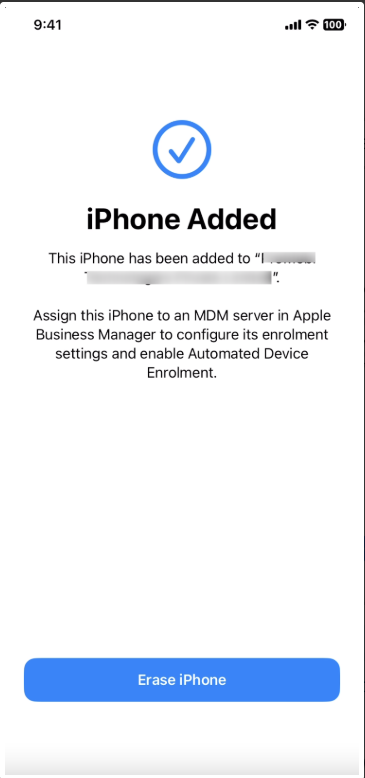
You will get a confirmation message on the target device once the device is added successfully.
You can open the Apple Configurator app on the source device and tap on the three horizontal lines at the bottom right of the screen. It will show the target device's information, indicating that the device has been added successfully.
The serial number and other information about the iPhone or iPad will get uploaded to Apple Business Manager.
There are 2 ways you can assign an MDM server to the device:
Log in to ABM to check the device and assign the Scalefusion MDM server.
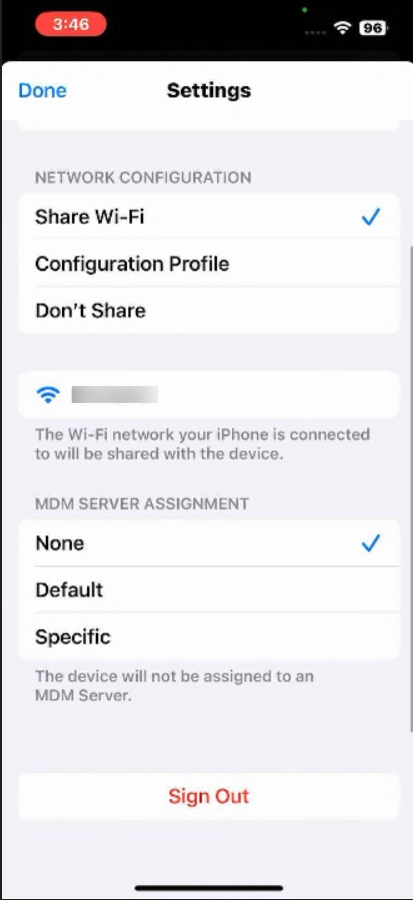
Within the Apple Configurator app on the source device, tap on the Settings icon on the bottom left-hand side and scroll down to the MDM Server Assignment field. Here, tap on Specific and choose the MDM Server that you want to assign to the device.
Note:
This step can be performed beforehand—prior to scanning the image displayed in the Setup Assistant on the target device—so that the MDM server is assigned to the device during its addition to Apple Device Enrollment (ADE).
Once the Scalefusion MDM server is assigned, tap on the Erase iPhone button to complete the process.
After the device is erased, complete the device setup, and the device will get enrolled into Scalefusion.
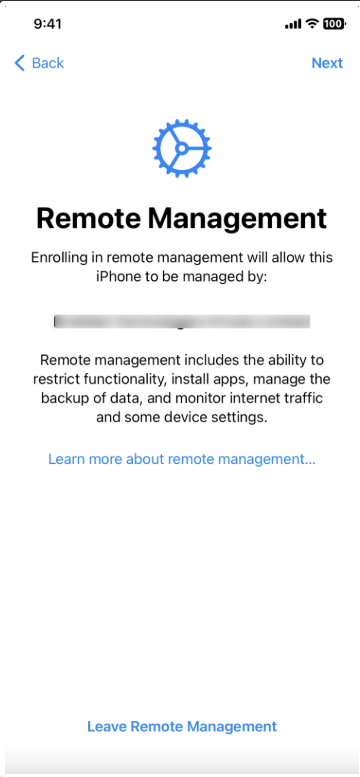
During setup, the target device will connect with ABM and fetch settings from there. Once done, it will show the Remote Management screen.
This completes the process of enrolling the device under ADE. On the Scalefusion Dashboard, you can check the newly added device by going to Getting Started > Apple Setup > ADE/DEP.