Collecting real-time location details of devices while they are used by employees who are on the field, is an important data parameter as it not only ensures the safety and security of devices in the form of ease in finding a lost/misplaced device but can also be beneficial in a lot of industries like Logistics, Delivery Services, and others.
With the help of Scalefusion MDM, IT admins can track the accurate location of devices, all remotely. Scalefusion allows tracking locations of Android, iOS, Mac as well as Windows devices.
The document below describes the settings that need to be configured on the Scalefusion Dashboard for tracking Locations of Windows devices and other features related to location tracking.
Prerequisites
- Windows devices should be enrolled with Scalefusion.
- Latest version of Scalefusion MDM agent application should be installed on Windows devices.
- Supported OS: Windows OS 7, 8.1, 10 and 11.
- Users should be subscribed to Business or Enterprise Plan.
Step 1: Configuring Location Settings on Dashboard
- Login to Scalefusion Dashboard.
- Navigate to Location & GeoFencing > Location Settings.
- Following settings can be configured for Windows devices:
- Attempt to automatically Enable Location: With this setting toggled on, Scalefusion attempts to automatically enable location if it is set to off on the Windows device.
- Enable/Disable Location Tracking: Enable this setting to turn on Location tracking and set other configurations.
- Location Tracking Mode: There are three modes for tracking Location:
- Essential
- Basic
- High Accuracy
- Fleet Tracking
These are accessible based on the plan you have purchased.
- Location Collection Frequency: Choose a frequency in which the locations should be synced with server and reflected on dashboard. Frequencies differ on the basis of the Location Tracking Mode you have chosen.
Tracking Mode
Frequency (in Minutes)
Essential - 60 (by default)
Basic Choose one from the following:
- 60
- 30
- 15
High Accuracy
Choose one from the following:
- 10
- 5
- 3
Fleet Tracking
Choose one from the following:
- 3
- 2
- 1
- 60 (by default)
- Once you have chosen the configurations, click the button SAVE SETTINGS
Location Settings can also be configured from Windows Device Profile which get applied on devices overriding the settings configured globally (as above). Visit here to learn more about configuring Location settings through Device Profile.
Step 2: Viewing Device Locations on Dashboard
On Windows Devices, Location Services should be enabled.
Locations
- Login to Scalefusion Dashboard.
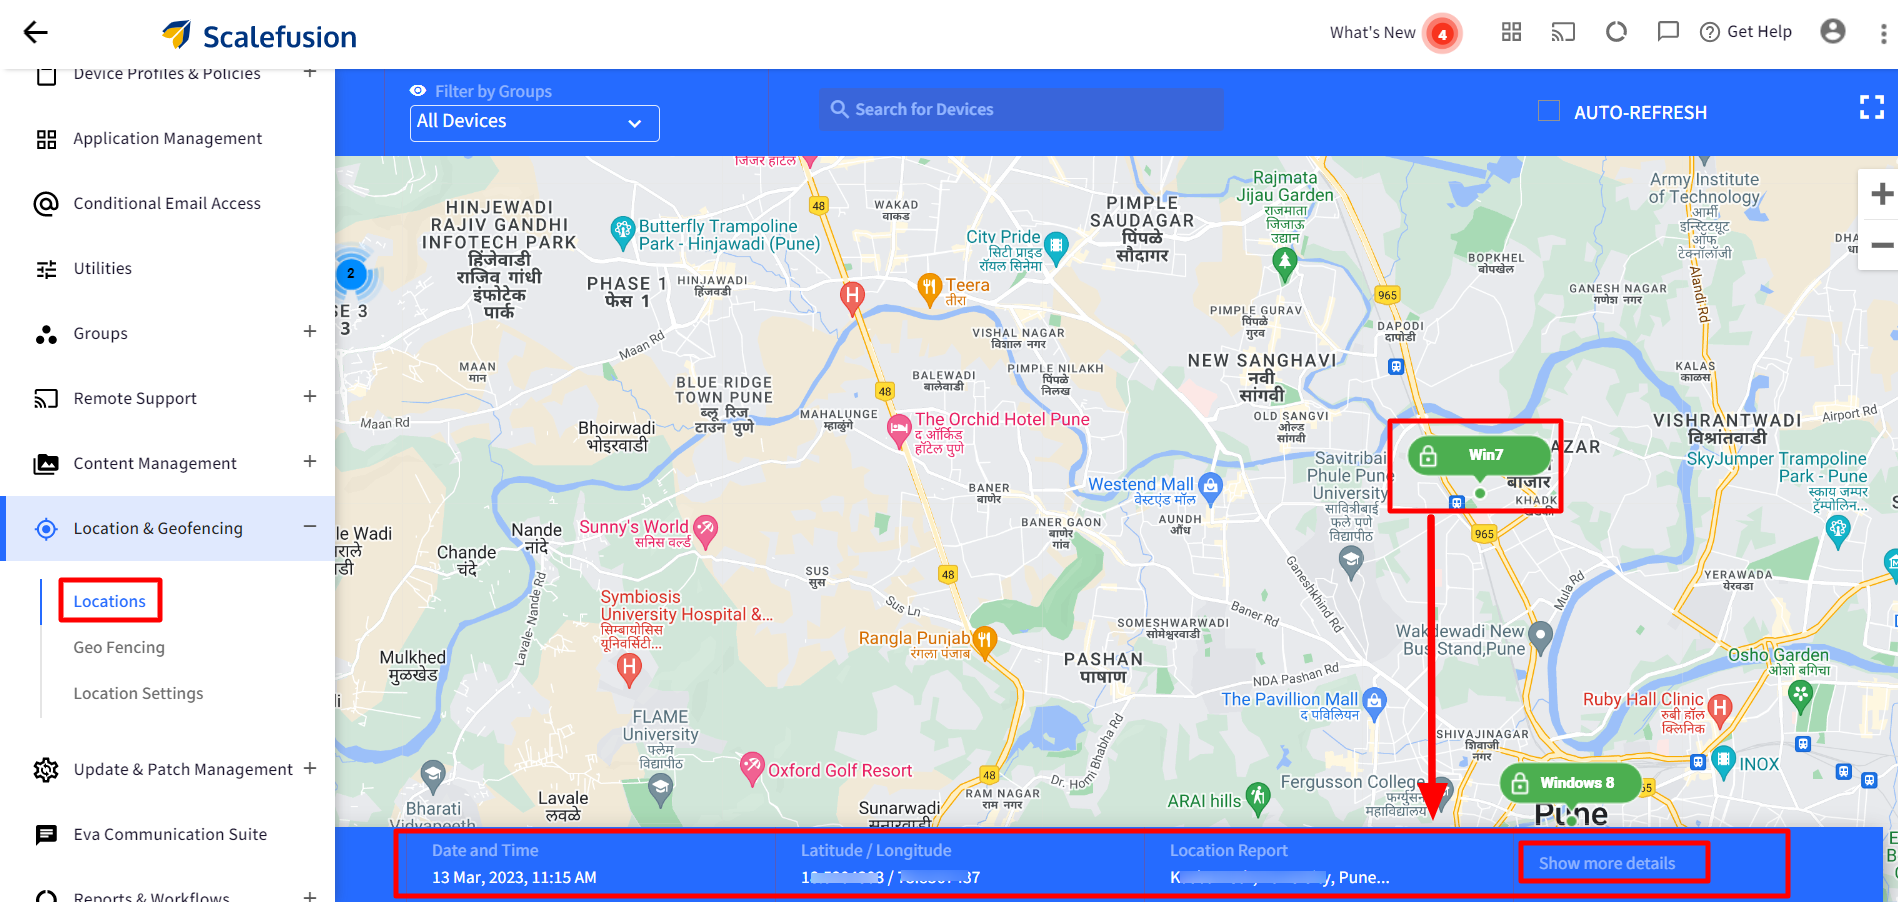
- Navigate to Location & GeoFencing > Locations
- This page will show you a Map with all of your devices pinned to their latest location.
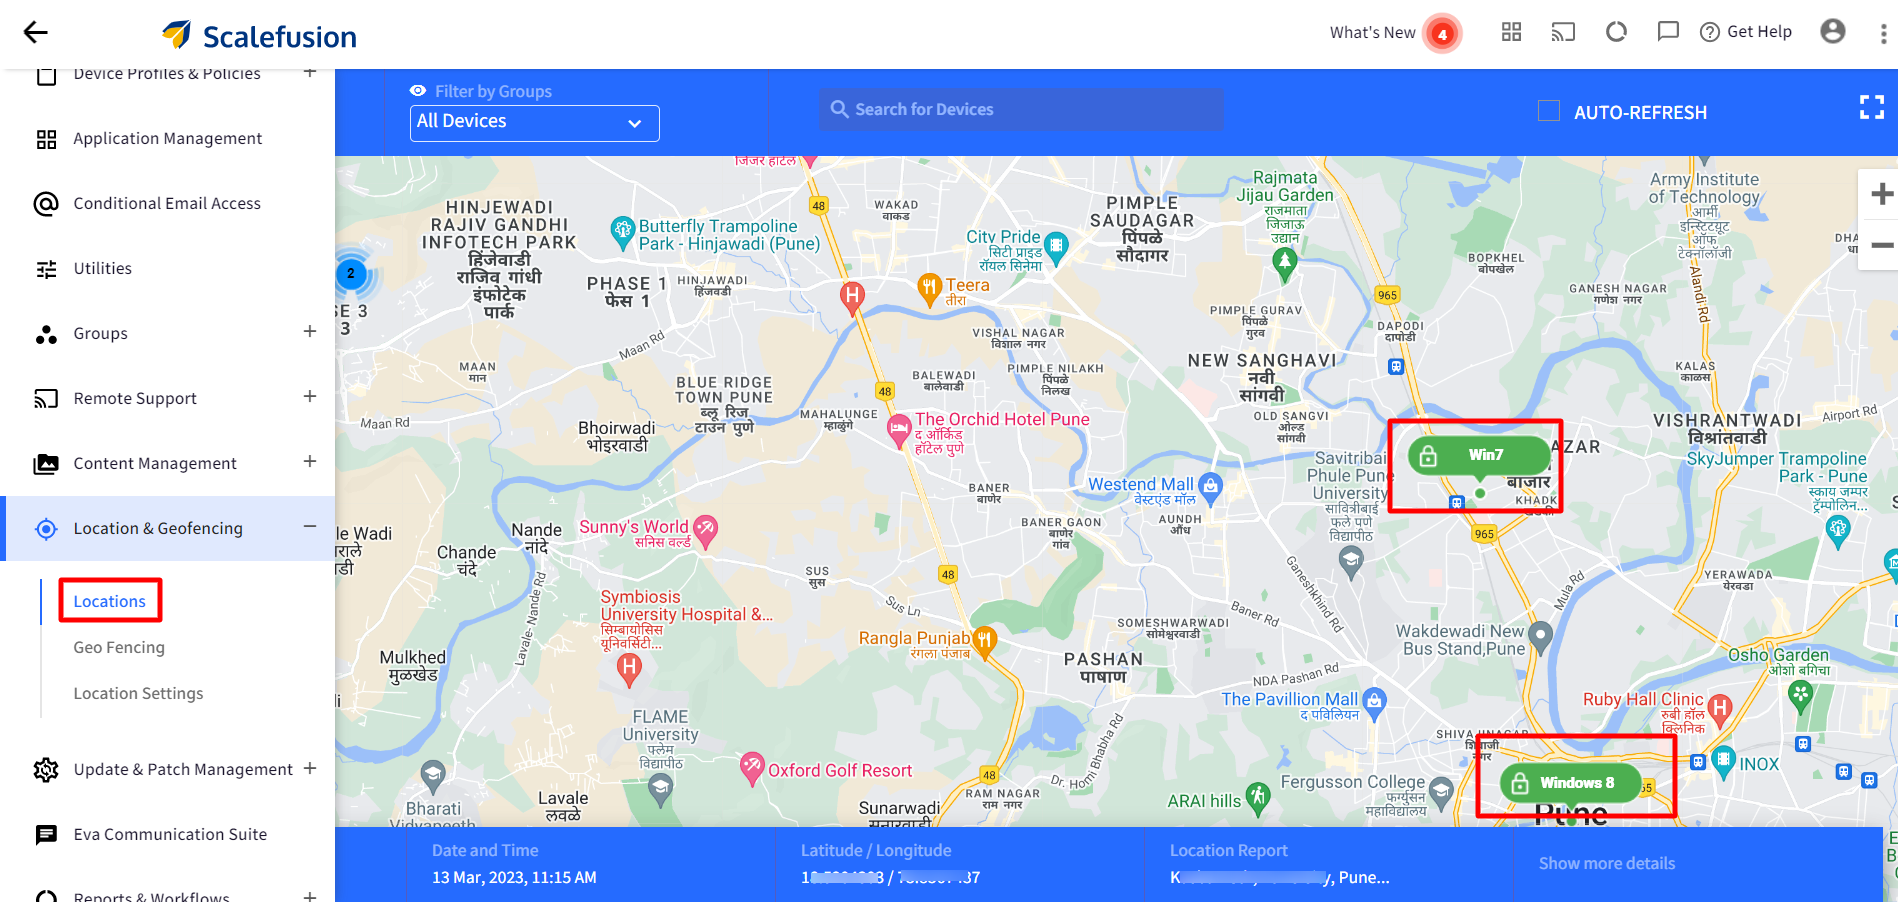
- If you click on a particular device you will see the location details at the bottom. To view more details at a granular level, click on Show More Details.
Location History of devices is reflected on the dashboard based on the plan you have purchased:
Enterprise Plan: 90 days
Business Plan: 30 days
 Devices
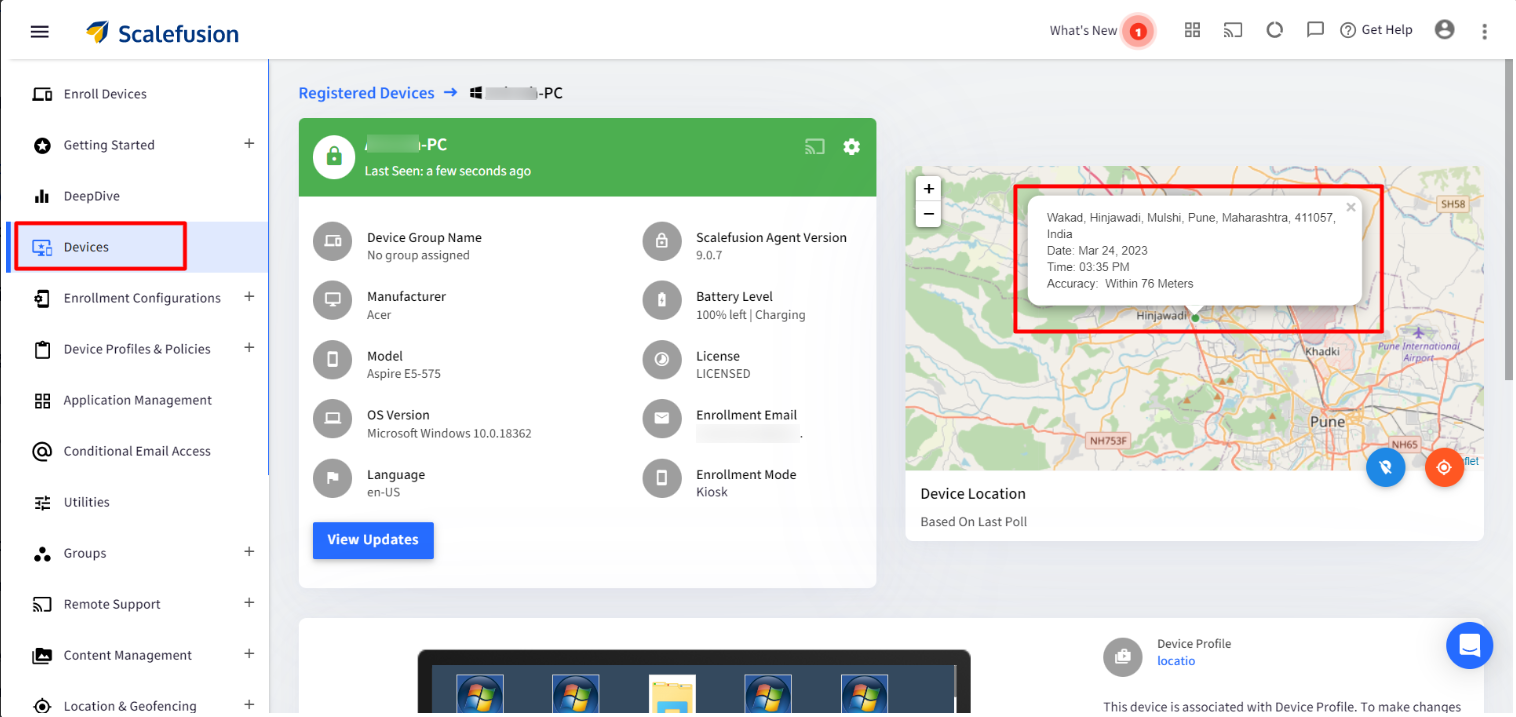
To view location of a particular device,
- On Scalefusion Dashboard, navigate to Devices on the left panel.
- Click on View Details on the Windows device for which location is enabled.
- You will find the most recent location of the device on the summary page, pinned on the map.
Google Maps API key
There is option to switch to Google Maps for all map related features if you wish so. Switching to Google Maps would require a Google Maps API Key which would require valid Gmail account and setup of Google Cloud Billing platform. To know more about how to use this feature, please click here
In Windows Device Profile, Location Services (Advanced Settings > General Settings > Security & Search) should be either set to Allow or None.