PureID(PureAuth) is a cloud-based platform designed to provide secure, phishing-resistant access to enterprise resources without relying on traditional
This article provides a step-by-step guide to configuring PureID as the Identity Provider for all the services you use.
Prerequisites
Please make sure you have created the SSO configuration for the service for which you want to set PureID as the Identity Provider.
Also, make sure that the user(s) is present in the PureID portal and the respective service’s portal that you are trying to access.
The same user(s) must be present in Scalefusion, and the SSO configuration of the respective service is applied to it.
Step 1: Configuring PureID as an Identity Provider on Scalefusion dashboard
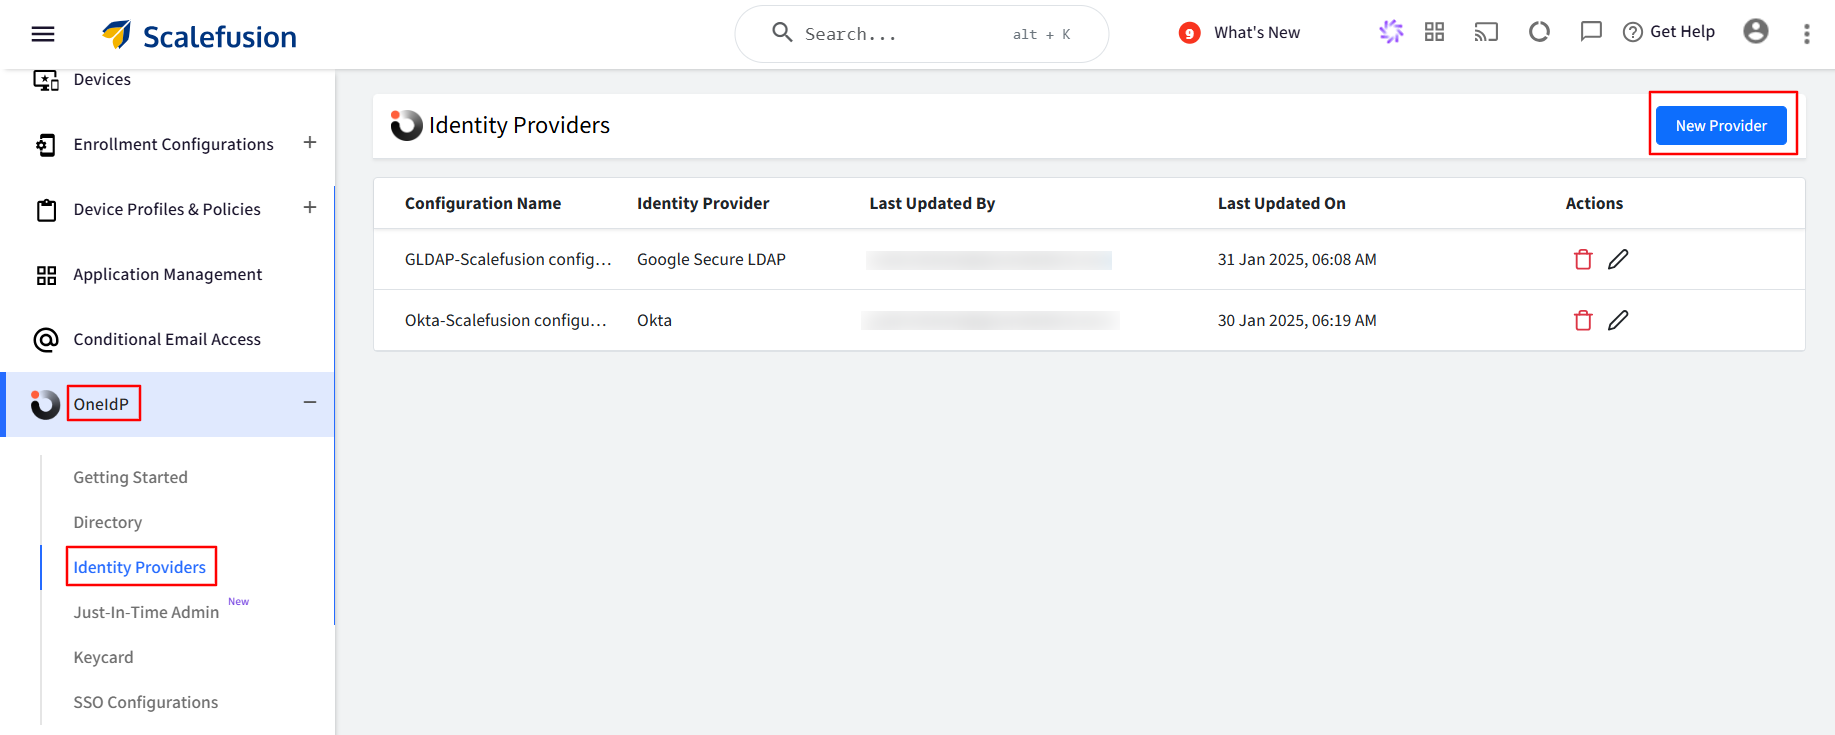
Navigate to OneIdP > Identity Providers.
Click on the New Provider button.
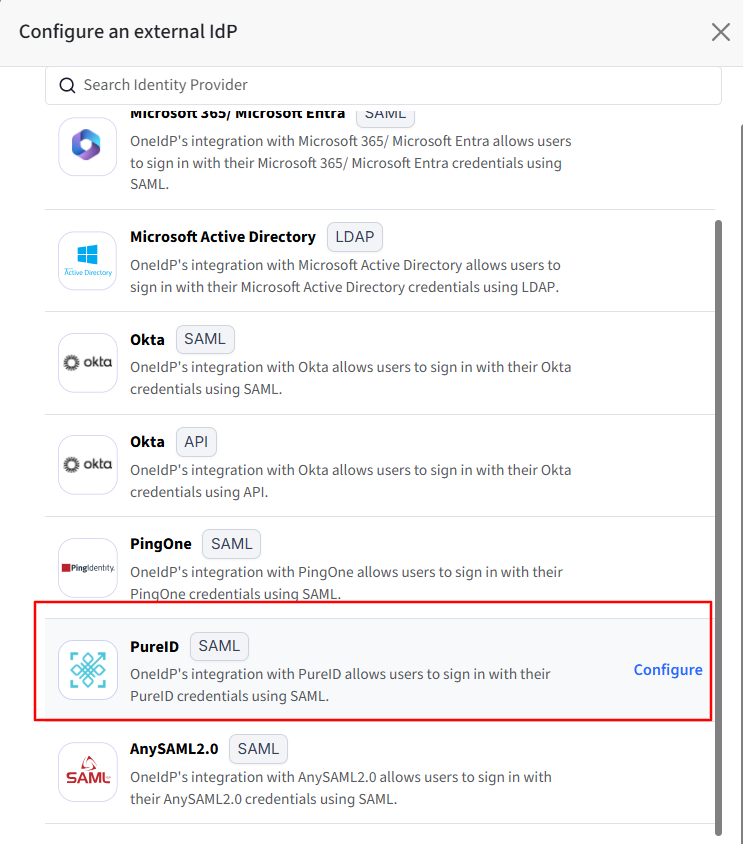
Select PureID and click Configure.
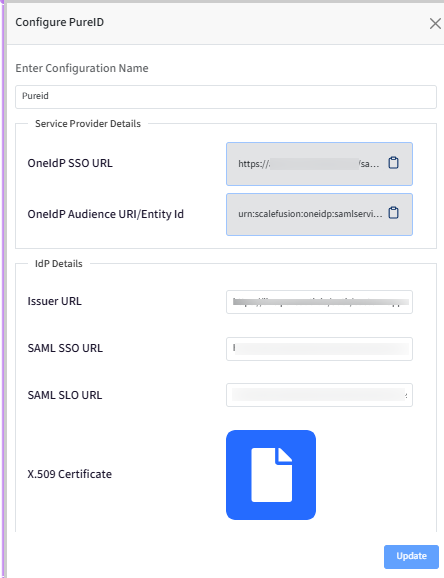
Provide a name for this configuration to make it easy to identify.
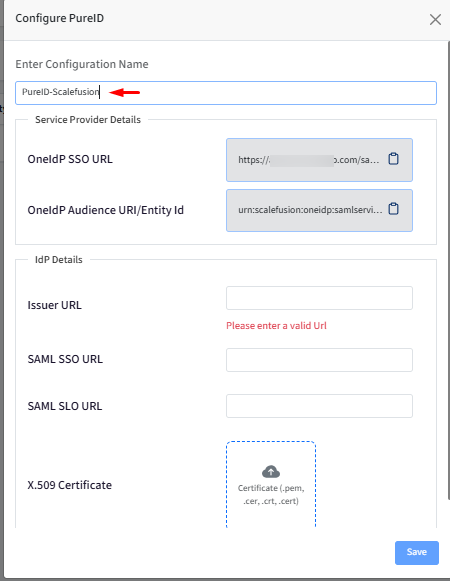
Service Provider Details will be added in thePureID Admin Console as shown in Step 2.
IdP Details will be generated on the PureID Admin Console as shown in Step 2.
Step 2: SAML Setup in PureID Admin Console
Log into your PureID Admin console.
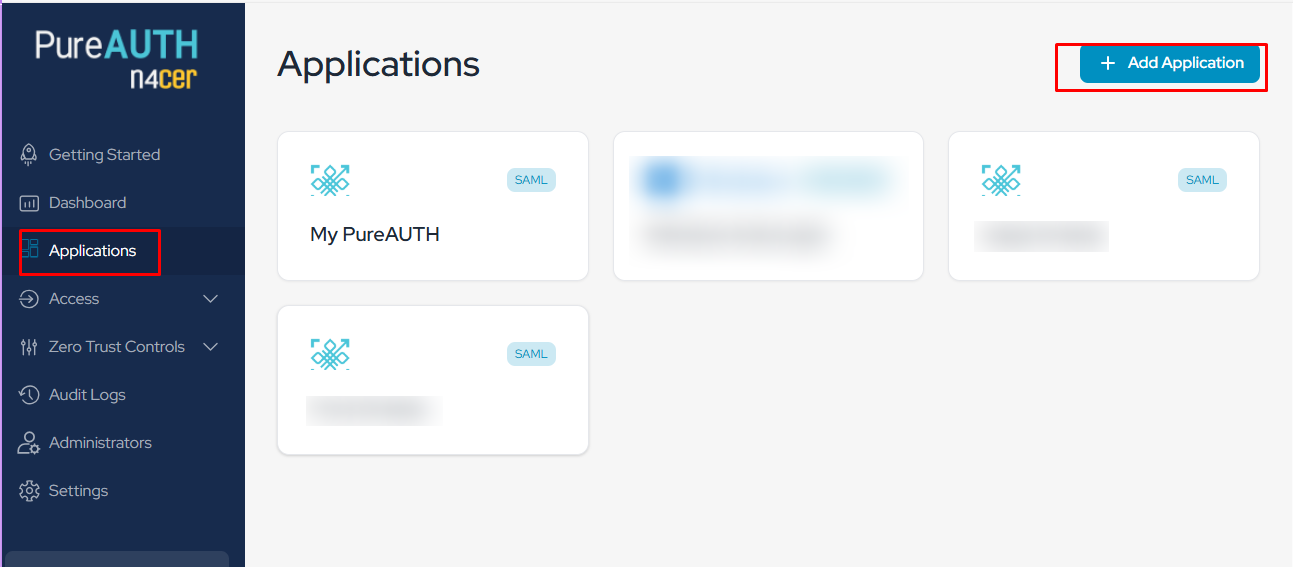
Navigate to Applications > Applications.
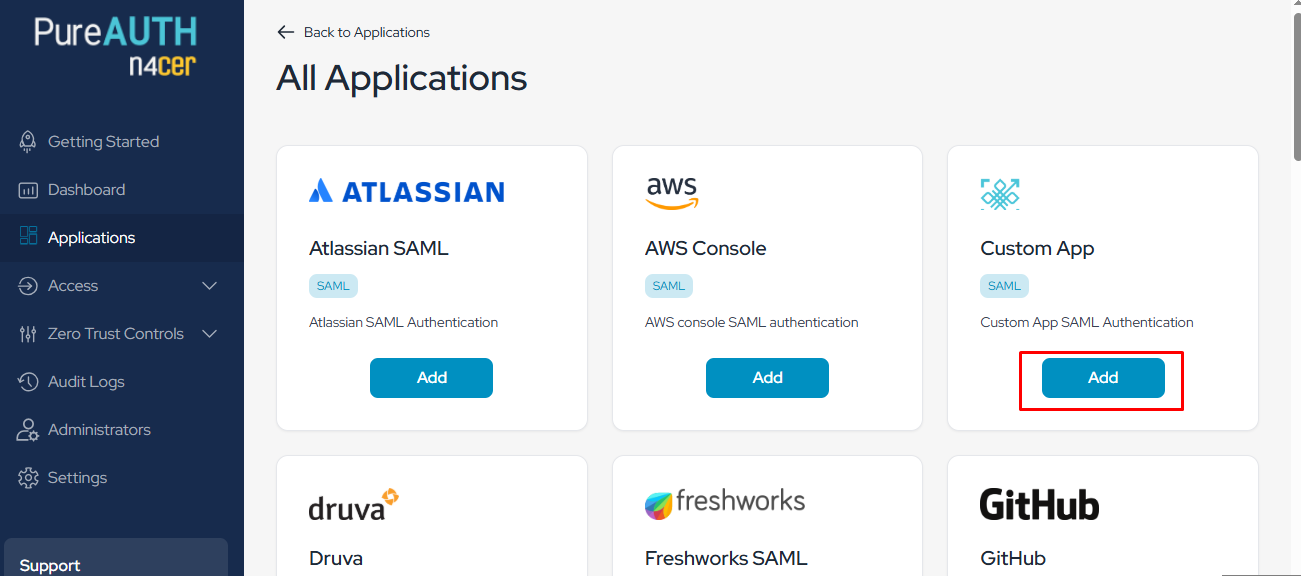
In this page click on the plus button next to Applications on the top left-hand side.
Navigate to Add button of Custom App
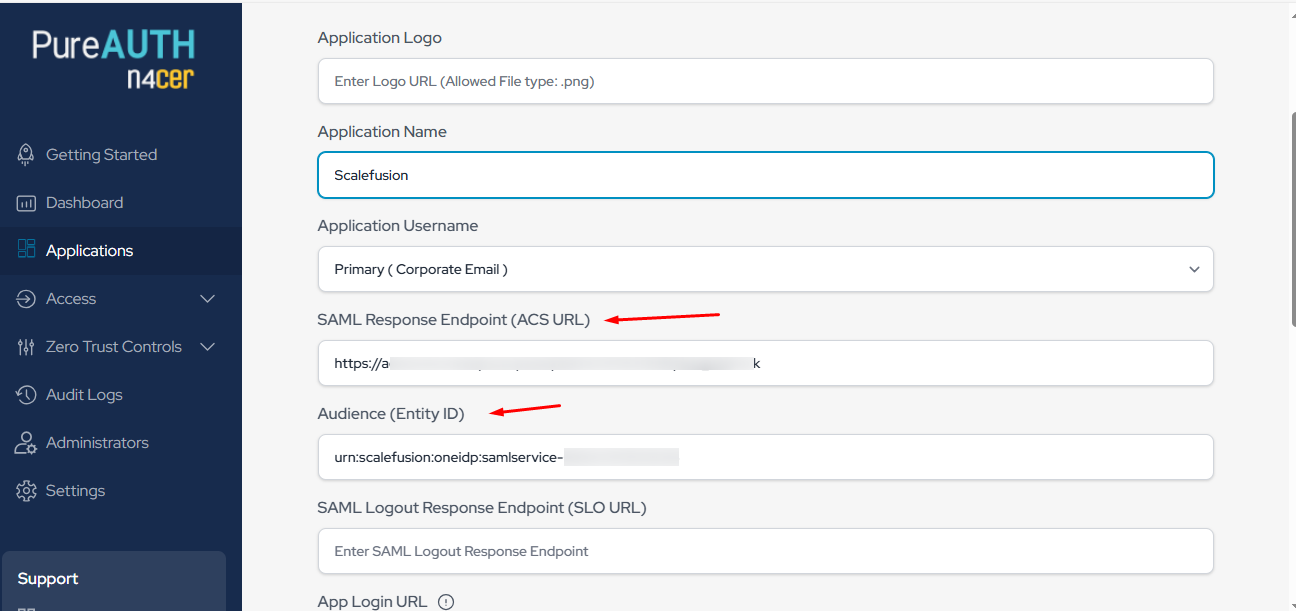
Provide a application name name to this configuration for easy identification

On the same page, add the SAML Response Endpoint (ACS URL) and Audience (Entity ID) from the Scalefusion dashboard here.
SAML Response Endpoint (ACS URL) will be the OneIdP SSO URL and Audience (Entity ID) will be OneIdP Audience URI/Entity Id.
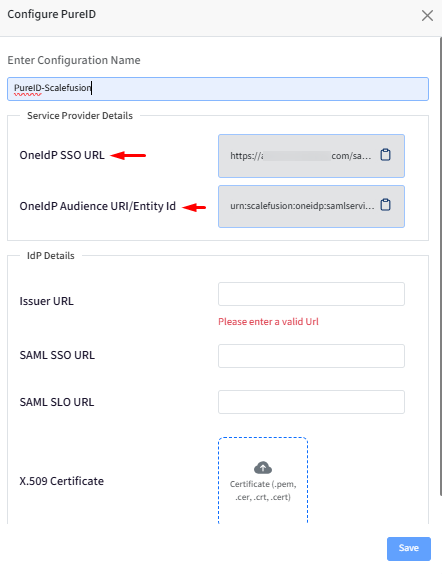
Click on Save.
Next, go to the Application create on PureID Portal and click on that application icon.
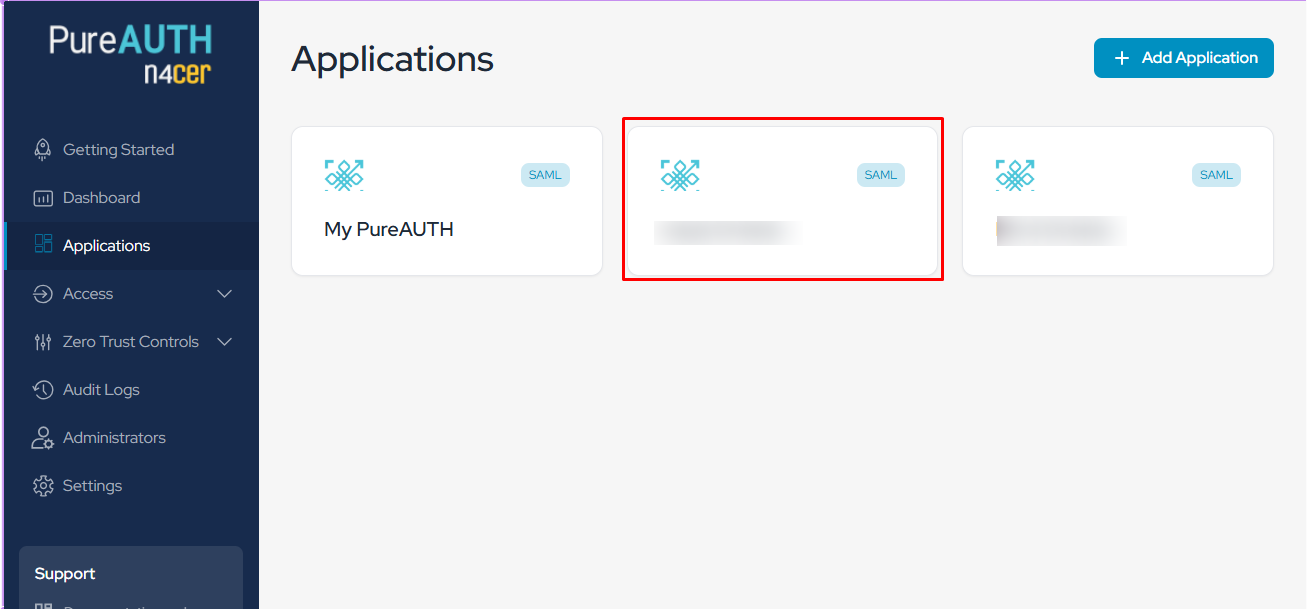
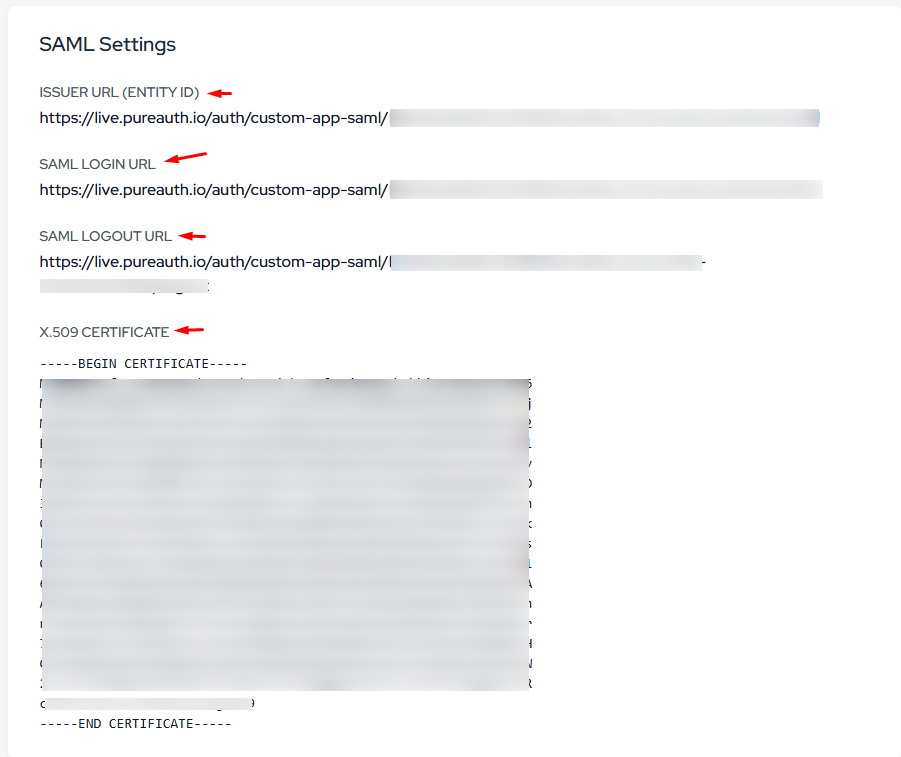
Next, go to the SAML Settings .
Copy the Issuer URL (Entity ID) URL, SAML Login URL URL, and SAML Logout URL and save them, as these will be used on the Scalefusion dashboard.
Copy the X509 Certificate and save the content by extension (.cer, .crt) as this will be uploaded on the Scalefusion dashboard.
Step 3: Adding PureID SAML setup details to the Scalefusion dashboard
On the Scalefusion dashboard, enter the saved URLs from Step 2 in the respective fields.
Upload the x509 certificate that you downloaded in Step 2.
Click on Save.
Step 4: Associating PureID Identity Provider with a Directory
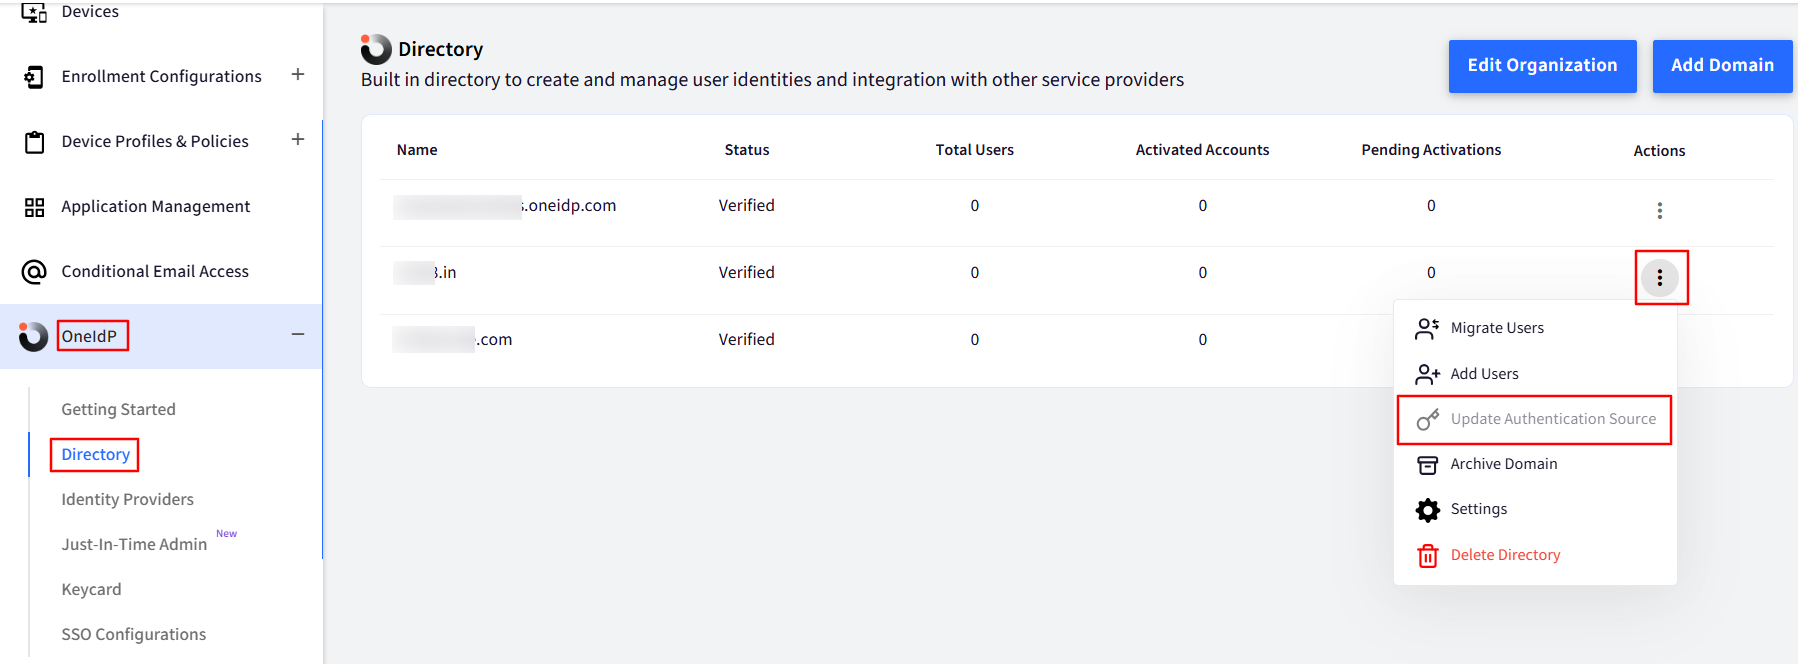
Navigate to OneIdP > Directory.
Click on the 3-dots under Actions for the concerned Domain.
Click on Settings.

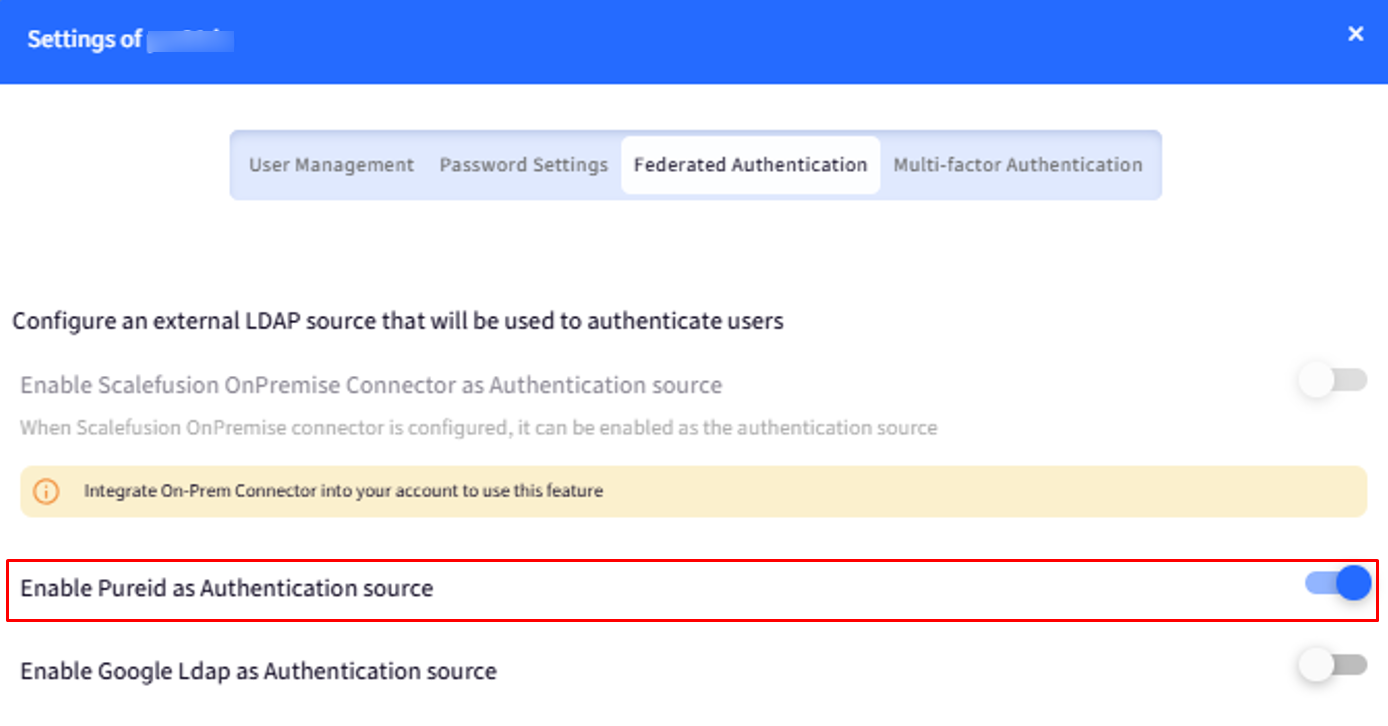
Go to the Federated Authentication tab and toggle on the button for PureID as an Authentication source.
You can also “Set default authentication source”.
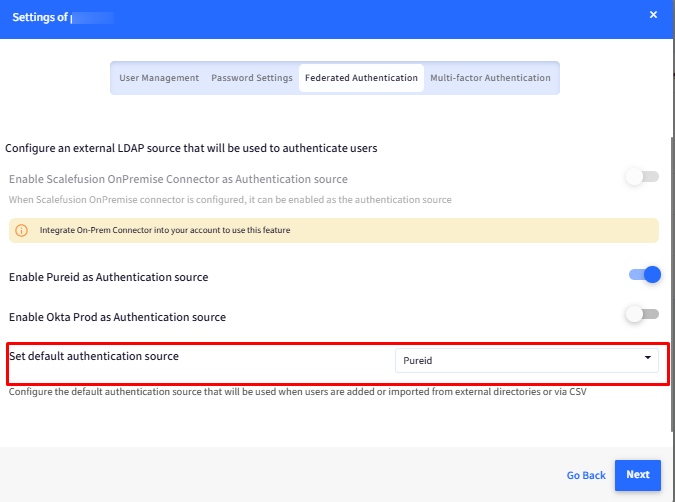
On setting a default authentication source, whenever you add any new user in the Scalefusion dashboard and migrate it to OneIdP, the default Authenticator would be PureID.
Click on Next and Save.
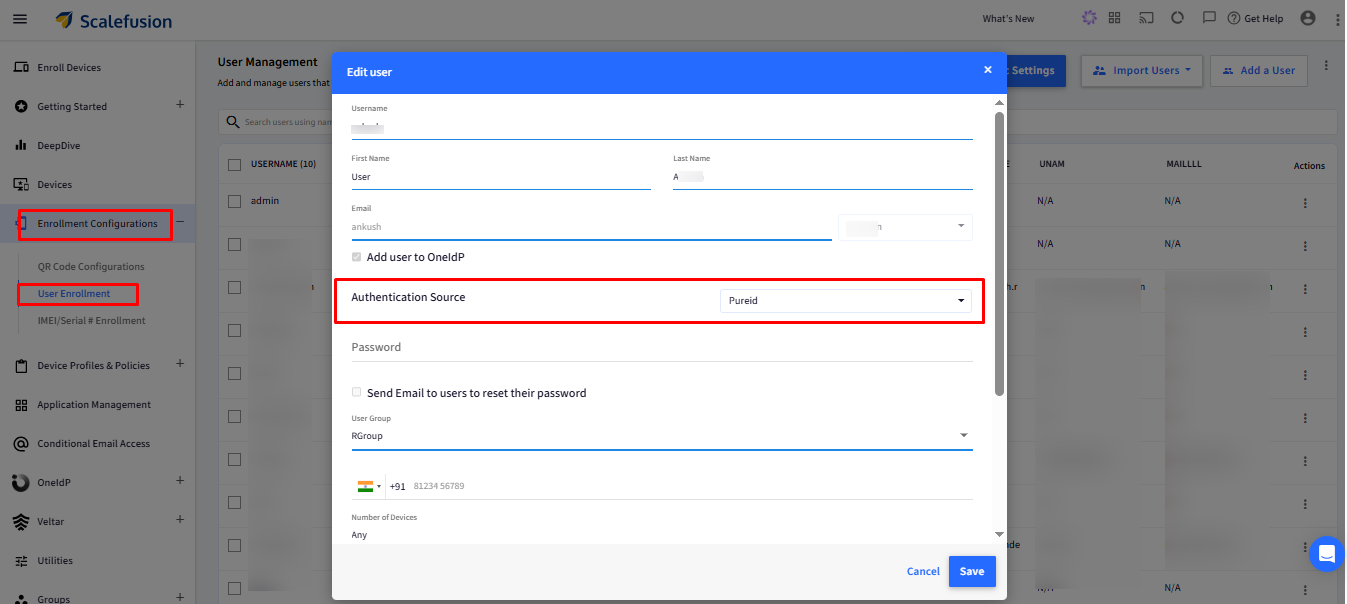
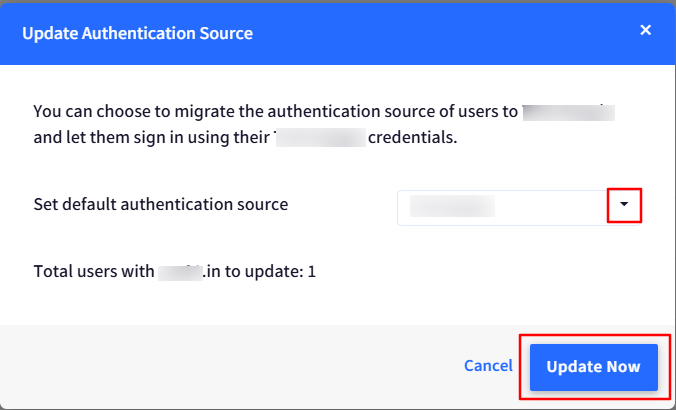
For existing users that are present in the Scalefusion dashboard, you can change the default authentication source by going to 3-dots under Actions > Update Authentication Source.
Select PingOne from the drop-down list for “Set Authentication Source” and click on Update Now.
User Login Flow
When the user enters their email on the service login page, they will be redirected to OneIdP. From there, OneIdP will redirect the user to the chosen identity provider (PureID, in this case) for authentication. Once the identity provider authenticates the user, then user will be asked for OneIdP Compliance.Once the compliance is pass then user can access the service.