Virtual Private Networks, aka VPN, help organizations provide secure access to corporate resources that are behind a firewall. In most organizations, business-critical information, assets, and resources are often behind a firewall and not accessible over a public network. VPN software helps employees access this data from their devices irrespective of the network that they are in.
If your organization is using a VPN, then it becomes important to be able to configure a VPN on the corporate devices and/or employee/personal devices that are used to access the corporate data. Scalefusion provides the necessary mechanisms to remotely configure the VPN and publish to the Windows devices managed by Scalefusion.
The document below explains how to configure VPN settings on managed Windows devices.
Minimum Requirements for VPN
Let us first understand what are the basic requirements in order to configure VPN from the Scalefusion Dashboard,
- Enrolled Windows device
How Does it Work?
- Devices use a VPN connection profile to start a connection with the VPN server.
- VPN profiles assign VPN settings to devices in the organization so that they can easily and securely connect to the organizational network.
How to Configure VPN Service?
Here are a few reference links to understand how to configure them on the devices,
- CSP Reference - https://docs.microsoft.com/en-us/windows/client-management/mdm/vpnv2-csp
- EAP Configuration - https://docs.microsoft.com/en-us/windows/client-management/mdm/eap-configuration
- Third-Party/Plugin type links
Which VPN types do we support?
We support the following VPN connection types
NativeProtocolType
- PPTP
- L2TP
- IKEv2
- Automatic
Third-Party/Plugin type
Configuration
- Login to Scalefusion Dashboard
- Navigate to Device Management > Device Profiles
- Click on Create New Profile or edit an existing Windows profile
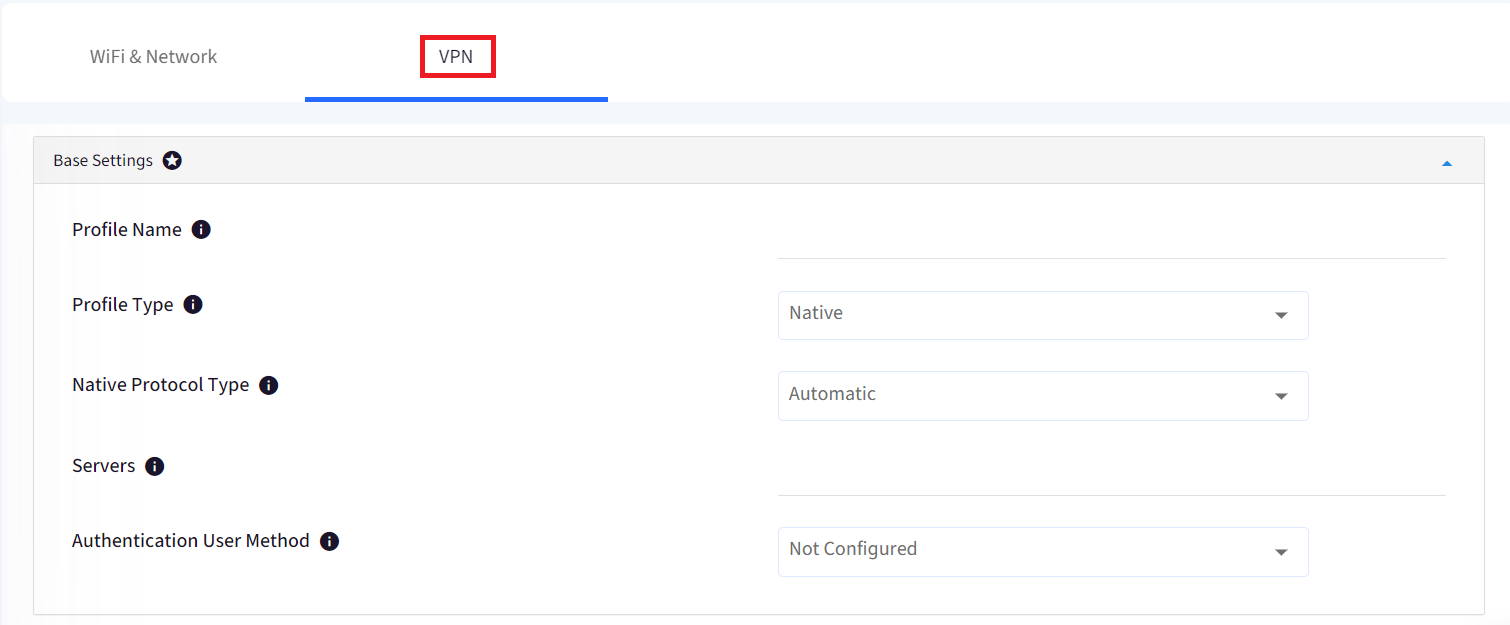
- Navigate to Settings > VPN

- Enable Configure VPN Settings
Base Settings
This section allows the admin to set the VPN profile name and VPN profile Type.
| Setting | Description |
| Profile Name | Specify the name which needs to be displayed as the VPN name on the device. |
| Profile Type | Specify the VPN connection type from the following:
|
| Native Protocol Type | It is a type of tunneling protocol used. Select a Native Protocol Type from the following
|
| Servers | It is the Public or routable IP address or DNS name for the VPN gateway. For eg., 208.147.66.130 or https://www.vpnbook.com/ |
| Authentication User Method | Select the authentication protocol for the VPN from the following:
|
| Authentication Machine Method | This comes up only when IKEv2 is selected as the Native Protocol type. Select one of the following methods:
|
| EAP Configuration | HTML encoded XML of the EAP configuration. For more information about EAP configuration XML, see EAP configuration. |

Per App Settings
This allows the admin to select a list of applications set to trigger the VPN. If any of these apps are launched, and the VPN profile is currently the active profile, then this VPN profile will be triggered to connect. Per-app VPN allows the admin to create granular, detailed control over the organization's VPN connections on an app-by-app basis.
- Enable Trigger App: Connects to VPN whenever the app is launched.Enable Trigger App works in conjunction with Remember credentials under Advanced Settings.
- Enable Allowed App: Enable Allowed App will allow those applications to work over VPN which are selected.Enable Allowed App works in conjunction with Force Tunnel as the Routing Policy Type.
For more information on the above, please click here.png)
Advance Settings
| Setting | Description |
Remember Credentials | To make the user login credentials remembered/cached, enable this setting. |
| Always On | Enable this setting to force the VPN connection to be always on. |
| Lock Down | Enable this to force the VPN to always be on and never disconnect. |
| DNS Suffix | Add connection-specific DNS Suffix for the VPN Interface. Use comma “,” to add multiple DNS Suffixs. |
| Trusted Network Detection | Enter a comma-separated string to identify the trusted network. The VPN does not connect automatically when a trusted network connection is detected. |
.png)
Proxy Settings
You can enable post-connect proxy support for VPN by configuring proxy settings. The proxy defined for this profile is applied when this profile is active and connected.
Two options to define Proxy settings:
- Automatic: Select this to automatically detect any proxy servers used by the VPN. You need to provide the URL to automatically retrieve proxy settings.
- Manual: To manually configure the Proxy server, select this option and provide the proxy server address, which can be a hostname or an IP address
.png)
Route Settings
You can set route settings from this section. There are two Routing policy types to choose from:
- Force Tunnel: When Force Tunnel is selected, all IP traffic goes through the VPN interface only.
- Split Tunnel: When Split Tunnel is selected, only the traffic meant for the VPN interface (as determined by the networking stack) goes over the interface. Internet traffic can continue to go over other interfaces.
- Disable Class Route: If split tunneling is enabled, the client will also be assigned a class-based route that is derived from the IP address assigned to it by the VPN server by default.
Provide the list of routes to be added to the routing table for the VPN interface (Address and Prefix). This is required for split tunneling cases where the VPN server site has more subnets than the default subnet based on the IP assigned to the interface. Adding a route here allows the networking stack to identify the traffic that needs to go over the VPN interface for split tunnel VPN..png)
After giving all settings, click Update Profile.
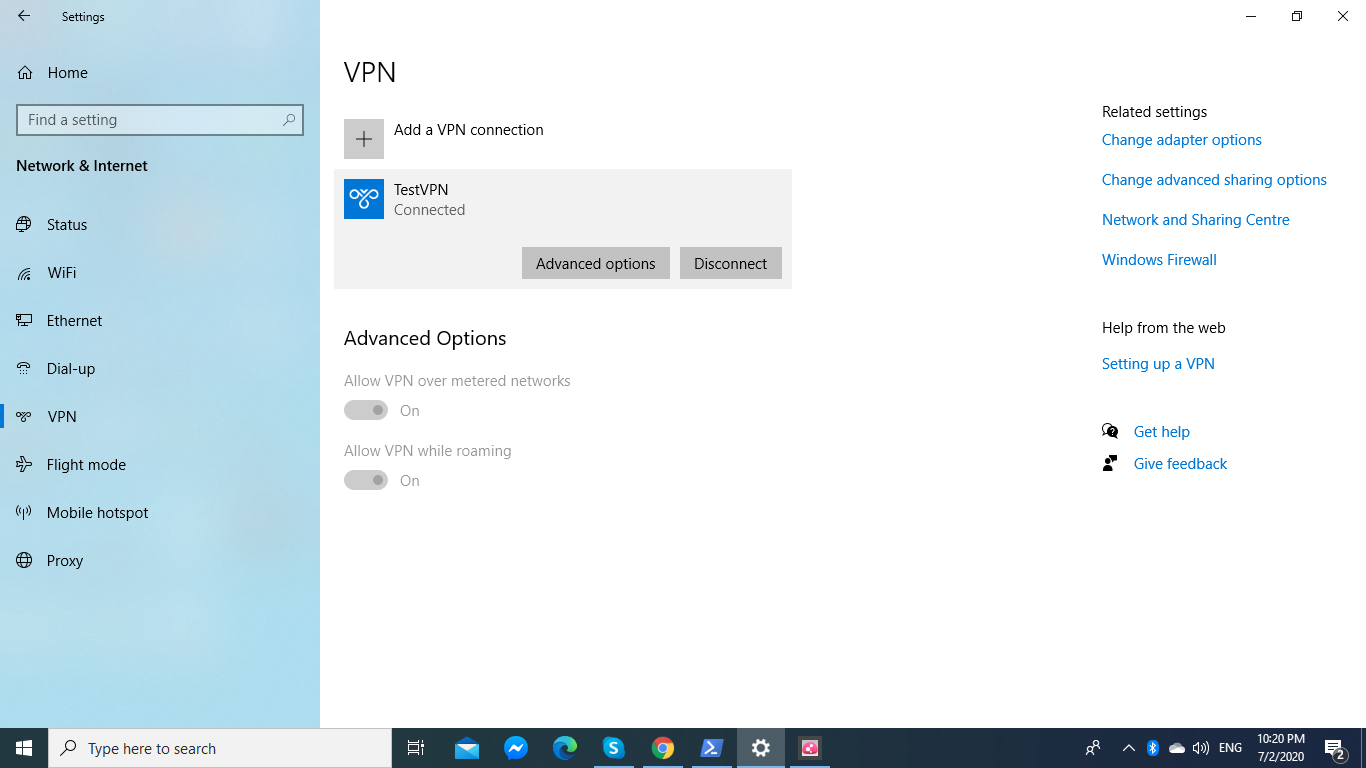
Once these VPN Settings get applied on a device, you can open the VPN Settings application on your enrolled Windows device. The VPN you have set up will be there, and you can connect to the same VPN.