Desktop machines are multi-user machines, which can have either local accounts or domain joined accounts. This makes it a shared machine by default. Multiple users can use the same machine with profiles and policies applied specific to each user, when they sign in on the machine. Scalefusion identifies the user group to which this username/user belongs and attaches the new profile accordingly.
Shared devices can be found in a variety of settings, such as educational institutions, corporate workplaces, healthcare facilities, and public spaces like libraries, shopping malls, etc., where these shared devices may be used to provide access to specific apps or services that are needed by multiple users.
There are several advantages to organizations using Shared devices, such as Cost effectiveness, Improved Productivity, Easier maintenance, and Greater accessibility, to name a few. Leveraging Scalefusion's User Group Management and User Authenticated Enrollment features, IT Admins can prioritize user-based devices and utilize their AD integrations for better management.
Before You Begin
- Latest version of Scalefusion MDM client (agent app for macOS) should be installed on devices
- Mac Device Profile should be created
Step 1: Add users to User Management
- Navigate to Enrollment Configurations > User Enrollment.
- You can either use the Add a User button to add the users or upload a list of users in the form of a CSV file.
- In case the account is a G Suite or O365 account, you can import the users from the respective G Suite/O365 consoles.
- Refer to the Import Users and User Group guide to know more about importing G Suite/O365 users.

- Refer to the Import Users and User Group guide to know more about importing G Suite/O365 users.
- Once the user details are added, the user or the list of users will now show on the dashboard.
- Unlike BYOD enrollment, you will not need to send an invite to these users.
- The next step will be to create a QR Code Configuration to set up the User Authenticated Enrollment mode.You can also use AAD, PingOne, Okta, and Google Workspace for the authentication of users.
Step 2: Create User Group(s)
To learn how to create user groups, please visit here. Add the users to User Groups.
Step 3: Create QR Code Configuration
To create QR code configuration, please visit here.
Step 4: Enroll Devices
Now, enroll your macOS devices with any of the following methods:
Step 5: Assign User to devices
If it is a Userless Enrollment, assign users to devices to make them shareable.
- Assign User from Device Level Actions
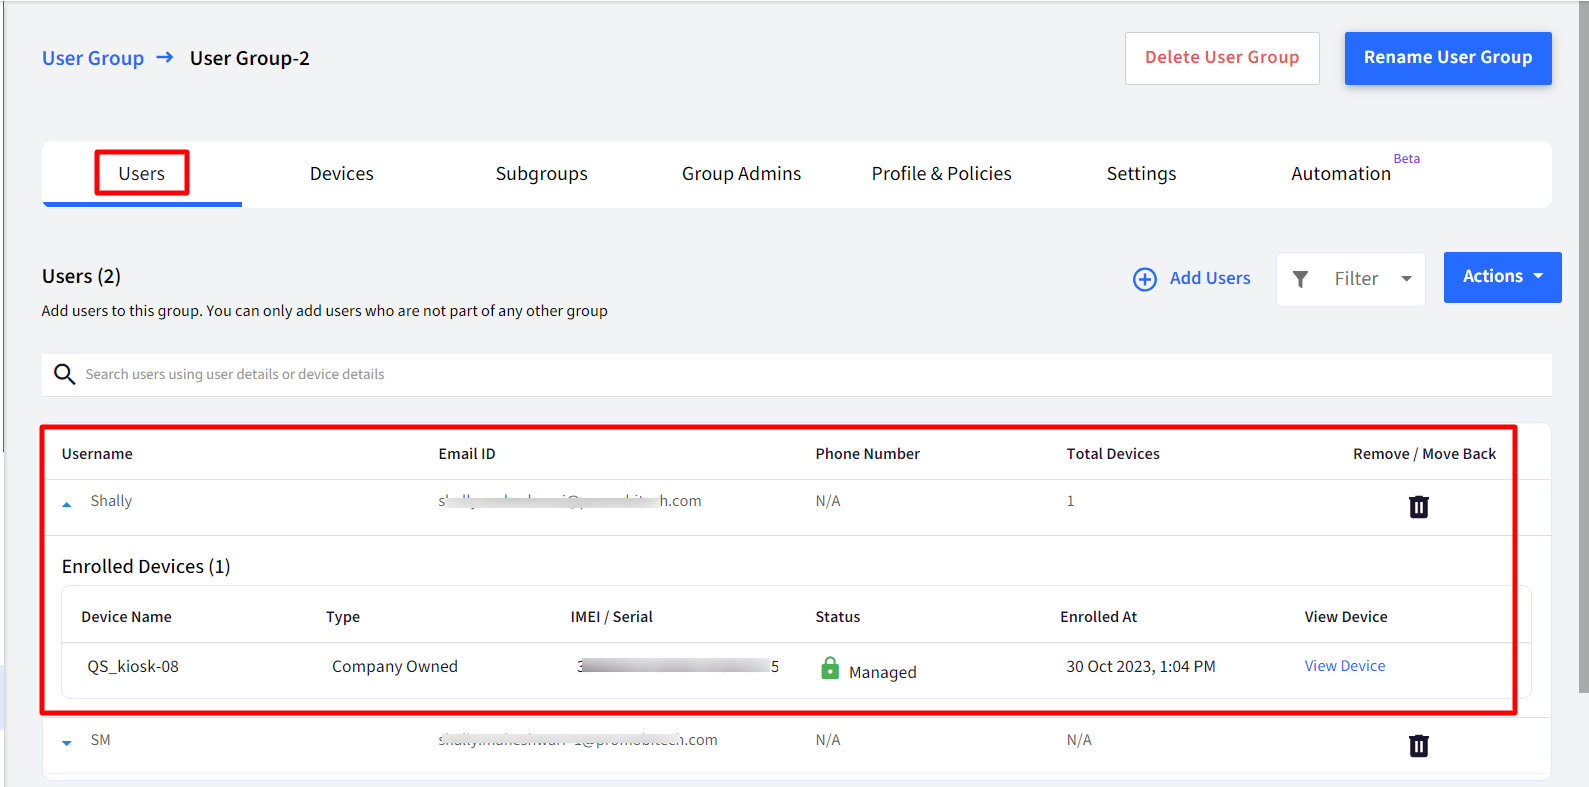
Step 6: Dashboard view of Shared devices
- On the dashboard, under User Groups > Users, you will be able to see the details of which user has logged into which device and at what date and time.
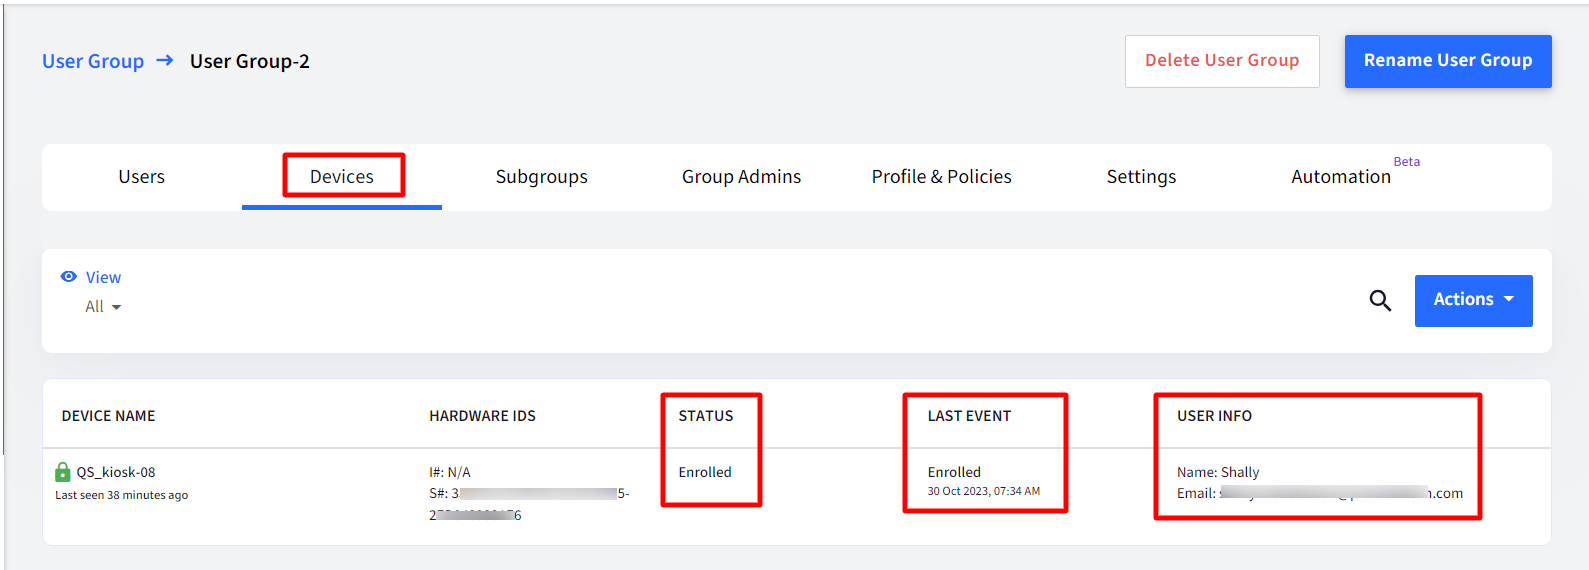
- In the Devices tab, you will be able to see which user is currently signed in or signed out from the concerned device.
Step 7: Configure Shared Device Settings
User Group Level
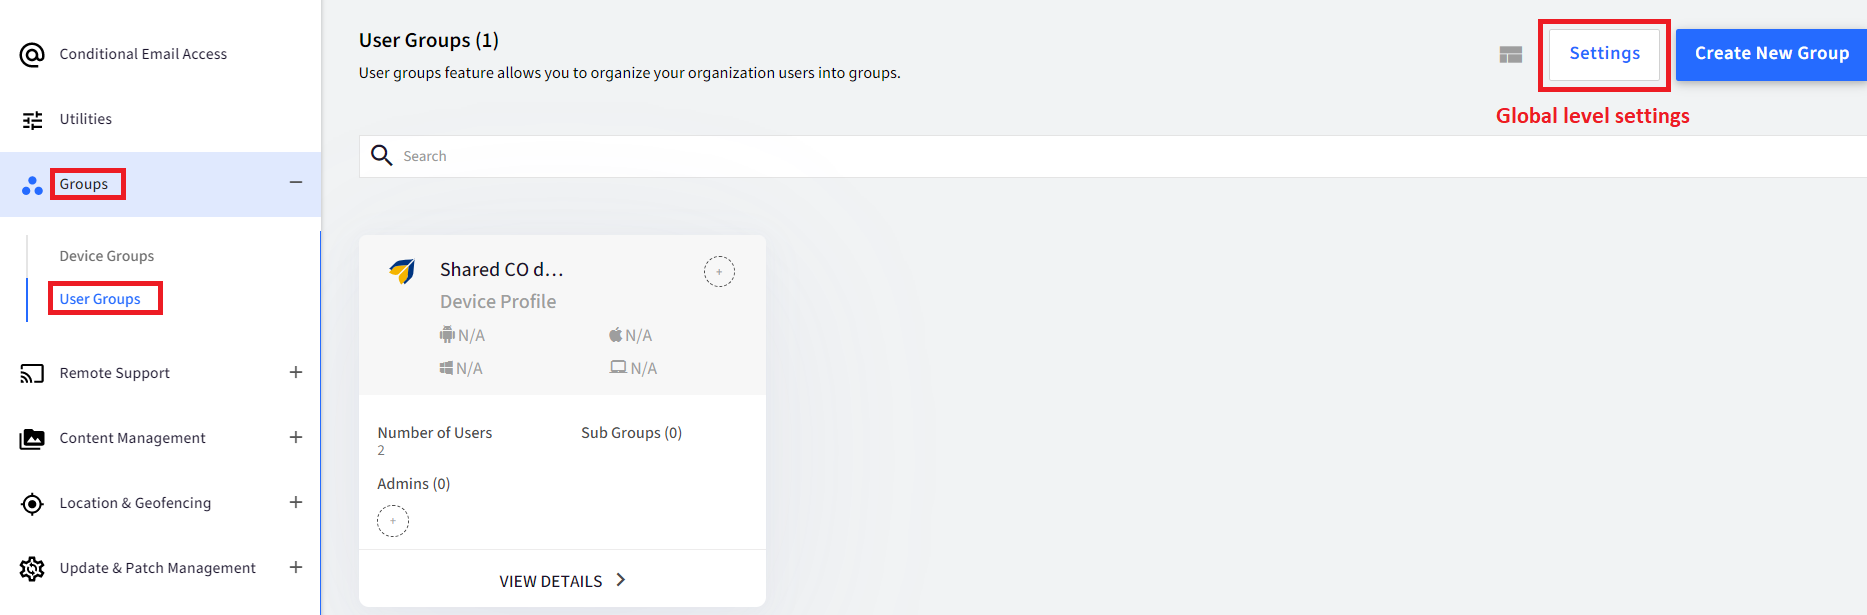
- Once the User Group is created, click on View Details to configure the Shared Devices Settings.

- Navigate to Settings tab.

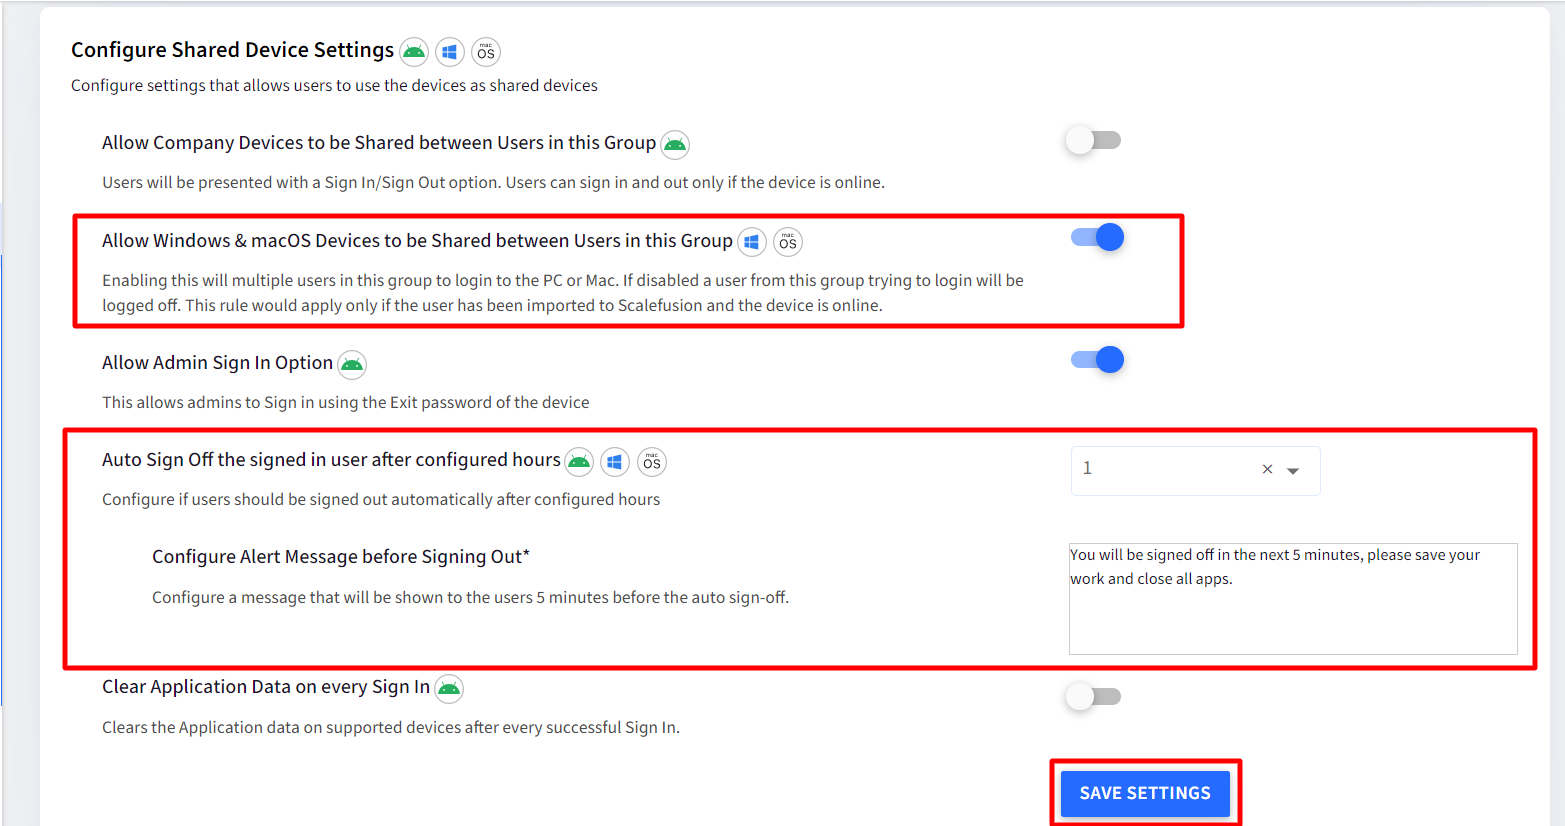
- Scroll down and configure following settings under Configure Shared Device settings:
- Allow Windows & macOS devices to be Shared between Users in this Group: All the users added to this group will be allowed to share devices and login to the same machine. If disabled, a user from this group trying to login will be logged off. The device should be online for this setting to be applied.
- Auto Sign Off the Signed user after configured hours:You will be able to set a time (in hours), after which the signed user will be automatically signed out.
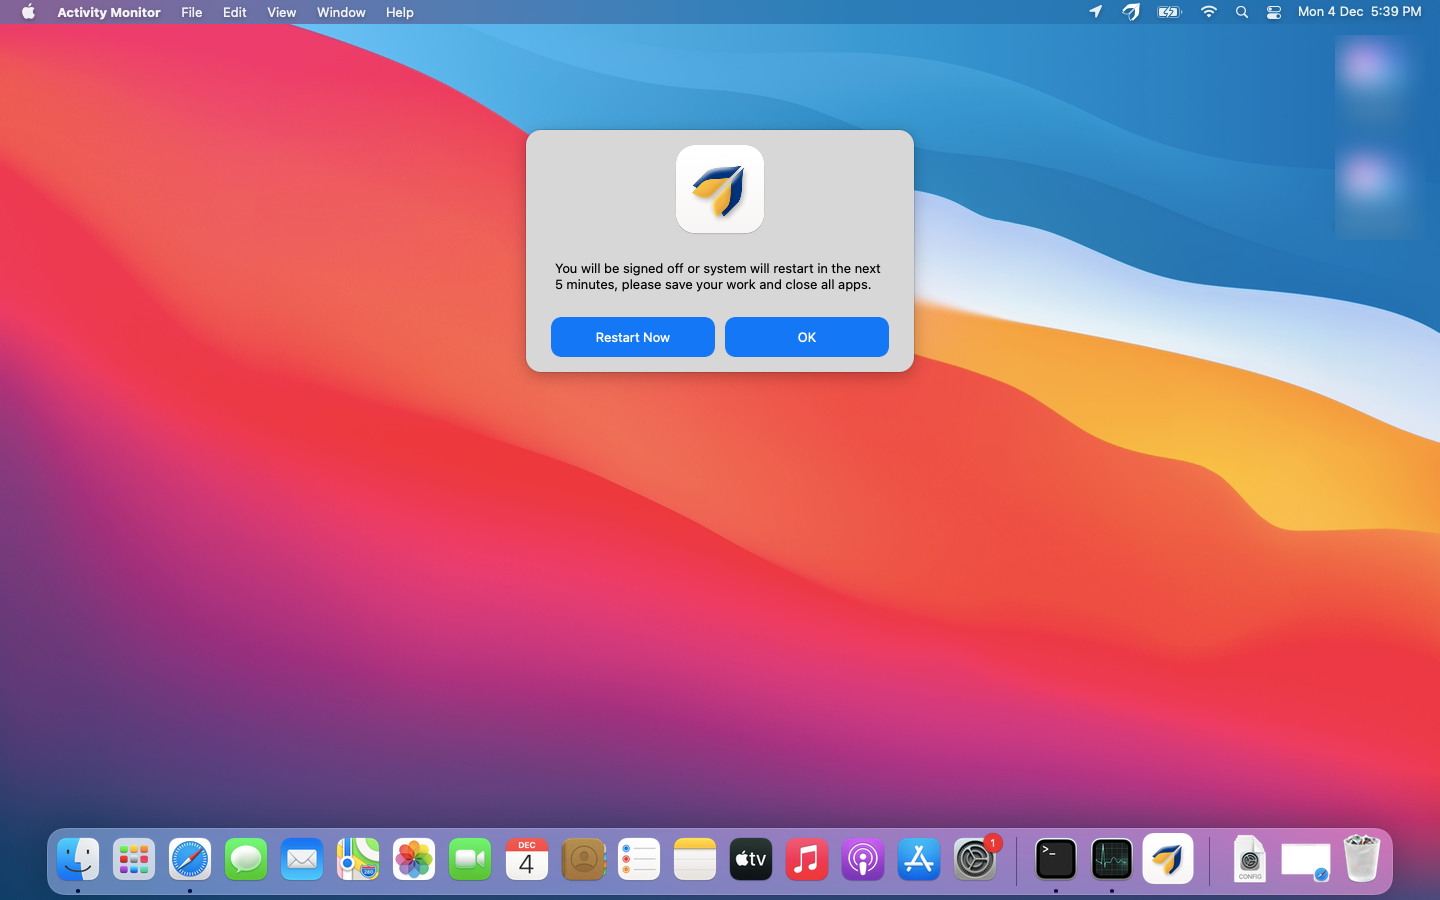
- Configure Alert message before Signing out: You can add a custom message that will be shown to signed-in users on the shared devices 5 minutes before they are to be automatically signed out.
- Configure Alert message before Signing out: You can add a custom message that will be shown to signed-in users on the shared devices 5 minutes before they are to be automatically signed out.
- Once the settings are configured, click on the Save Settings button to save them.
- On the device, the alert for auto logoff will display like this (as shown below)
Global Level
- You can also set Global-level Settings for the Shared Devices which will apply to all User Groups. This can be done by clicking on the Settings button on the User Group homepage.
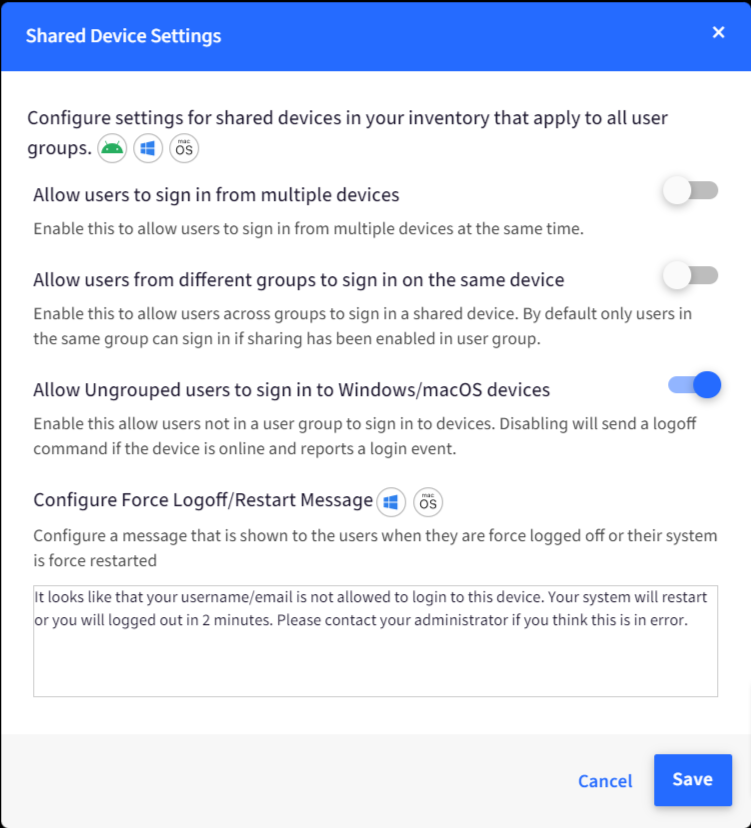
- Allow Users to Sign in from Multiple Devices: Enable this option to allow users to sign in from multiple devices using their email IDs.
- Allow Users from different groups to sign in on the same device: Enable this option to allow users belonging to different User Groups to sign in on a Shared Device. By default, only users in the same User Group can sign in if sharing has been enabled.
- Allow Ungrouped users to sign in to Windows/macOS devices: Enable this setting to allow users not in a user group, to sign in to devices. Disabling will send a logoff command if the device is online and reports a login event.
- Configure Force Log-Off/Restart message: Configure a message that will be displayed to the users when they get force logged off from the device.
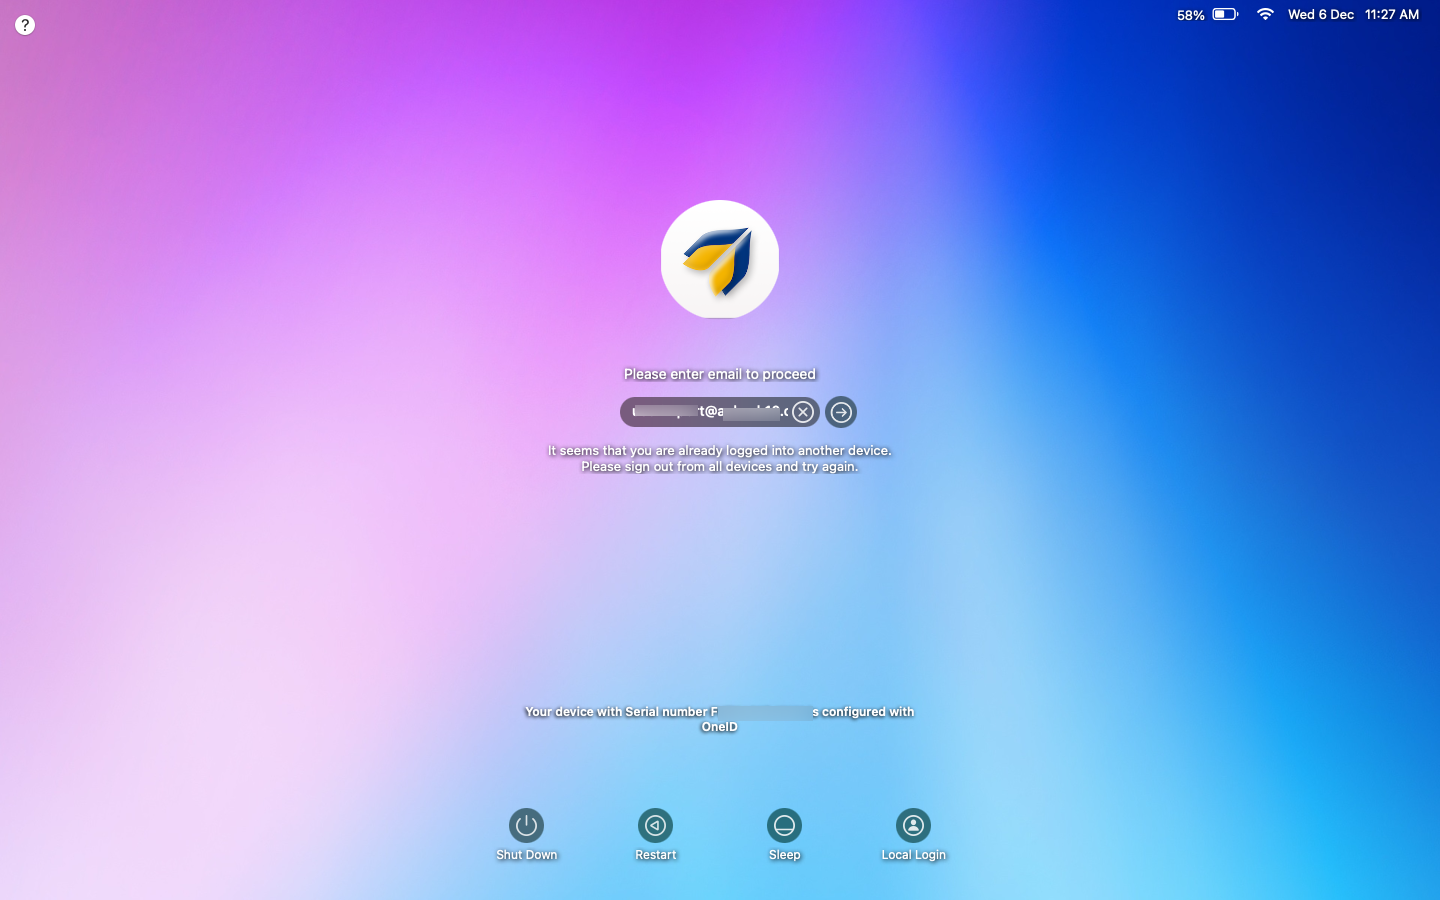
Following is an example of how the prompt will display on the device in case any of the conditions are not met for a user: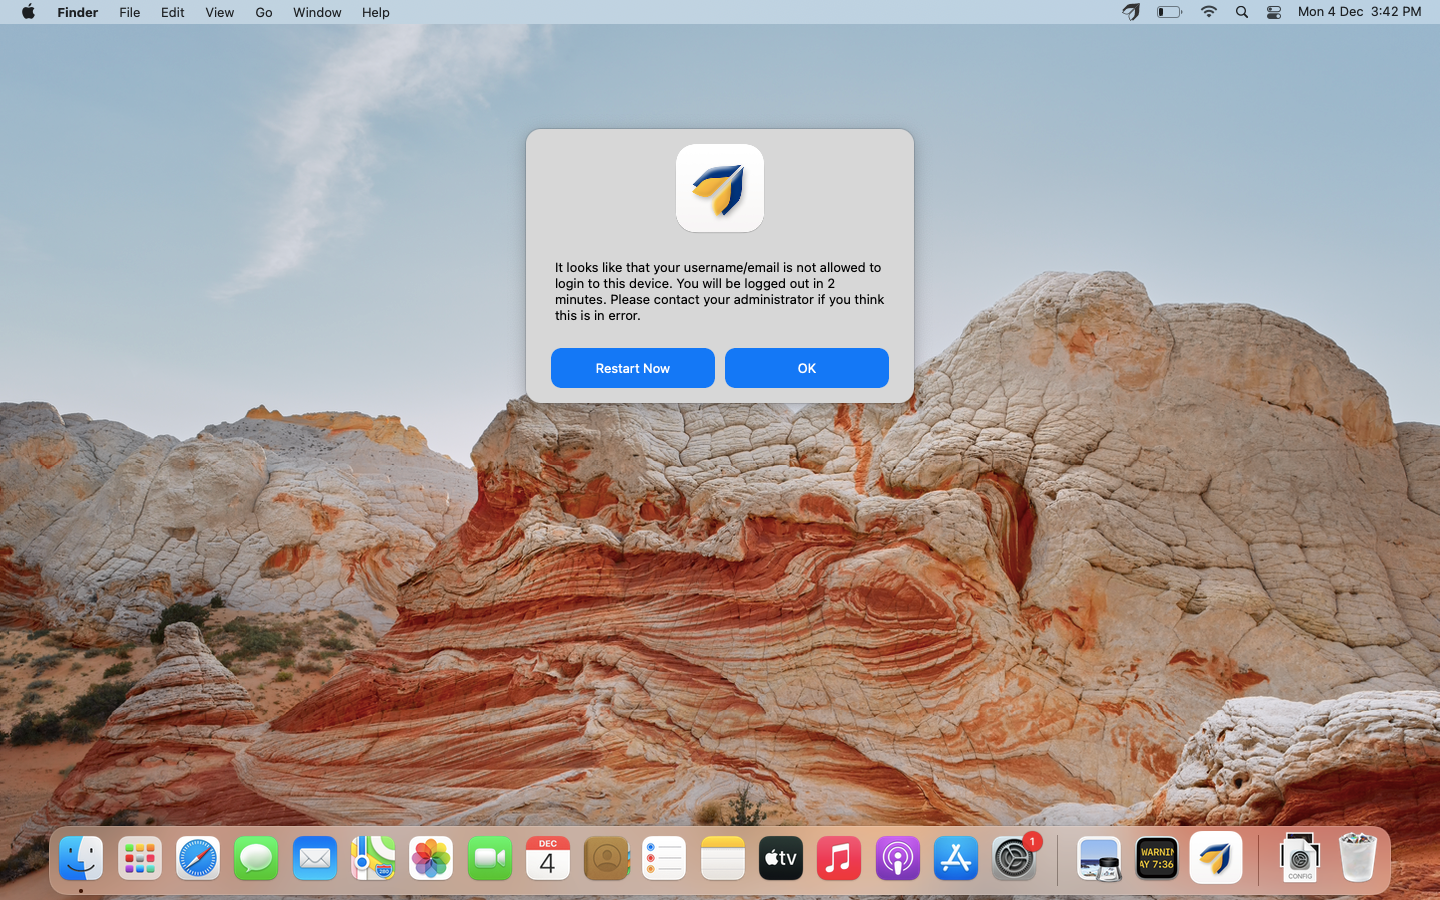
User Based Profile with OneID Configuration
If a OneID configuration is published to devices where User Based Profile (Shared Device settings) is also configured, following will be the behavior on devices
Example 1: If the following settings are disabled in Shared Device Settings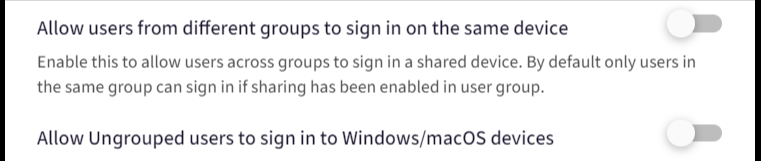
In this case, when a user tries to sign in, following will be the prompt at login screen:
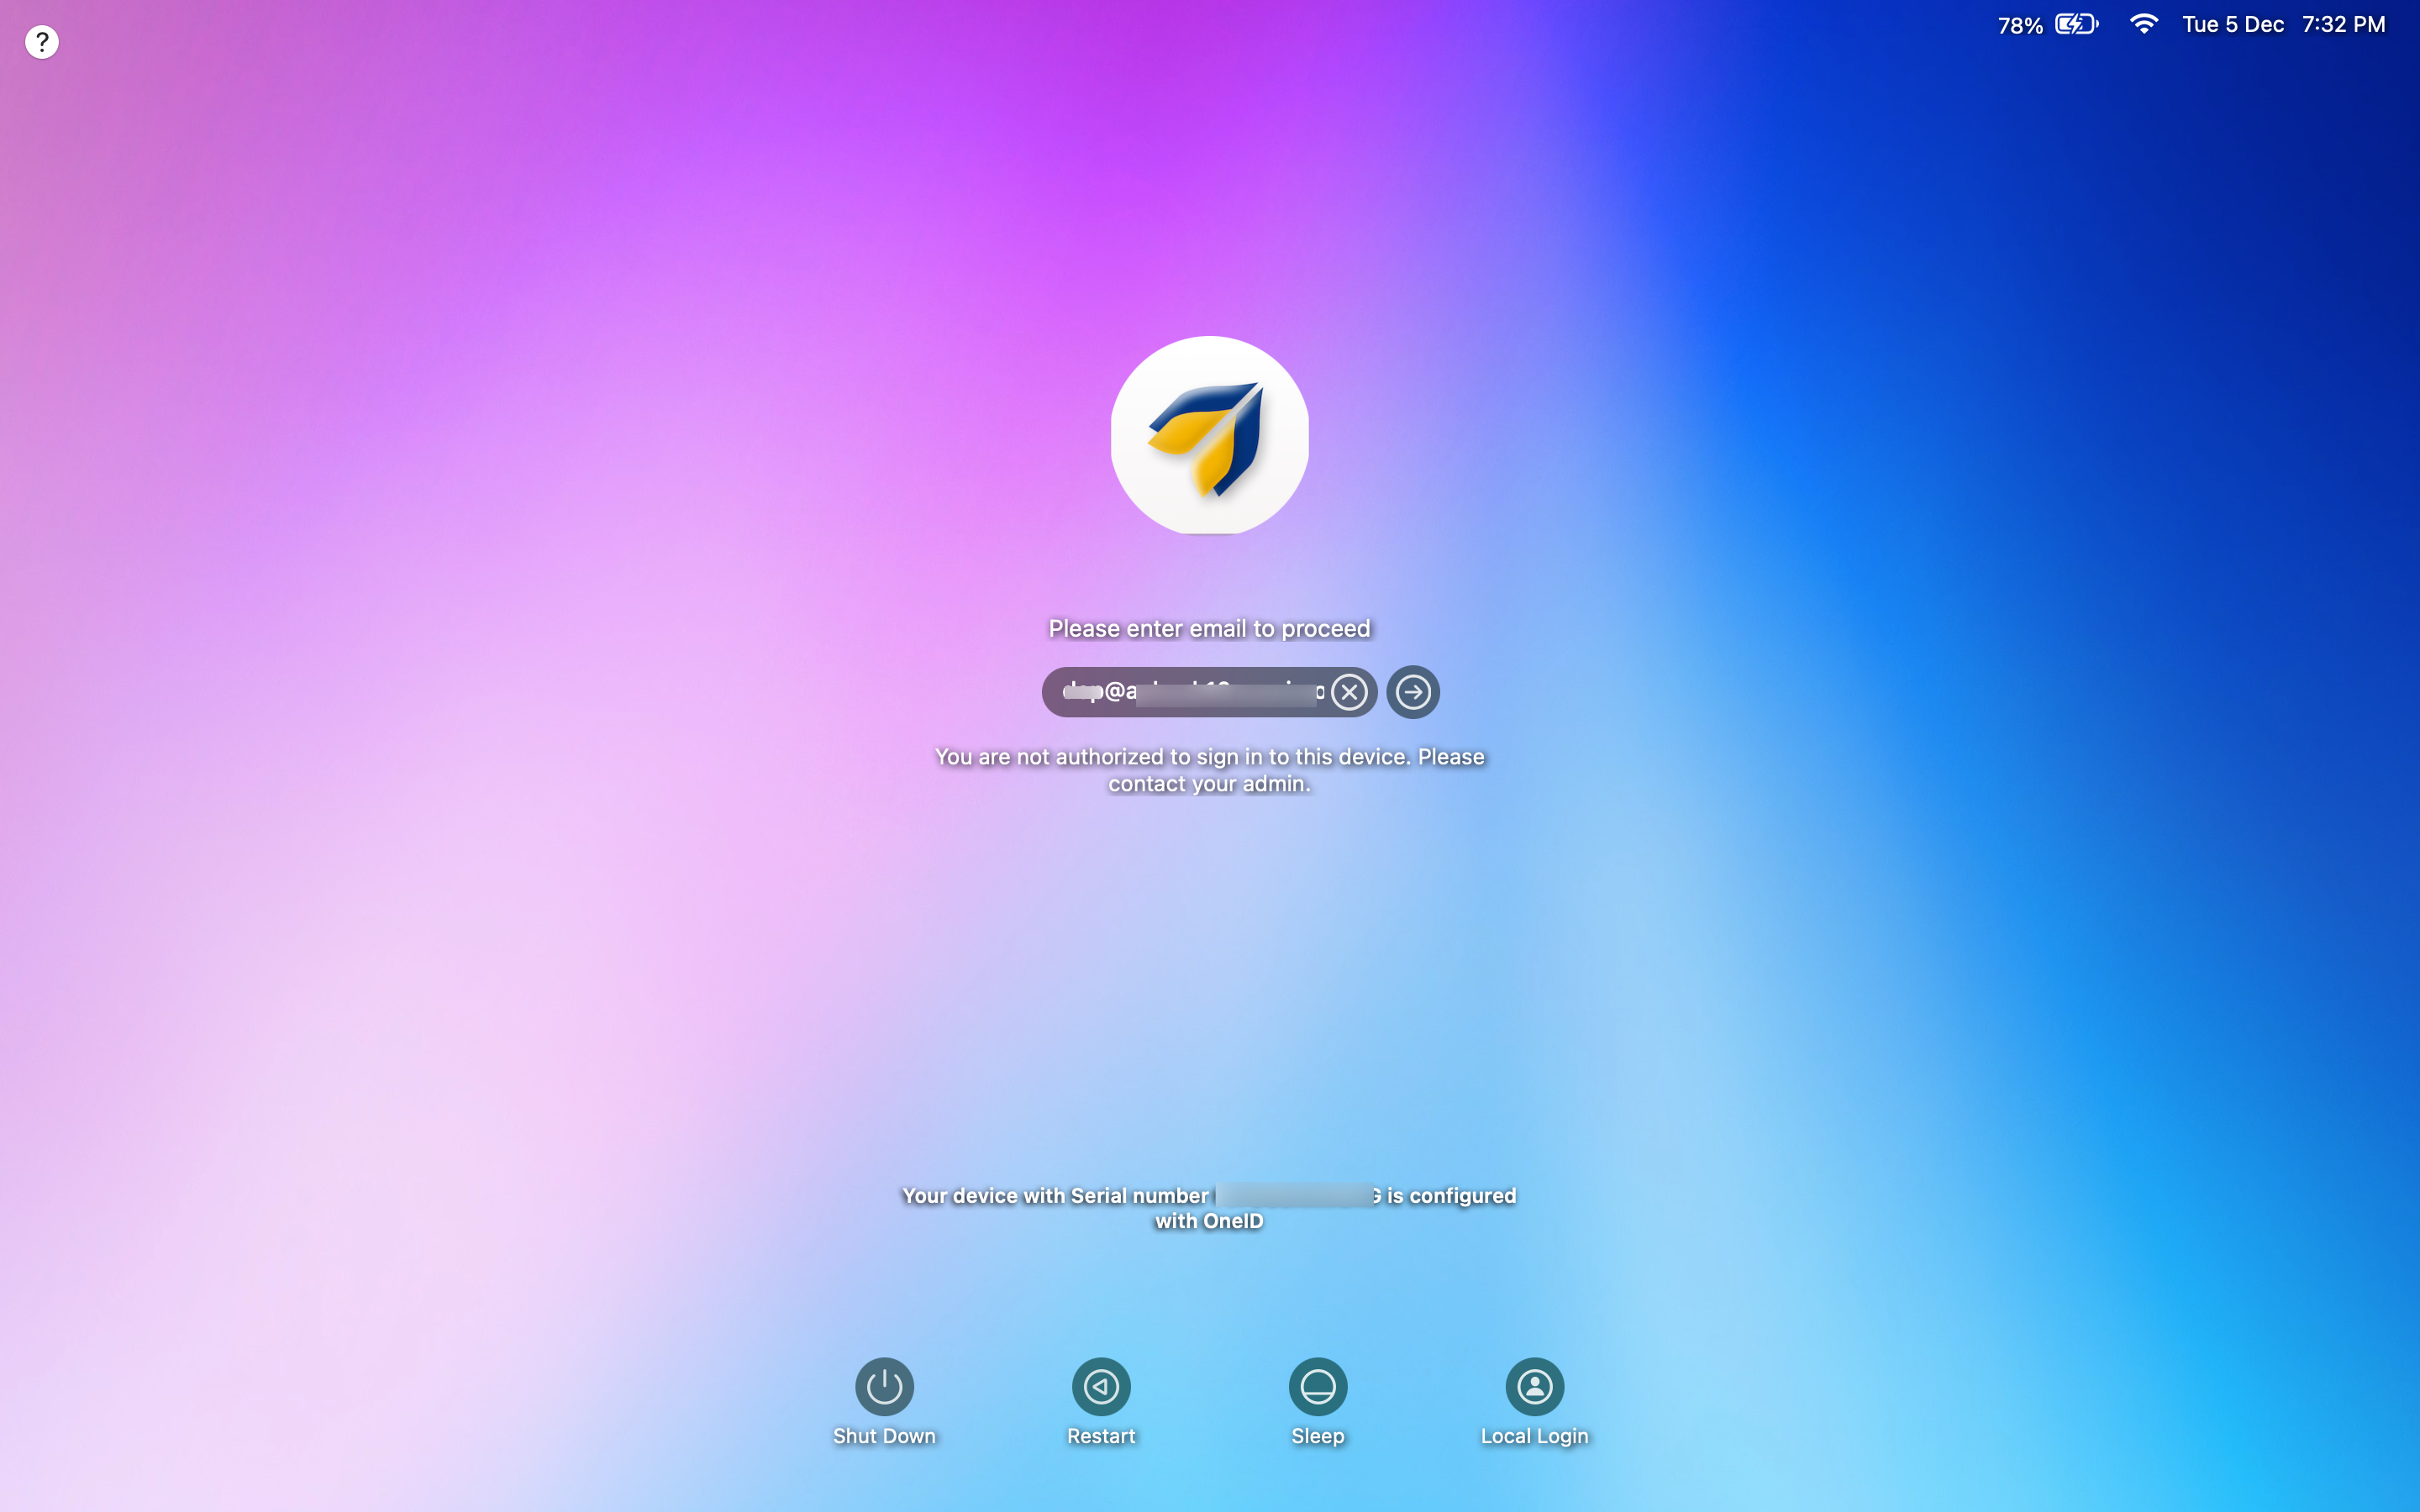
Example 2: If following setting is disabled in Shared device settings
In this case, when a user tries to sign in, following will be the prompt at login screen: