Scalefusion now enables enrollment of company-owned Android devices on the Scalefusion Dashboard with User Authentication, making them more secure to use. Let us learn in this document how user-authenticated enrollment can be done on company-owned Android Devices managed by Scalefusion.
Pre-requisites
- A valid Scalefusion Dashboard account.
- Android Device Profile should be created on the Scalefusion Dashboard.
- Users should be added to the Scalefusion Dashboard under the User Enrollment section.
- Organization Info and Terms of Service should be updated on the Scalefusion Dashboard.
- On Scalefusion Dashboard, Android Enterprise Setup should be completed on the Scalefusion dashboard.
Step 1: Create Enrollment Configuration
The first step is to create an Enrollment Configuration specific to User Based enrollment. To create,
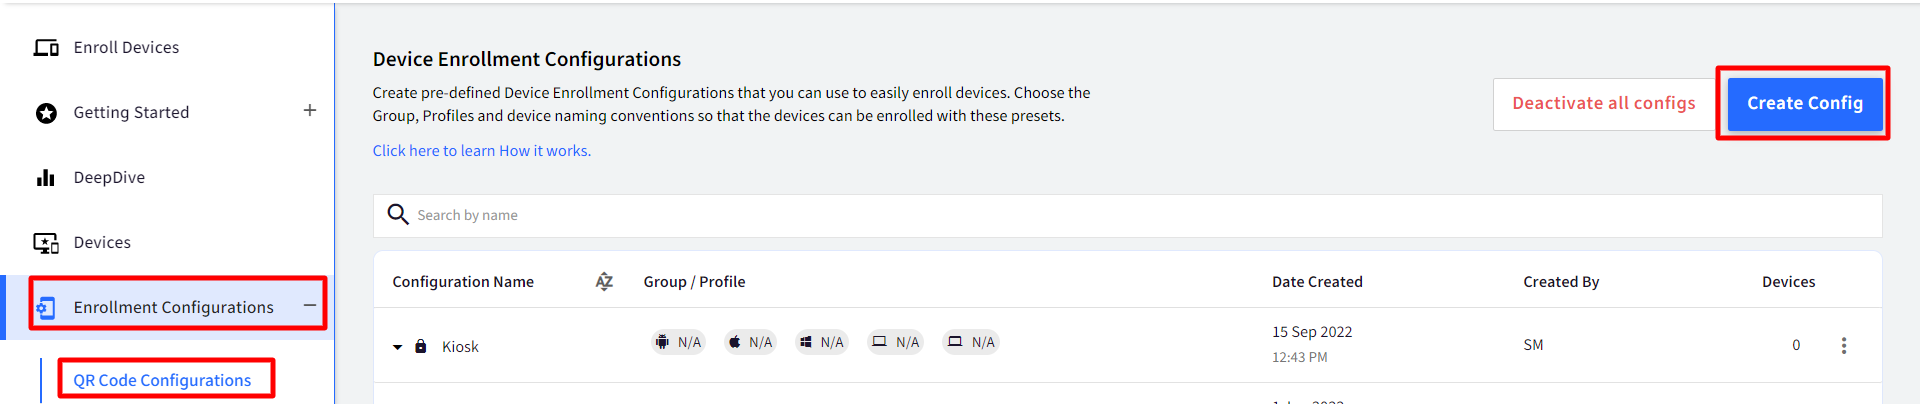
- On the Scalefusion Dashboard, navigate to Enrollment Configurations > QR Code Configurations. Click on Create Config.
- A new dialog box will open. Under Basic, enter the following:
- Name: Give a name with which the configuration will be identified
- Choose Enrollment Type: Select Kiosk/Agent
- Choose Enrollment Method: Select User Authenticated Enrollment. Click OK on the dialog box that opens.
- Device Naming: Select the naming convention for the device. In the Name Convention dialog, notice an additional option to select Username. Username can also be used as a naming convention for the Windows device.
- Use OS name: This is optional. Selecting Use OS Name as a name prefix prefixes the device names with their OS types. For example, a Windows device will be prefixed with Windows- and an Android device will be prefixed with Android-
- Click Next

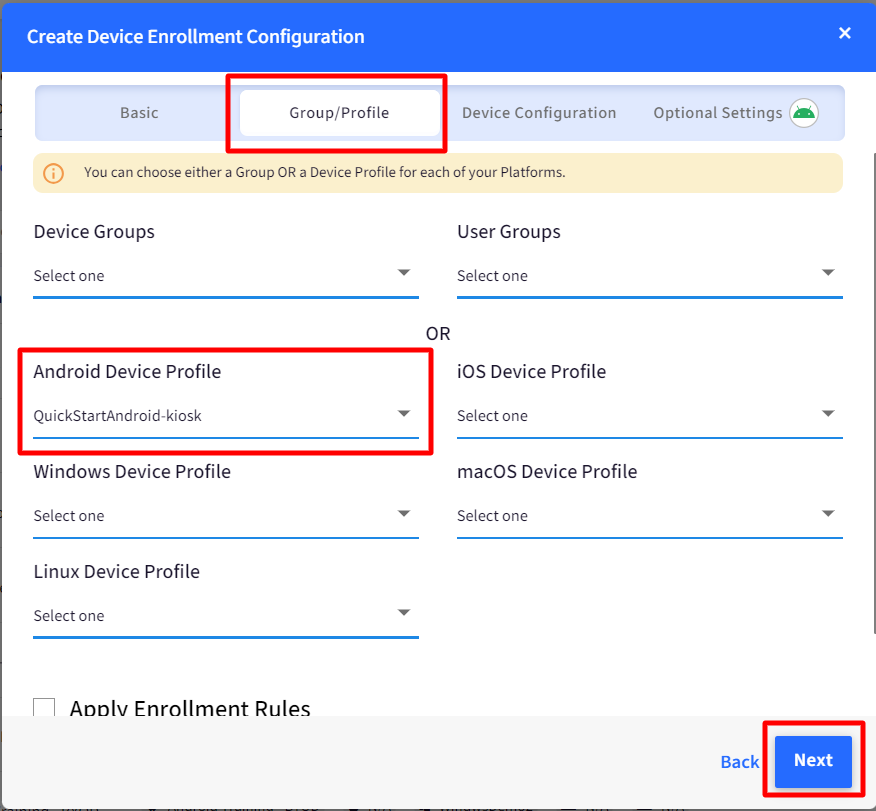
- Group/Profile: Select an Android Device Profile / Device Group that should be applied to the enrolled device and Click Next.
- Device Configuration: The following are the additional settings that can be configured under this:
- Allow Users to Enter a Name for Device: If this is selected, then users are allowed to set the device name from the device when they enroll it.
- Allow Users to Scan a QR or enter a Group Enrollment Code to complete Enrollment: Enabling this will show a screen at the end of enrollment that will allow users to scan a QR Code or enter a Group Enrollment code to move the devices to the respective group before they start using the device. When the devices move to a specific group, the device profile of the group gets applied to the devices.
- Allow Users to Enter Values for Custom Properties: When this flag is selected, users can set values for the custom fields (from the device at the time of enrollment) that are defined through Custom Properties. For each custom field following can also be configured from here:
- Allow: Shows or hides the custom field to the user
- Required: Select if the field is optional or required.
.png)
- Optional Settings: This is an optional section and can be left blank.
Device Licence: Set a default license for the devices enrolled using this configuration. If the selected licenses have no free slots or this option is left blank, then the next available license is used to enroll the device.
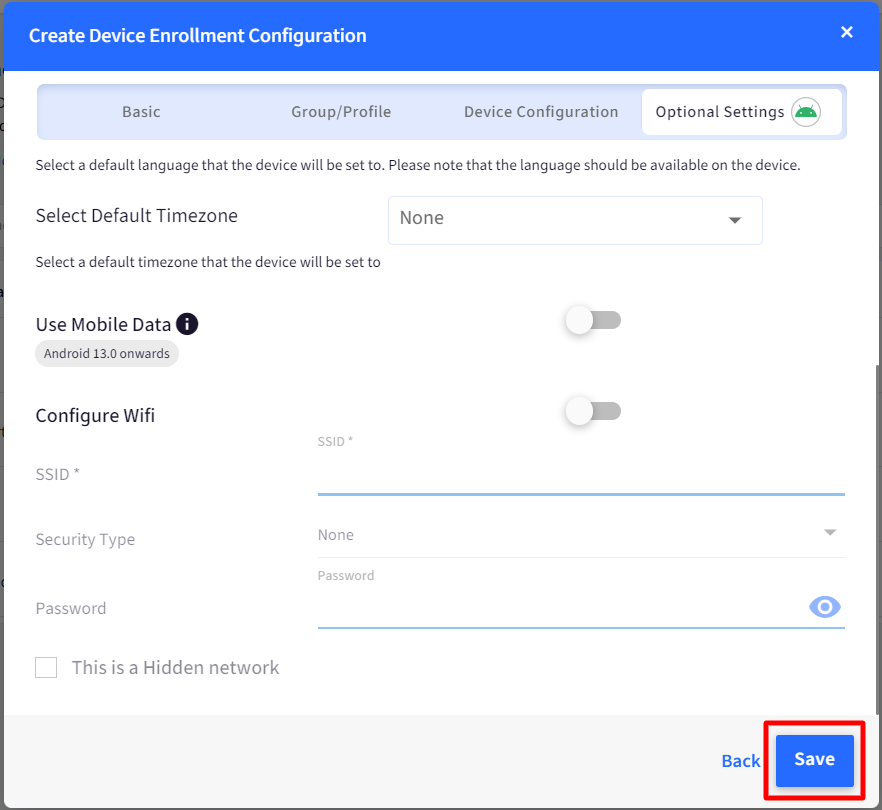
Configure Additional Enrollment Settings: The following settings can be configured additionally to speed up the enrollment process when you are enrolling via 6-times tap or ZeroTouch and scan a QR.Setting Description Enable System Apps This will allow admins to disable system apps during enrollment. This helps in removing the bloatware that consumes data or CPU/RAM in the background when the device is locked in Kiosk mode. By default, it is set to ON Select Default Language This helps Admins set a default language for the device. Select a language from the drop-down, and it will be set on the device. The selected language should be available on the device. Select Default Timezone
Allows admins to select a default timezone that the device will be set to once enrolled. - Configure Wifi: Configure Wifi settings which will get applied to the device when it gets enrolled with this configuration.
.png)
- Next, click Save.
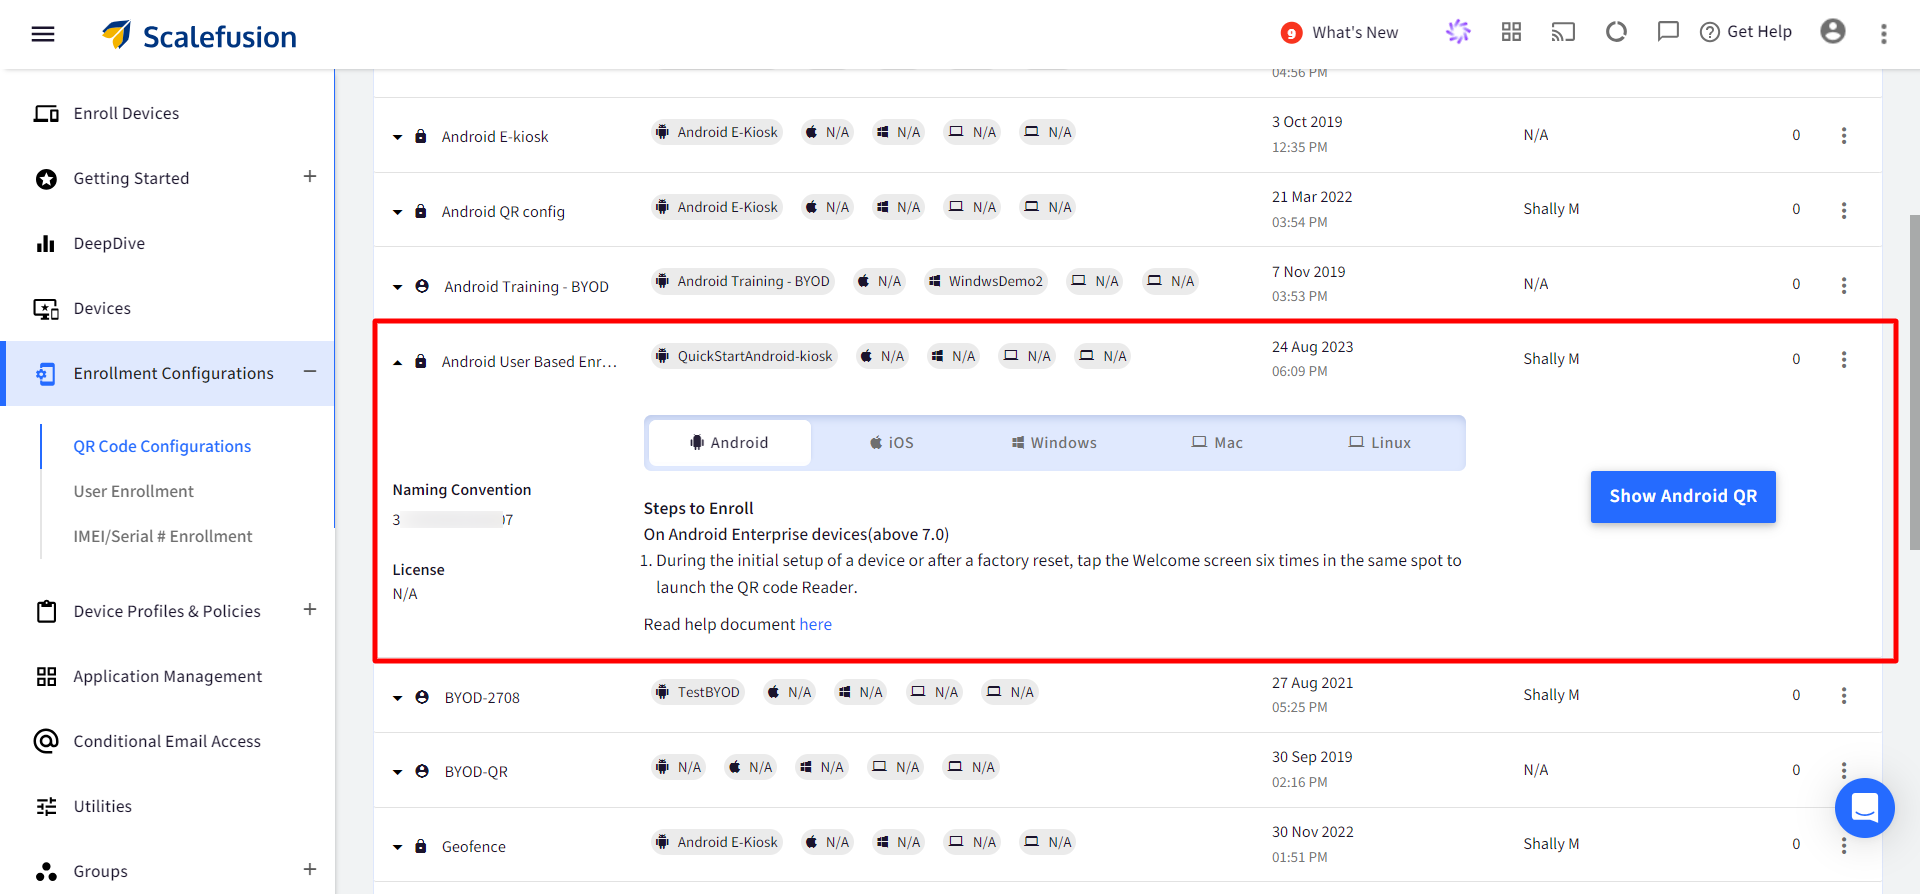
- The enrollment Configuration gets created and is listed in the QR Code Configurations list on the Dashboard.
Step 2: Enroll Android Device
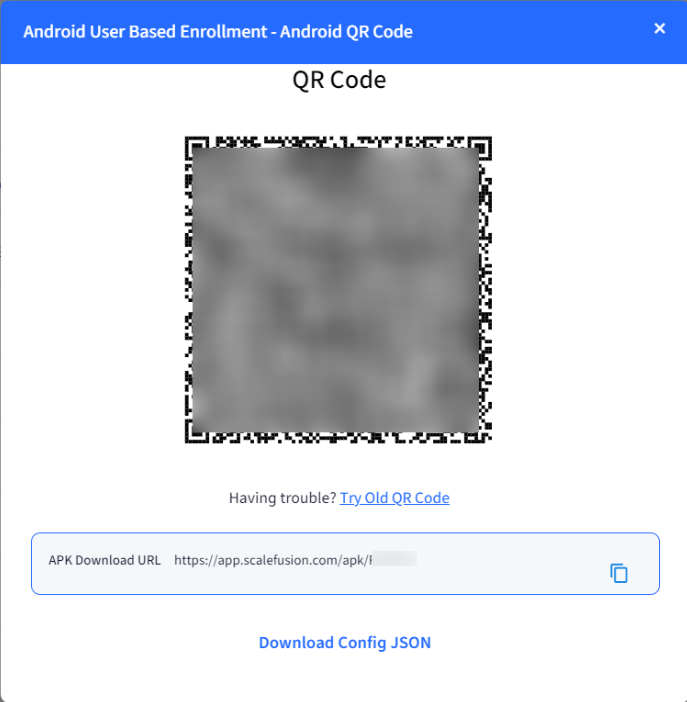
- On the Scalefusion Dashboard, click on Show Android QR from the QR code configuration (created in Step #1 above). This will open the QR code image.
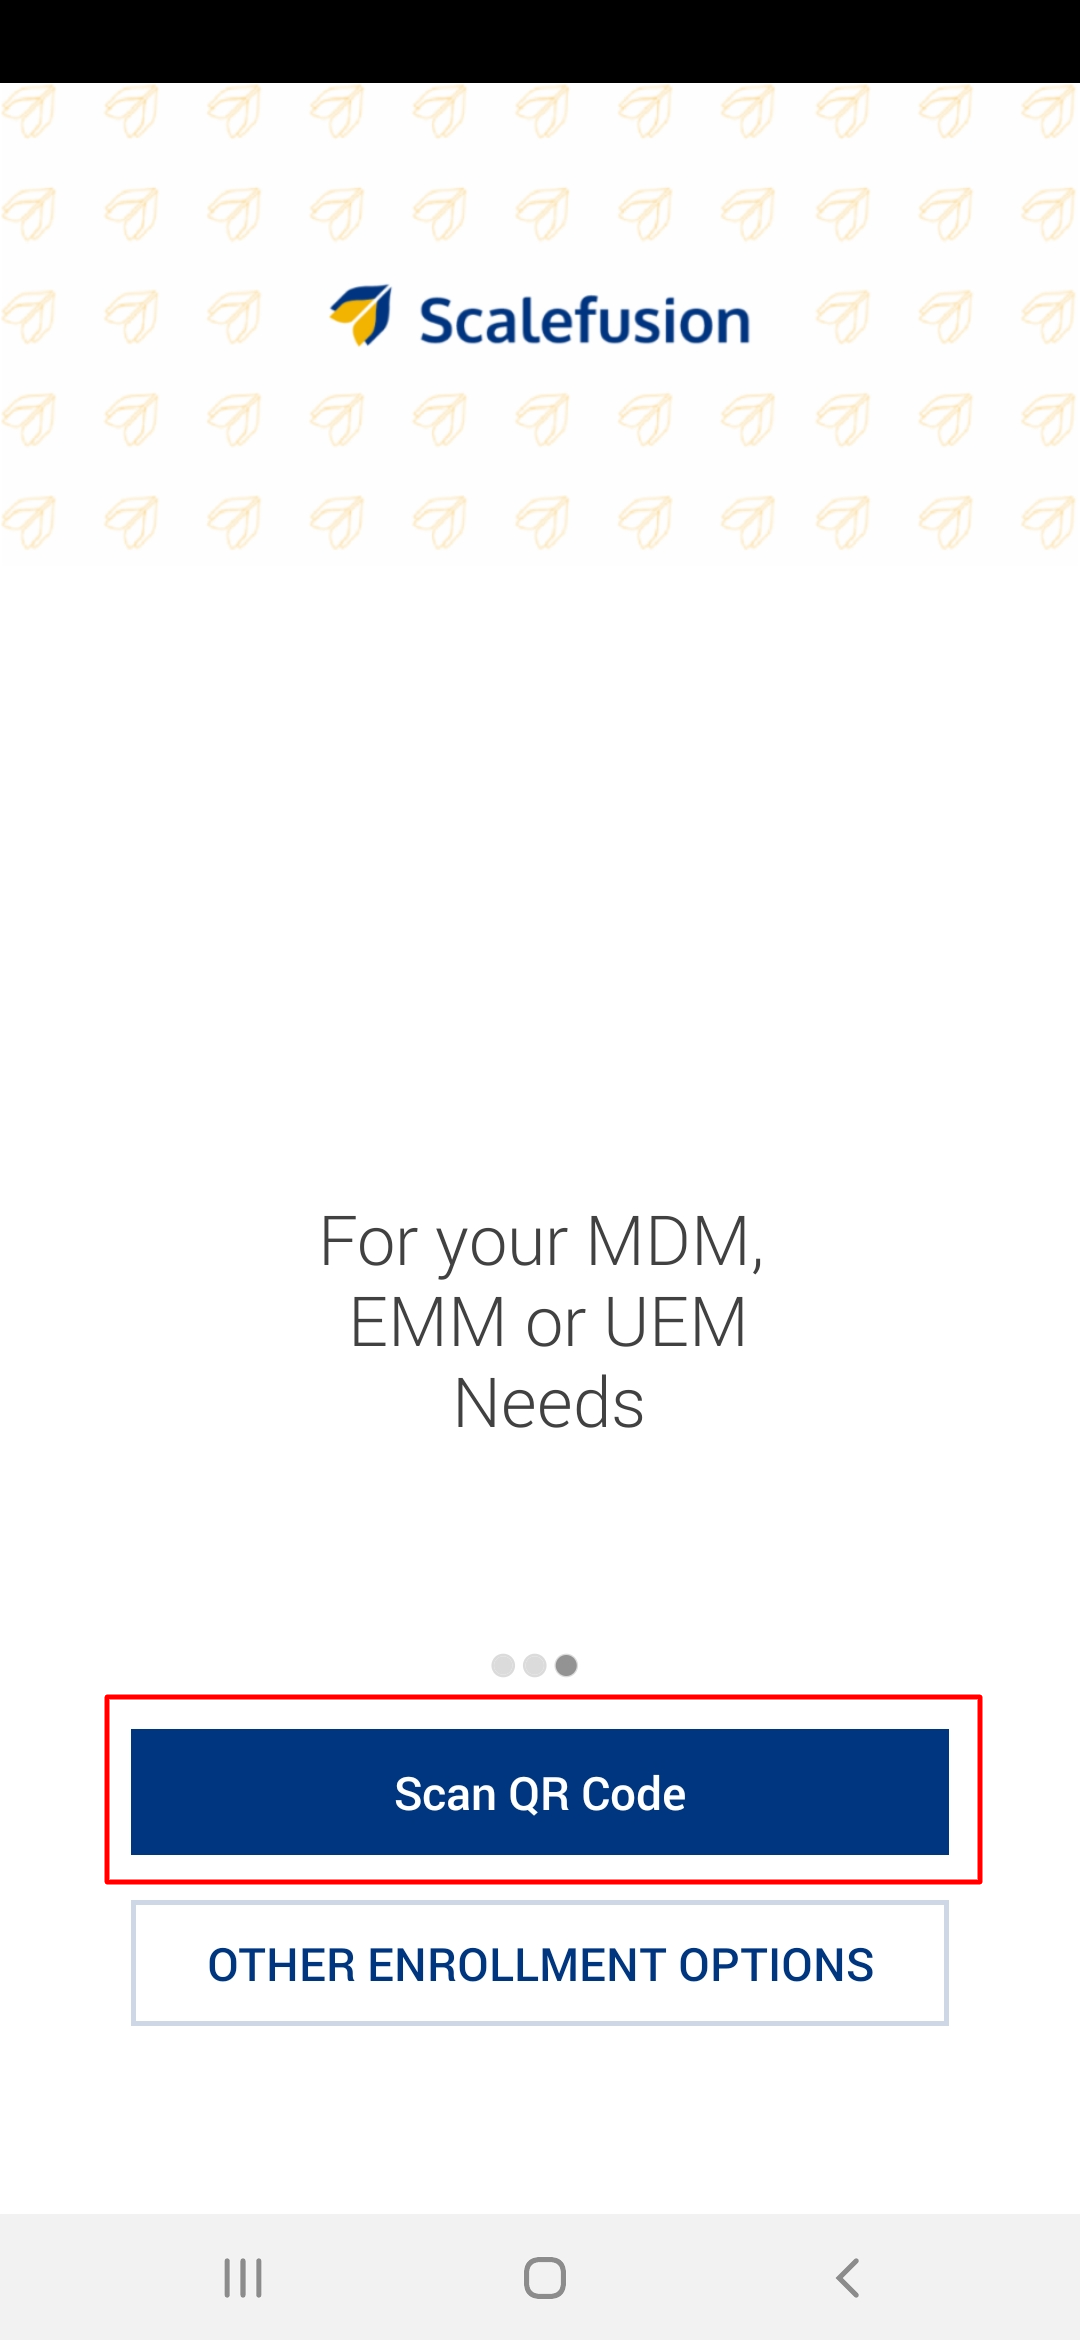
- Launch the Scalefusion app on the device.
- Click on Scan QR Code
- You would be shown a Camera View. Point this Camera to the QR Code on your screen so that the entire QR Code fits in the frame and can be scanned.
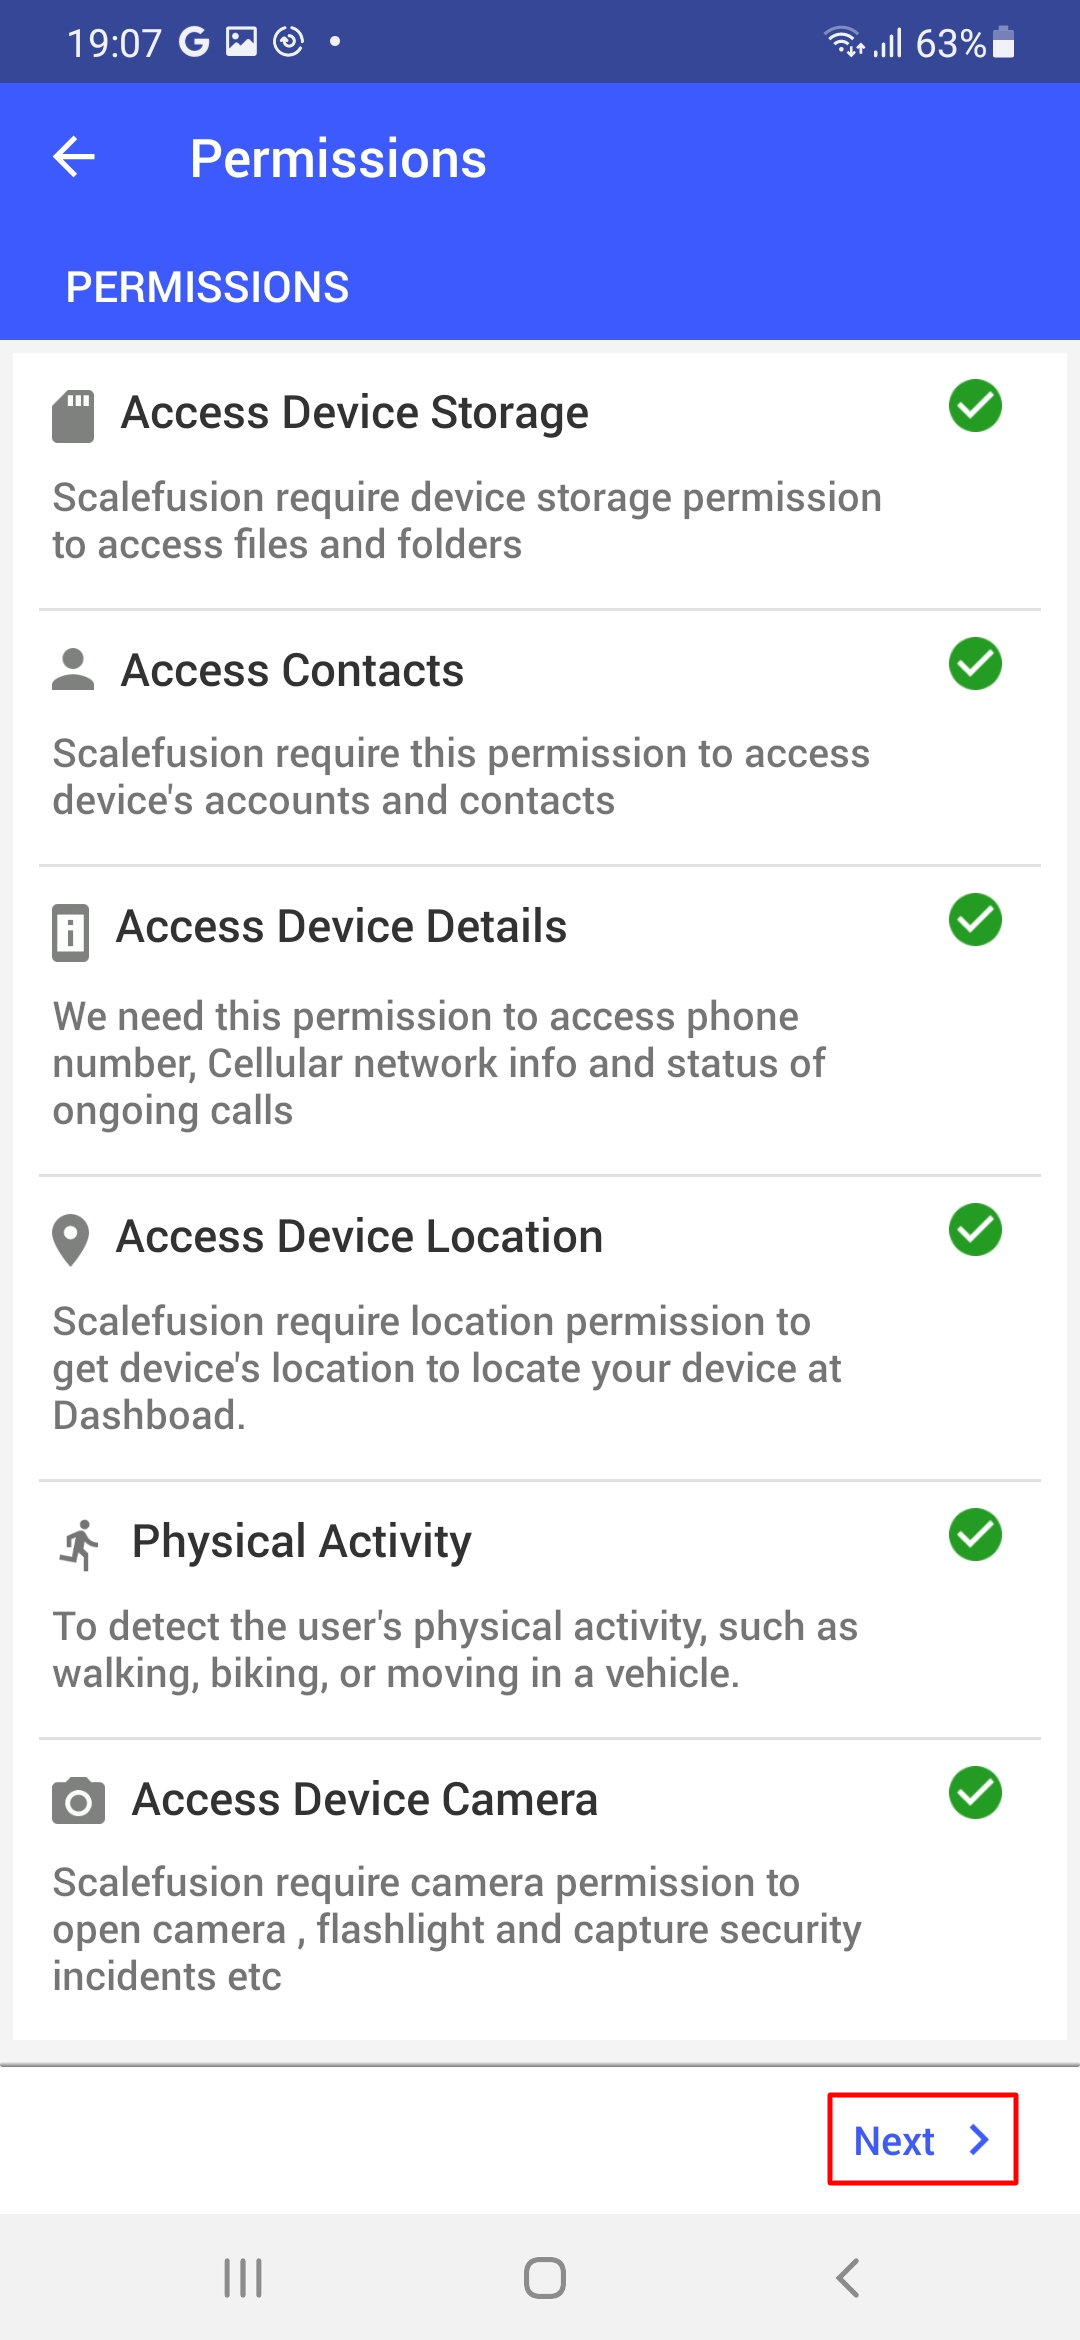
- If the QR Code is valid and your account has valid licenses, then the device will log in and show you the permissions screen. Provide the required permissions.
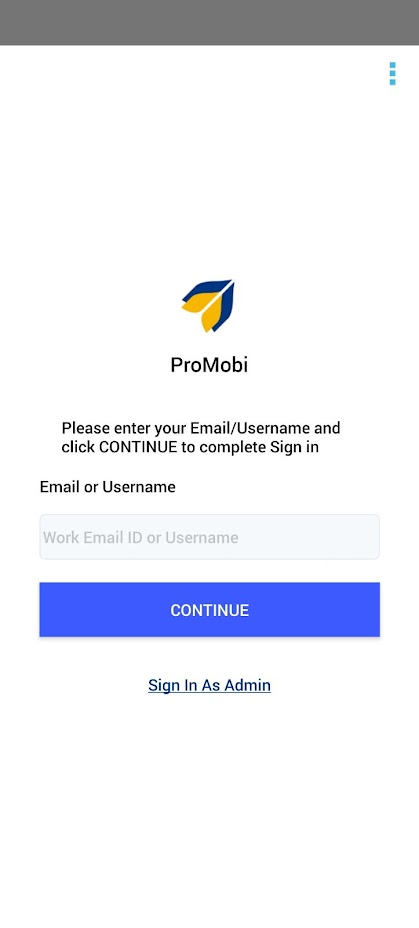
- You will get the user authentication screen after permissions. Enter the user's email ID or username (ID added at the time of adding the user) and tap Continue.
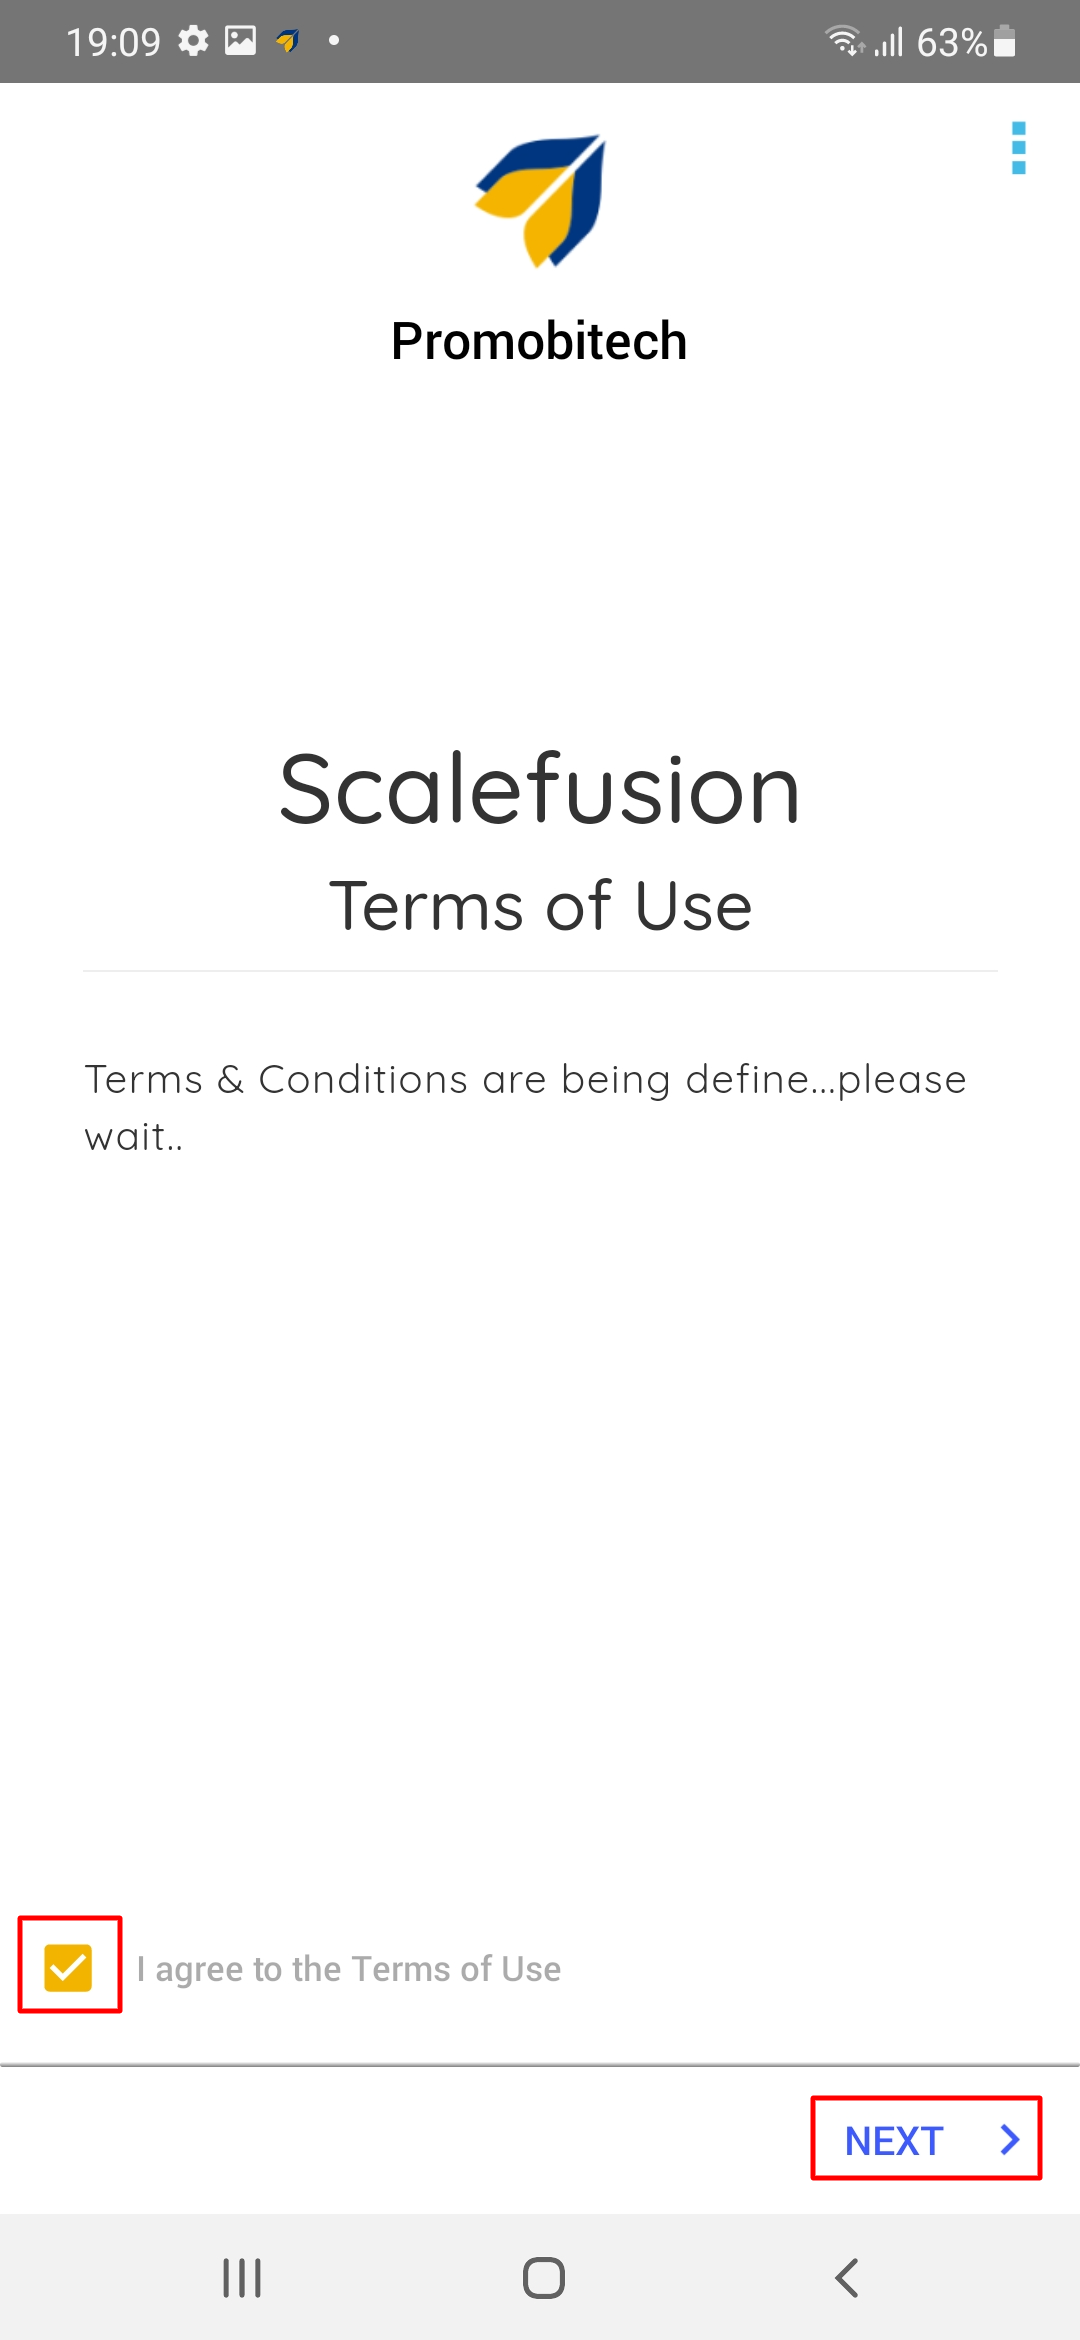
- The Terms of Service screen will be displayed on the next screen. Read and accept the terms by checking the check box and clicking Next.
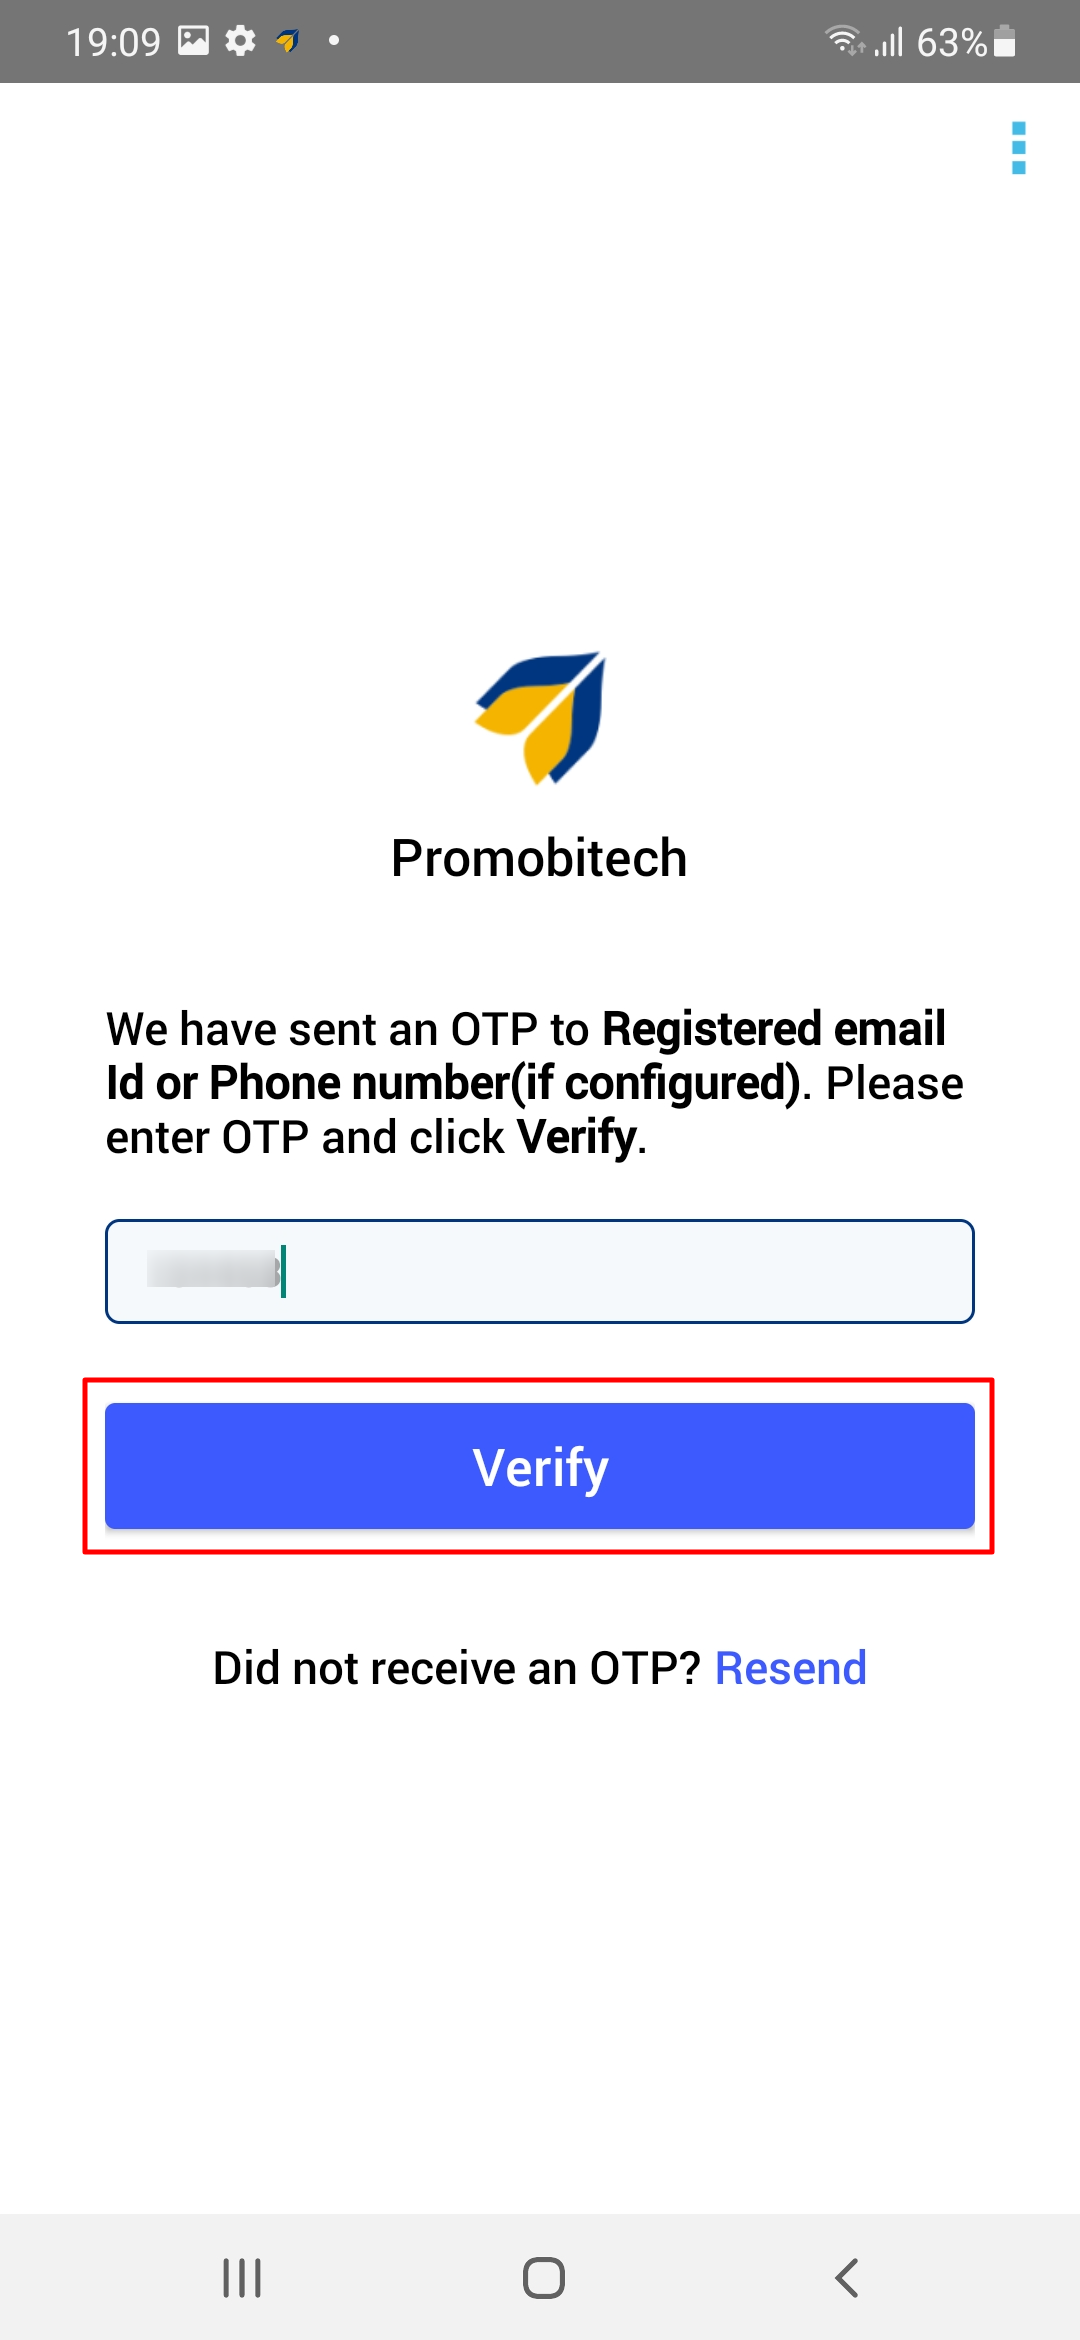
- You will receive OTP on the registered email ID. Enter the OTP on the device and click on Verify.
- Sign in as Admin: If you enter the user's email ID and Sign in As admin, it will ask for an exit password. Once you enter the password, it will lock you into Scalefusion.
This option can be used by admins if they are setting up the devices for end users. With this, admins will be directly led to the Scalefusion home screen without authentication and check if policies and published apps are present and working fine or not and then hand over the devices to end users.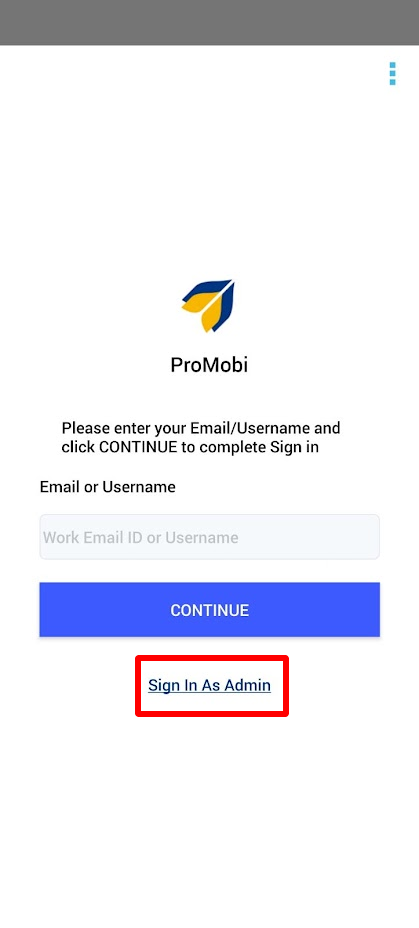
- Sign in as Admin: If you enter the user's email ID and Sign in As admin, it will ask for an exit password. Once you enter the password, it will lock you into Scalefusion.
- On successful verification, the device will get enrolled into Scalefusion and apply the respective policies.
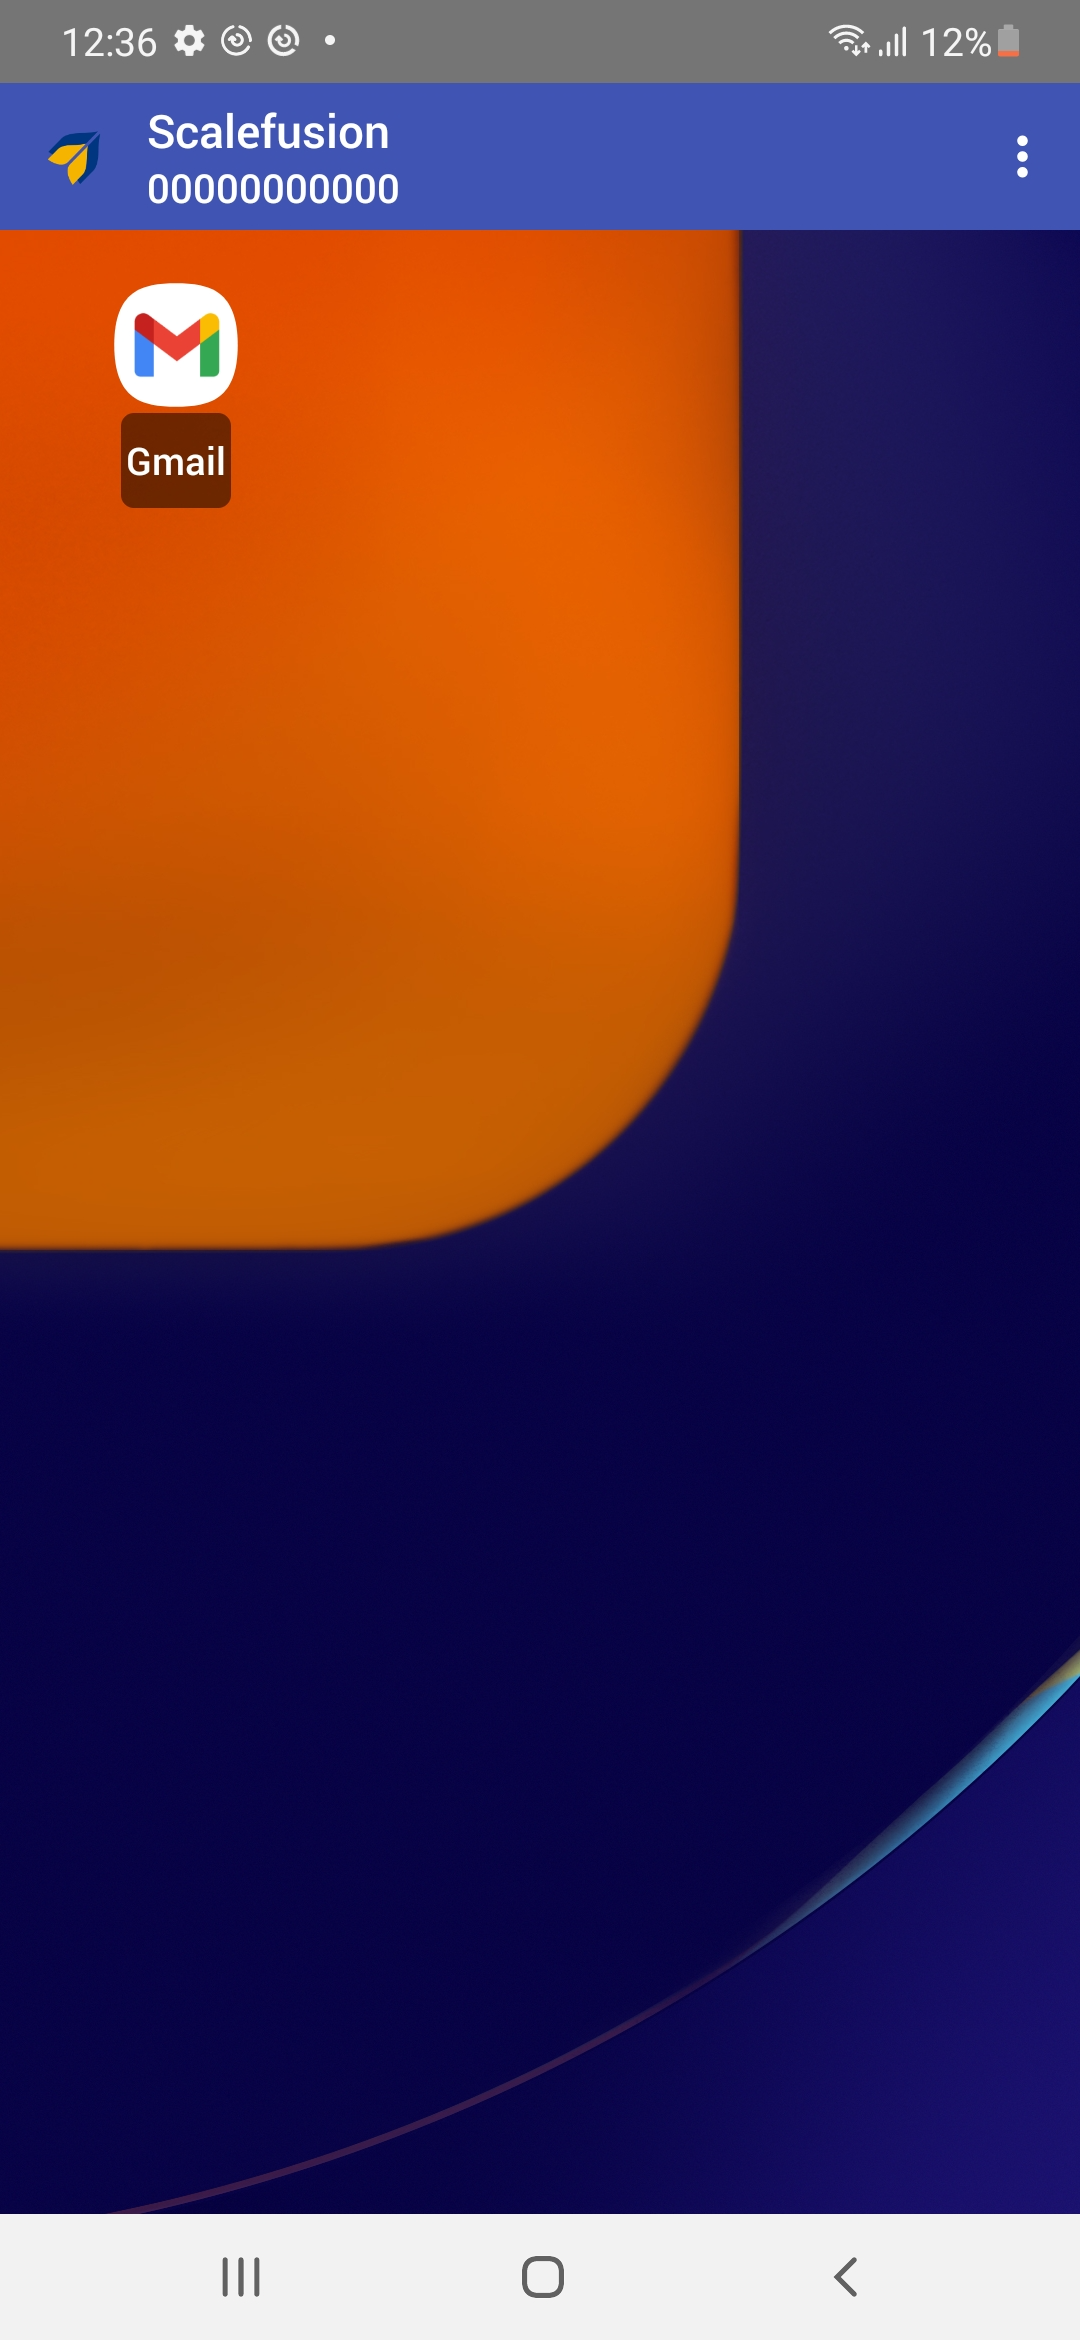
Validating the Enrollment
Once the device is successfully enrolled, it will start appearing on the ScaleFusion Dashboard under the Devices section as a Managed device.