Organization Information helps you provide important information to Scalefusion. The information provided is not only useful when your end users try to register/enroll their devices but also provides Scalefusion with additional information about your company which is useful in reaching out to you.
Manage Organization Information
Sign In to Scalefusion Dashboard and navigate to Getting Started > Organization Info. You will see a page as shown below.
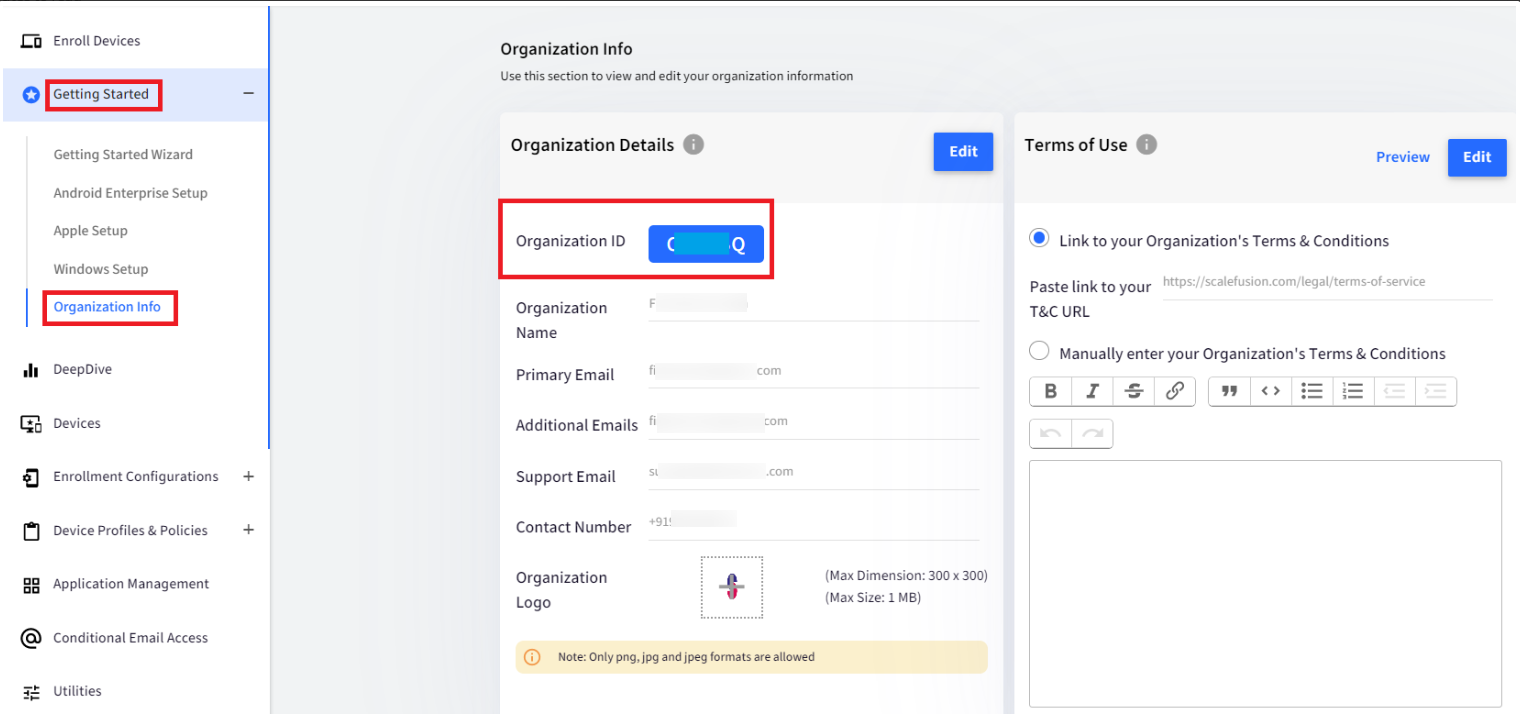
Organization ID is a unique number generated by Scalefusion for your account at a company/organization level. One of the places where it is used is during personal device enrollment, where the end-users can enter this ID along with their email to enroll the devices. This helps in case they want to register a device where a QR Code cannot be scanned.
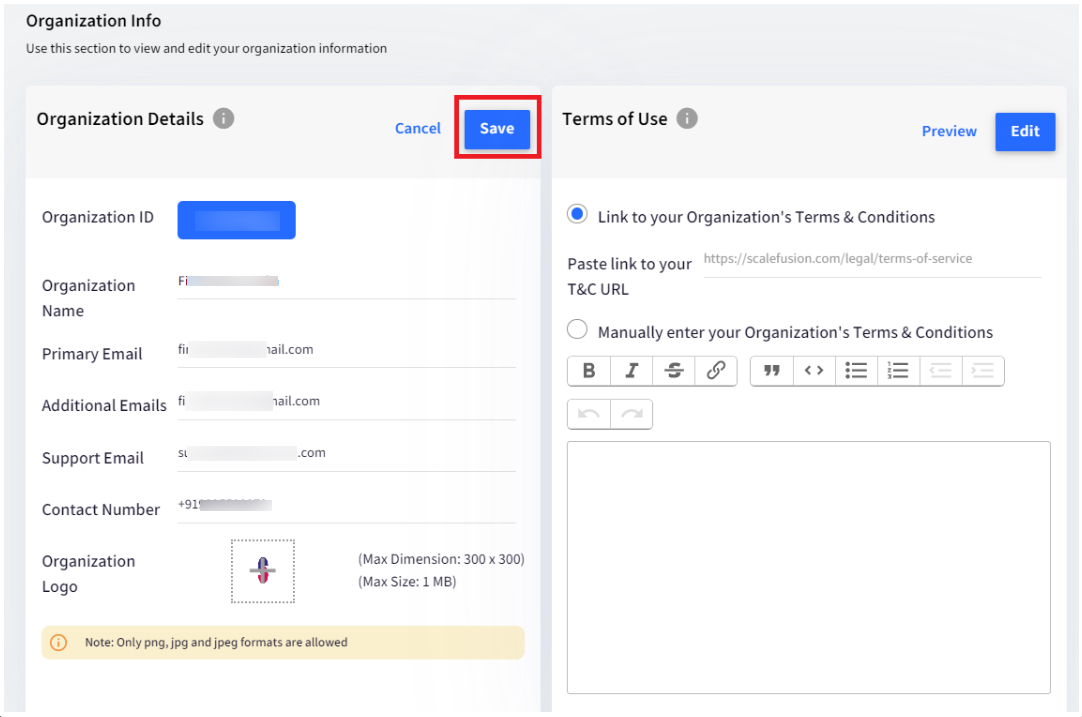
The first step is to fill in the Organization Details. To do so, click on the Edit button on the Organization Details card, add the information and SAVE when done.
Organization Name: Registered name of your company.
Primary Email: This is pre-filled with the primary account or the owner account that was used to first sign up with Scalefusion.
Additional Emails: If you want to add emails of additional people in your organization, provide them here. This is optional and currently unused, but we plan to use it in the future for sending all the release emails and other Scalefusion activities.
Support Email: Add a support email. This will be used when you send Invites to your organization users to enroll their personal devices.
Contact Number: Please provide a contact number for your account that can be used to reach out to you. The number needs to start with +.
Organization Logo: Provide a logo for your organization. This will be shown to the users when they are enrolling their personal devices.
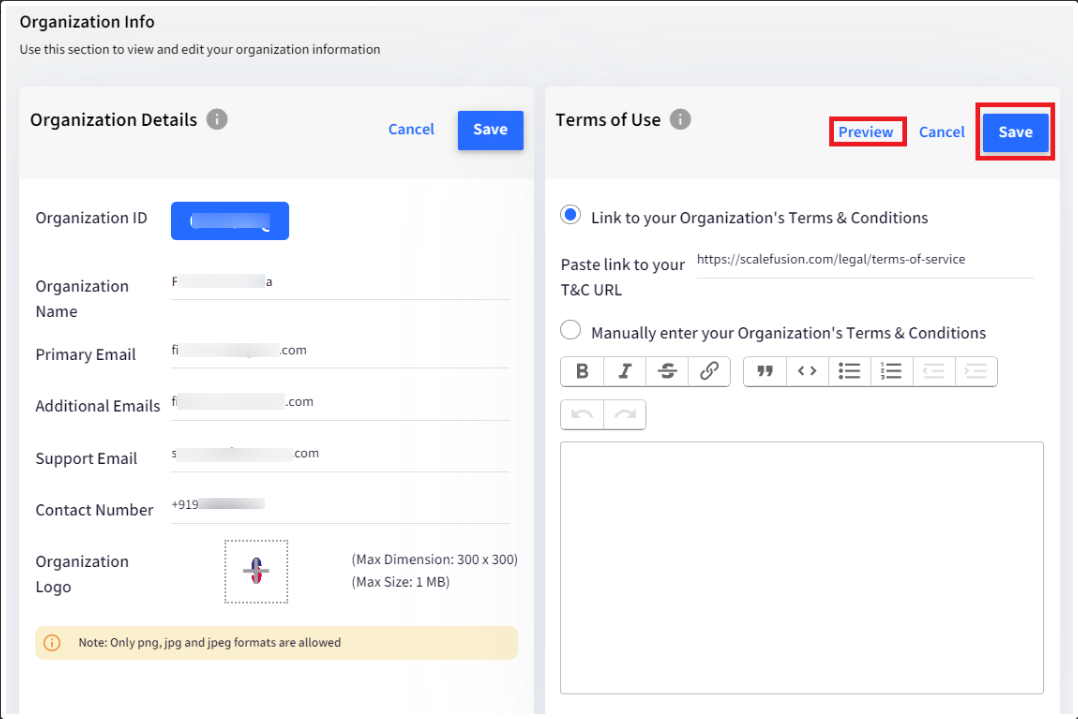
The next step is to fill in the Terms of Use for your organization. This is an important step when you are allowing personal devices to enroll, as it lets your employees know, read and accept the Terms of Use upfront. Scalefusion allows you to follow two ways to update the Terms of Use.
Link to your Organization's Terms & Conditions: If you already have an online page, then you can copy/paste the link. The same will be passed to the users during registrations.
Manually Enter your Terms & Conditions: You can create customized Terms & Conditions for BYOD deployment. We accept up to 10,000 characters for now. This content will be passed on to the users during registration.
Once you have provided the Terms of Use, you can PREVIEW it, and if all looks good, then click on SAVE.
By default, only the accounts of type Owner and Co-Account Manager can edit the organization information. However, using the Admins and Roles option, you can provide this capability to other administrators.
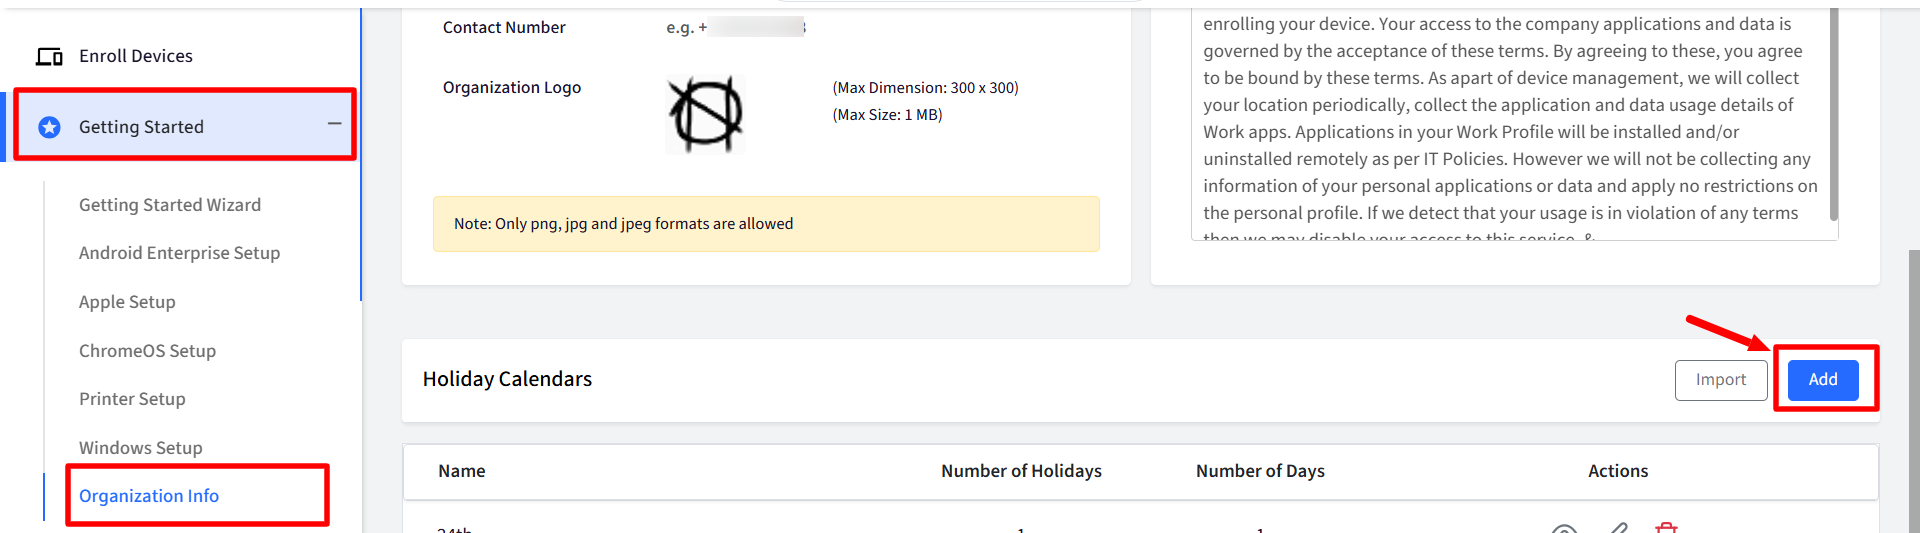
Holiday Calendars
Holiday Calendars help administrators define organization-wide holidays and non-working days. You can create calendars manually or import existing calendars using an ICS file. Once configured, holiday calendars can be used across your organization for scheduling and policy management.
Pre-requisites
You should be subscribed to Growth 2025 or higher plan
Alternatively, Holiday Calendar feature should be enabled for your account
Access Holiday Calendars
On Scalefusion Dashboard, navigate to Getting Started > Organization Info > Holiday Calendars.
There are two ways you can add calendar:
Add a new holiday calendar manually
Import a calendar using an ICS file
In addition you can,
View existing calendars
Edit or delete calendars
Add a Holiday Calendar Manually
Use this option to manually create a holiday calendar and define holidays.
Go to Getting Started > Organization Info > Holiday Calendars.
Click Add.
Enter a calendar name.

Click on Add Holiday to add holiday entries as needed. For each holiday, configure the following:
Name: Enter the holiday name.
Start Date: Select the holiday start date.
End Date: Select the holiday end date.
Days: Displays the total number of holiday days automatically.
Click + Add Holiday to add additional holidays.
A maximum of 100 holidays can be added to a single calendar.
To remove a holiday entry, click Delete next to the holiday row.
After adding all holidays, click Create

Import a Holiday Calendar
You can import holidays from an existing ICS calendar file.
Go to Organization Info > Holiday Calendars.
Click Import.

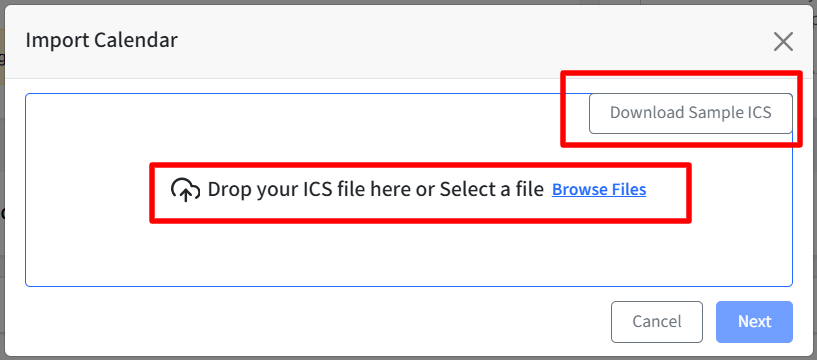
In the Import Calendar dialog:
Drag and drop an ICS file, or
Click Browse Files to select a file manually.
Only .ics files are supported.
Alternatively, click Download Sample ICS to download a sample calendar file.
Once the file is uploaded, click Next. The imported holidays are loaded into the calendar creation screen, where you can review and update details before saving the calendar.
Click Create to save the imported holiday calendar.
View Holiday Calendars
All configured holiday calendars are displayed in a table view sorted by calendar name. The following information is shown:
Name: Calendar name
Number of Holidays: Total holiday entries
Number of Days: Total holiday days configured

Actions on Calendars
View: Opens the calendar in read-only mode.
Edit: Allows administrators to update the calendar and holiday details.
Delete: Deletes the selected holiday calendar.
If the holiday calendar is associated with a Lock–Unlock workflow, you must first remove the association before deleting the calendar.
