For an efficient field force, it is very important to be able to communicate on demand. Emails can be helpful when there is good enough time to respond; however, for some business-critical decisions, it is important to be able to get instant decisions or feedback.
EVA Communication Suite earlier allowed an enrolled device to chat with their Admins and vice-versa, but now EVA Communication Suite provides two-way device-to-device chat.
Two-way chat is a powerful feature that allows an end user to chat with another end user using the EVA messenger. Currently, this feature is limited to the users/devices belonging to the same device group.
Before you begin
✅ You must have the EVA Communication Suite enabled on your Scalefusion account.
✅ The Call functionality is supported by the Eva Android app v3.0.0.2080 (42) & Eva iOS app v2.3.2
✅ All the devices must be updated to Scalefusion v4.0.1 or above versions.
Enabling Two-way chat
From Dashboard
By default, two-way chat is turned off. Follow the steps below to enable the two-way chat feature from the dashboard:
- From your dashboard, go to EVA Communication Suite ➞ Settings.
- Scroll down to the Device to Device chat option and click on the slider to enable the feature.
- Click on Save Settings.
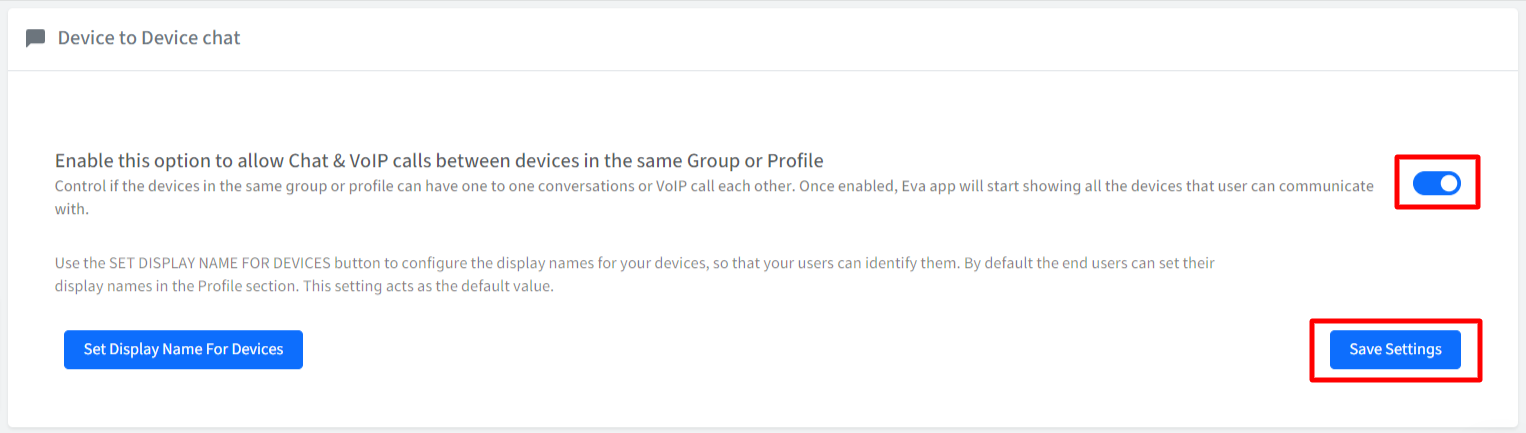
The Two-way chat and call option is now enabled from the dashboard. Once this setting is enabled, on all the devices where the latest Eva client is enabled, the users can see the other devices that are in the device group. They can chat or make a VoIP call with them. In the section below, we walk you through the experience of Eva Android client.
Steps to Chat using Eva Client
Once Eva client is installed and set on an enrolled device, follow the steps below to start a chat with another device in the group:
- Open the EVA app on the Android device.
- Tap on the Start button under the Chats tab.
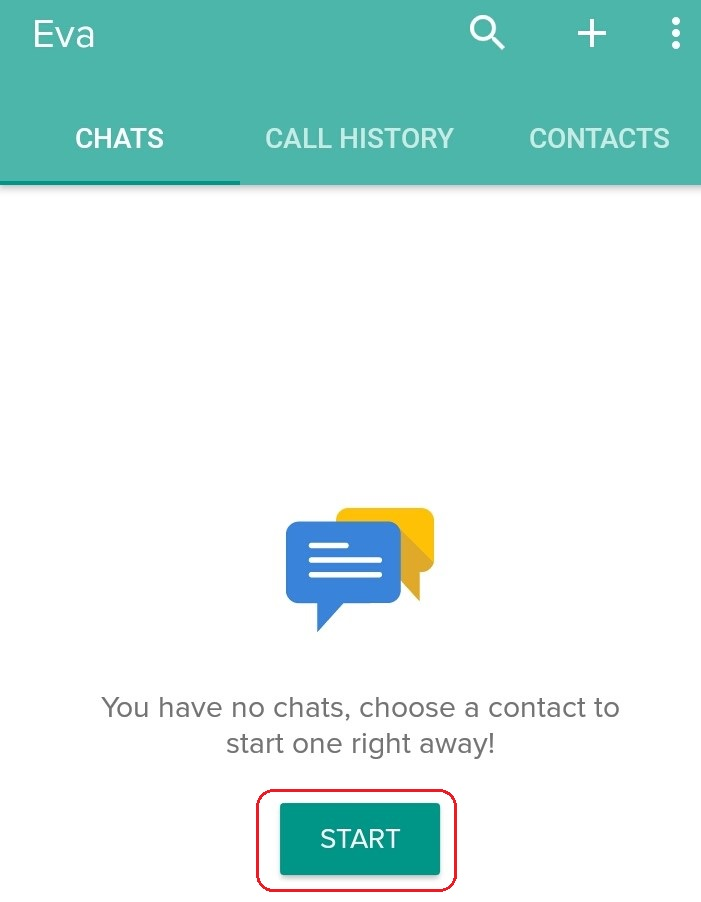 You can also click on the + sign at the upper right corner of the main screen of the app and select the contact from the list.
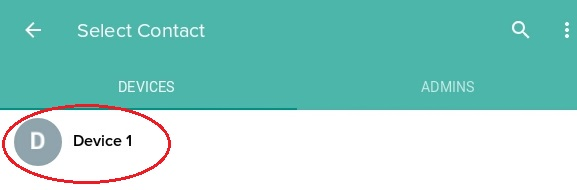
 - Tap on the contact you want to chat with.

- A chat screen will appear that will allow you to chat with the selected contact.
Making device-to-device call
The EVA suite also allows you to make calls from your device to another device. You can either make a SIM-based call or a VoIP call through Android and iOS devices.
Follow these steps to make a device-to-device call:
- Open the EVA app on your device.
- Tap on the Start button under the Chats tab.

- Tap on the contact you want to make the call to.
- From the chat screen, tap on the 📞 icon in the upper right corner.

Changing the Display name of a device
By default, every device enrolled in Scalefusion gets a default device name. These device names may not be intuitive to identify the user to initiate chat. To solve this problem, Scalefusion allows the admin or the end user to change the display name of the device. A device display name can be changed from the dashboard by the admin or from the settings of a device by the user of that device. The sections below describe on how to do that from the Dashboard and on the Device.
From Dashboard
Follow these steps to change the display name from the dashboard:
- From your dashboard, go to EVA Communication Suite ➞ Settings.
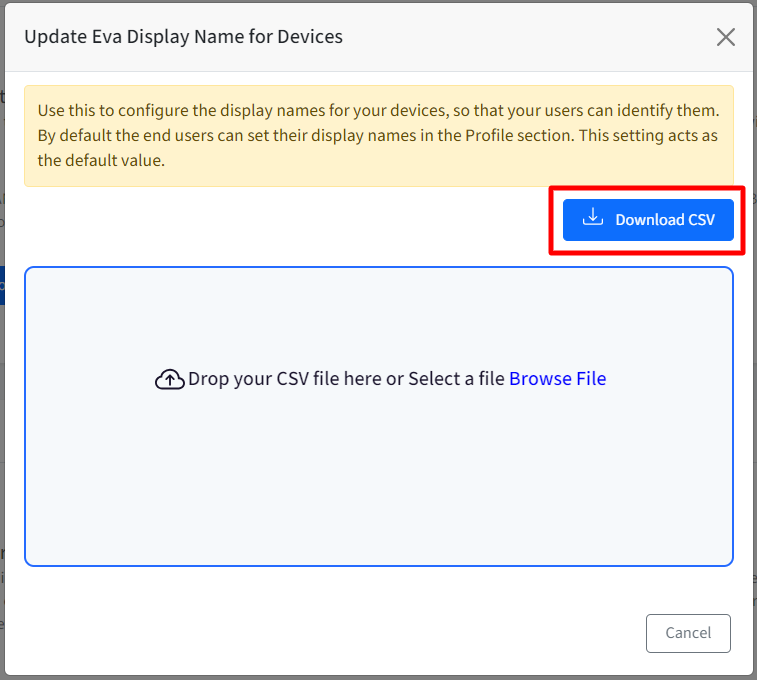
- Scroll down to the Device to Device chat option and click on the Set Display Name for Devices button.

- A popup screen will appear. Click on the Download CSV button. The CSV file contains details of your end-user devices.
- Open the CSV file and add or update the device name for your device under the eva_display_name field.
 Do Not edit the device_id and/or IMEI_No fields.
 - Save the file.
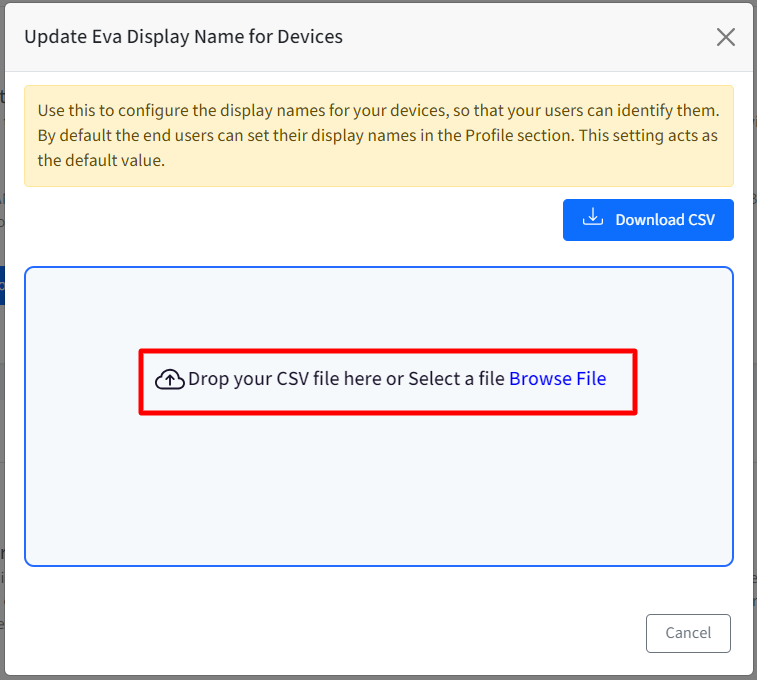
- Drag and Drop the CSV file or click on Browse file to select the CSV and upload it.
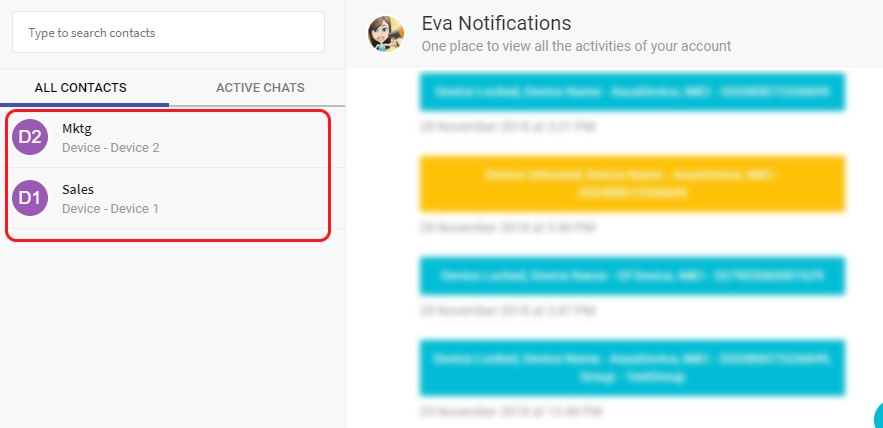
- Once the CSV file is uploaded, you can see the updated device display name from the EVA notification screen on the upper right corner of the dashboard.
Update Display name from Device.
Follow these steps to change the display name from the enrolled device,
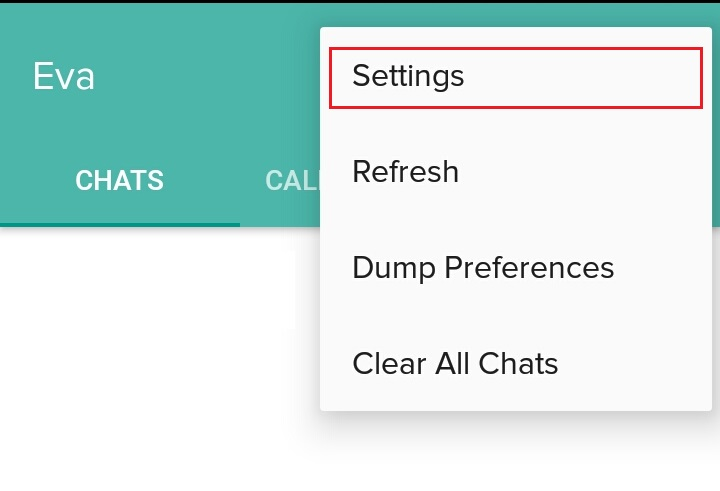
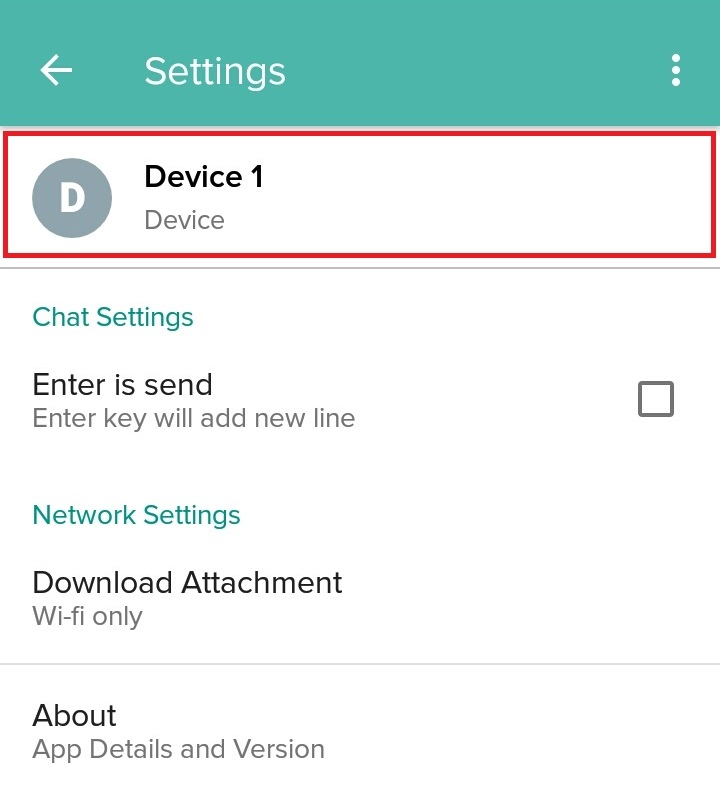
- From the main screen, tap on the three dots in the upper right corner.
- Tap on Settings.
- Tap on the device name,
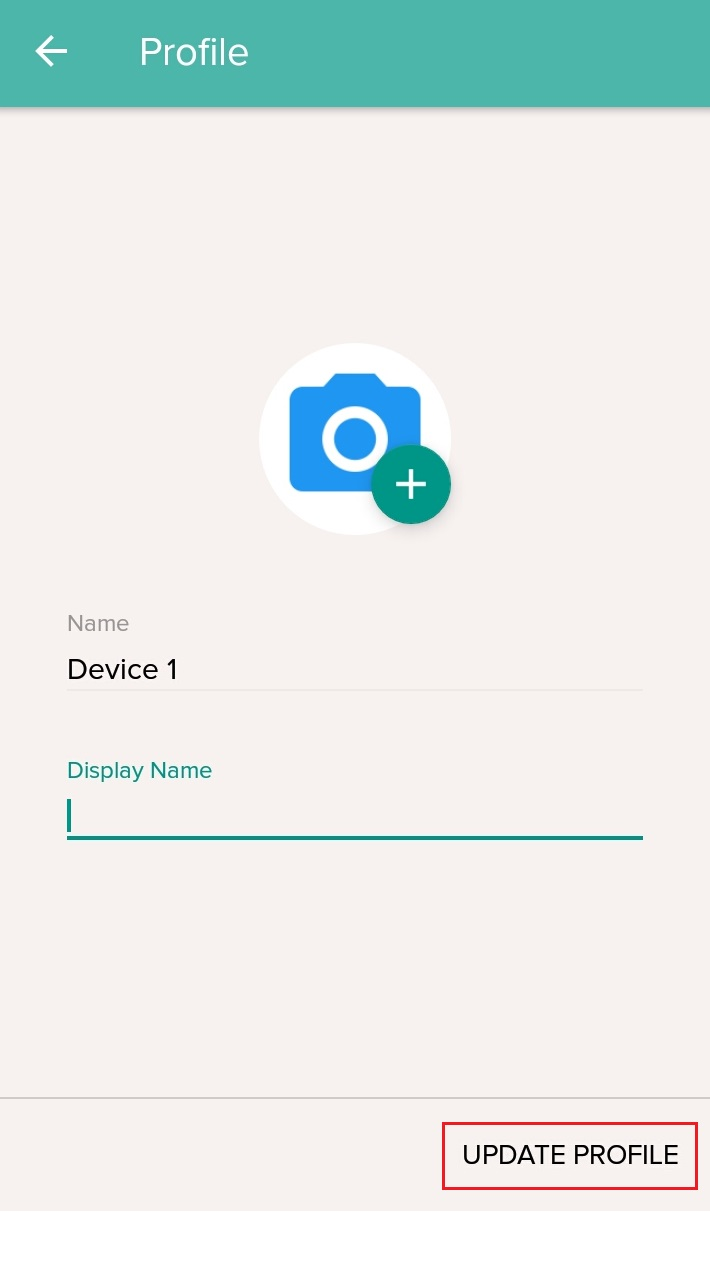
- Replace the existing device name with the new name and tap on Update Profile.
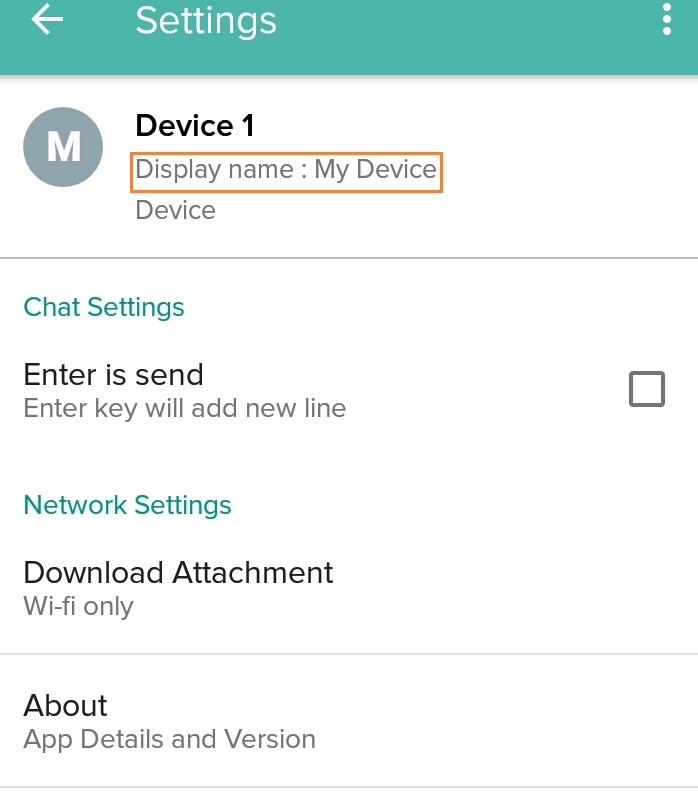
- The Settings screen will show you the updated display name.
Message forwarding
You can also forward messages to other users using message forwarding.
This feature would be available only when the admin enables the forwarding feature on the Dashboard. To enable:
- Navigate to Eva Communication Suite -> Settings
- Under Eva Messenger, toggle On the Forward Message option

- To forward a message, follow these steps:
- On your device, open the Eva App by clicking on it.
- Select and tap on the chat from which you need to forward the message.
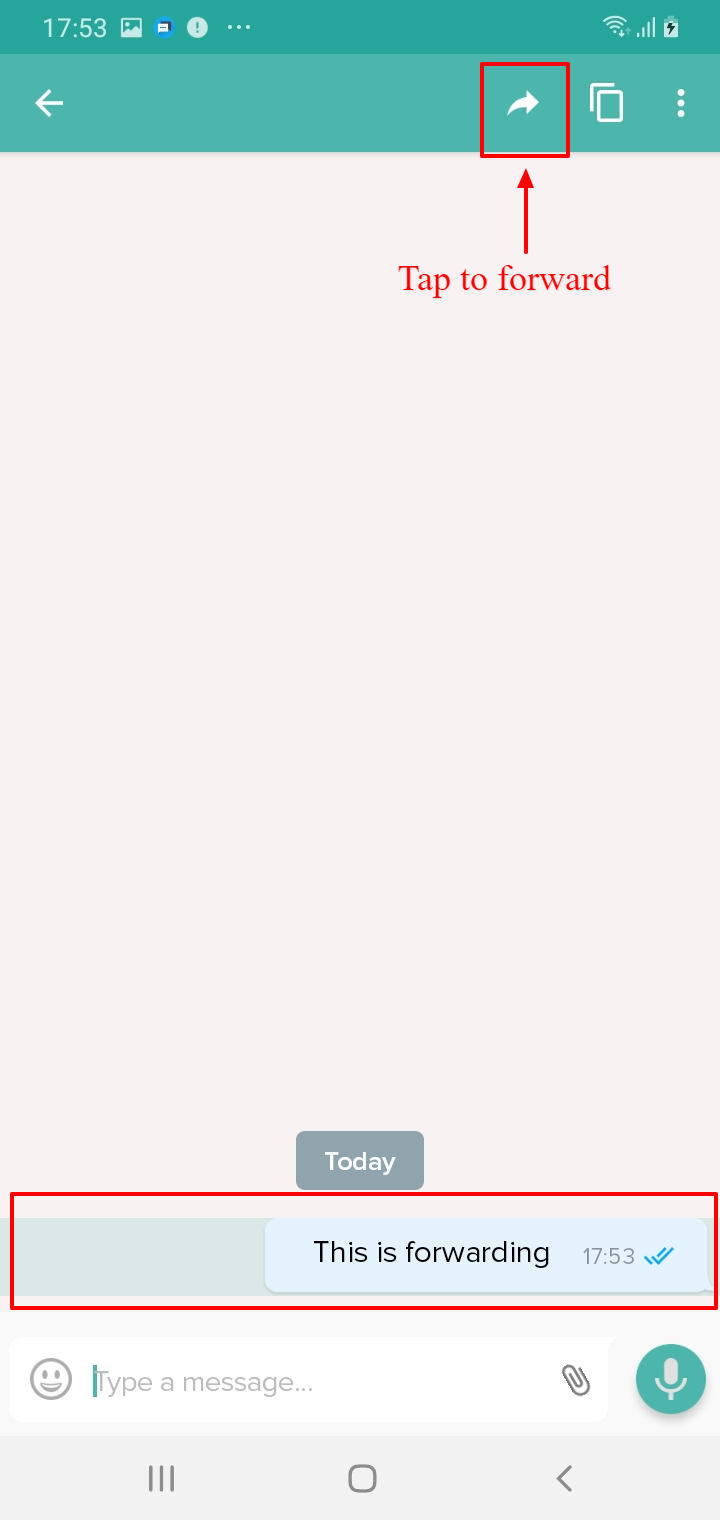
- Long press on the message you wish to forward. This highlights the message.
- There will be a forward icon on the top. Tap on it.
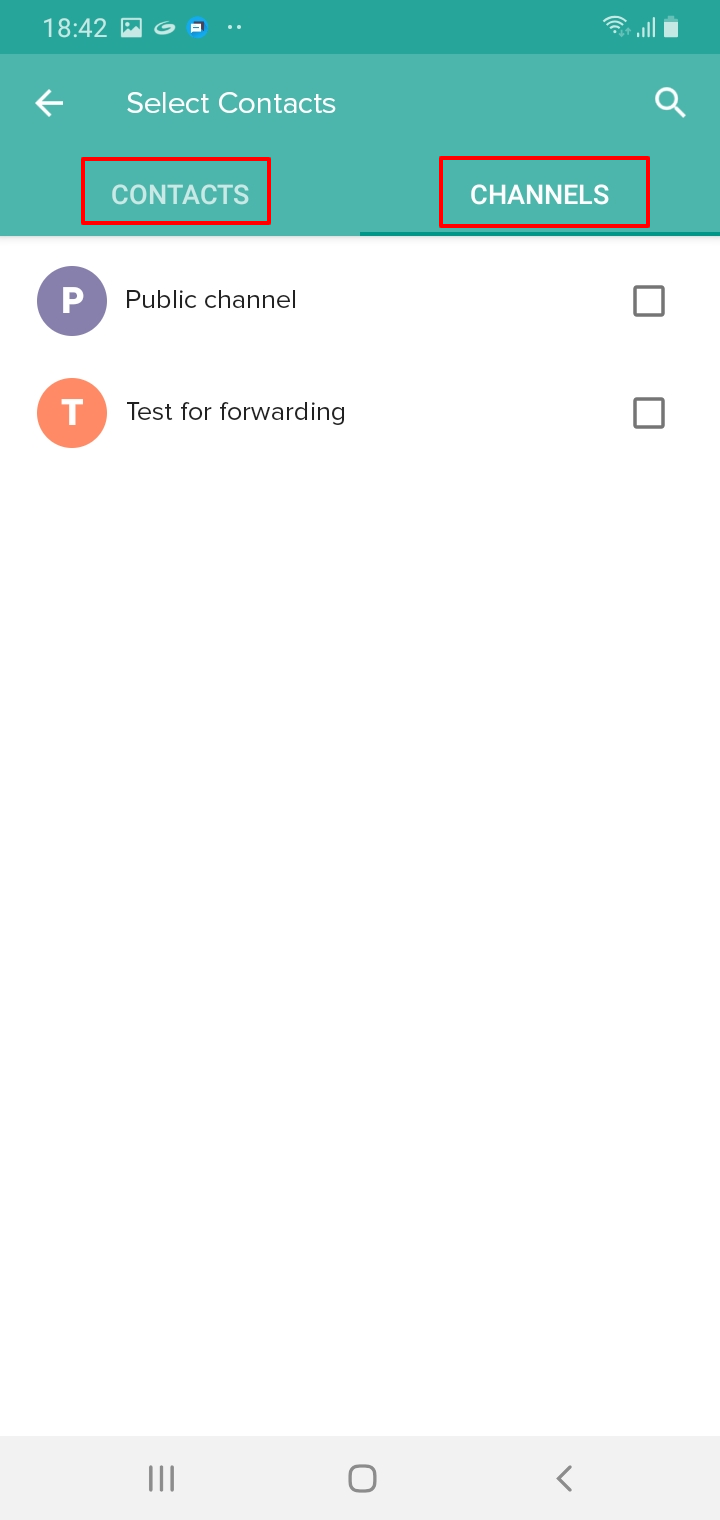
- A contact list screen would appear. Select the recipients. You can forward message to contacts as well as Channels
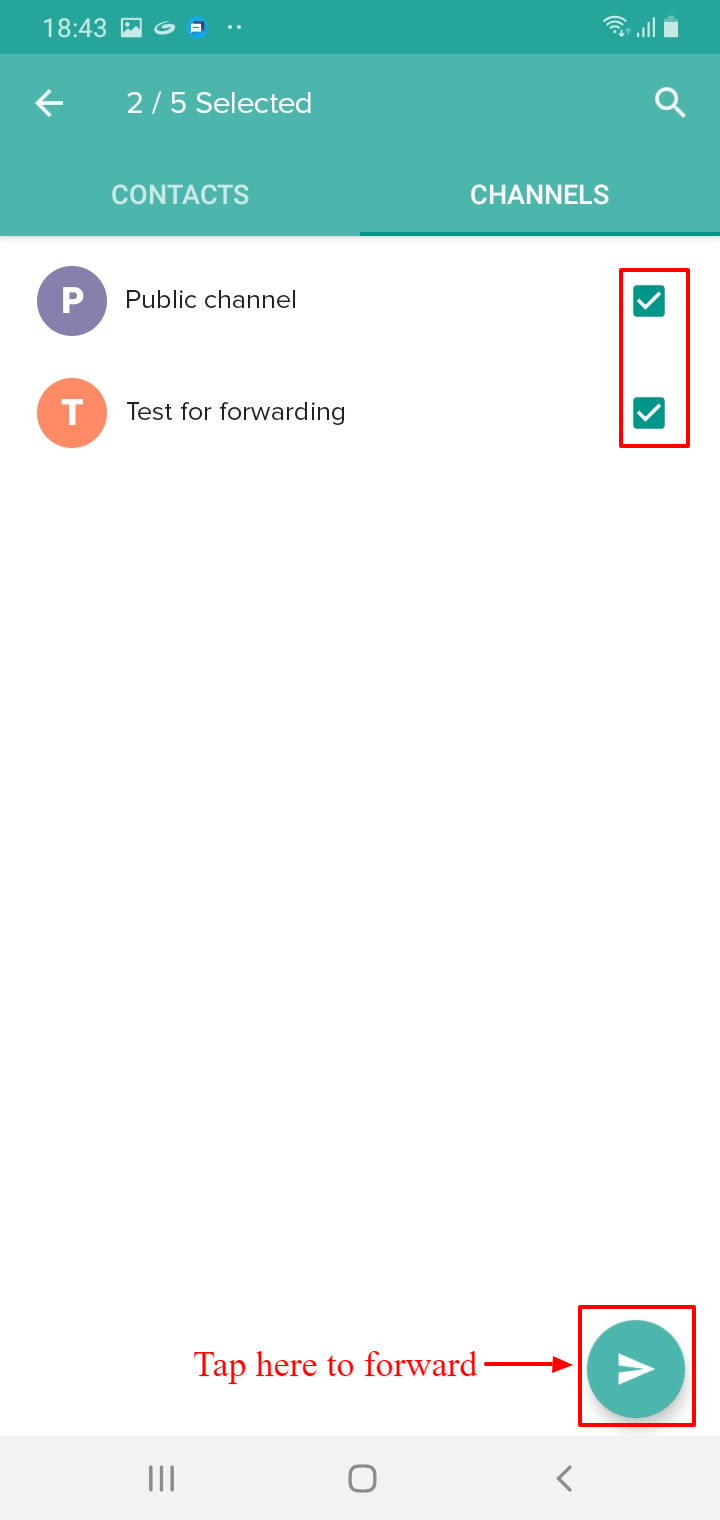
- Once you select recipients, the forward icon will appear. Tap the forward icon to send a message.A message can be forwarded to a maximum of 5 recipients.
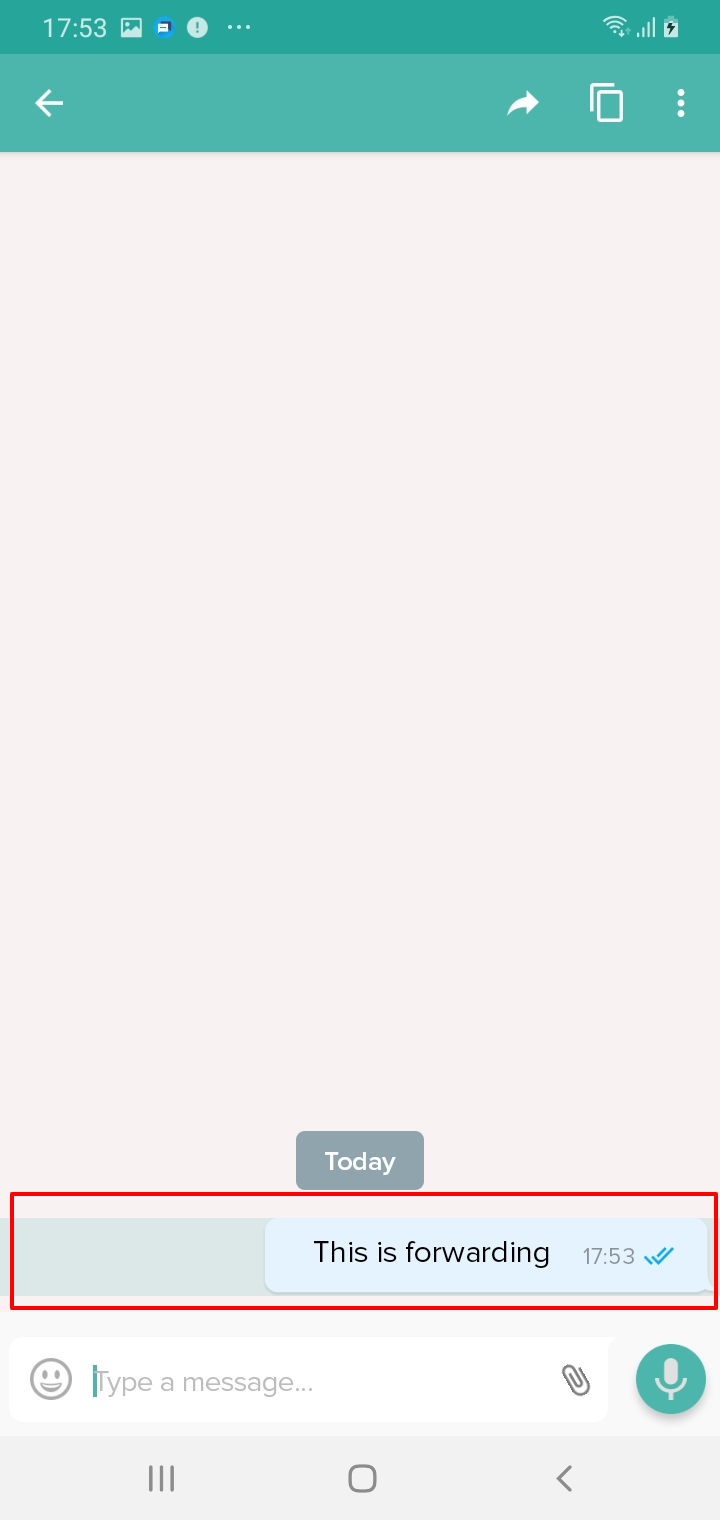
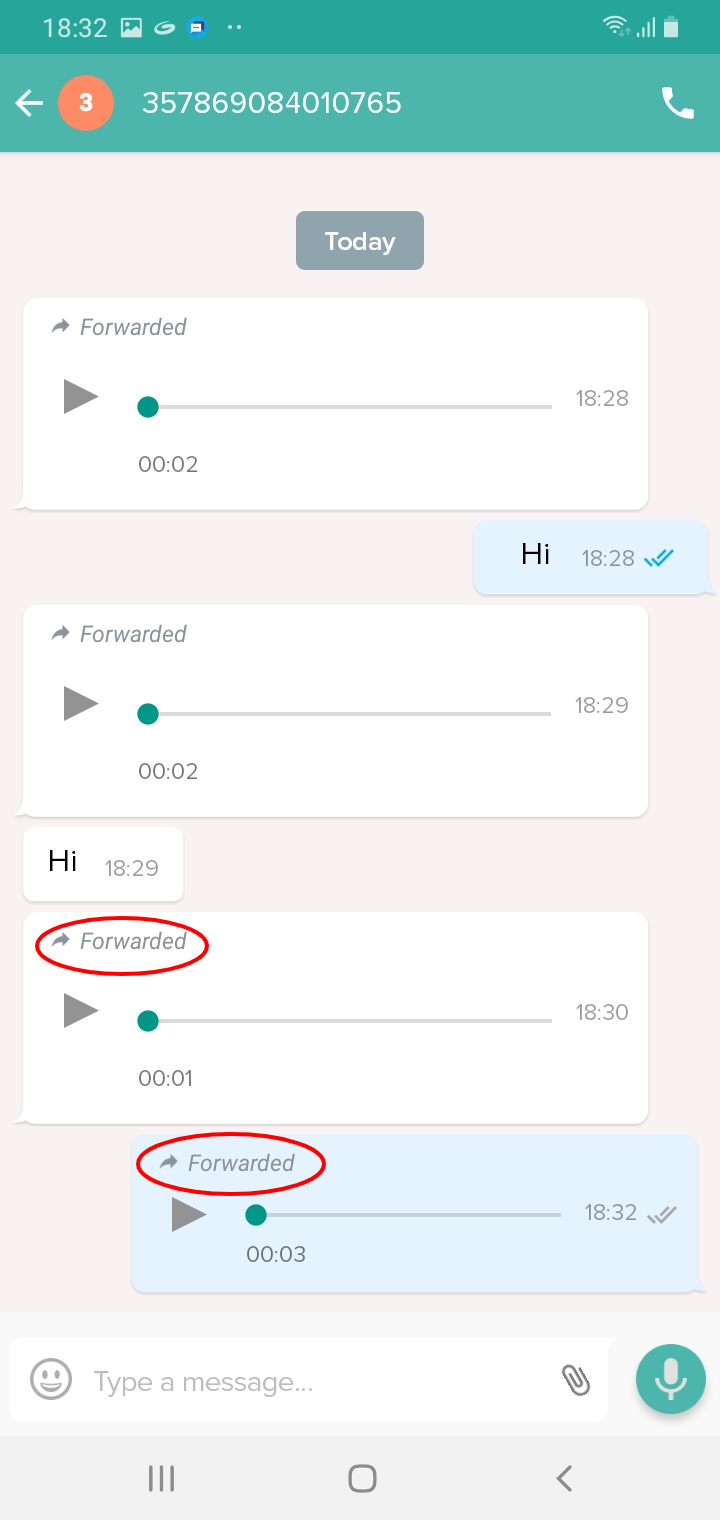
 Message forwarding cannot be done from the Scalefusion dashboard
 - The recipient will get the text "Forwarded" written over the message, which denotes that it's a forwarded message.
The message forwarding functionality is supported on:
- Android app version 4.2.0.2220 and above
- iOS app version 2.1.25 and above
Flag Messages
There might be cases where some messages that you have sent or received are important, and you want to refer back to them at a later point in time. The Eva messenger provides a feature to bookmark such messages on your devices for a quick reference later so that you don't have to keep scrolling through the chats and searching for the messages.
This is achieved through the 'Flag Messages' feature. Once the message is flagged, it will be shown on a separate screen under the head Flagged messages. This functionality works across all active chats.
Flagging Message
To flag a message, follow these steps:
- On your device, open the Eva App by clicking on it.
- From the list of chats, select and tap on the chat in which you need to flag a message.
- Long press on the message that has to be flagged. This highlights the message. There will be a flag icon on the top. Tap on it.
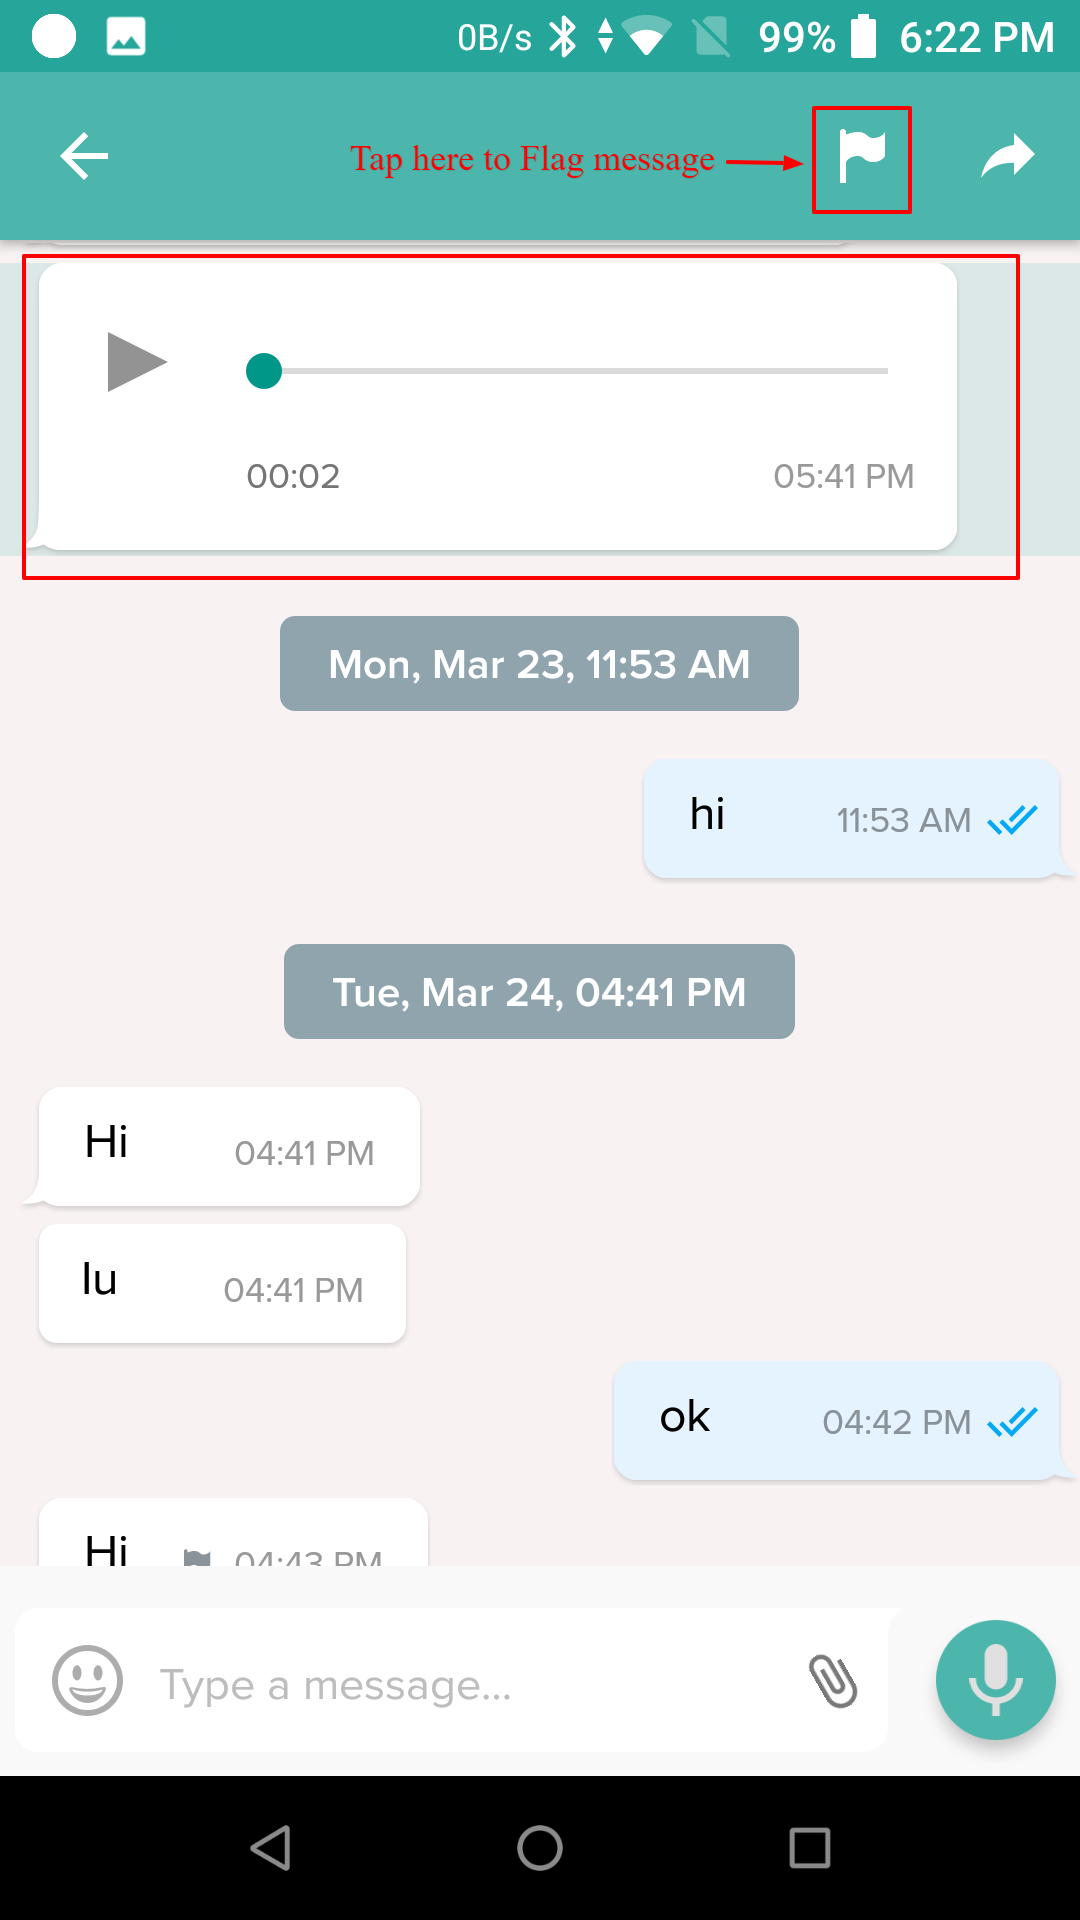
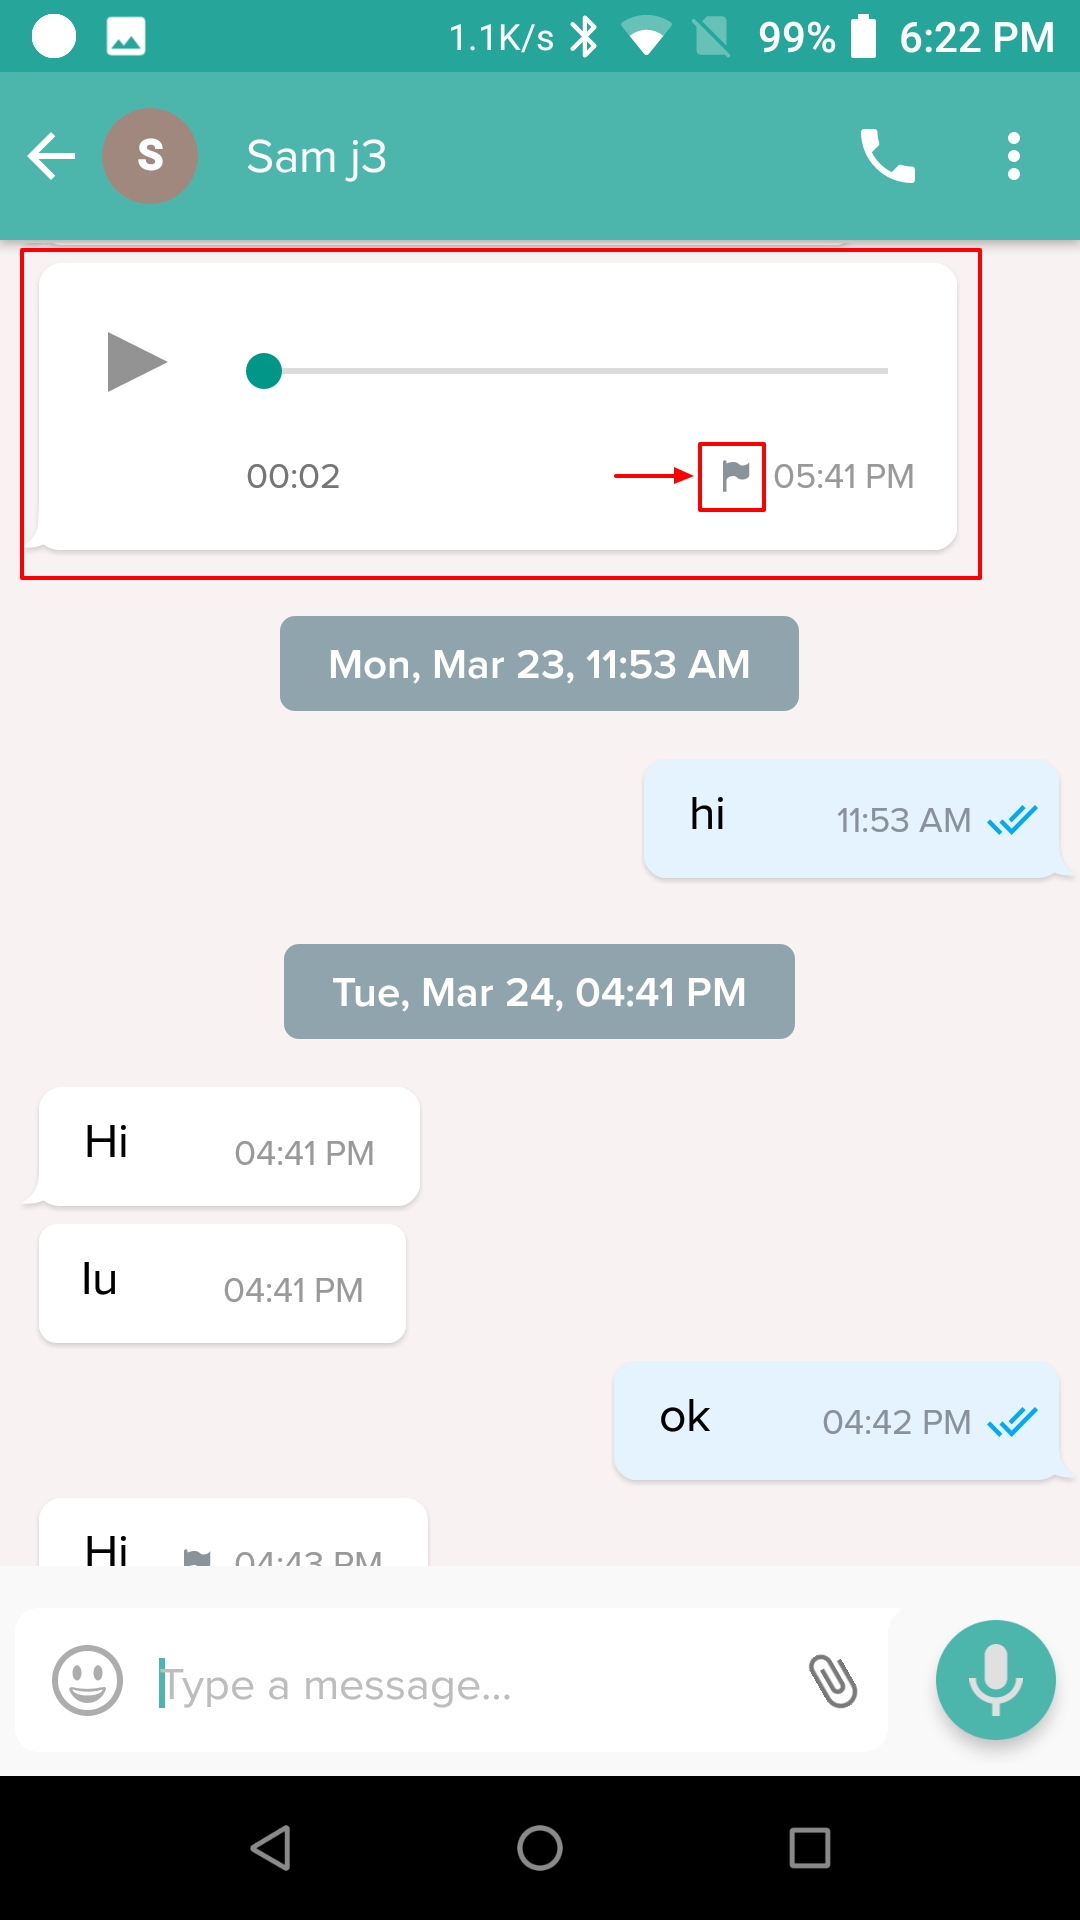
- Once you tap on Flag, a small flag icon will appear over the message. This indicates that the message is flagged.
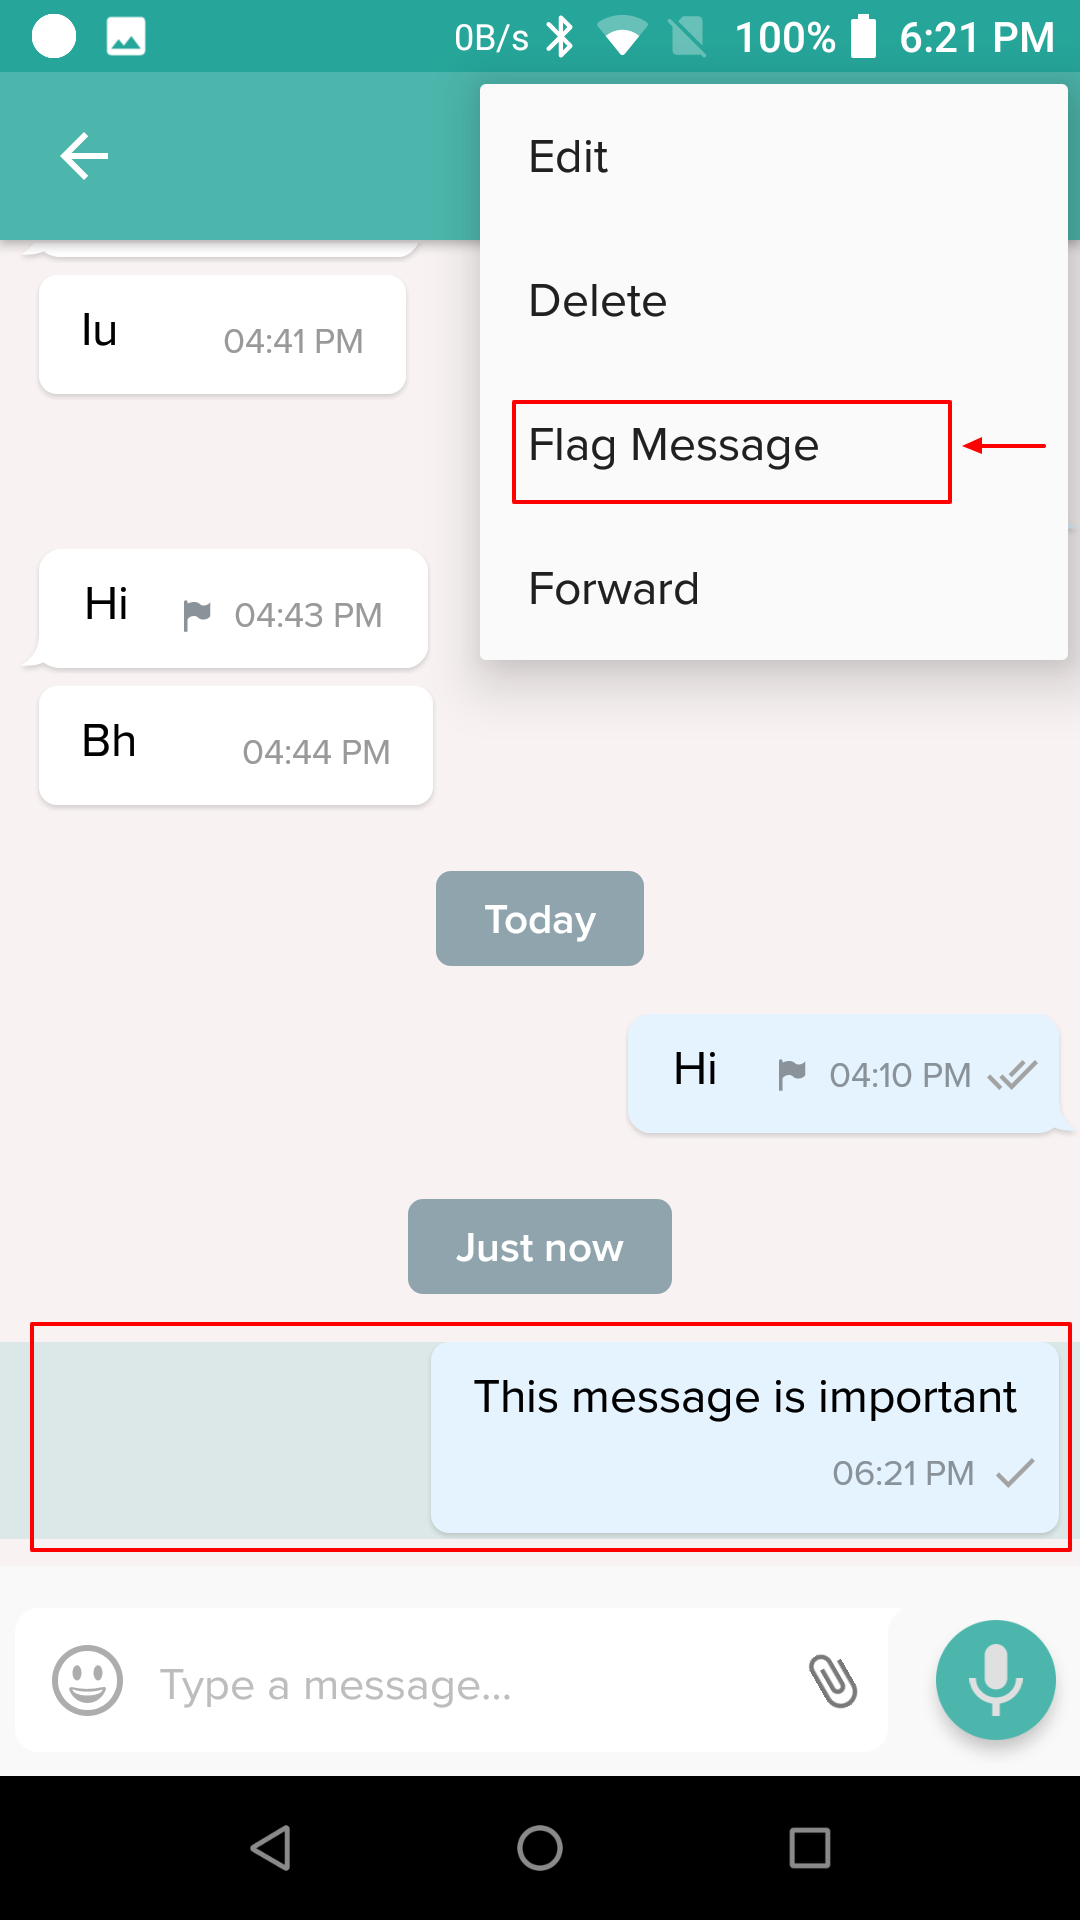
- If you are flagging your own message, after long pressing it, you need to tap the three vertical dots on the top right, and you will find the Flag message option there.
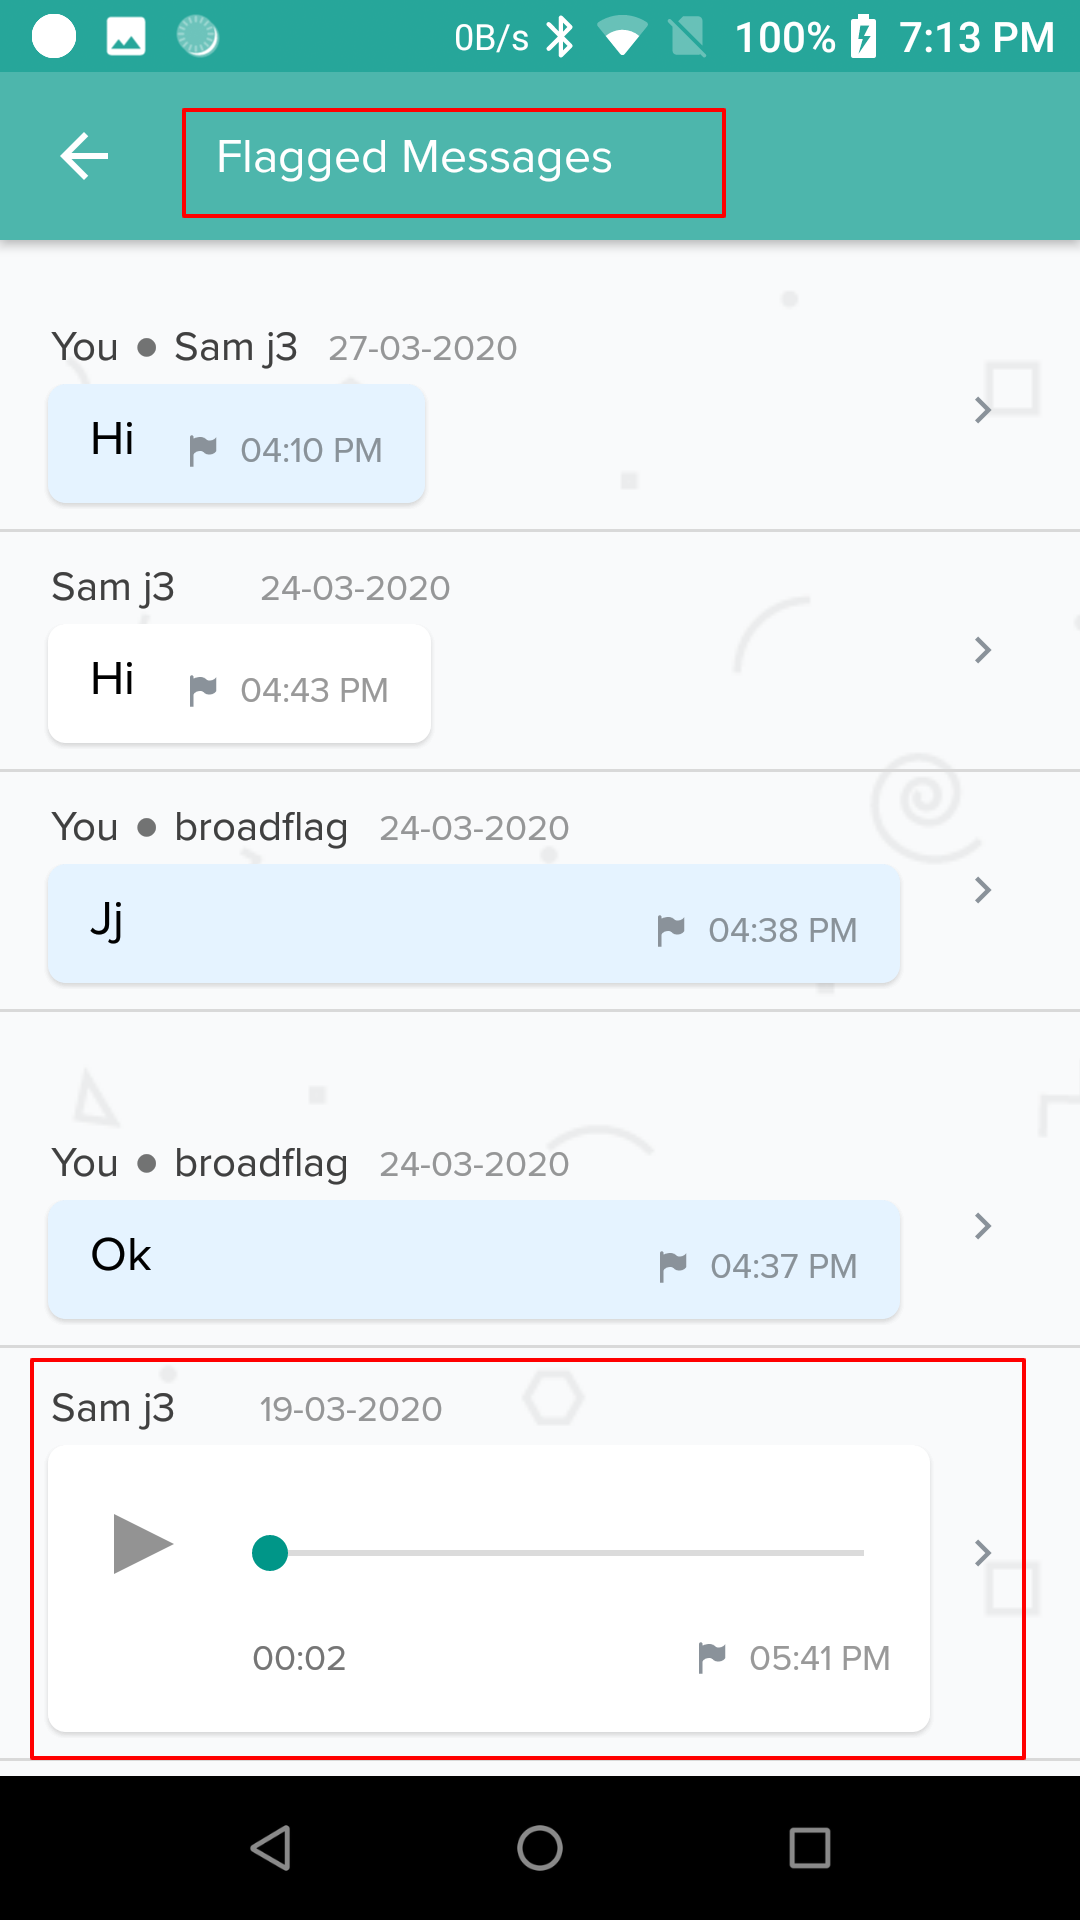
Viewing Flagged messages
- Tap the back arrow to come to the screen listing all chats.
- Here, tap on the three vertical dots on the top right. You will find the option Flagged messages. Tap on it
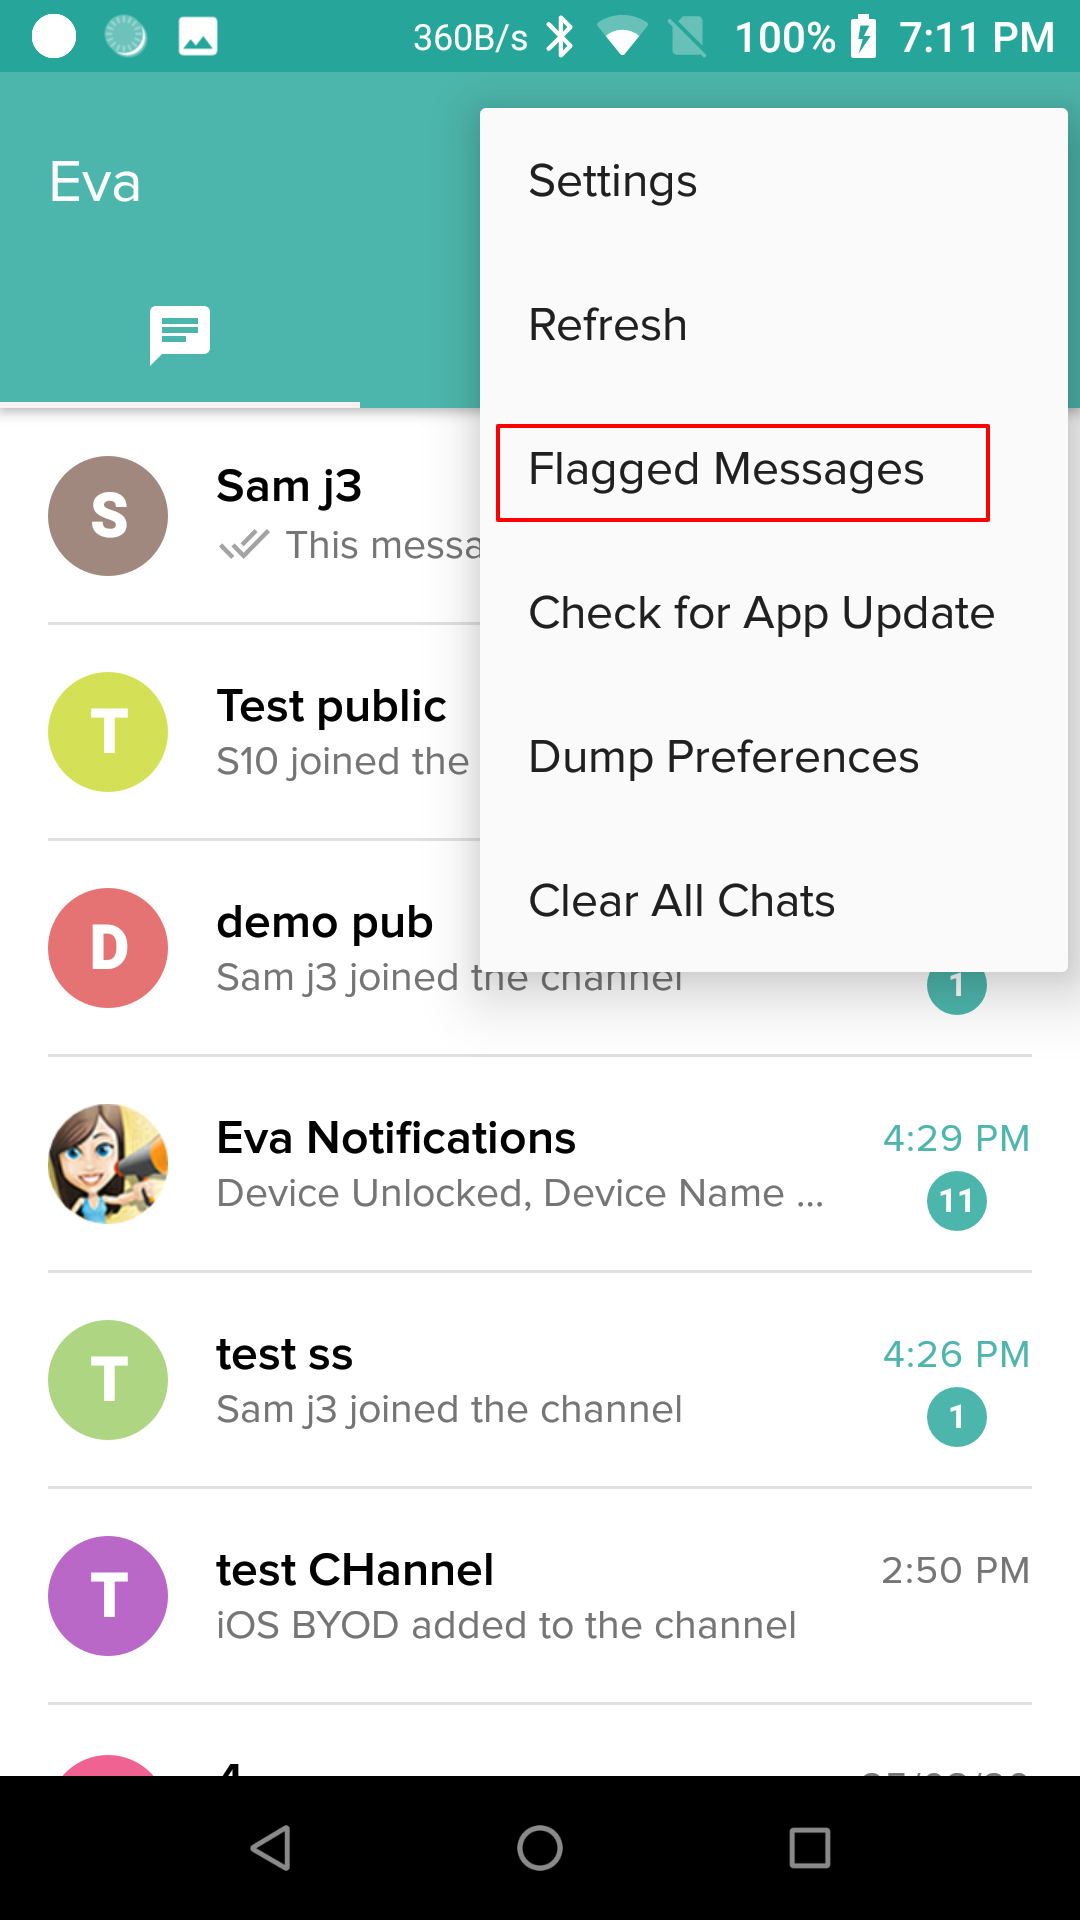
- A new screen, Flagged Messages, will come up. All the messages you flagged will appear here.