Android Enterprise devices offer a quick and easy way to enroll your devices right when they are unboxed or after a factory reset, in the form of six-taps and scanning a QR Code. This method of enrollment downloads the Scalefusion application, sets the app as Device Owner (EMM managed) and performs the Sign-In automatically, leaving only the permissions step to be completed.
Let's look in detail at how to enroll your device with this method.
Before You Begin
- The Android Device must be running Android 7.0 and higher and be Android Enterprise Ready
- Devices are fresh out of the box(Without any account setup) or are factory reset.
- On these Devices, the standard Android OOB experience, which allows you to enter a GMail account during device setup, need not be followed.
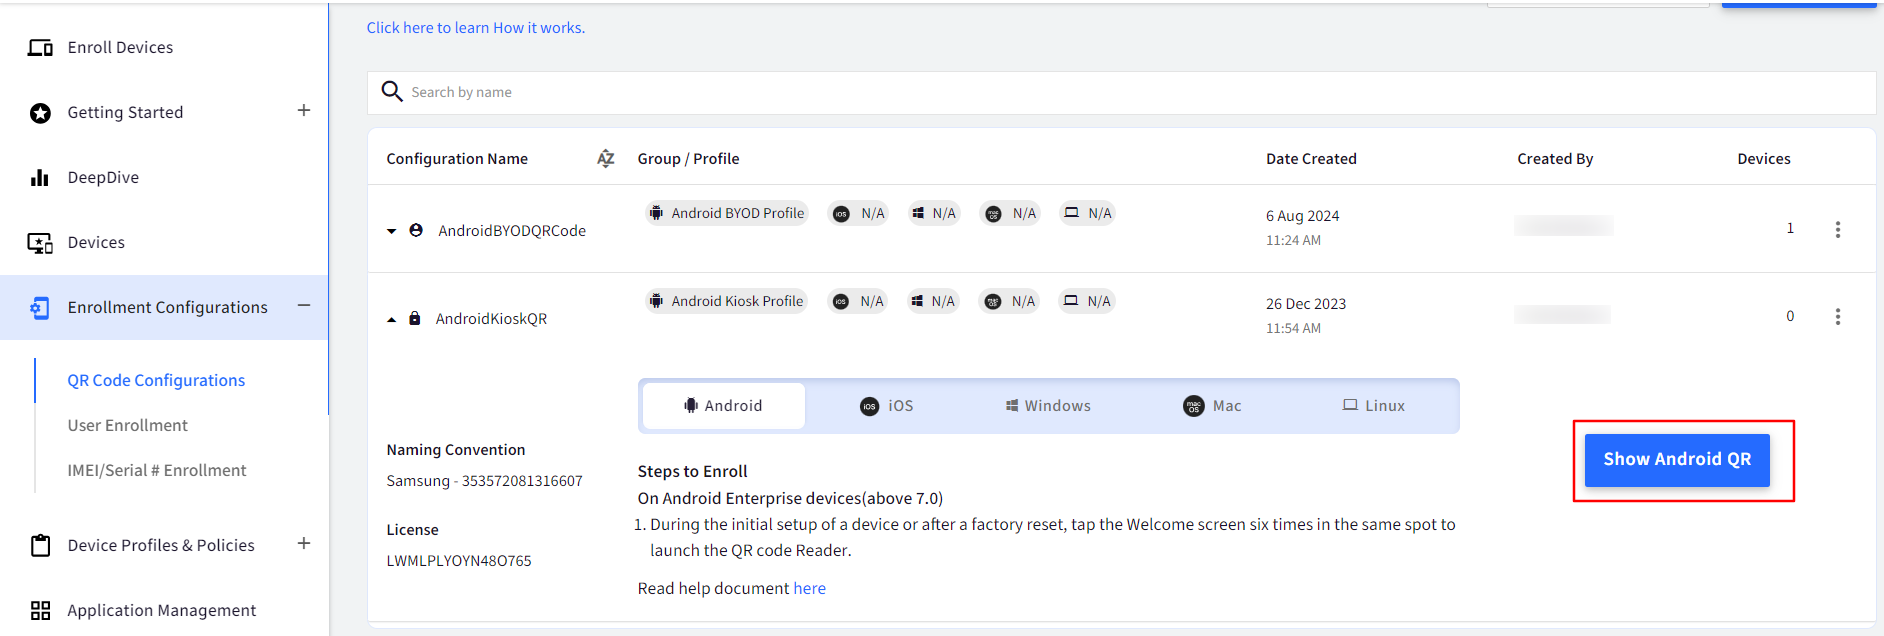
- Create a QR Code configuration as described here.
Enrolling Steps
- Power On the device.
- On the very first screen, when the device is started for the first time after a factory reset or fresh out of the box, tap anywhere on the screen "6" times in the same spot and wait.
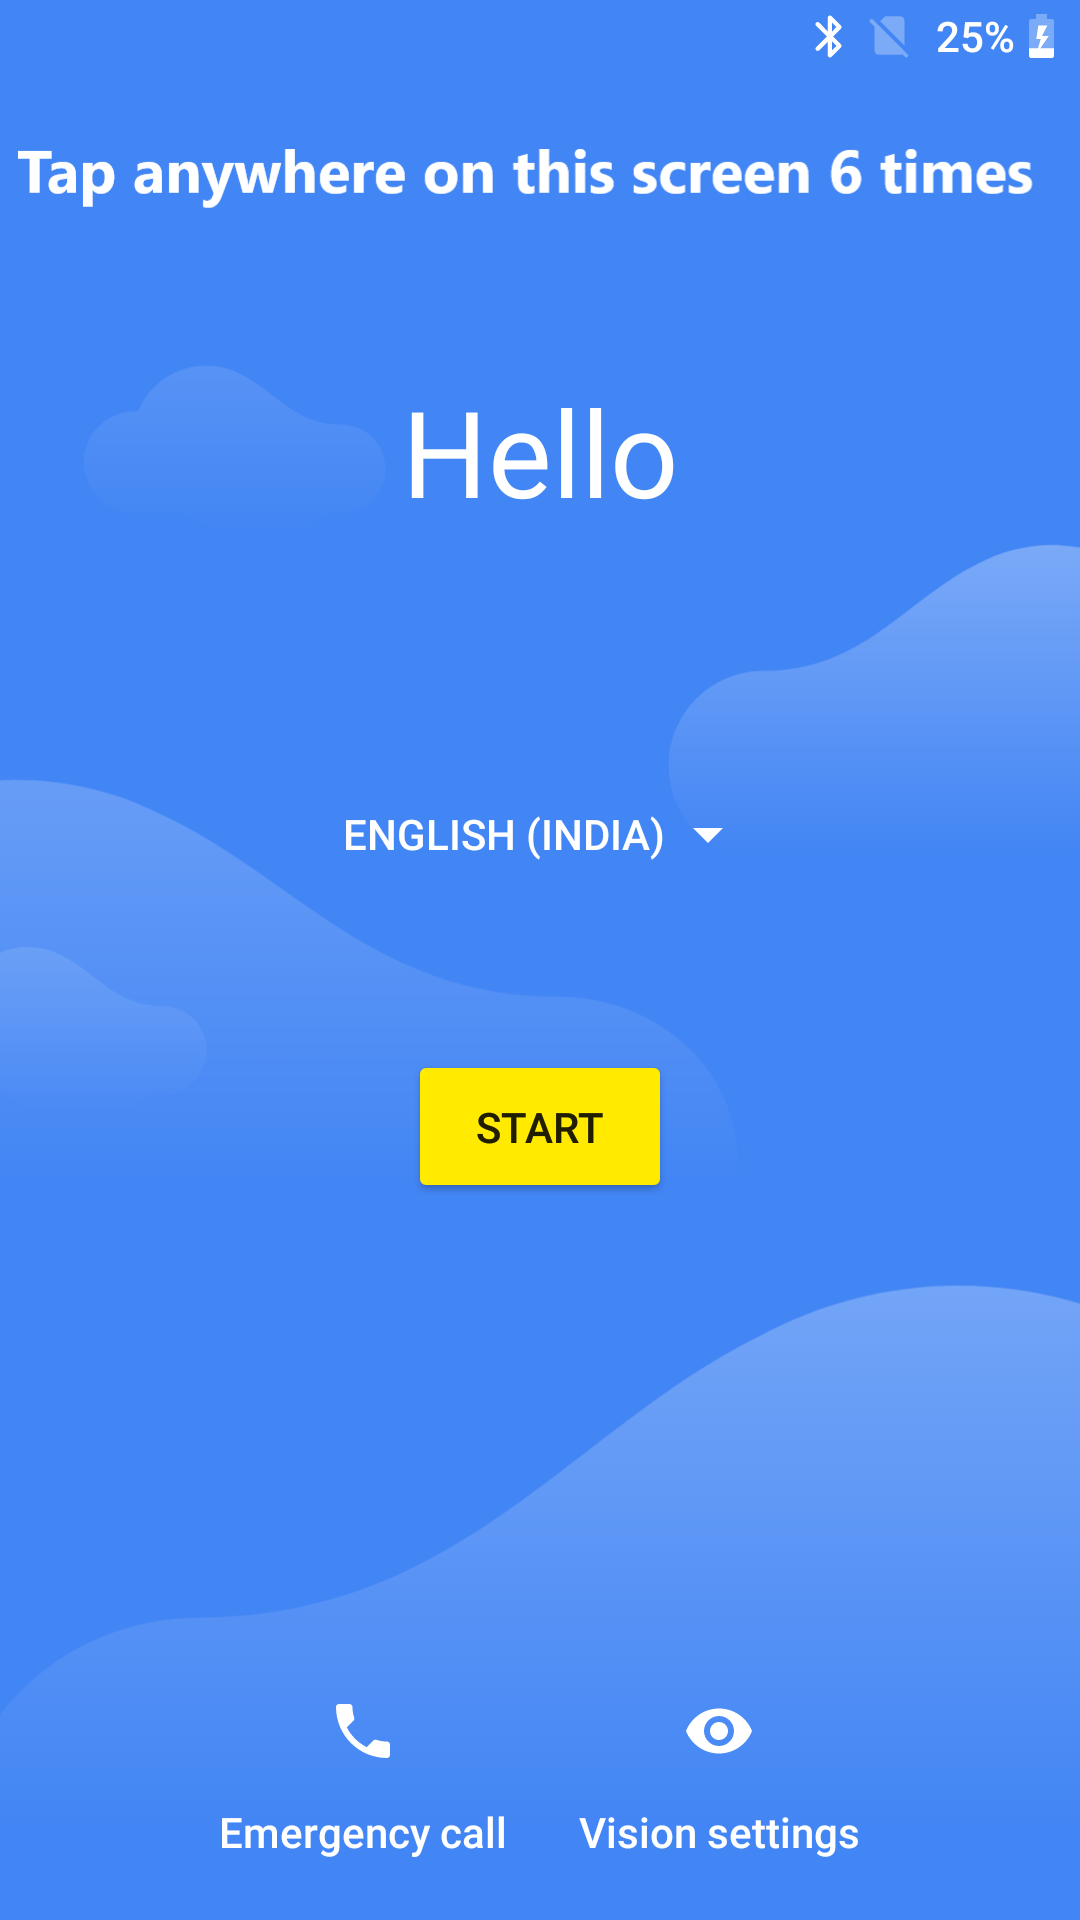 The first screen might differ from device to device. On some devices, it might be a Language selection screen, and on some, it might be a Brand Logo. Please make sure to tap 6 times on the first screen.
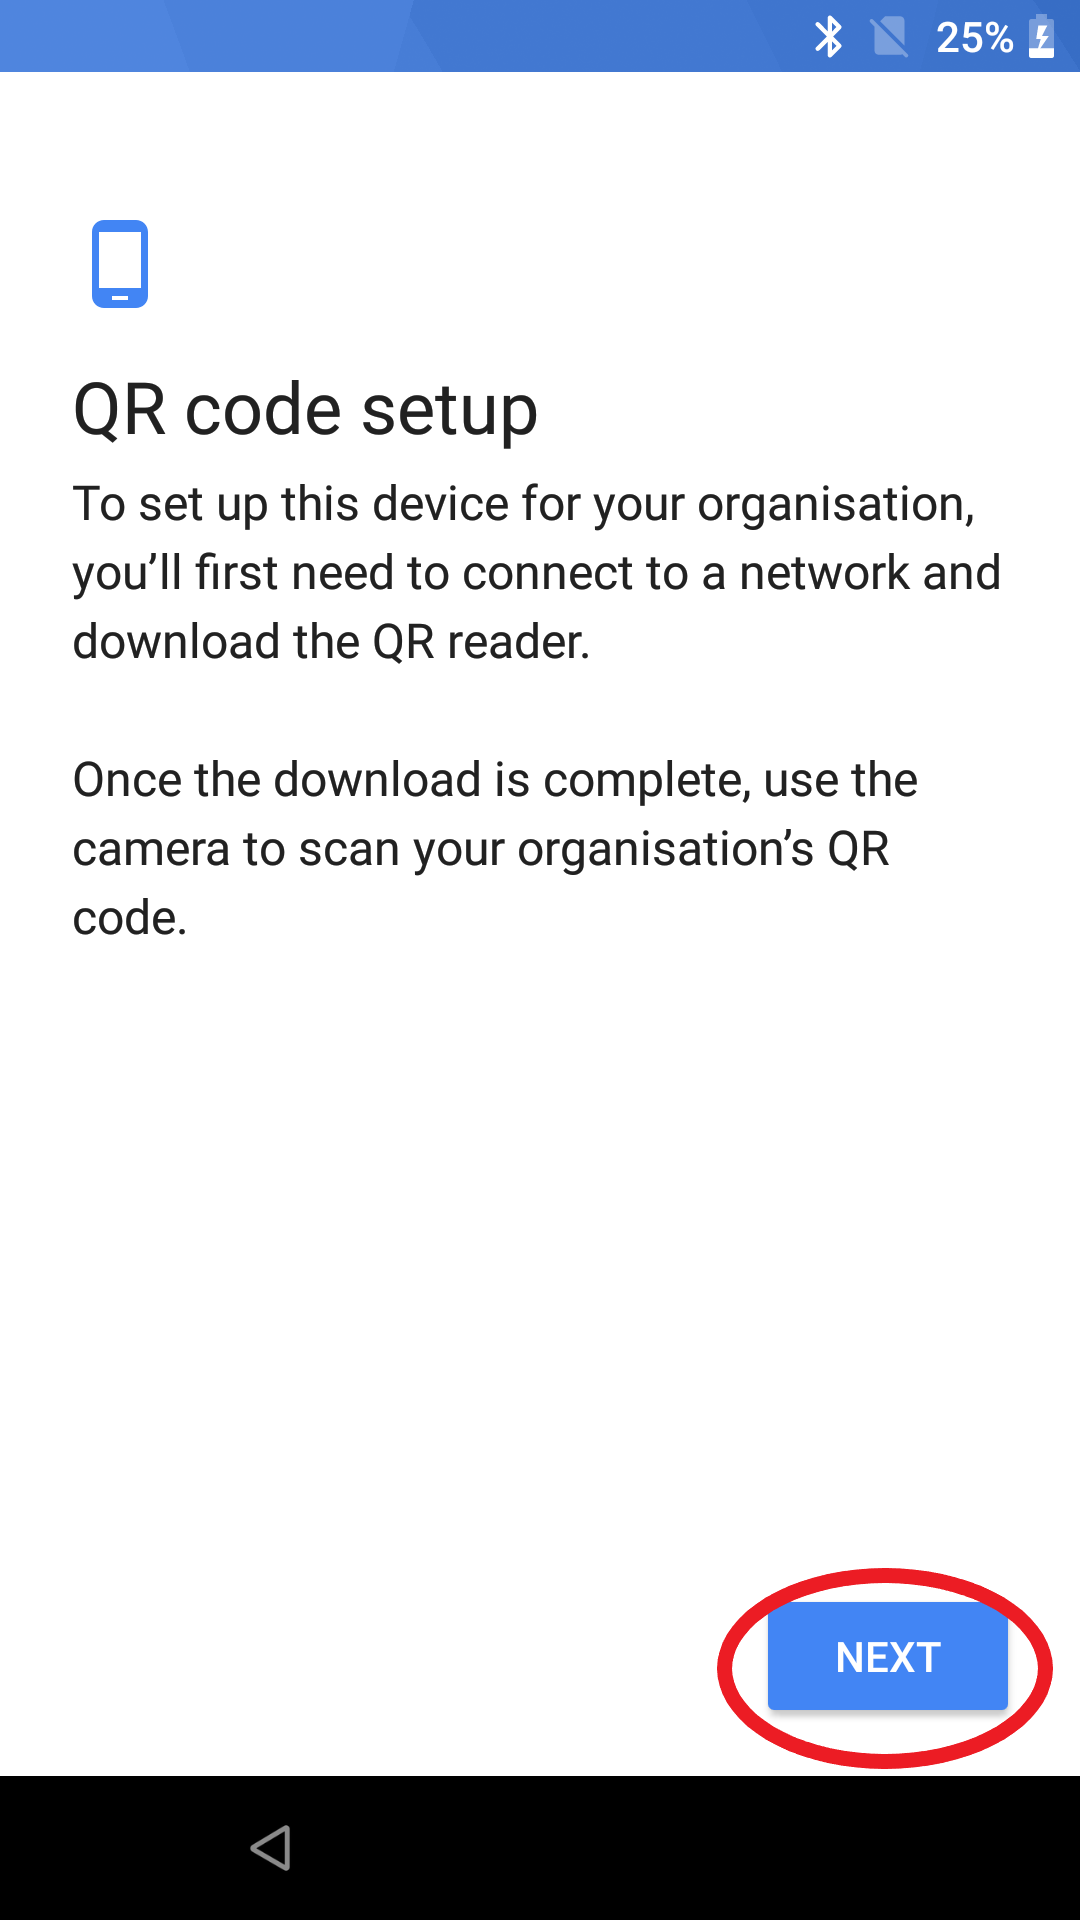
 - Next, you will be prompted for a QR code setup for setting up the device. Click 'Next'
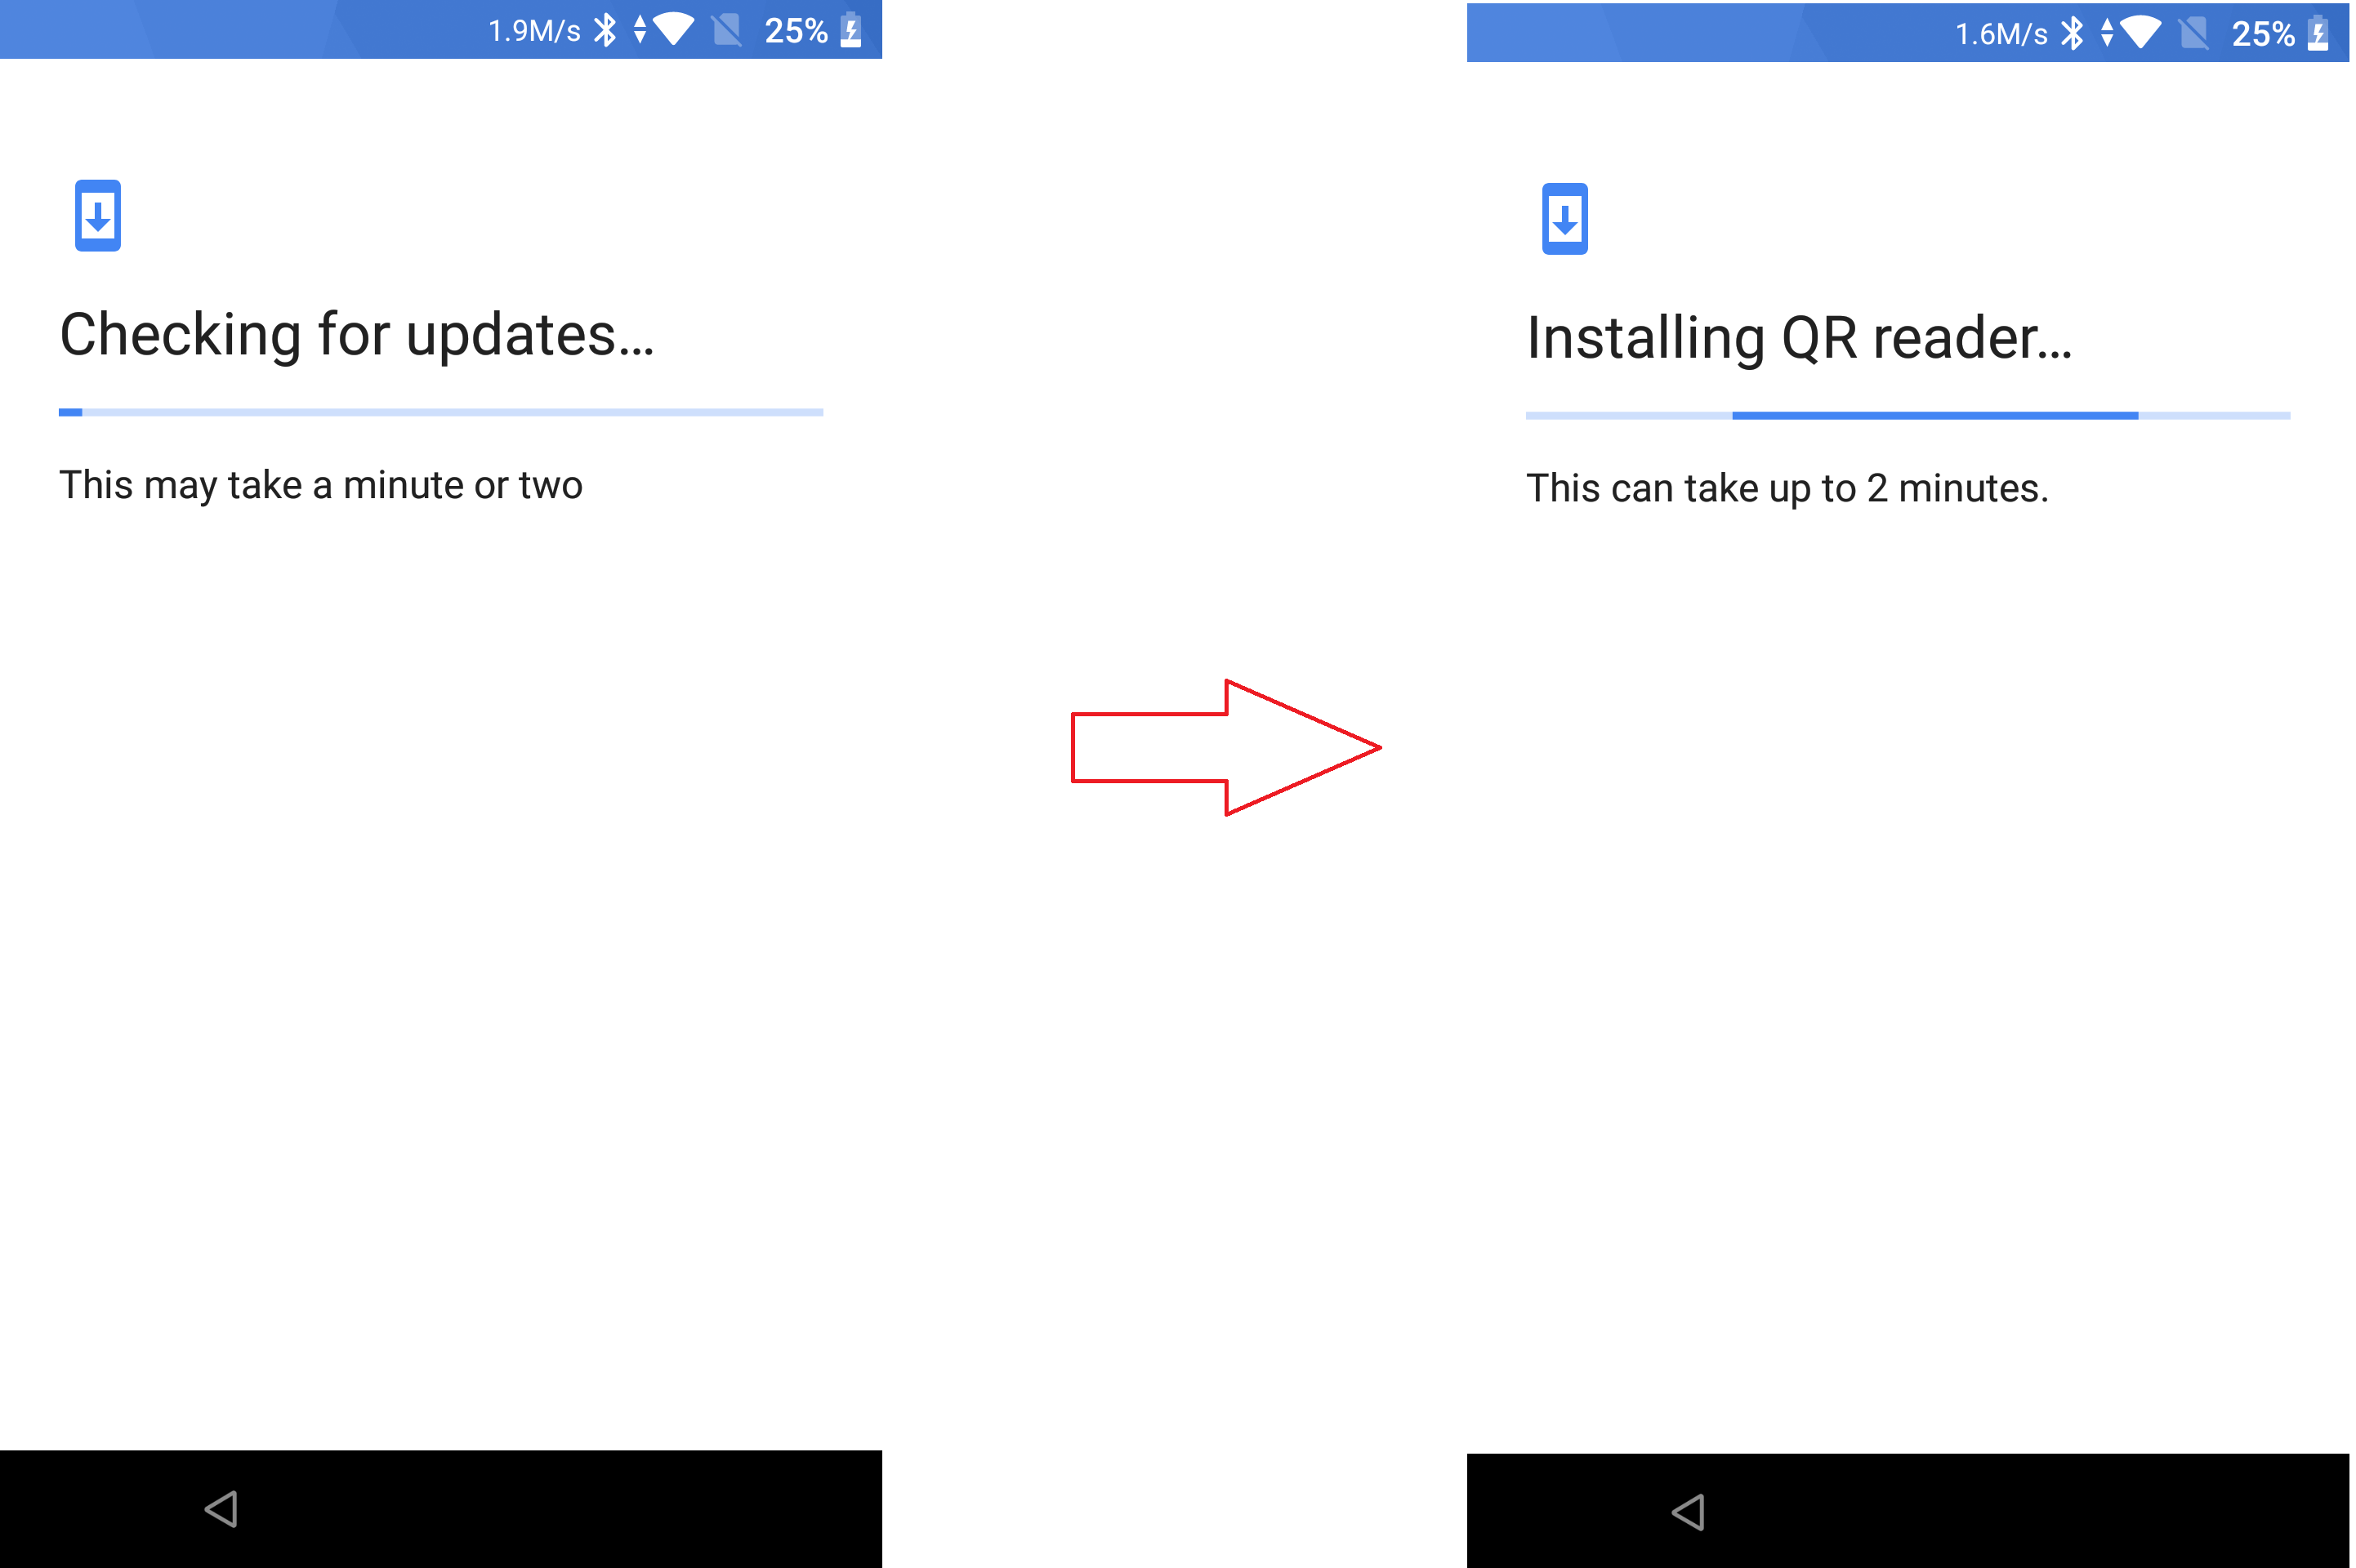
- Connect the device to Wi-Fi
- Once connected, it will check for updates and install the QR Reader
- As soon as the QR reader is installed, you will be prompted to scan the QR code. You can scan a QR Code that you have created on the Scalefusion Dashboard. After scanning the QR code, the Scalefusion app installation process will begin.
- You will get a prompt to Set up your device. On this, click 'Accept & Continue'

- This will start setting up your work device
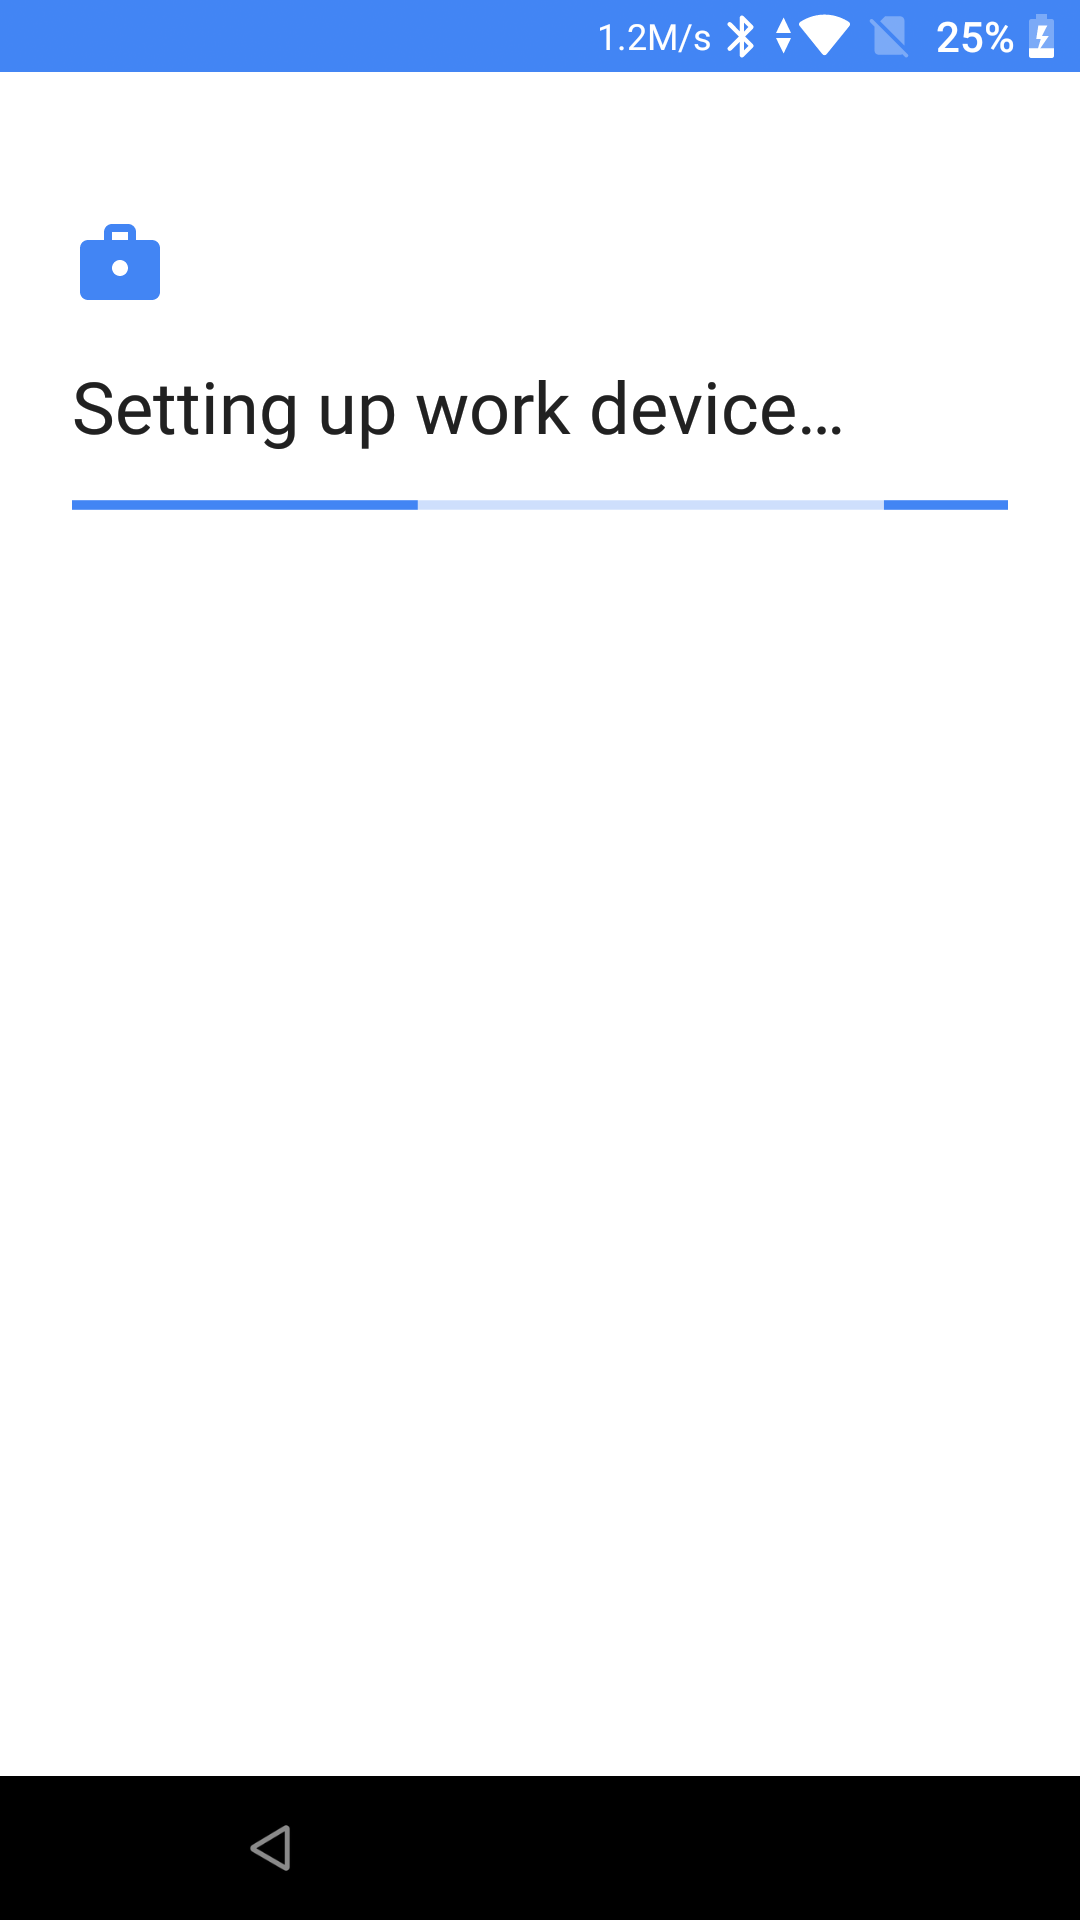
- Complete the Setup (Grant all the permissionsto the Scalefusion app).If you have a Google Workspace account, on the permissions page, there will be a toggle button to Sign In To GSuite with your Google Workspace account ID. You need to enable this and follow further steps. Once completed, click the Complete Setup button. Please see details in the below section, Enrollment with Google Workspace.
- User Authenticated Enrollment: If you have selected User Authenticated Enrollment in the QR code configuration, you will get the user authentication screen after permission.
- Enter the user's email ID (id added at the time of adding the user) and tap Continue.
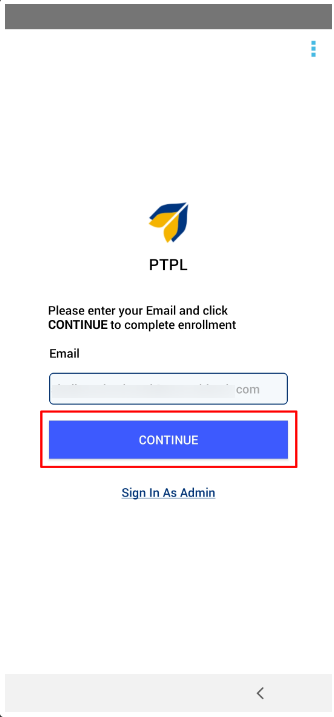
- You will receive OTP on the registered email ID. Enter the OTP on the device and Submit.
Sign in as Admin: Tapping on Sign in as Admin will ask for the exit password. Once you enter the password, it will lock you into Scalefusion.
This option can be used by admins if they are setting up the devices for end users. With this, admins will be directly led to the Scalefusion home screen without authentication and check if policies and published apps are present and working fine or not and then hand over the devices to end users.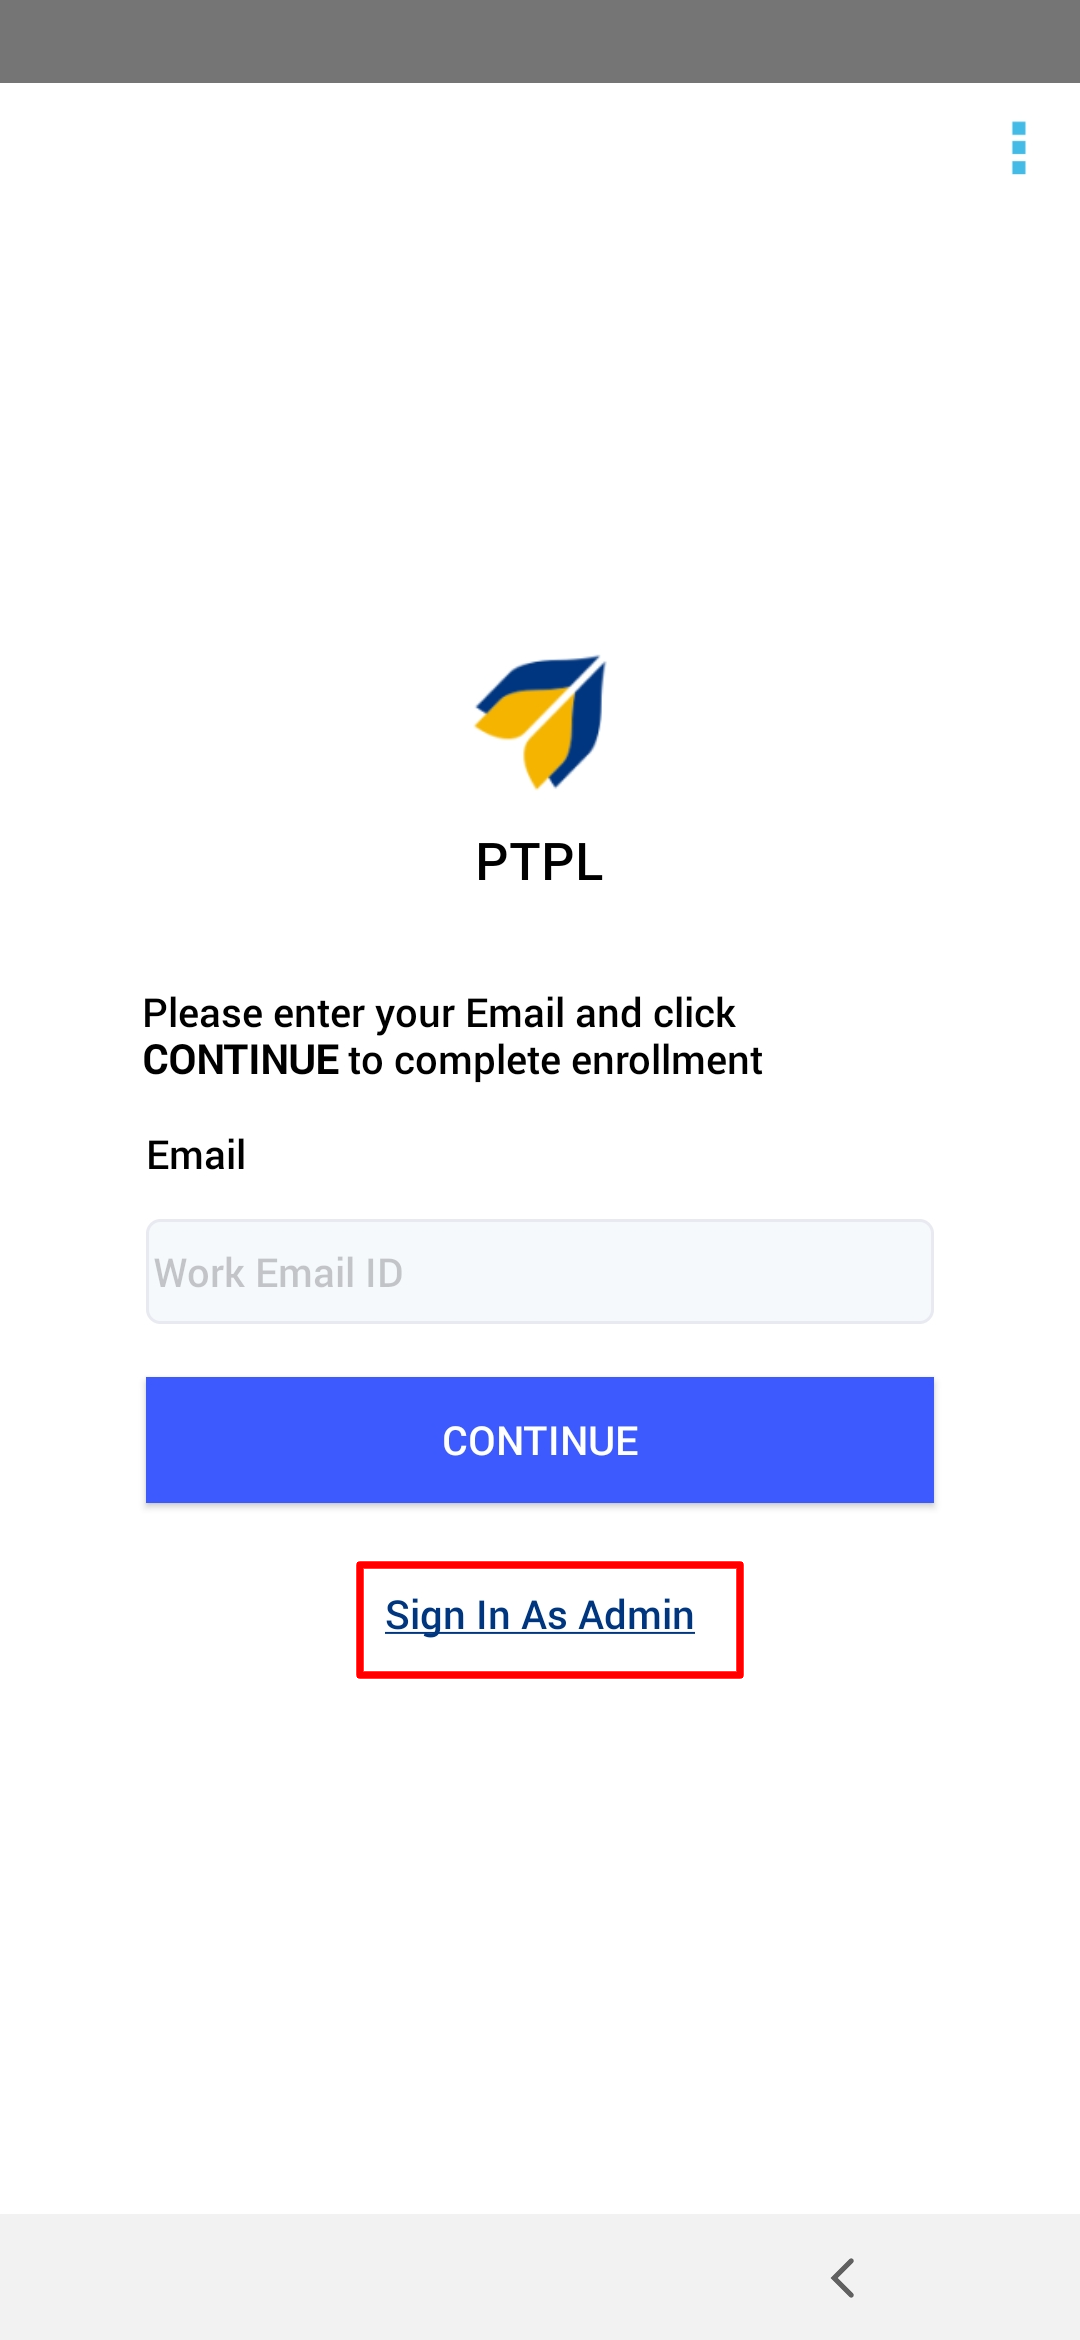
- Enter the user's email ID (id added at the time of adding the user) and tap Continue.
- All the apps set up through the device profile will show up on your device. See the screenshot for an example.
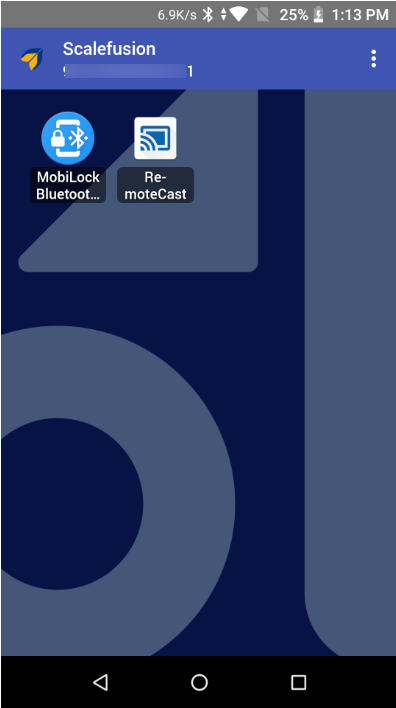
- On your Scalefusion Dashboard, you will see a Briefcase icon next to the device (in Legacy view of the dashboard) if the setup is properly complete. 
.png)
Enrollment with Google Workspace
The 6-times tap enrollment method also allows you to enroll with a Google Workspace ID. For this, make sure the Android Enterprise Setup is done with Google Workspace.
Steps #1 to #8 remain the same as above. On the permissions page (Step #9), there would be a toggle button to Sign In To GSuite. You need to enable this and follow further steps. After toggling on Sign In Into GSuite, follow these steps to complete enrollment:
- Enter your Google Workspace account ID and tap Next
- Enter password. Tap Next
- This will bring up the Google Services page. Tap Accept.
- Choose an account to continue to Scalefusion. Here, select your Google Workspace account ID.
- Once verified, you will get a green check mark next to Sign In into GSuite.
- Hit Complete Setup
.png)
Silent Setup using Wingman
Using Wingman, admins can do a silent setup, which means after 6-times tap, all the permissions will be auto-granted. Admins get an option in the Dashboard to enable this. In Utilities -> Global Settings, there is a flag Use Wingman to Auto-configure permissions at Setup. This needs to be enabled. 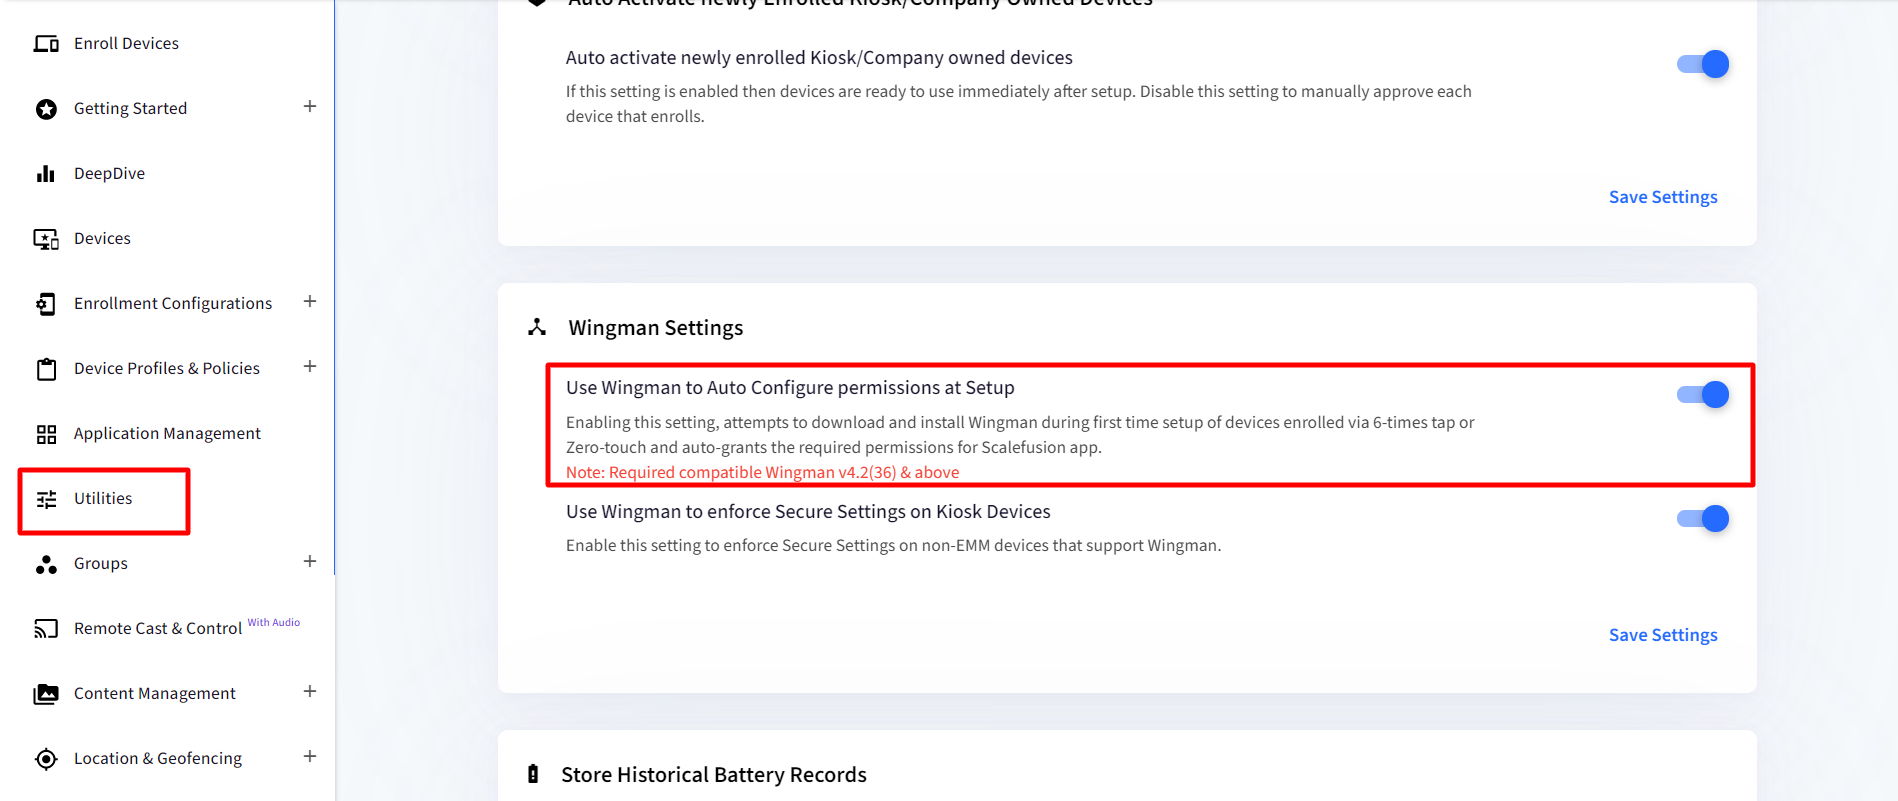
Once enabled and if Wingman is supported for the device, then it will be downloaded after 6-times tap, and all the permissions will be auto-granted.