Scalefusion offers features to provide users with a controlled browsing experience. You, as an IT Admin, can allow websites for use and also place shortcuts on the Scalefusion app home screen so that users can instantly access them. These allowed websites are opened using Scalefusion Browser.
Google Chrome offers one of the best browsing experiences on Android devices, and sometimes you may prefer to enable Google Chrome on the devices to access the Allowed websites instead of Scalefusion Browser.
Android Enterprise (Android for Work) devices and Application Configurations help you to get complete control over Google Chrome. With Scalefusion integration with Chrome configurations, you can manage the allowing controls and enhance the browsing experience even better.
Follow the steps below to integrate Scalefusion Allow Website feature with Chrome configurations.
Allowing Websites
The first step is to allow websites in the Scalefusion Dashboard that be pushed to the devices.
- Navigate to Device Profiles & Policies > Allowed Websites and Click on Allow a Website

- Enter the following details and click NEXT
- Name: A name for the shortcut that will be created on the Scalefusion home screen.
- Website Link: The well-formatted URL for the website.
- Visible on Homescreen: Choose if the shortcut should be visible on the Scalefusion home screen or not.
.png)
- The Android Settings tab is specific to Scalefusion Browser, and the settings are NOT Used when the shortcut is opened with Google Chrome. So click NEXT and then SAVE.
- Once it has been added, use the Publish option to publish the website shortcut to the selected device groups, profiles or devices. You can publish the websites from the Allowed Websites section or use the Device Profile to allow the required websites.
Configuring Google Chrome
Now that you have added websites to be allowed, you can proceed to the step of creating the configurations.
- Search and Install Google Chrome from Play for Work apps as described here.
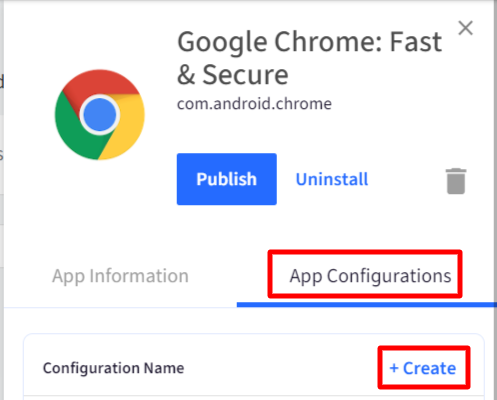
- Navigate to Application Management > Play for Work Apps and click on the Google Chrome icon to see the side panel.
- Click on the App Configurations tab and click CREATE.
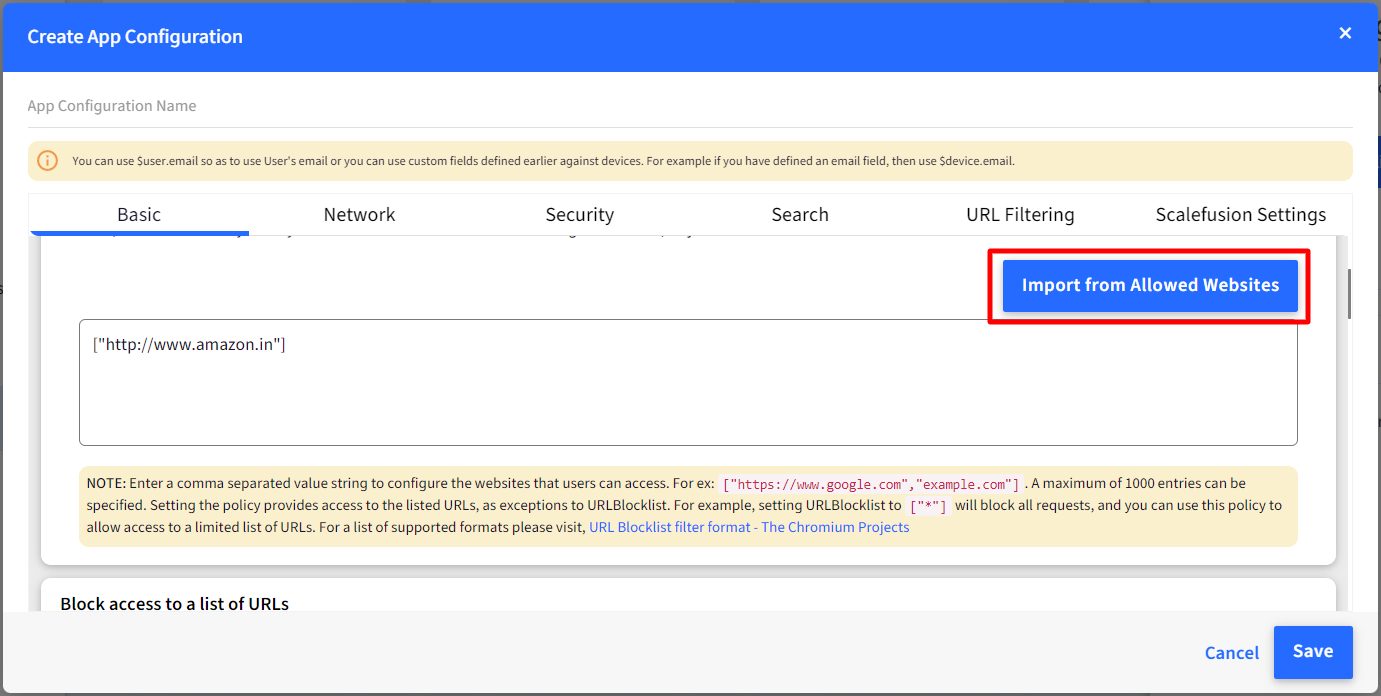
- Allow access to a list of URLs: In the text area, enter the URLs of the websites that users can access on their devices once the configuration is applied. The URLs will be taken with or without http:// and https://
- Importing the Allowed Websites: Alternatively, use the button IMPORT FROM ALLOWED WEBSITES to select and import the allowed websites that you have created earlier. This will add the website URL in a format that Google Chrome configuration accepts.
 Clicking on the button opens a dialog box listing all the allowed website URLs. Select the websites by putting a check in front of those which you want to import.
Allow Domain: If this is set to On, then it allows the entire domain and not just the website path.
For example, the following is a list of allowed websites (shown in the screenshot below).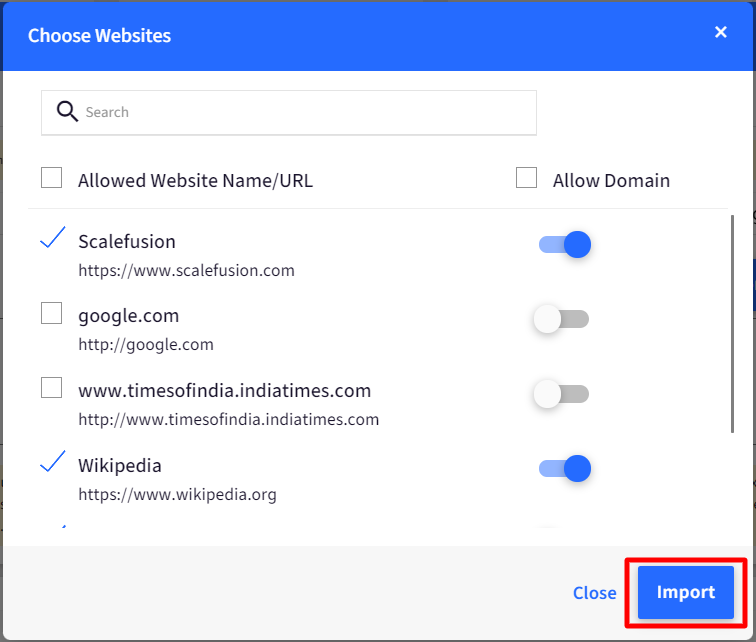 The ones that you select and Import will be listed in the allowed access list of URLs
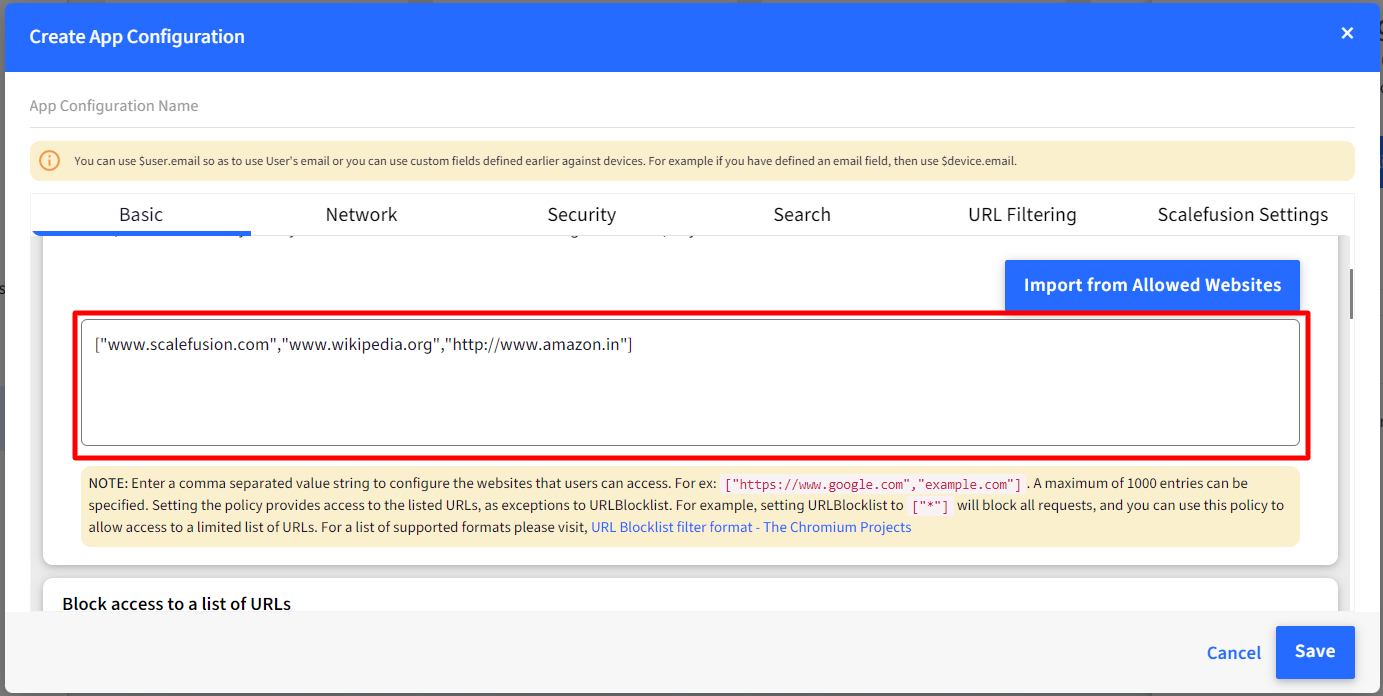
- Importing the Allowed Websites: Alternatively, use the button IMPORT FROM ALLOWED WEBSITES to select and import the allowed websites that you have created earlier. This will add the website URL in a format that Google Chrome configuration accepts.
- Block Access to a list of URLs: In the text area, enter the URLs of the websites that users cannot access on their devices once the configuration is applied. The URLs will be taken with or without http:// and https://
- Blocking All Except Allowed: Scroll down in the application configuration window and select Block All Except allowed so as to block all other websites except allowed.
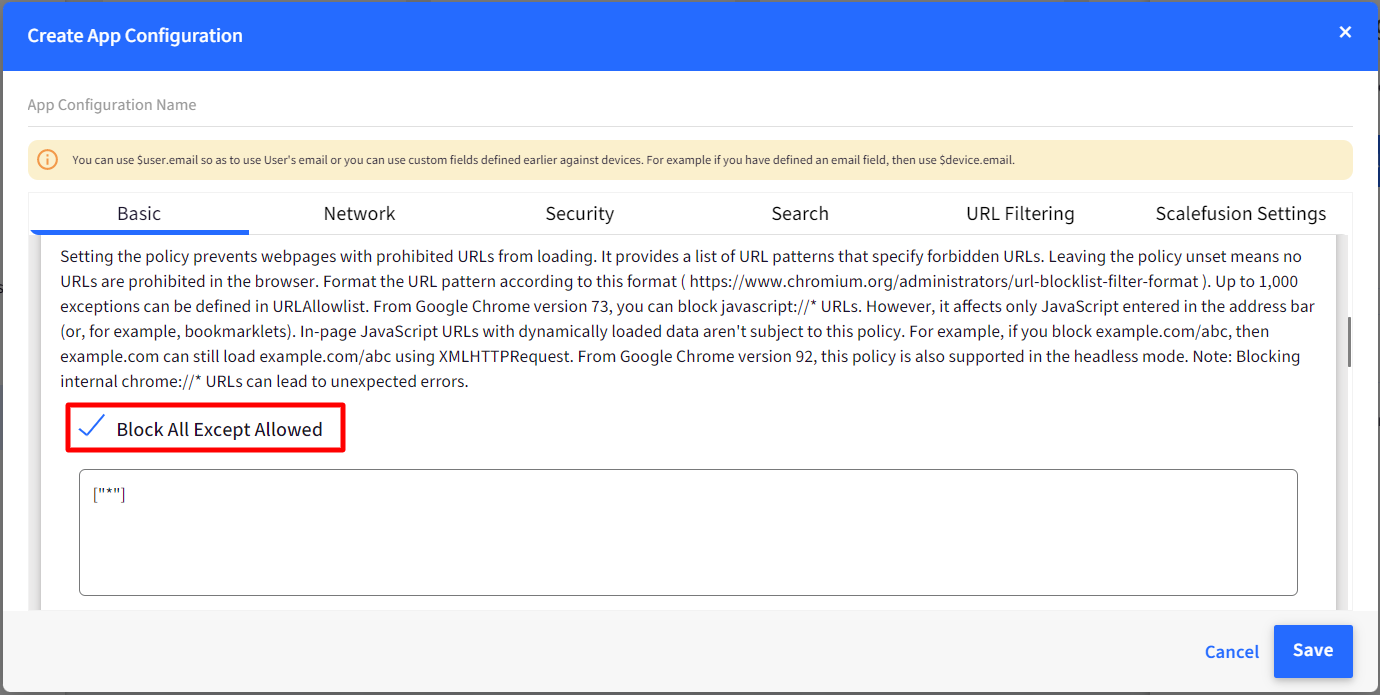 To check the format of Allow and Block URLs, please visit here
- Blocking All Except Allowed: Scroll down in the application configuration window and select Block All Except allowed so as to block all other websites except allowed.
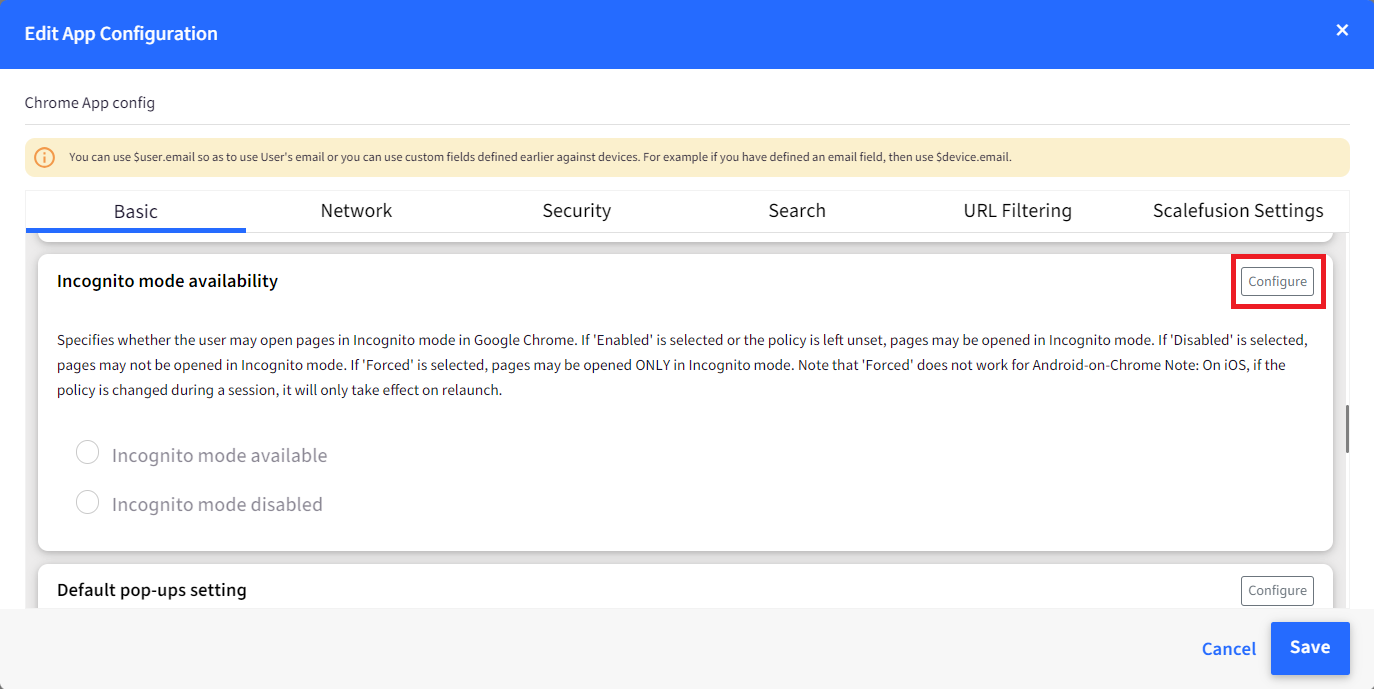
- The Chrome configuration UI now will show a Configure button that, when clicked, will allow you to select which keys (Boolean values) to configure and then select the value. These settings will then be sent to the device based on the value selected.
- Scalefusion Settings: From the top bar, click on the Scalefusion Settings to control the settings. The options are,
- Use Chrome to open Scalefusion Allowed Website Shortcuts: Enabling this will open the Allowed websites in Google Chrome custom tabs on devices.

- Auto-Allow Future Scalefusion Allowed Websites in this Configuration: Enable this to automatically add any websites that you allow in Device Profiles & Policies > Allowed Websites section.
- Allow the website domain, including the path parameters, when automatically adding to the configuration: If Enabled, then when we auto-add a website, the complete domain and path of that site are allowed.This setting can only be enabled when the parent setting Auto-Allow Future Scalefusion Allowed Websites in this Configuration is set to On

- Allow the website domain, including the path parameters, when automatically adding to the configuration: If Enabled, then when we auto-add a website, the complete domain and path of that site are allowed.
- Use Scalefusion MDM agent to configure URL Allowlist & Blocklist Policies: With this setting enabled, the policies Allow/Block access to a list of URLs(defined under Basic) will be applied via Scalefusion MDM agent, which will apply them on devices immediately. This will eliminate the dependency of allow/block list policies being applied on devices only when Chrome gets updated via the Google Play store, which takes some time. To avoid any leaks during this period, admins can choose to enforce the allowlist and blocklist policies via the MDM agent app.The devices should be EMM Managed

- Select a Custom Property to Update Status: You can view the policies and timestamps when they were applied on Chrome. To do so, select a custom property of String type from the drop-down. The updated status will be reflected in the Custom Properties tab under Full Device Information (Devices > View Details > Gear icon > Full Device Information).It is mandatory to select a custom property.

- Select a Custom Property to Update Status: You can view the policies and timestamps when they were applied on Chrome. To do so, select a custom property of String type from the drop-down. The updated status will be reflected in the Custom Properties tab under Full Device Information (Devices > View Details > Gear icon > Full Device Information).
- Use Chrome to open Scalefusion Allowed Website Shortcuts: Enabling this will open the Allowed websites in Google Chrome custom tabs on devices.
- Google Chrome offers a bunch of other configurable parameters that are divided into the following tabs,
- NETWORK: Grouping of all network-related features.
- SECURITY: Grouping of all security-related features.
- SEARCH: Grouping of all search-related features.
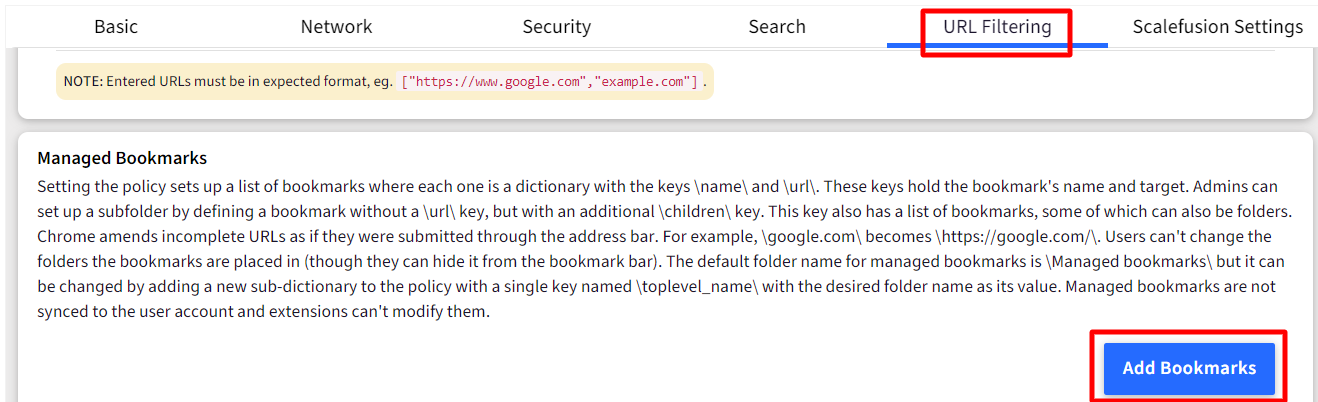
- URL FILTERING: Grouping of all URL-filtering-related features.
- Managed Bookmarks: Under URL filtering admin can configure the bookmarks and also structure them by creating folders / sub-folders and within them the URLs that have to be bookmarked. To create Bookmarks,
- Click on the Add Bookmark button placed under Managed Bookmarks
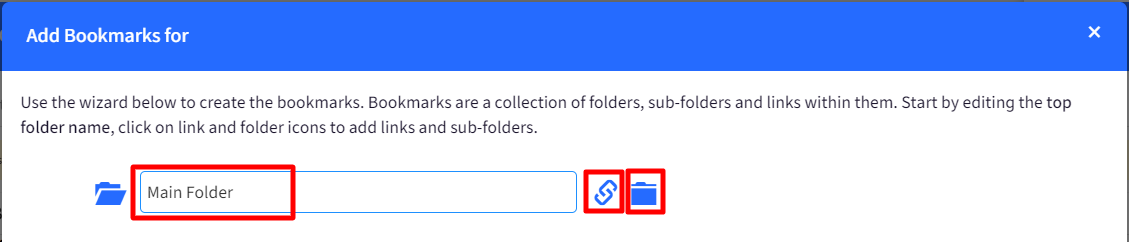
- This opens the Bookmark widget. You can rename the top (root) folder's name. Next to the folder name, there are two icons through which you can perform the following actions.
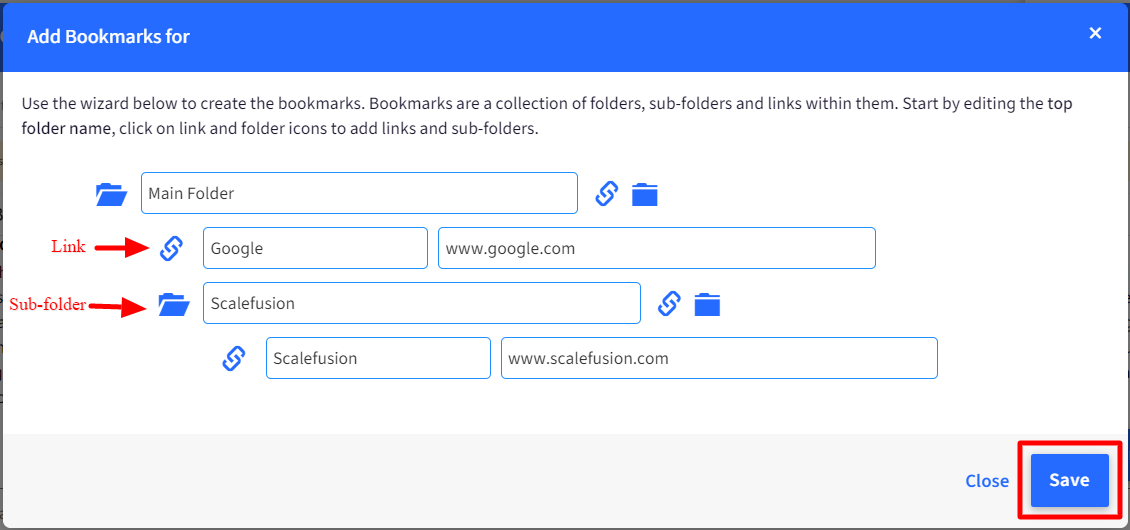
- Add Link: Adds another row where you can add the link name and URL
- Add Folder: With this, add a sub-folder under a parent folderYou can remove the URL or sub-folder by clicking on the Remove icon, which is visible next to any link or sub-folder row when you mouse on any of them.
- Click on the Add Bookmark button placed under Managed Bookmarks
- Once the bookmark structure is created, click Save to save the configuration.
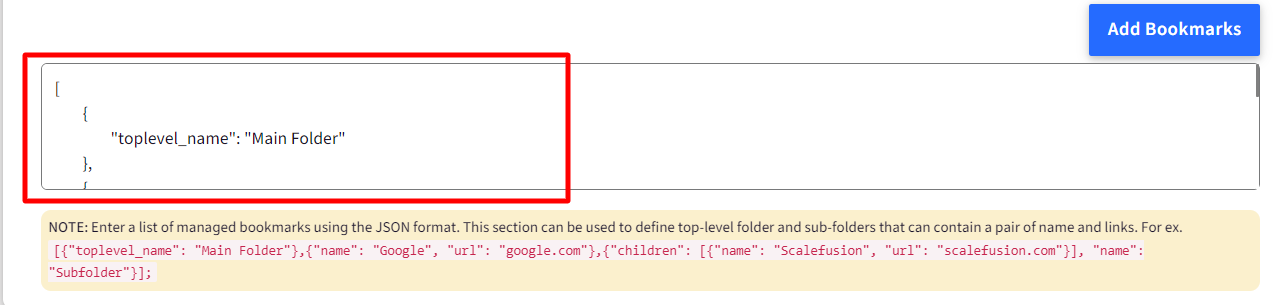
- After saving, the configurations will look like this in the Managed Bookmarks text area.
 This is how bookmarks get configured and reflected on the device in the Bookmarks section when you launch Google Chrome.
- Managed Bookmarks: Under URL filtering admin can configure the bookmarks and also structure them by creating folders / sub-folders and within them the URLs that have to be bookmarked. To create Bookmarks,
- Once you have made the required changes, click SAVE to save the configuration.
- When this configuration is published, the devices then the shortcuts on the device will be opened using Google Chrome.
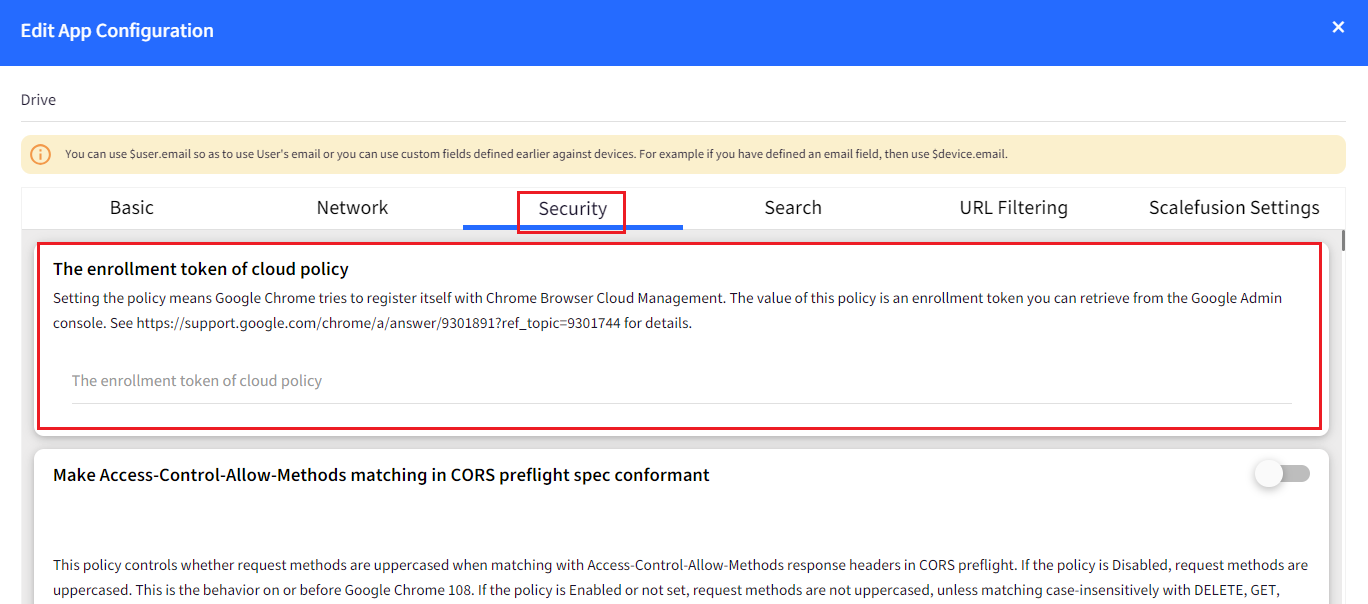
You can also use Chrome application configuration with Chrome Browser Cloud Management (CBCM). Google's Chrome Browser Cloud Management (CBCM) is a service that allows centralized control over Chrome browser settings and policies on enterprise devices. You will need to copy the enrollment token from your Google Workspace Admin console (navigate to Devices > Chrome > Managed browsers) and enter it in the Chrome application configuration that you have created on the Scalefusion dashboard (navigate to Application Management > Play for Work apps > Chrome app> App configuration > Security tab > enrollment token of cloud policy field). Next, publish the Chrome app and the application configuration from Play for work apps onto the devices.