Windows 10 enrollment requires the users enrolling the devices to be administrators on the device. However for some users the enrollment steps using other techniques may be difficult like students or non-IT staff. In such cases you can generate a PPKG file and share it with them.
When to use this technique?
- Use this method to generate provisioning packages when you have the devices already with the users who have admin accounts.
- Use this method to generate provisioning packages when you have the devices already with the users who don't have admin accounts but the IT admins can access the machines to enroll devices.
- Useful where the adoptions of other enrollment techniques prove to be difficult for target audience. Applying common policies and distribute applications.
- Suitable for Device Profiles where the policy either blocks the applications or has no application policy as such.
Please note this type of provisioning would not be suitable if your device profile has an Allowed/Assigned access policy for applications.
Prerequisites
- Scalefusion Account
- Install Windows Configuration Designer
- Test Windows 10 or above device
Step 1: Preparing the configuration data
Before we generate the provisioning package files we need some data that can be used with the Windows Configuration Designer. Follow the steps below to get started,
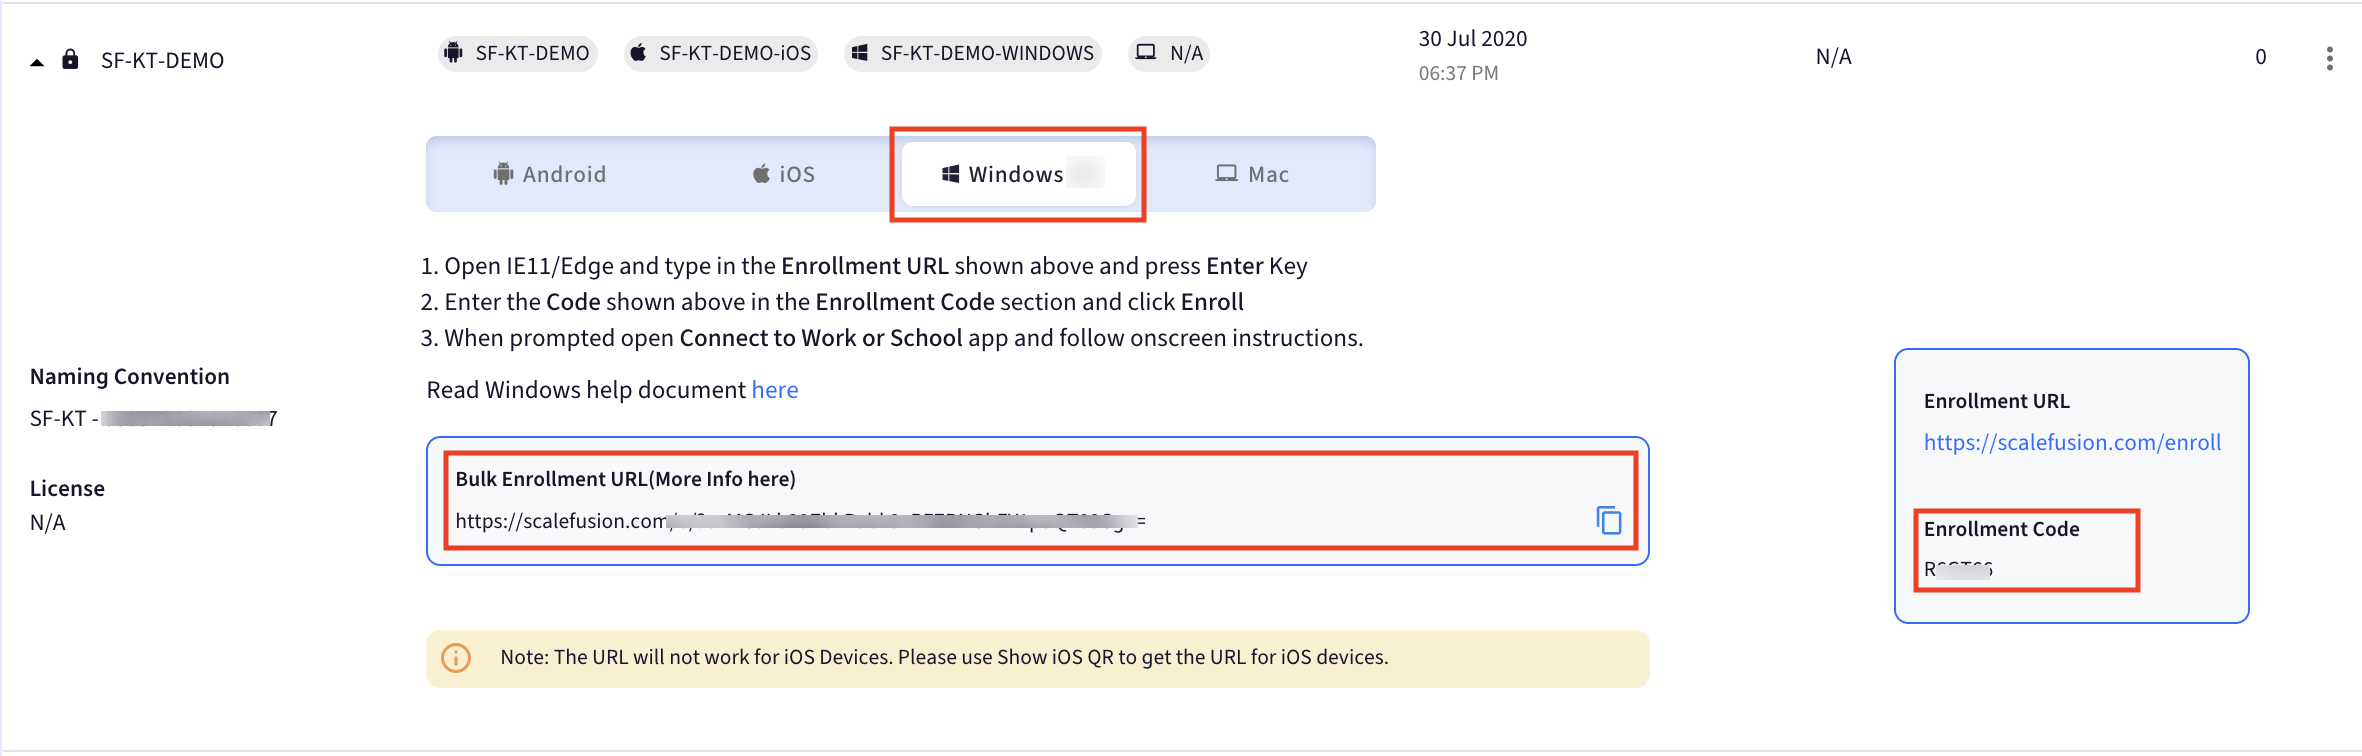
- Create a Windows Device Profile and an Enrollment configuration.
- Click on the enrollment configuration to expand and click on Windows tab. Copy the Bulk Enrollment URL & Enrollment code and keep it handy that will be used in Windows configuration designer.
Step 2: Generating Provisioning Package using Windows Configuration Designer
- Launch Windows Configuration Designer and click on

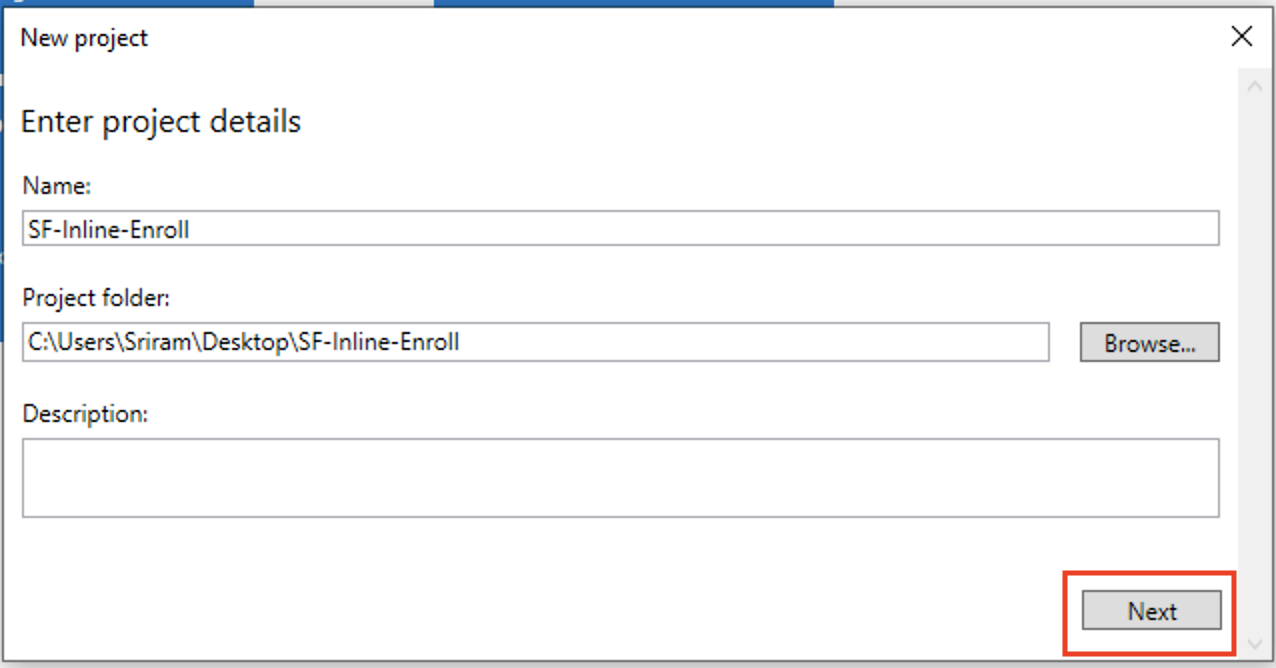
- Enter a name for the project and choose a folder where it will be saved. Click Finish to start the process.
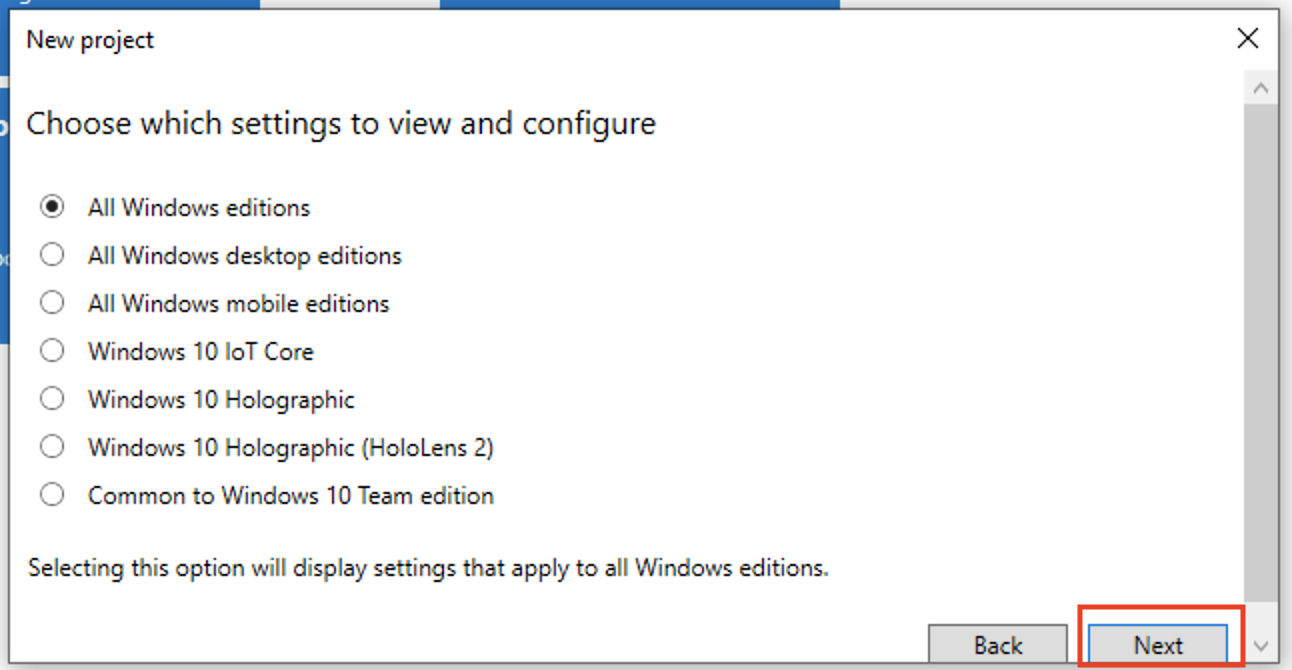
- Click Next to continue.
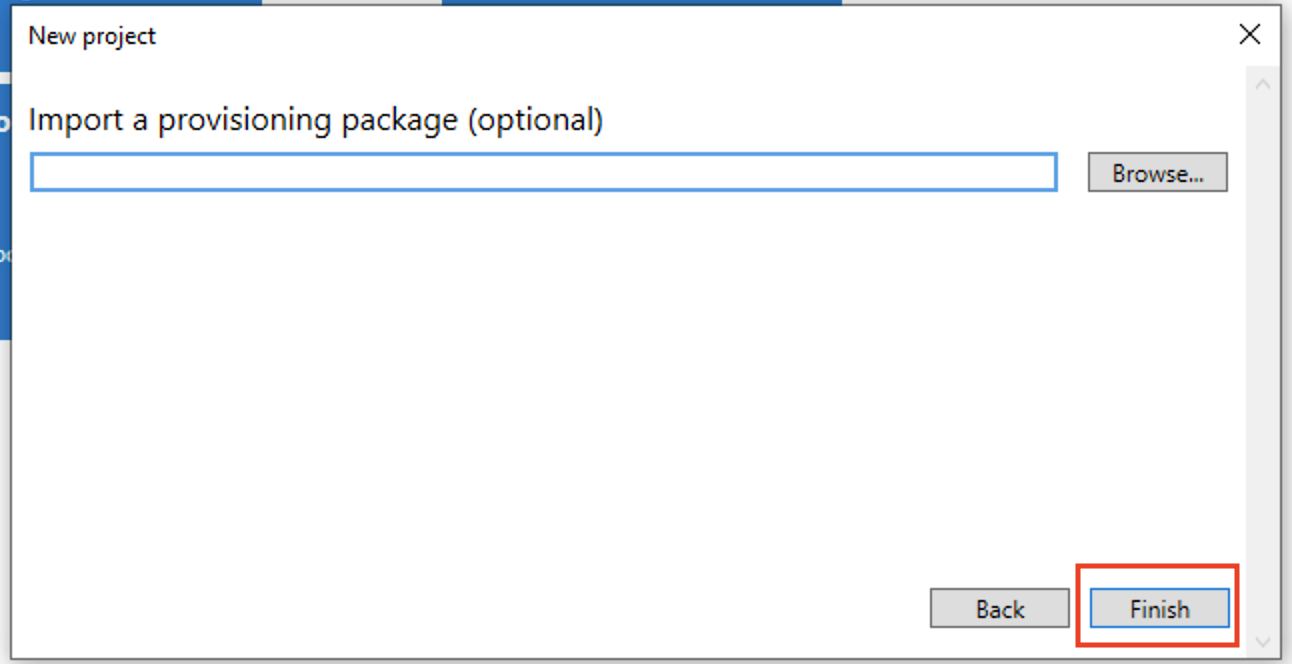
- Click Finish to start the provisioning wizard.
- Runtime Settings: Once in provisioning wizard click on Runtime settings to expand it.

- Enrollment UPN Setting: Scroll down to Workplace group and expand it. Click on Enrollments. Enter a UPN and click ADD.Use the email that you use to sign in to Scalefusion should be used as the UPN
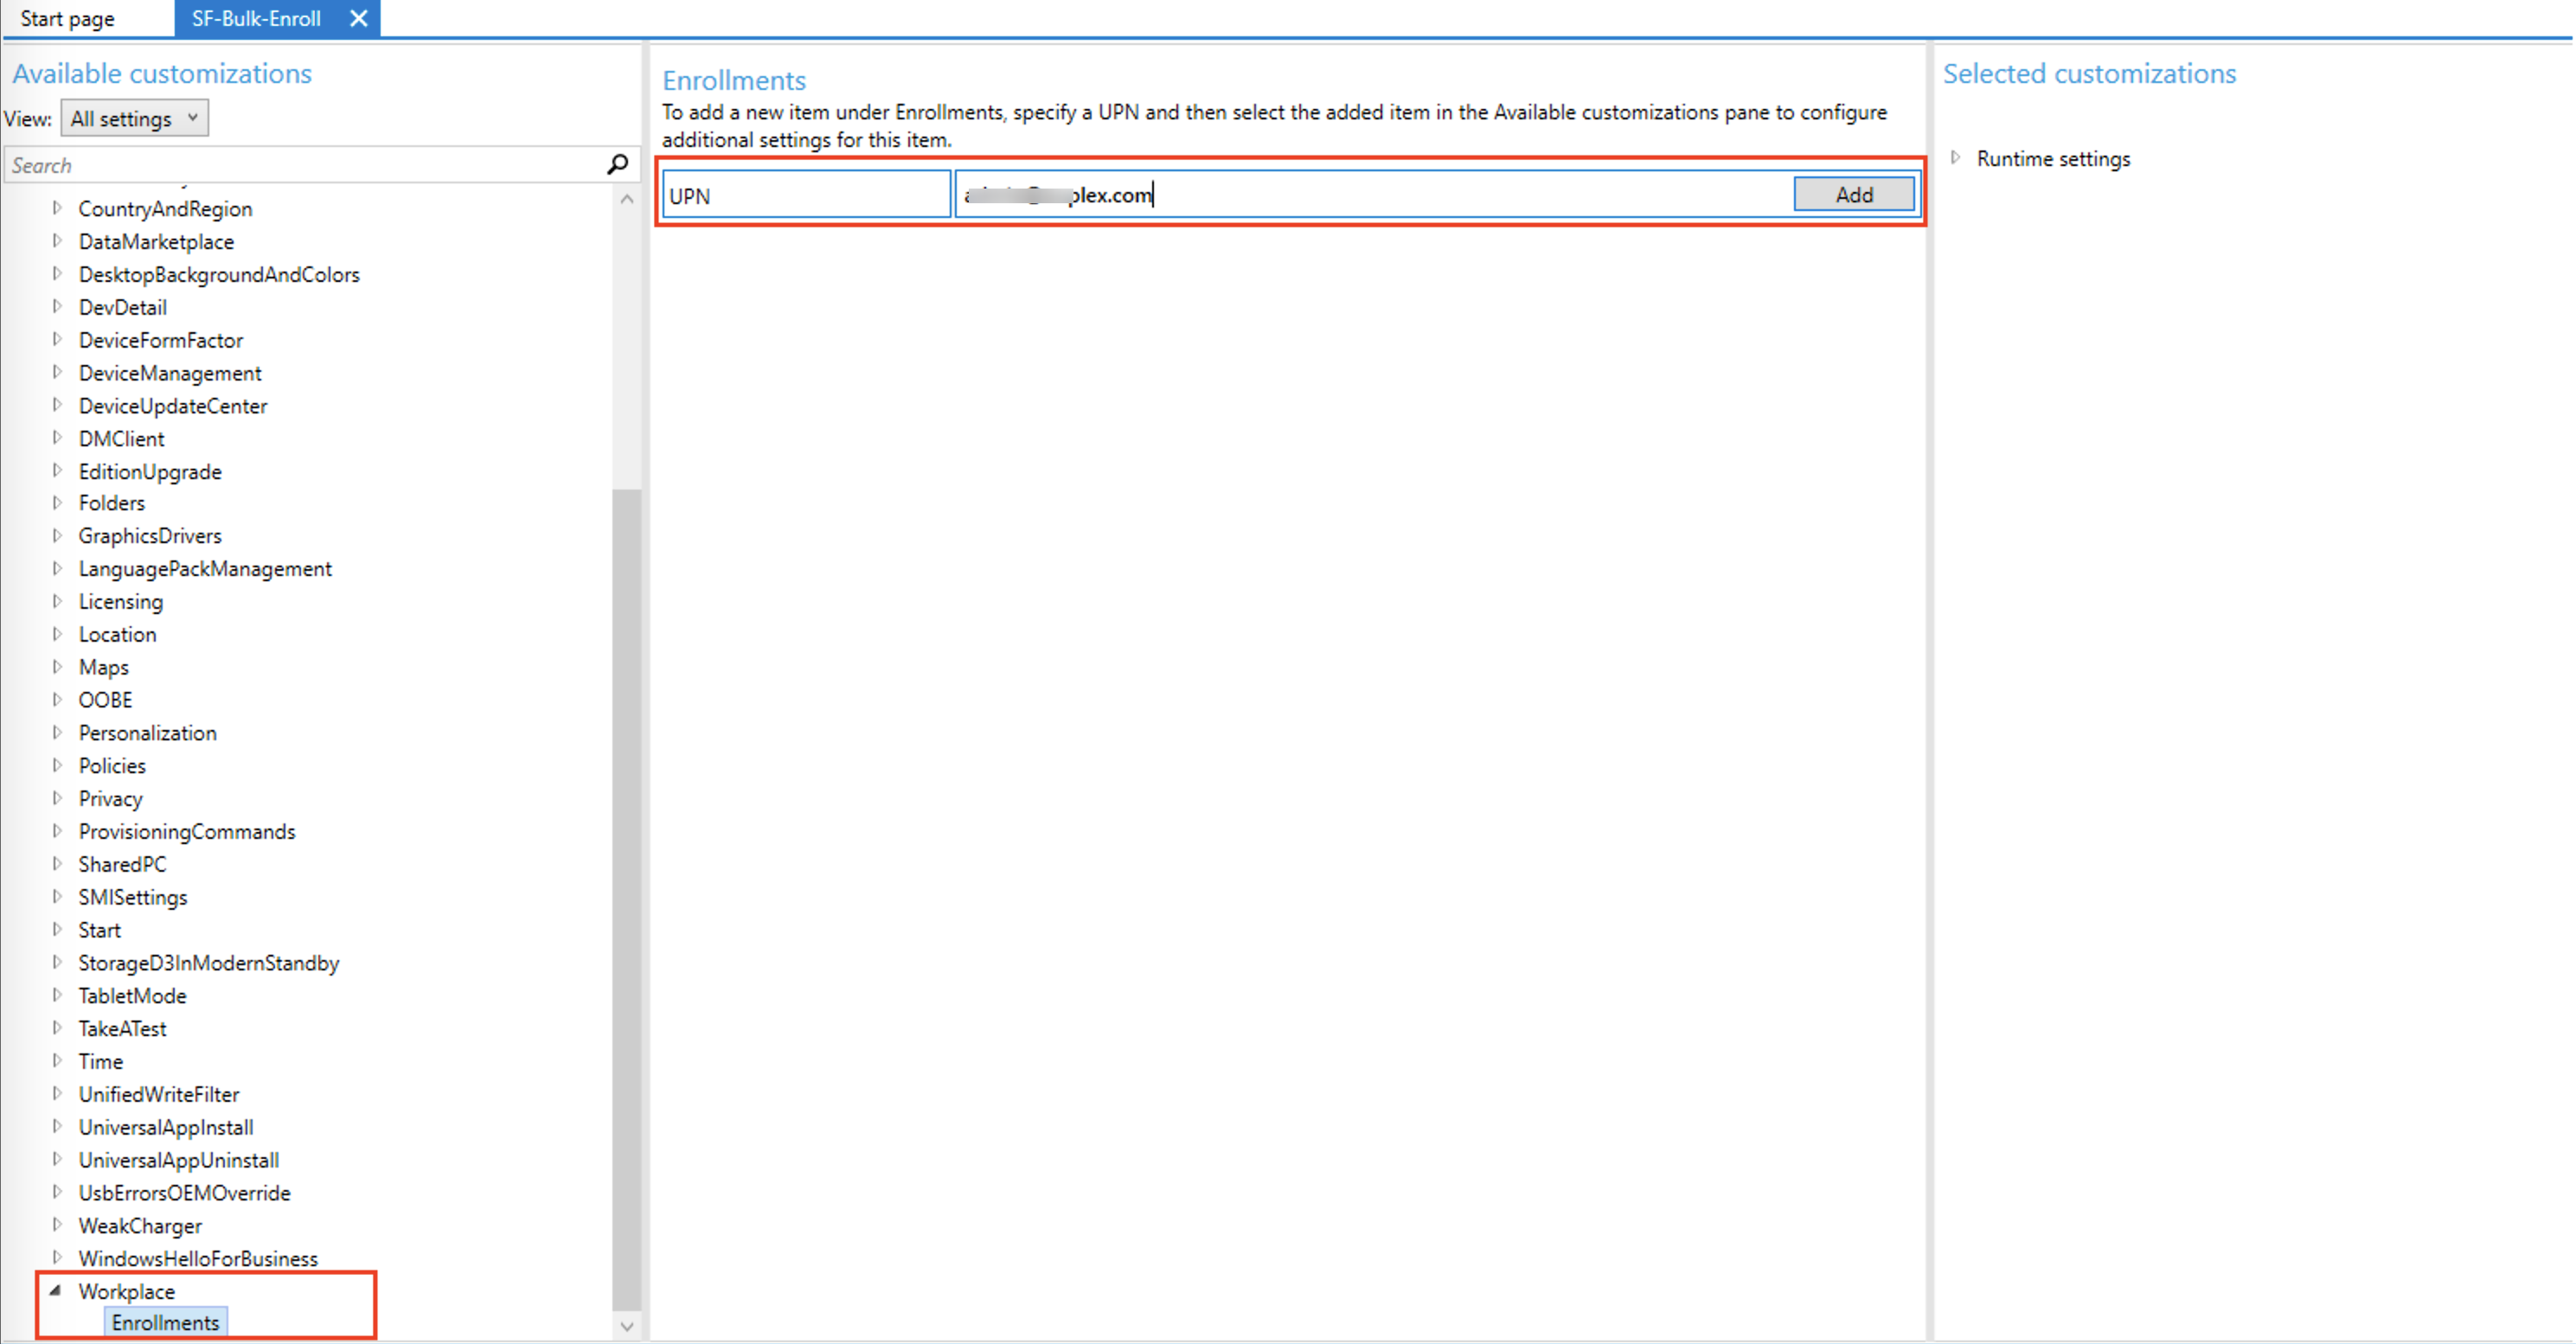
- Discovery Service Full URL: Once you add the UPN, you can expand the UPN section on the right and click on Discovery Service Full URL. Enter the URL that you copied at Step 1: Preparing Configuration Data

- Secret: Now click on Secret section and enter the Enrollment code that you obtained at Step 1: Preparing Configuration Data

- Generate PPKG file:Now you are ready to generate the PPK file. To do so follow the steps below,
- Click on Export > Provisioning package

- From the Owner drop down select IT Admin and click Next

- Now you can select to encrypt the package and sign the package using a certificate. Select the options as required and click Next

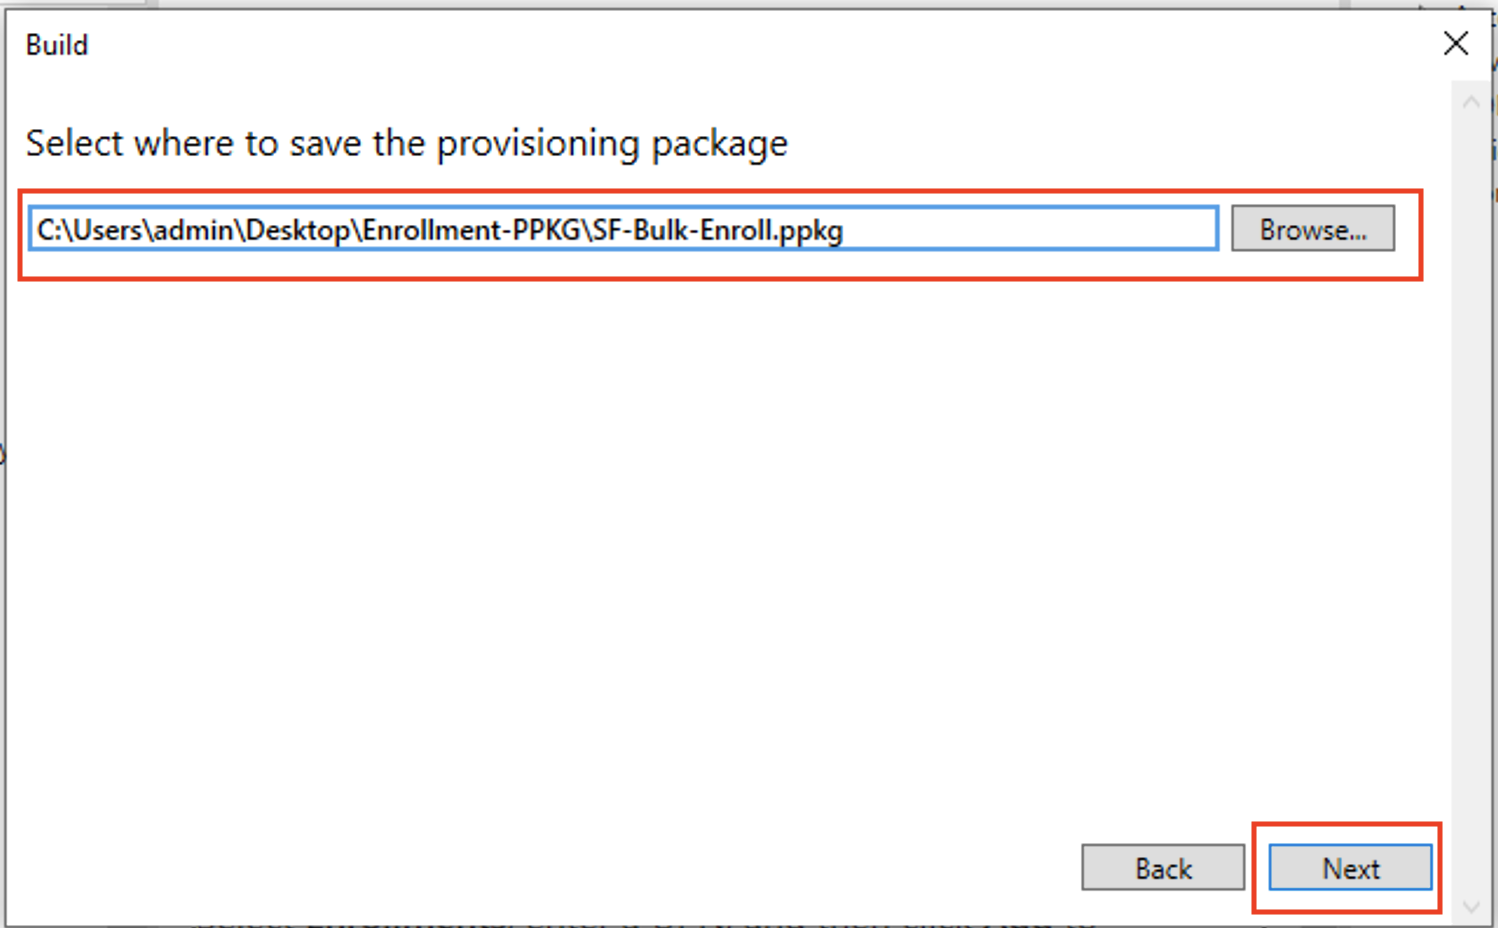
- Choose where the generated package file should be saved and click Next
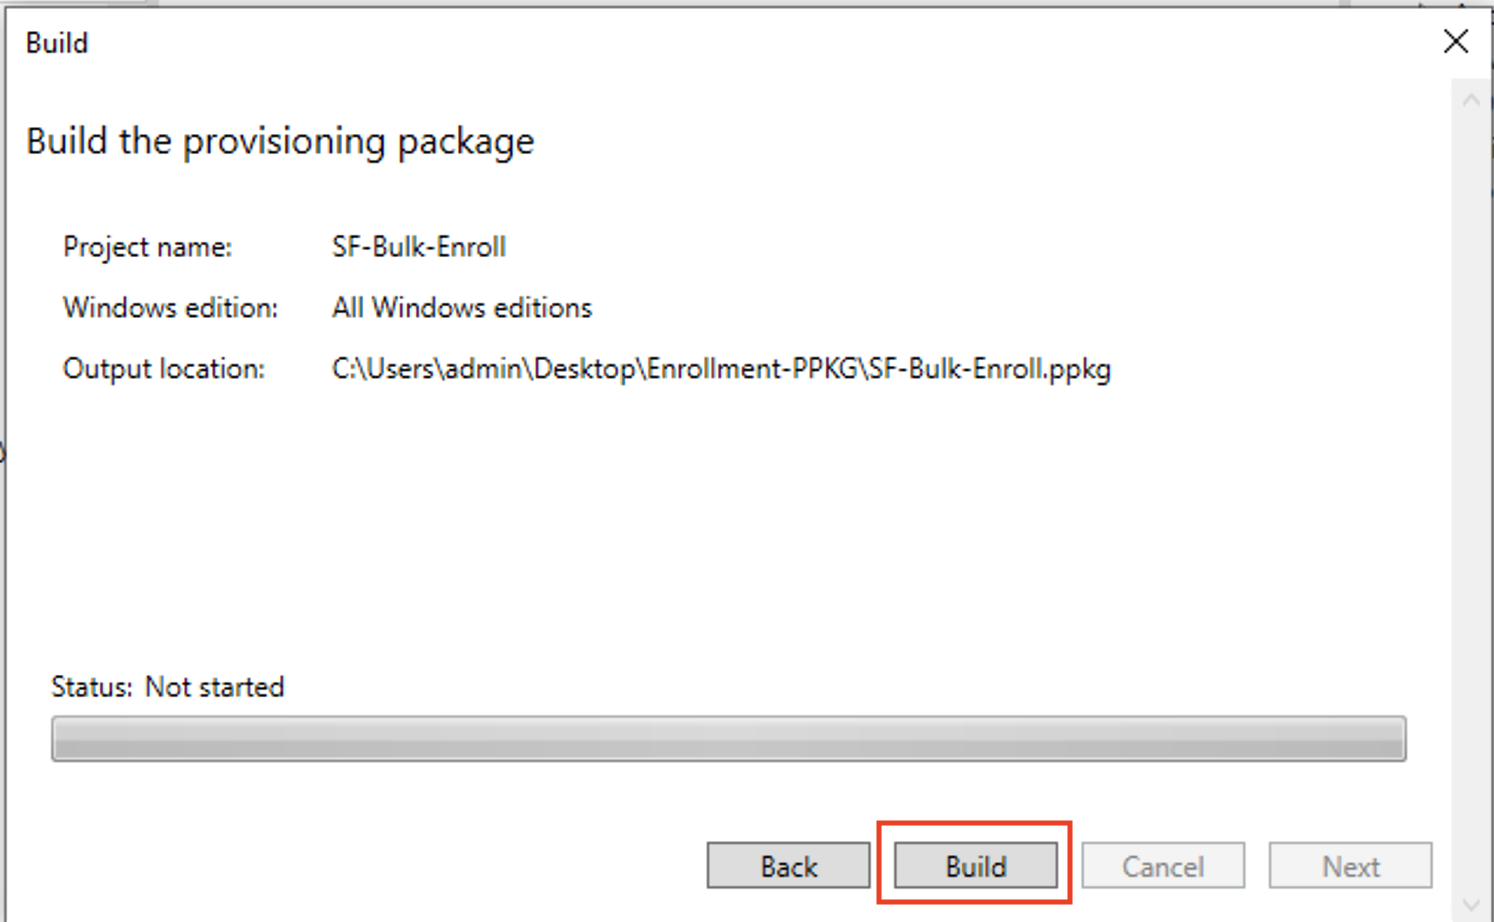
- Click Build to generate the PPKG file.
- Click on Export > Provisioning package
- Share the PPKG file with users: You can share the generated PPKG file by any means to the end users, over an email, shared folder etc.

Step 3: Enrollment using PPKG on a Device
- Once the end users received the PPKG file, they would have to download it to their PC and double click to start the enrollment and follow the on-screen instructions. Users would be shown a prompt as shown below and once the Click Yes, Add and the device will enroll to Scalefusion.
 Please note, the users need to have Admin access to enroll using the provisioning package.
 - The device will start appearing in Scalefusion Dashboard once the package file is installed.