Maker-checker is a fundamental principle of authorization within the information systems such as that of financial institutions. This principle mandates the involvement of a minimum of two individuals in every transaction - one responsible for initiating the transaction and another tasked with validating or authorizing it.
By introducing a maker-checker based flow in the MDM ecosystem, allows IT Admins to implement checks and balances in the system and also provides them with the ability to review crucial changes that may impact the device's operation in the field before they are actually put into effect. This added layer of security and oversight ensures a more thorough and careful approach to managing device operations.
This article explains how Maker Checker feature is configured on Scalefusion Dashboard and then used to approve or disapprove the actions taken thereon.
Platforms Supported
Windows, macOS, Android, iOS
Pre-Requisites
You should be subscribed to Enterprise 2023 subscription plan
Admin with Approver Privileges
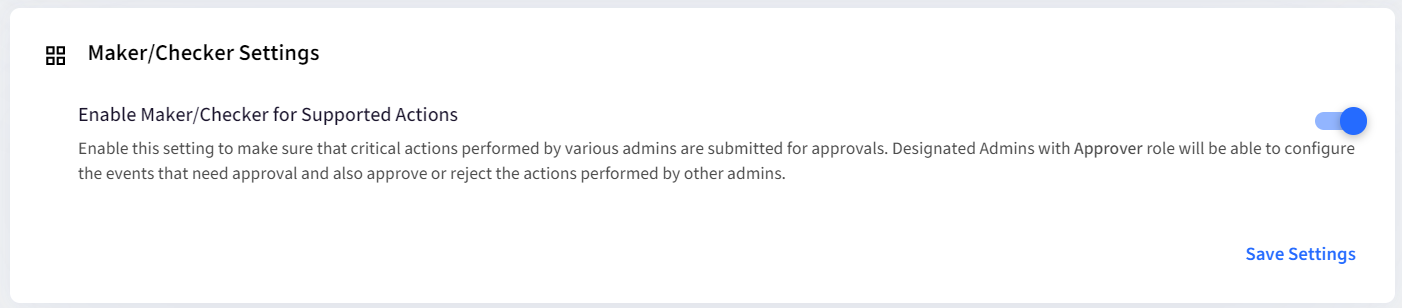
Enable Maker/Checker for Supported Actions should be enabled on Scalefusion Dashboard (Utilities > Global Settings > General Settings)
On enabling this setting, note that Maker Checker is available on Scalefusion Dashboard's left panel
Actions for Approval
Following types of actions taken by a user from Scalefusion Dashboard can be initiated for approval:
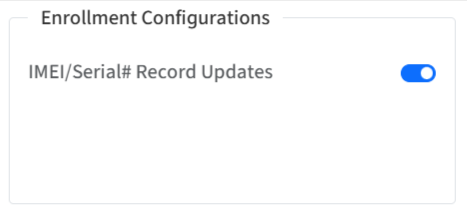
Enrollment Configurations:
a. IMEI/Serial# Record Updates
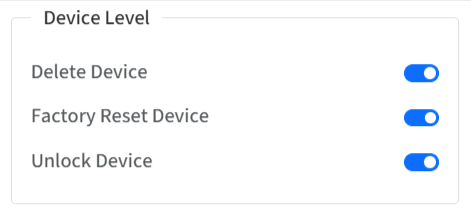
Device Level:
a. Delete Device
b. Factory Reset Device
c. Unlock Device
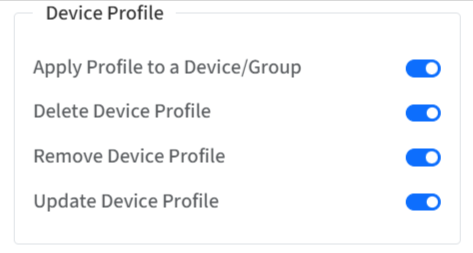
Device Profile:
a. Apply Profile to a Device/Group
b. Delete Device Profile
c. Remove Device Profile
d. Update Device Profile
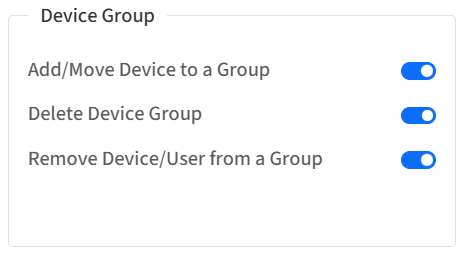
Device Group:
a. Add/Move Device to a Group
b. Delete Device Group
c. Remove Device/User from a Group
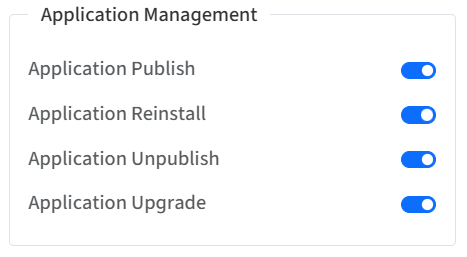
Application Management:
a. Application Publish
b. Application Reinstall
c. Application Unpublish
d. Application Upgrade
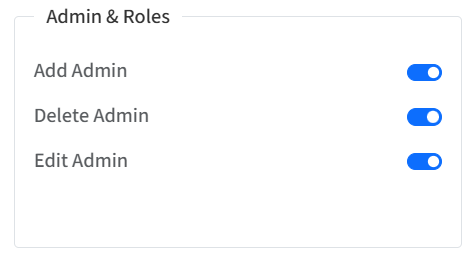
Admin & Roles:
a. Add Admin
b. Delete Admin
c. Edit Admin
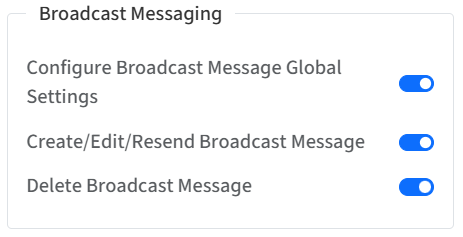
Broadcast Messaging:
a. Configure Broadcast Message Global Settings
b. Create/Edit/Resend Broadcast Message
c. Delete Broadcast Message
These are configurable, that is, IT admins can select the actions for which they want maker/checker to be enabled.
From where can the actions be initiated?
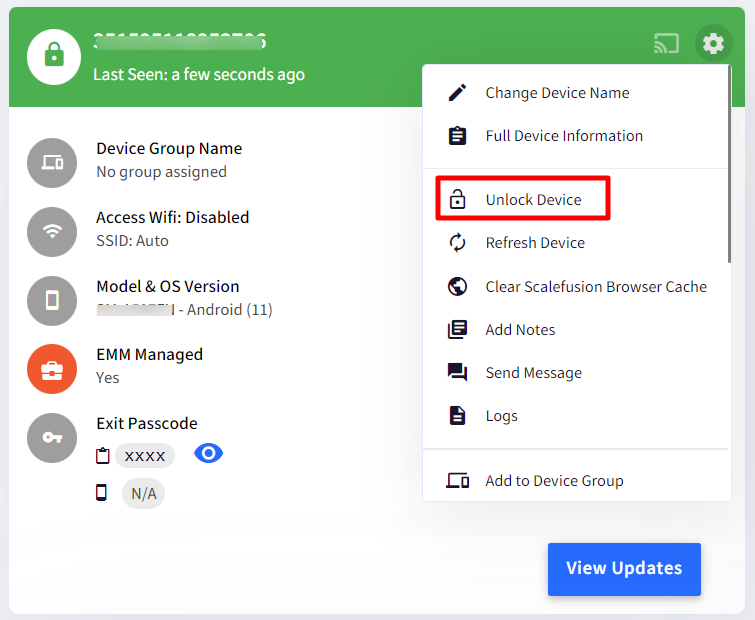
Devices section > Gear icon
Devices > Bulk Actions
Group Level actions
Overview
There are two individuals involved in the process, viz:
Maker: The person who initiates an action (listed above) from Dashboard
Checker: The person who reviews and approves/rejects the request. People assigned with any of the following roles can approve/reject requests:
Owner
Co-account owner
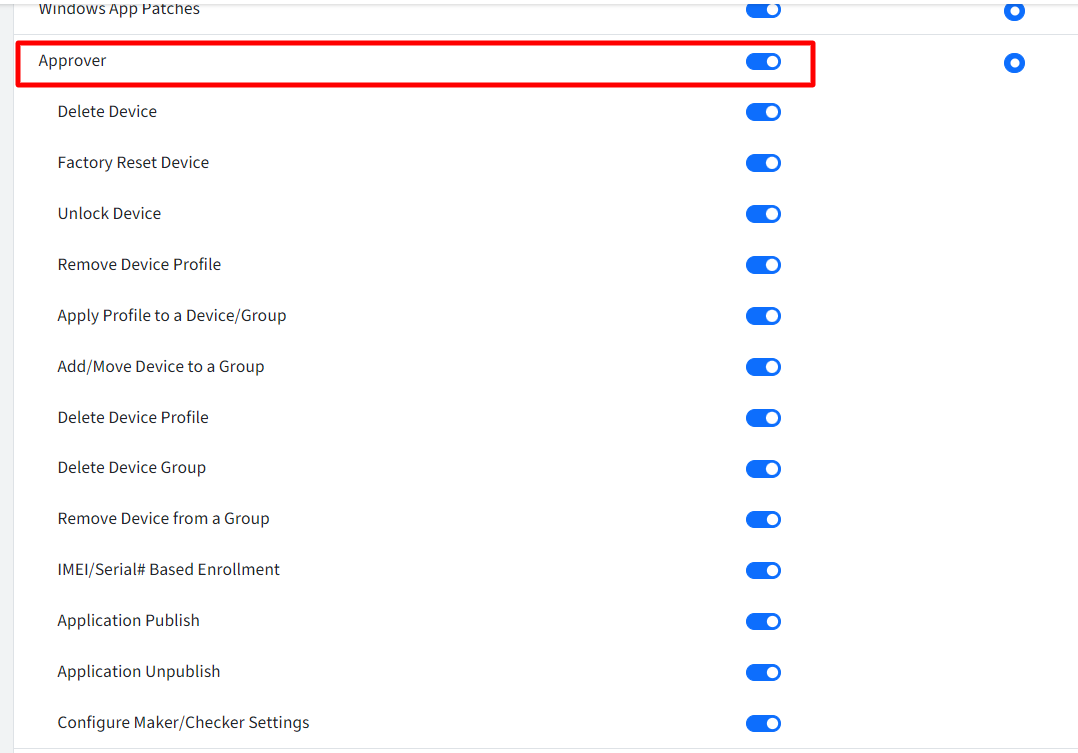
Approver/Checker: The role can be assigned from Admins & Roles section on Scalefusion Dashboard.
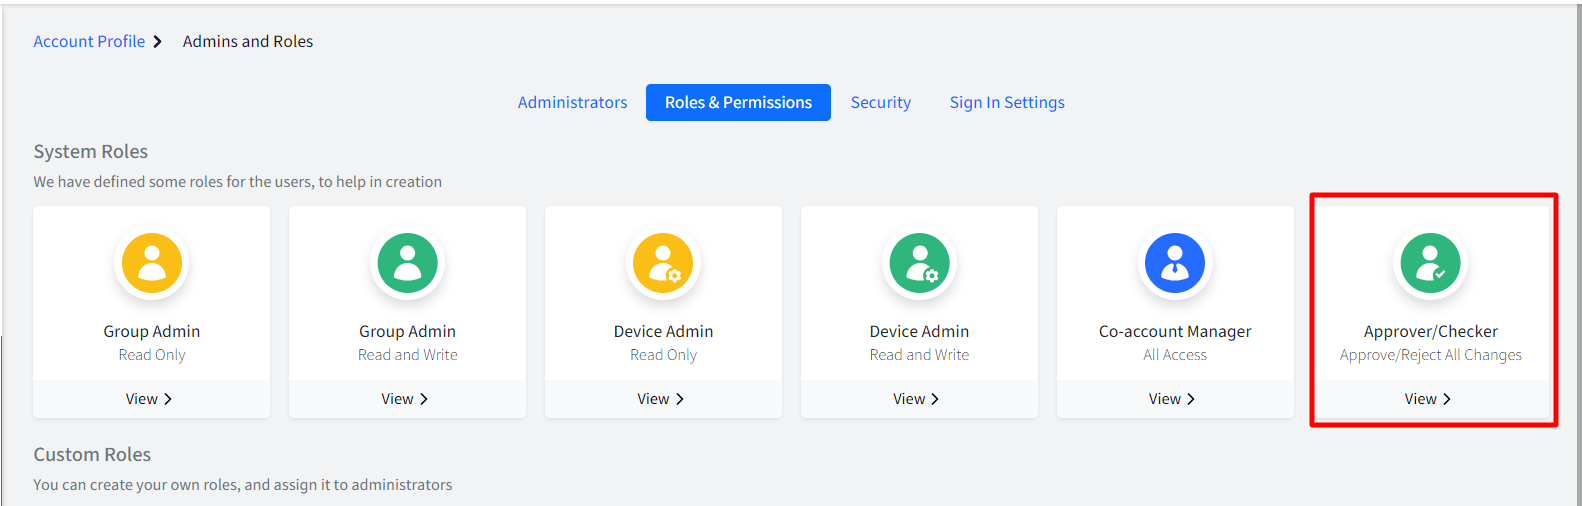
Custom role having Approver permission enabled. For a custom role, actions can be assigned/unassigned.
Step 1: Configure actions or policies which require to be reviewed for approval/rejection
Step 2: Initiate request
These are explained in detail below.
Configure Actions
On Scalefusion Dashboard, navigate to Maker Checker > Pending Approval and click on Configure button on the right
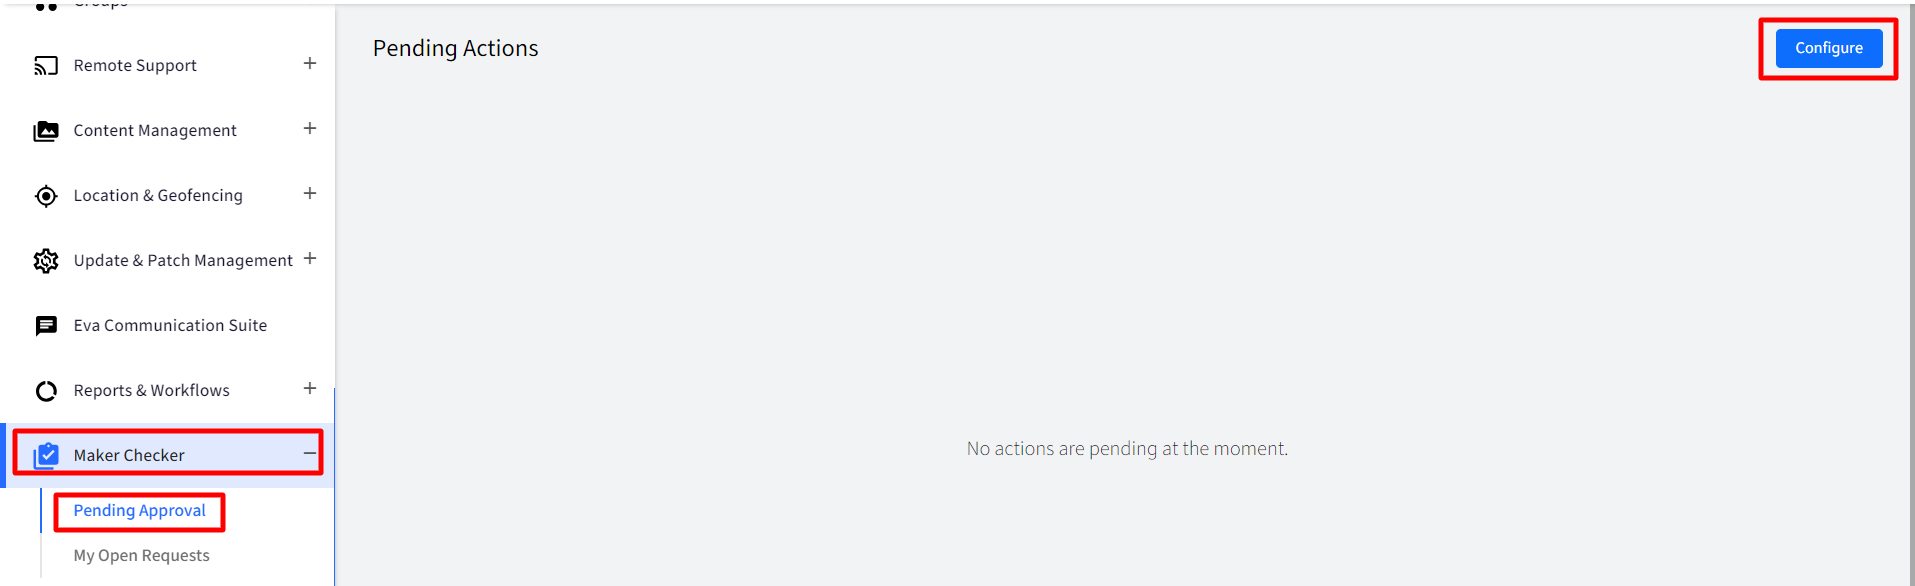
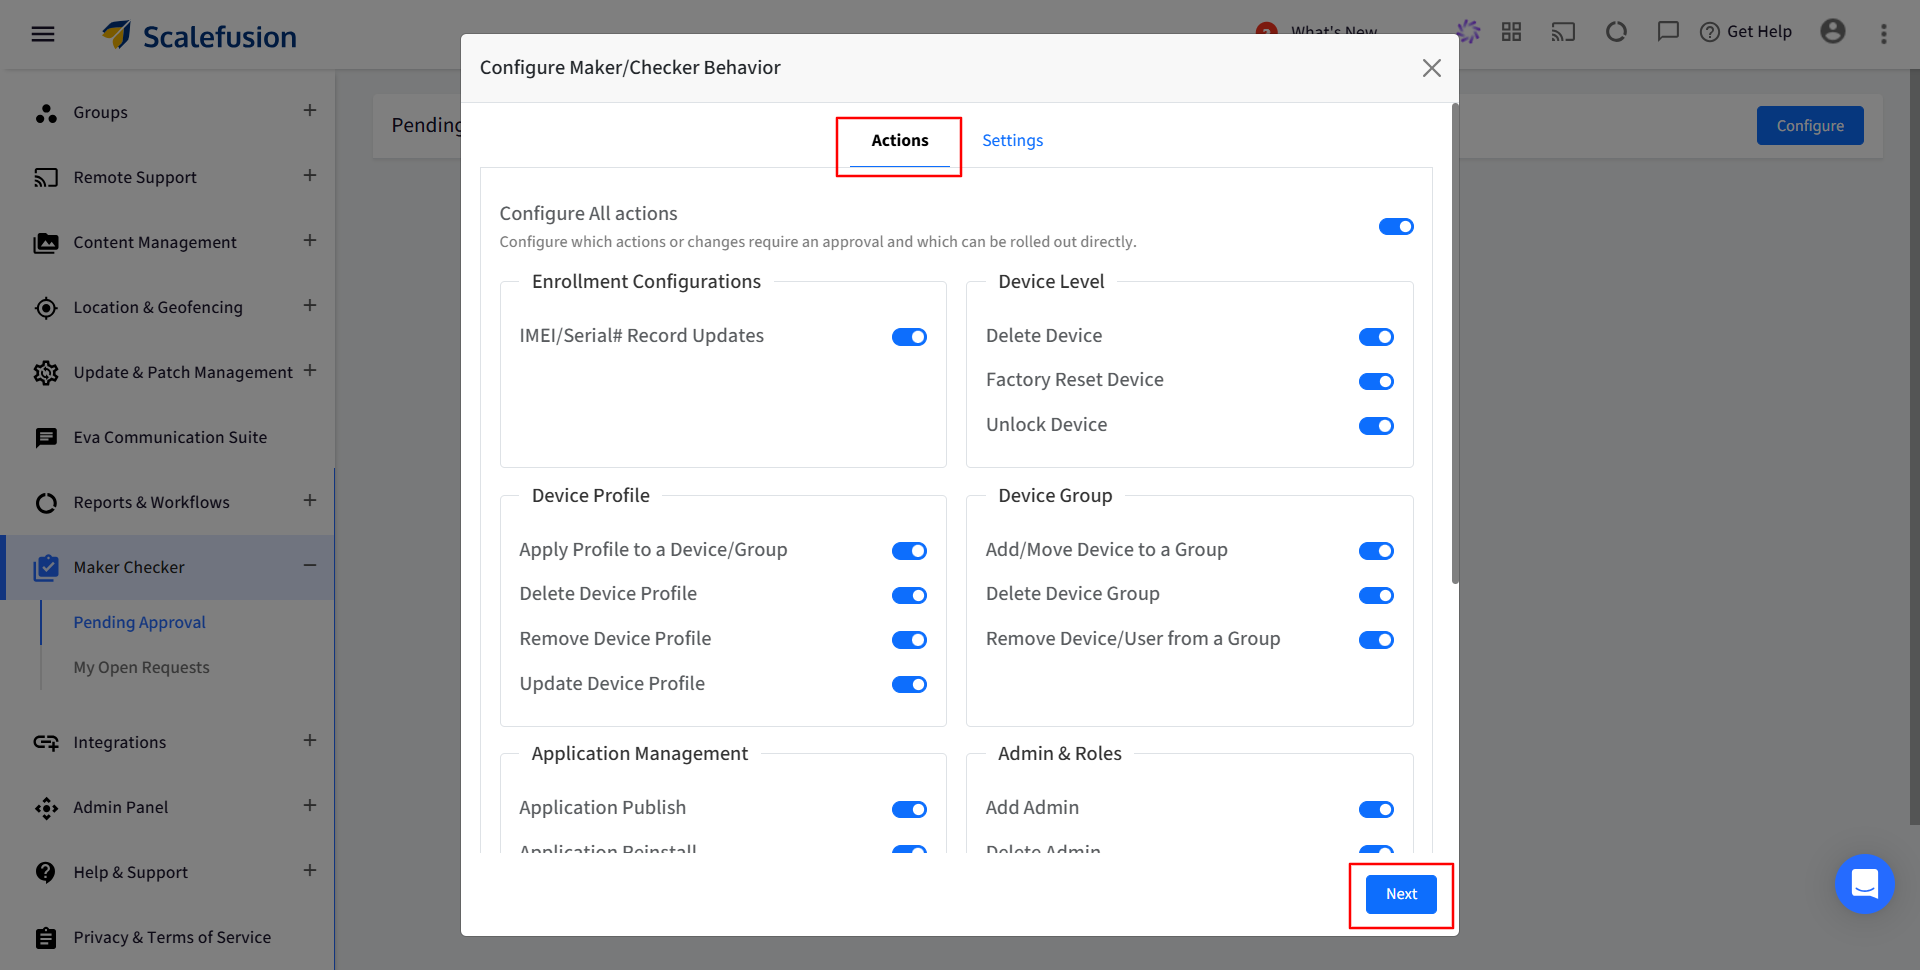
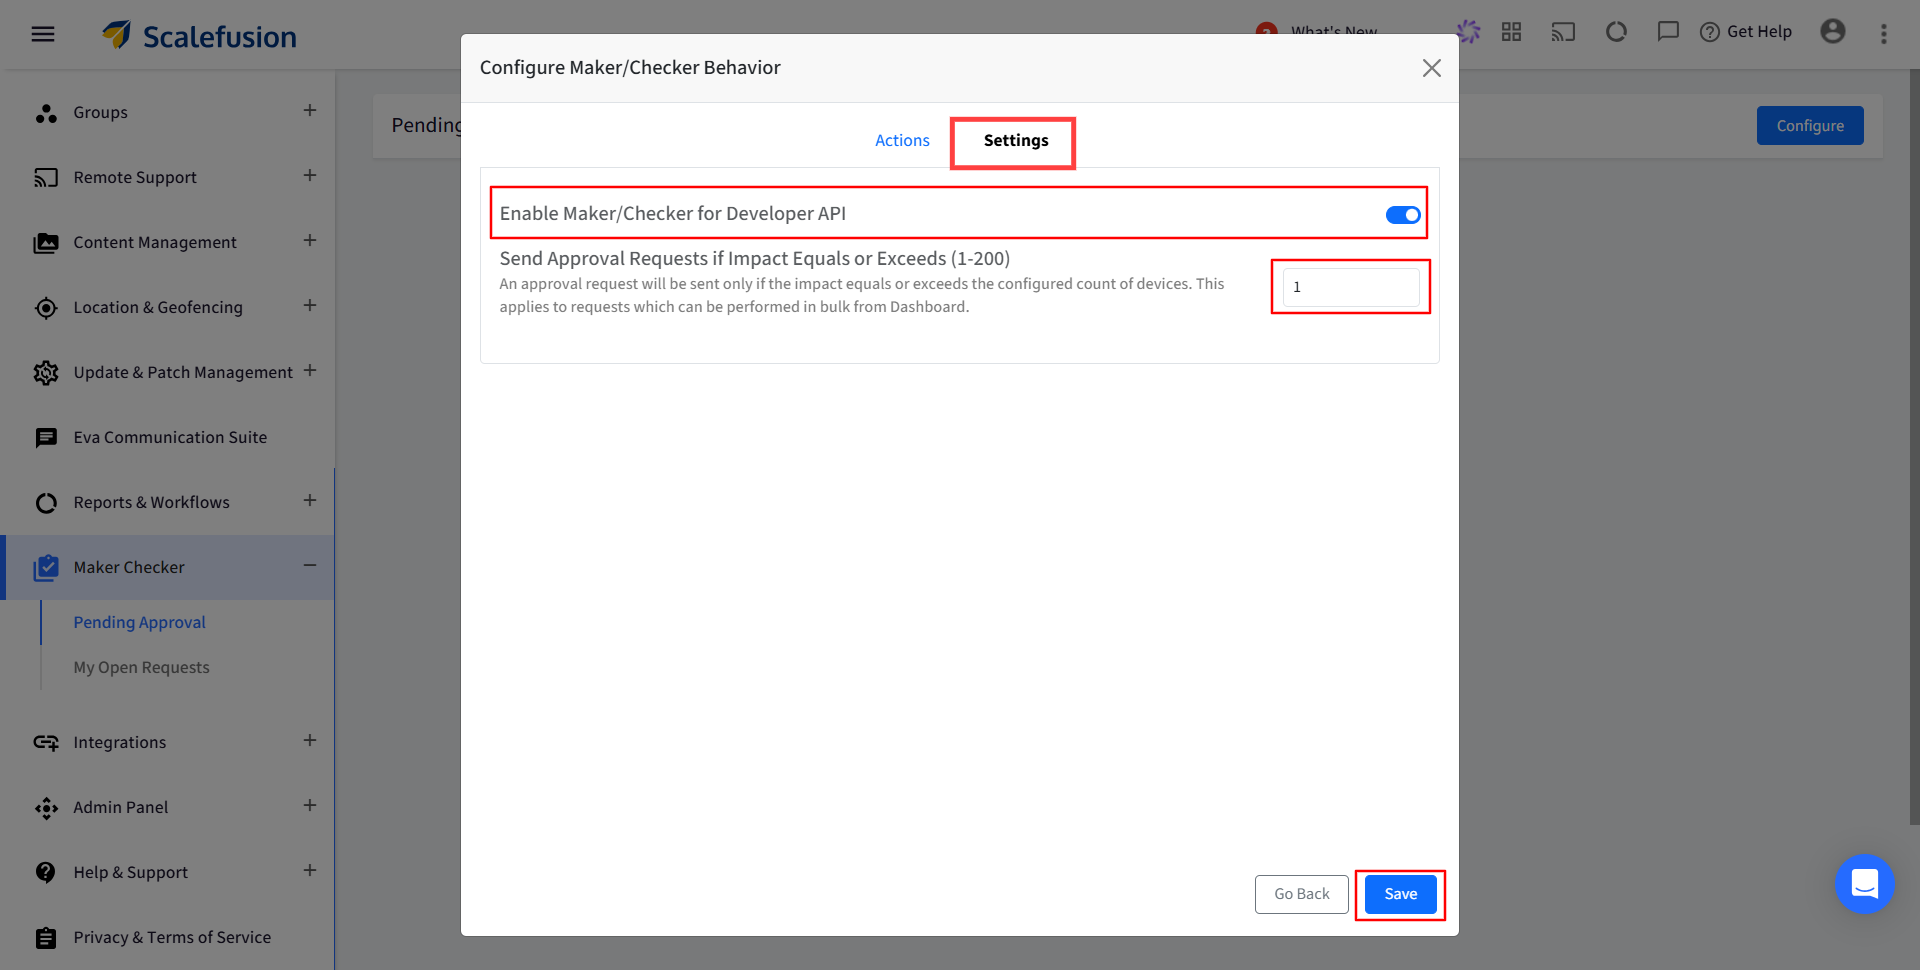
This opens the Configure Maker/Checker Behavior dialog box.
Actions: From the list of actions, select the actions for which approval is required, click Next:
Enable Maker/Checker for Developer API: Enable the Maker/Checker workflow for Developer API actions to ensure that changes are reviewed and approved by authorized personnel before execution, helping reduce the risk of unauthorized or unintended modifications.
The Maker/Checker workflow applies to all configured POST, PUT, and DELETE API requests. GET requests are excluded, as they are read-only operations and do not modify data or system settings.
Send approval requests if impact equals or exceeds (1-200): Here, Admins can configure a count and the approval requests will be sent only if they equal or exceed the given count. That is, the total no. of impacted devices on the requests initiated from dashboard, should be equal to or above the count mentioned here. If the no. of impacted devices is less than the count, then the request is not sent in the process of approval. This count can be anywhere from 1 to 200. Please note, this does not apply on request for Admin & Roles, Factory Reset and IMEI/Serial # Record Updates
Click on Save once configured.
Actions can be configured by Owner, Co-Account Owner, Approver Checker role or Custom role
Initiate Request
From Scalefusion Dashboard, admin initiates a request.
Add a description for the request.
Once you initiate a request from Dashboard,
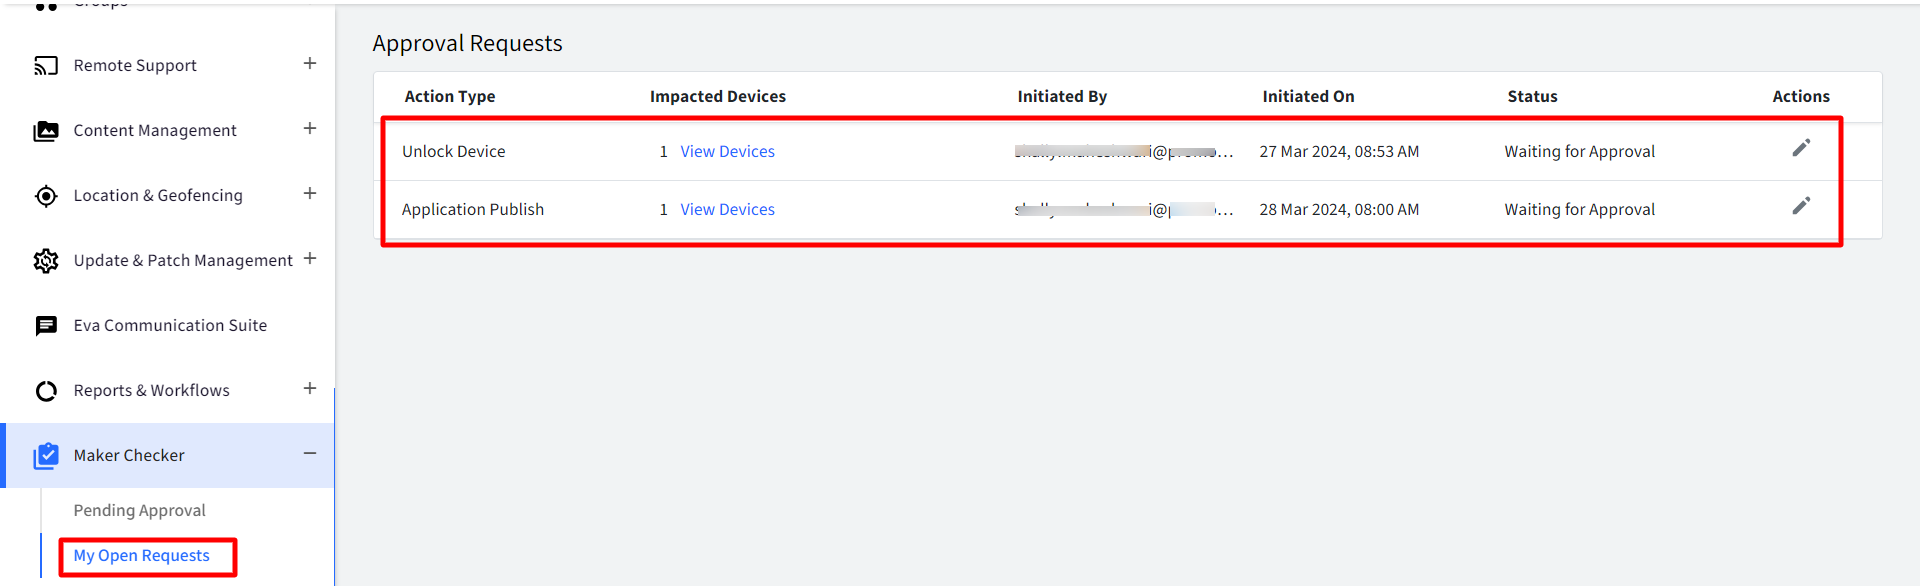
It will be queued for approval and displayed under Maker Checker > My Open Requests. You can view the details of devices which are impacted and also update the description that helps reviewer to understand the context.
An email notification will be sent to the approver notifying about the request being raised.
Review Request
The approver logs in to Scalefusion Dashboard
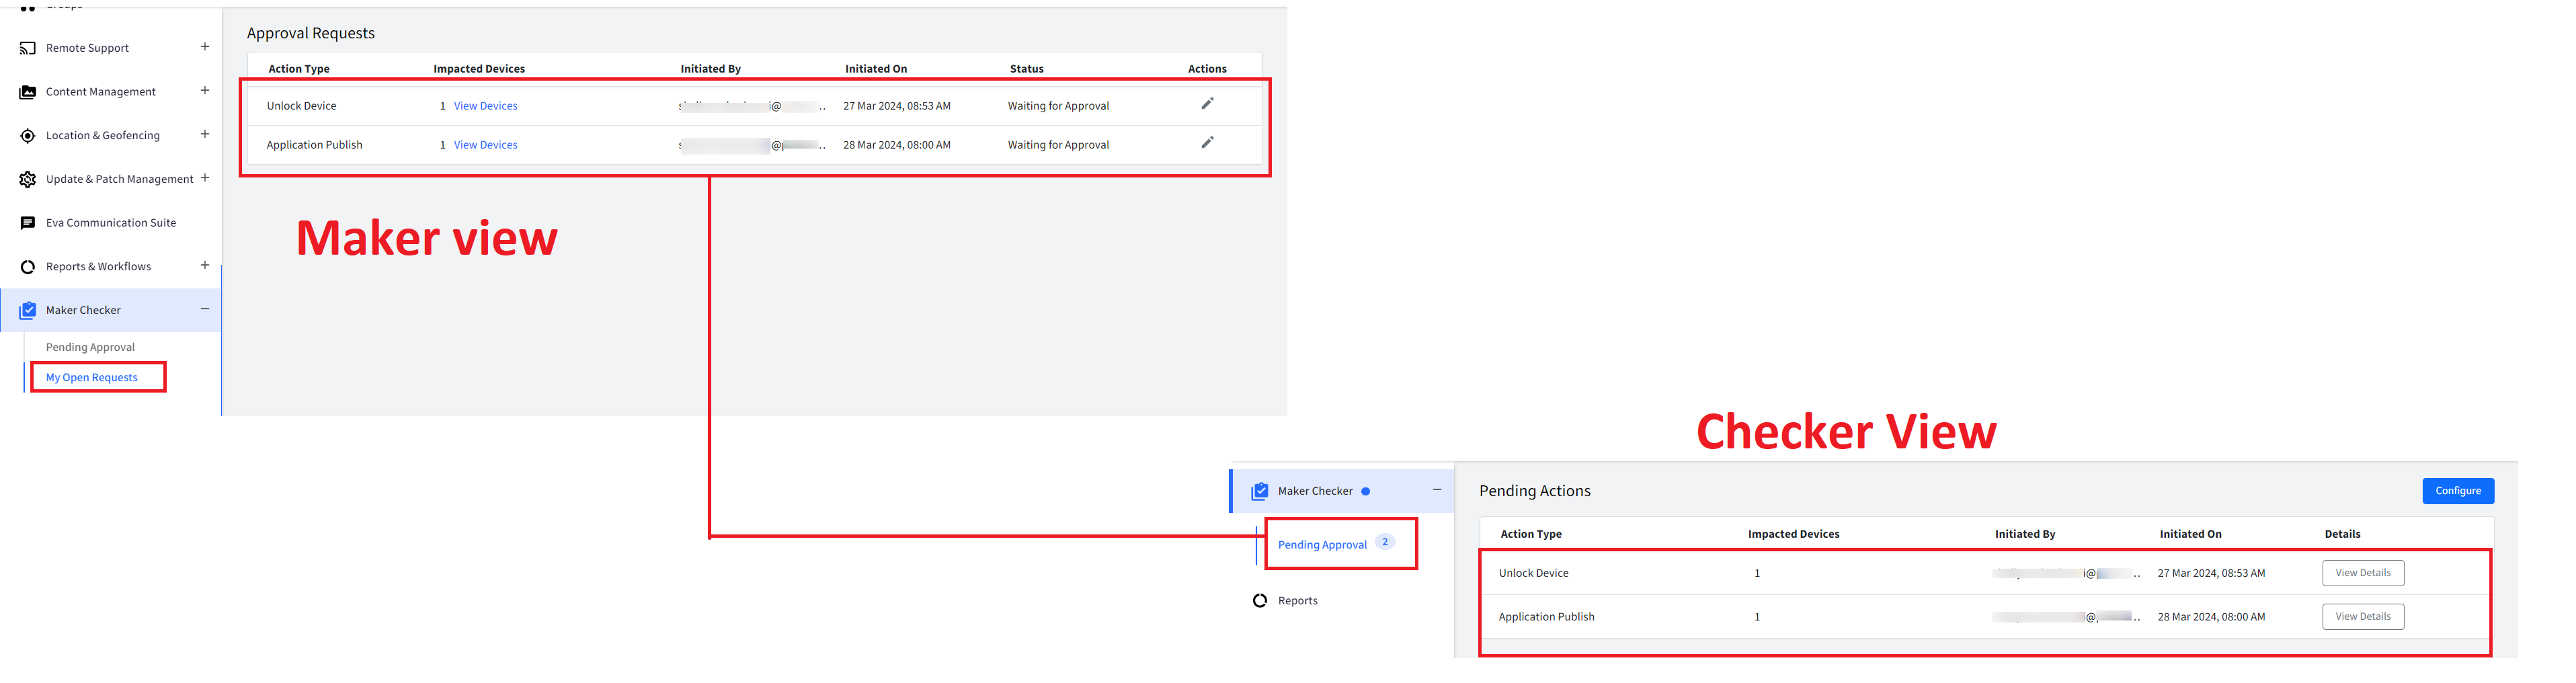
The requests will be displayed under Maker Checker > Pending Approval.
Note on the left panel, a badge is displayed next to Maker Checker and count next to Pending approval indicating there are requests pending for approval
Click on View Details to view the details like when the request was initiated and by whom, the devices impacted etc. and take appropriate action to approve or reject accordingly.

Important Points to Note
IT admins cannot view their own requests in Pending Approval.
Pending Approval will list requests made by other admins.
Example
The process of initiating and approving a request is explained with the help of an example of unlocking an Android device.
Assuming the admin has configured this action for approval, you initiate the action to unlock a device from dashboard.
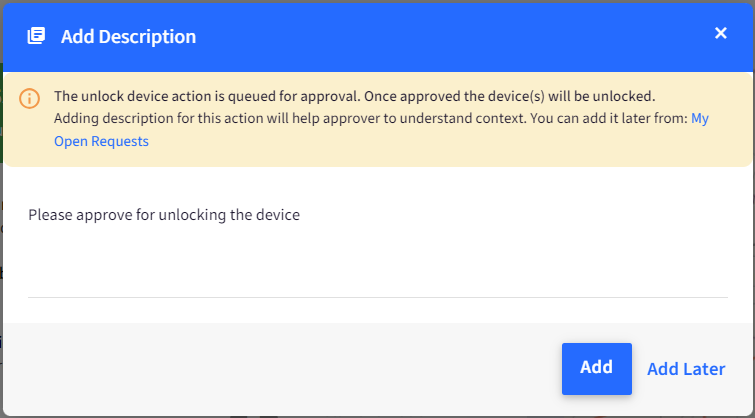
At first, you will get the following dialog to enter description which helps the checker to understand the context for unlocking the device. You can choose Add Later and add it later from My Open Requests.
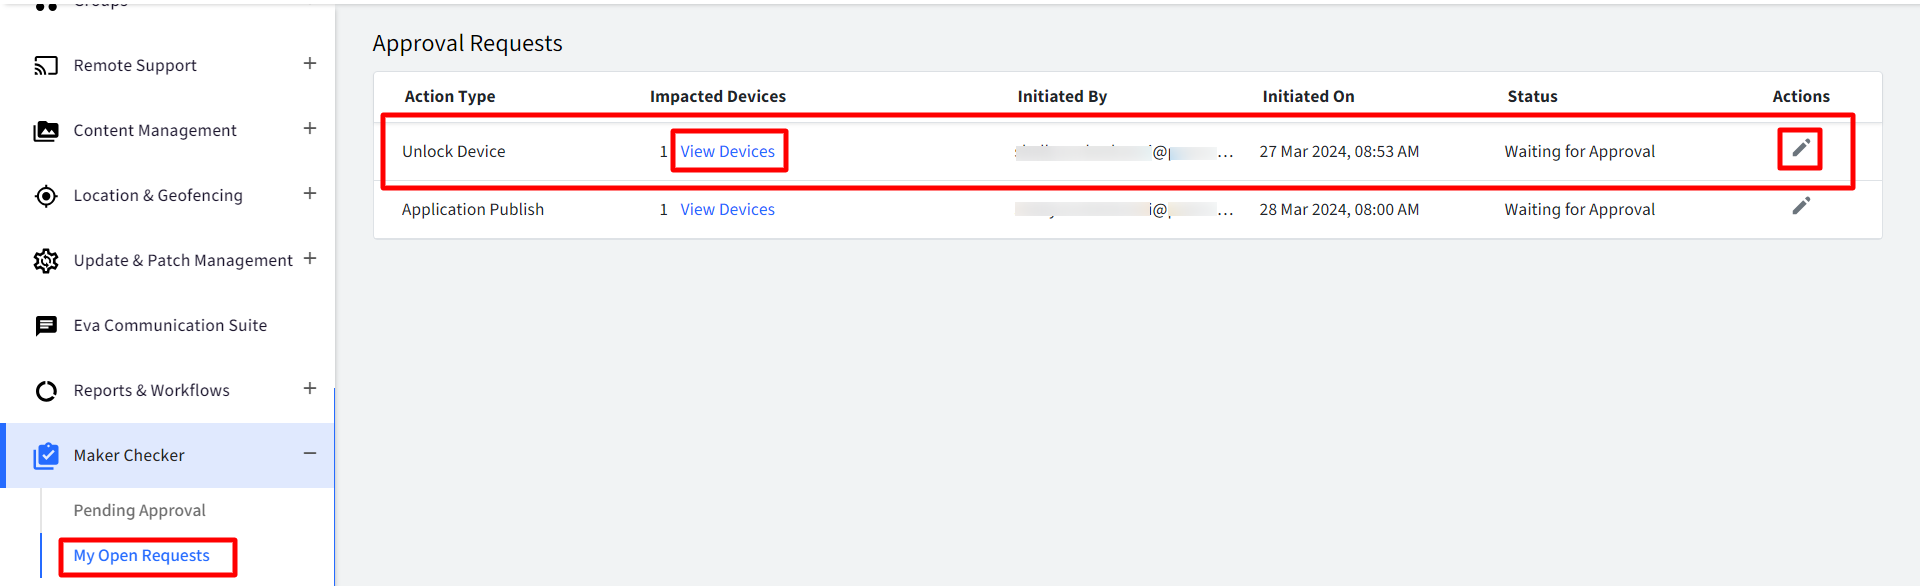
Once done, note that the approval request is displayed under Maker Checker > My Open Requests with the Status Waiting for Approval and other related details. From here, you can perform the following:
View Devices: Clicking on View Devices will open another window showing the details of device(s) which will get unlocked.
Edit Description: Under actions, clicking on pencil icon will open the dialog where you can edit the description for this action.
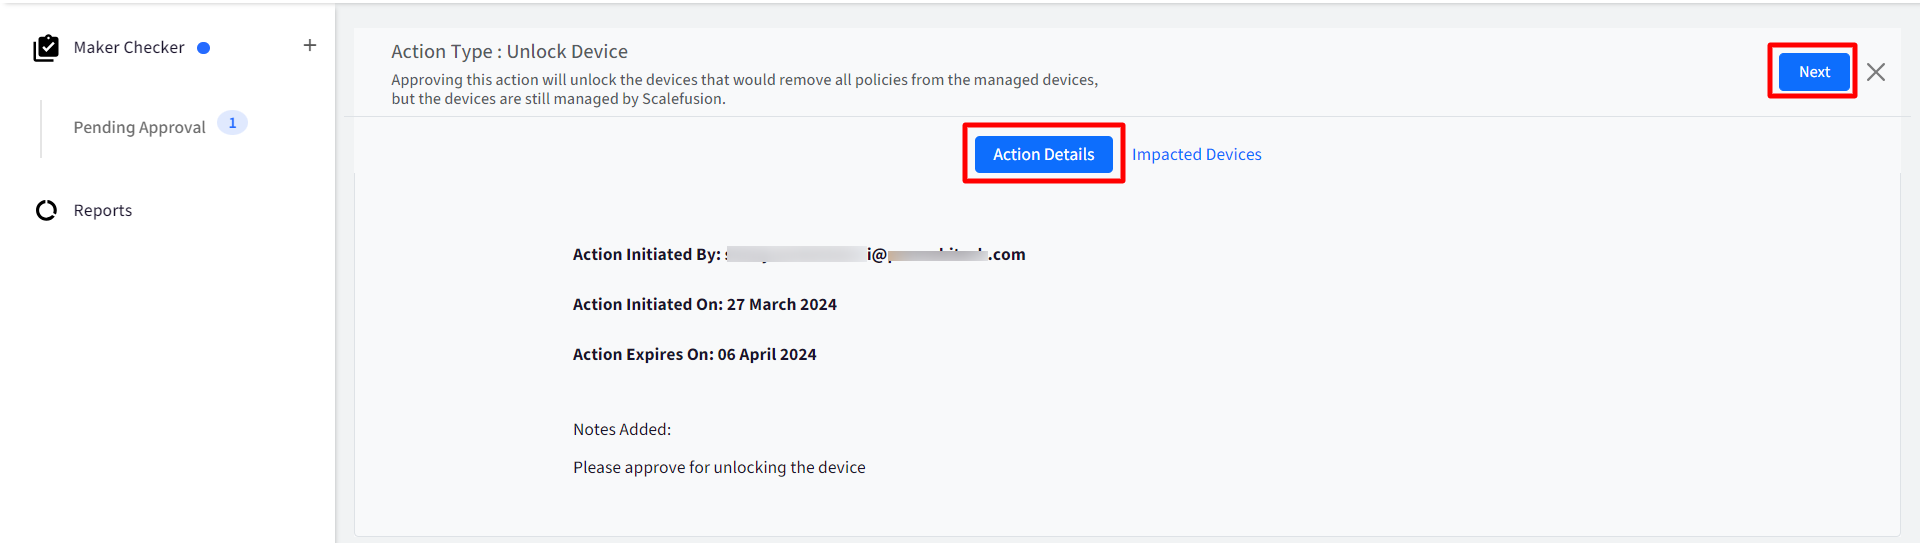
Approver (Checker) View: For the approver, the request will be displayed under Maker Checker > Pending Approval. To review request, click on View Details

This will display the following:
Action Details: Details of the action in consideration (unlock device in this case), that is,
who initiated the action
date when request was initiated and its expiry
Click Next button on top
For certain Requests like Application Publish/Unpublish, apply profile to device etc. an additional tab Potential Changes will be there displaying summarized view of more granular details related to the request in consideration.
For Update Device Profile action, you can now download a PDF report highlighting the specific changes made. This Delta Report enables you to review the modifications before approving them. Once approved, a new version of the profile will be created.
Impacted Devices: Lists the device details which will be unlocked. There can be more than one impacted devices.
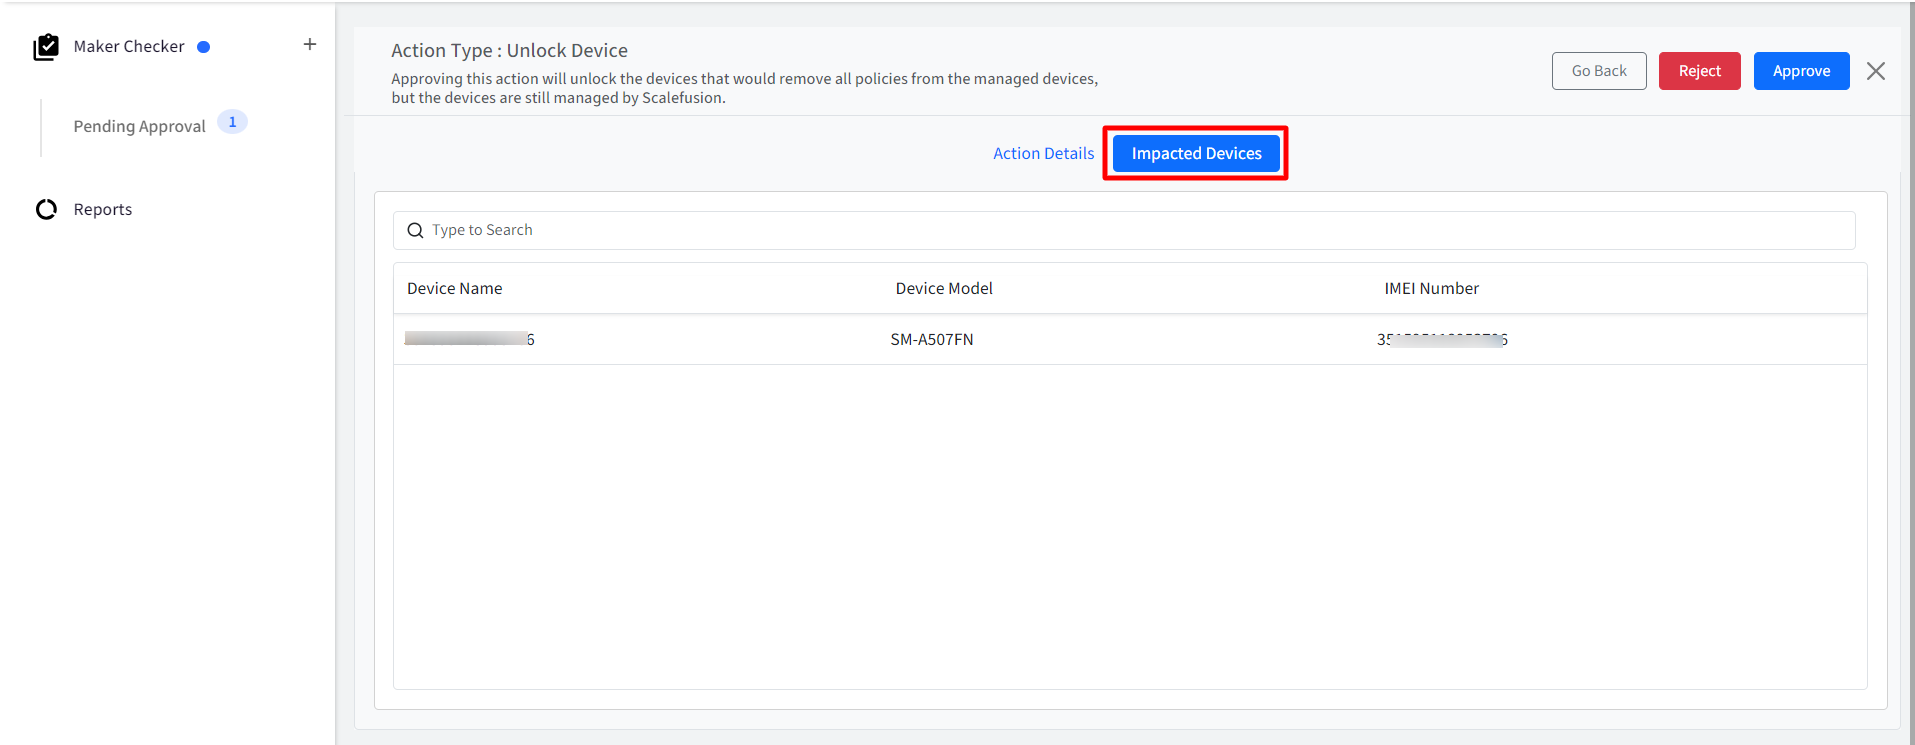
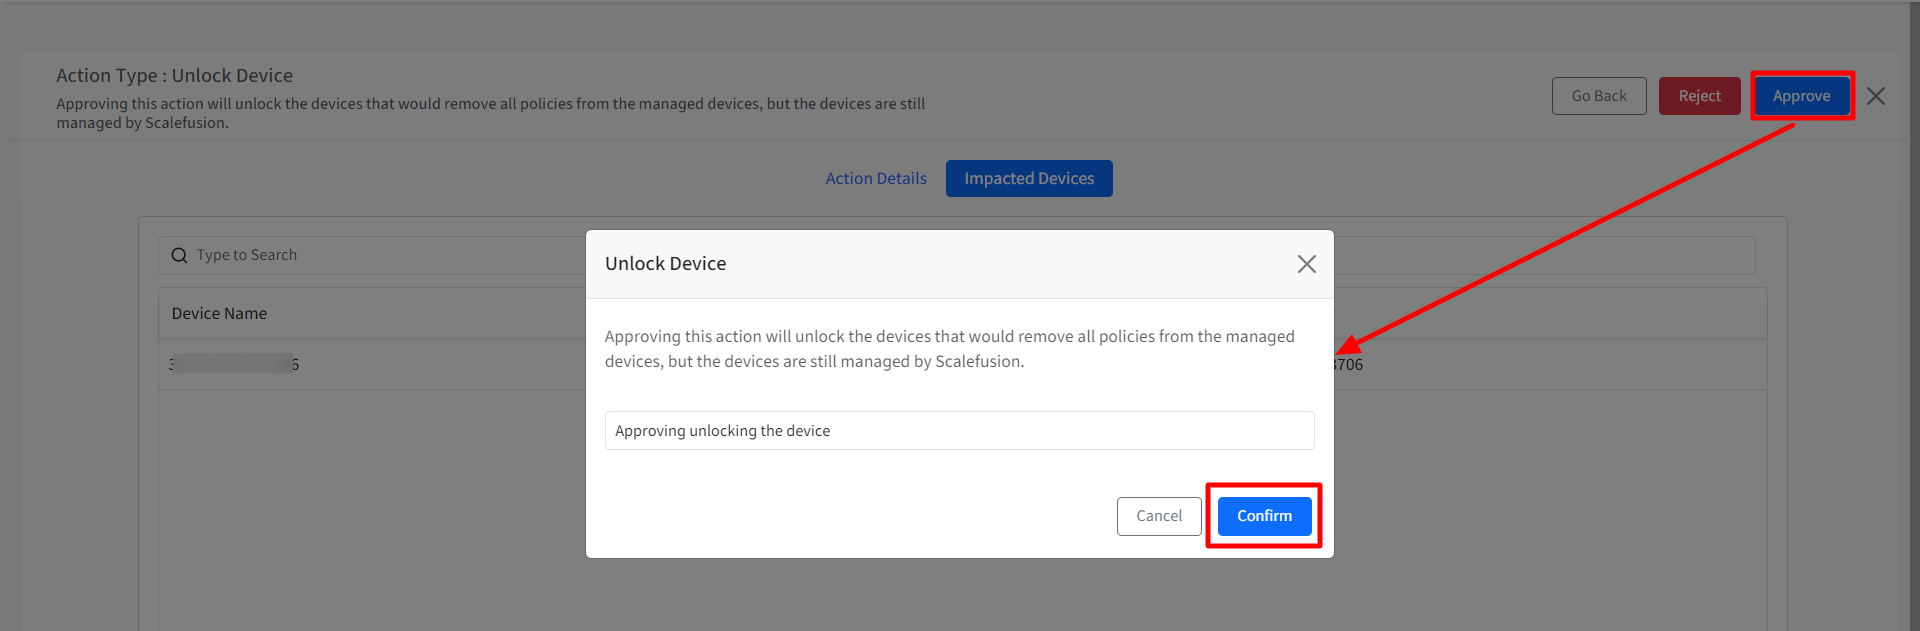
After reviewing, click on Approve or Reject button on top.
Approve: This will approve the action and the device will be unlocked. On clicking Approve,
A confirmation box will appear where you can provide a note in the text area, for approving and click Confirm
This request will get removed from Pending Approval list as well as My Open Requests (on maker's side)
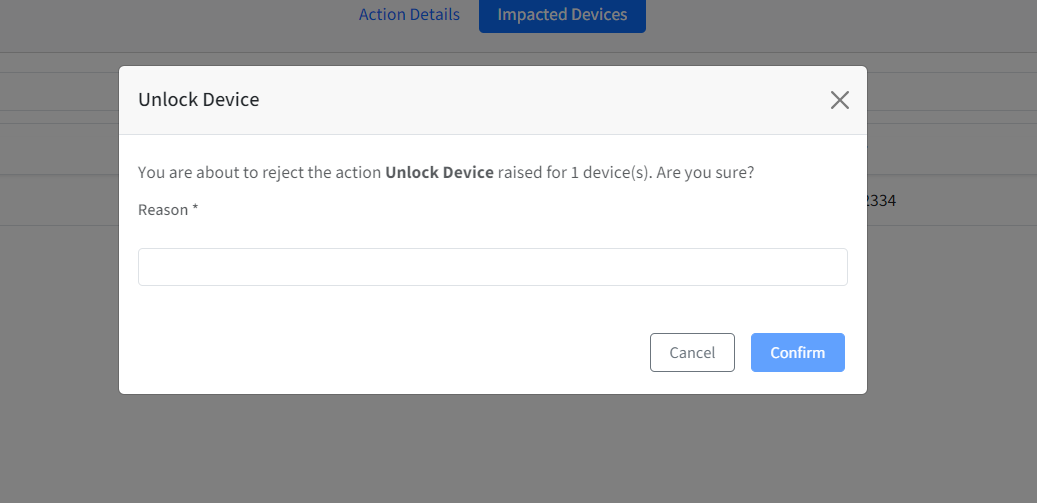
Reject: This will reject the request and device will not get unlocked. On clicking Reject, a confirmation box will appear where you can provide a reason in the text area, for rejecting, and click Confirm.
This is how any request can be reviewed, approved or rejected.
Reports
The Account Activity report gives a report of Maker Checker related activities. This report is also available in approver view.
Frequently Asked Questions
Question 1: What happens if no action (approve or reject) is taken on a request, by the approver?
Answer: If no action (approve or reject) is taken on a request, it automatically expires after 10 days. As a result, the request will be removed from the pending approval list and will get rejected by default.
Question 2: What about the apps enabled from Device Profile? Will they undergo approval process?
Answer: On iOS and Android platforms, the apps enabled in Device Profile from Select Apps section, will be pushed to the device only after they have been approved. Here, the approval process will remain the same and the process is known as Silent approval. On Windows Devices, the apps enabled from Select Apps will not undergo the approval process.
Question 3: If you select an application to be put in Single App mode (SAM), how does it work with Maker Checker enabled?
Answer: On Android and iOS (Supervised devices), if you add any application in SAM mode which is not enabled in profile beforehand, it will go through the process of silent approval. However, if the app is already published on profile and we edit profile, add the app in SAM mode then it puts the app in Single App Mode on the device. On Windows devices, it will not go through the approval process.
Question 4: If you have applied App Locker Policy on Windows devices, how does it work with Maker Checker enabled?
Answer: If you have applied App Locker Policy, the apps (Allowed or Blocked) will be implemented on devices without going through the process of approval.
Question 5: Can I review the changes made to a device profile before approving them?
A: Yes, when updating a device profile, you can now download a PDF report highlighting the specific changes. This Delta Report allows you to review the modifications before approving them. Once approved, a new version of the profile will be created.