Configuring OKTA as an Identity Provider
- 10 Feb 2025
- 3 読む分
- 印刷する
- PDF
Configuring OKTA as an Identity Provider
- 更新日 10 Feb 2025
- 3 読む分
- 印刷する
- PDF
The content is currently unavailable in Ja - 日本語. You are viewing the default English version.
記事の要約
この要約は役に立ちましたか?
ご意見ありがとうございます
Okta is a cloud-based identity and access management (IAM) platform that helps organizations securely manage and authenticate users across various applications and systems. Okta allows companies to manage employee access to apps, services, and devices, ensuring that only authorized users can access sensitive information.
This article provides a step-by-step guide to configuring Okta as the Identity Provider for all the services you use.
Prerequisites
Please make sure you have created the SSO configuration for the service you want to access and set Okta as its Identity Provider.
Also, make sure that the user(s) is present in the Okta portal and the respective service’s portal that you are trying to access.
The same user(s) must be present in Scalefusion and the SSO configuration of the respective service is applied to it.
Step 1: Configuring Okta as an Identity Provider on Scalefusion dashboard
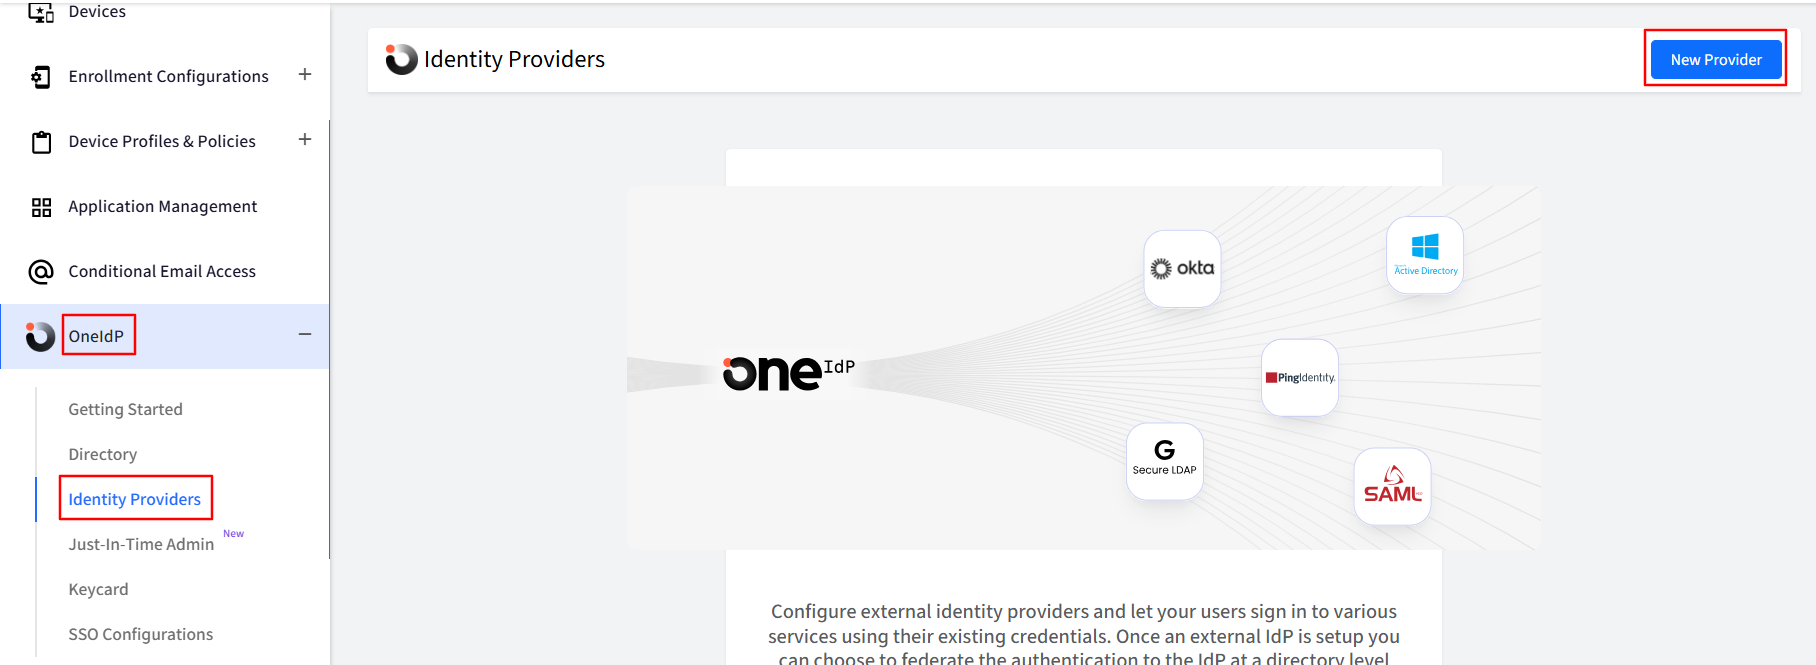
Navigate to OneIdP > Identity Provider.
Click on the New Provider button.
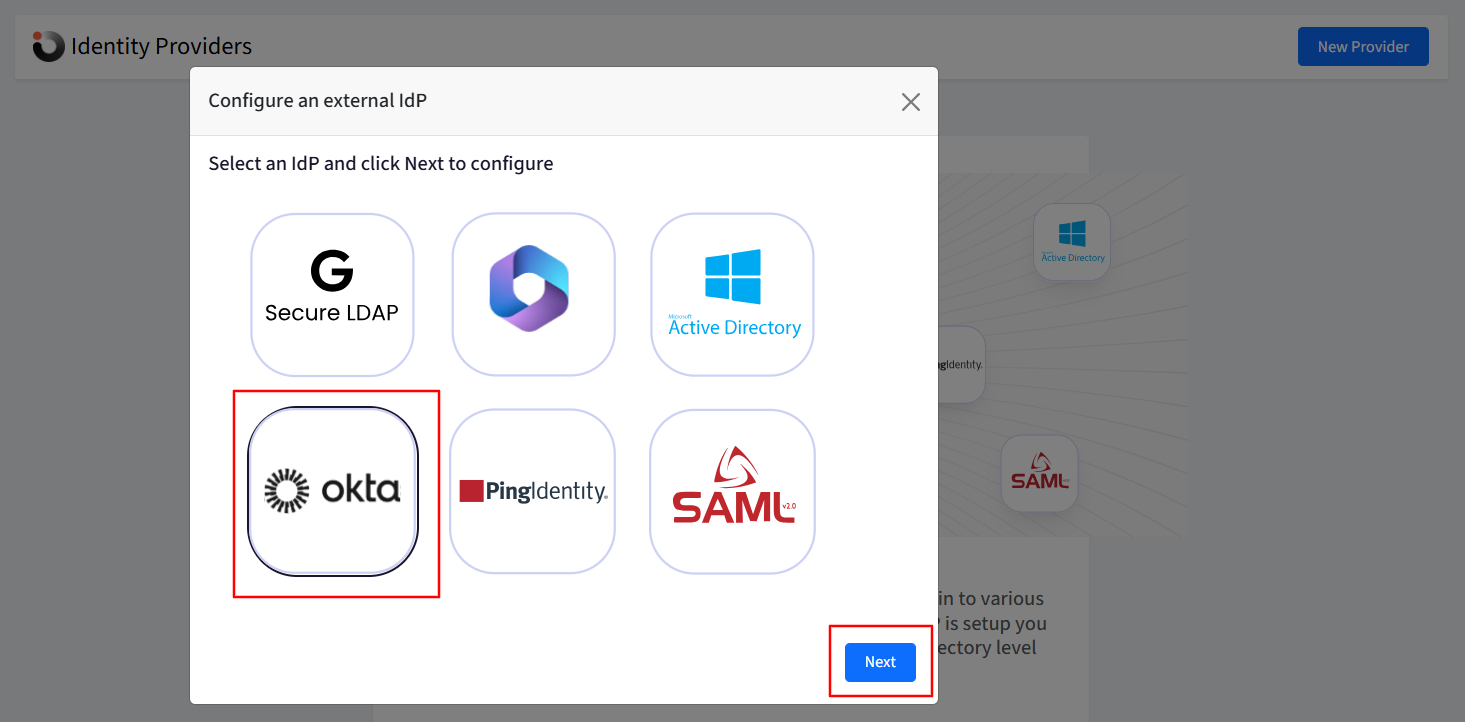
Select Okta and click on Next.
Provide a name to this configuration for easy identification.
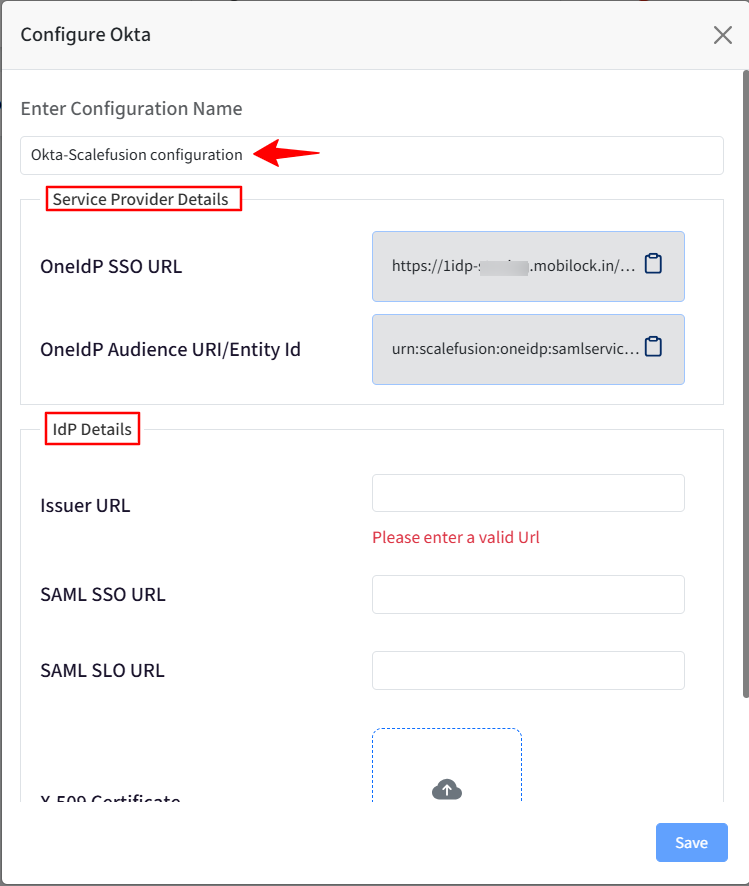
Service Provider Details will be added in the Okta Admin Console as shown in Step 2.
IdP Details will be generated on the Okta Admin Console as shown in Step 2.


Step 2: Okta SAML Setup in Okta Admin Console
Sign in to Okta Admin Console.
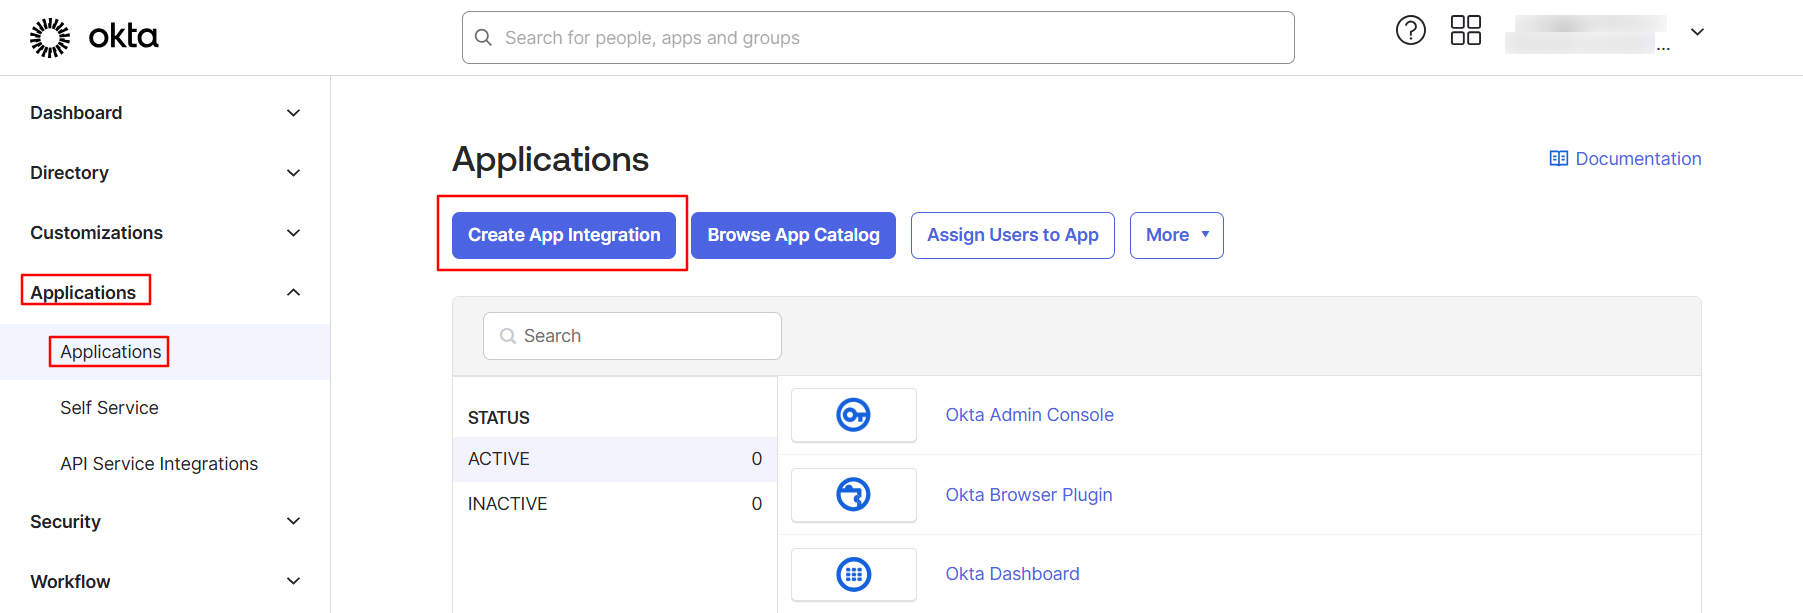
In the Admin Console navigate to Applications > Applications.
Click on the Create App Integration button.
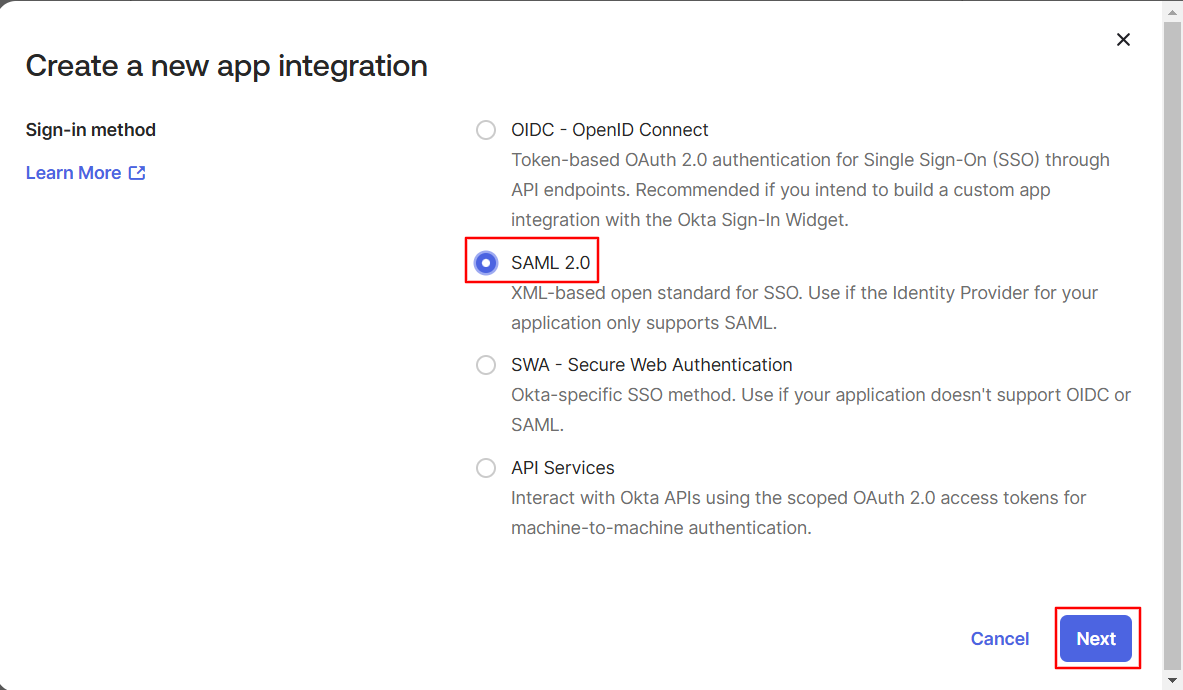
In the new pop-up windows select SAML 2.0 and click on Next.
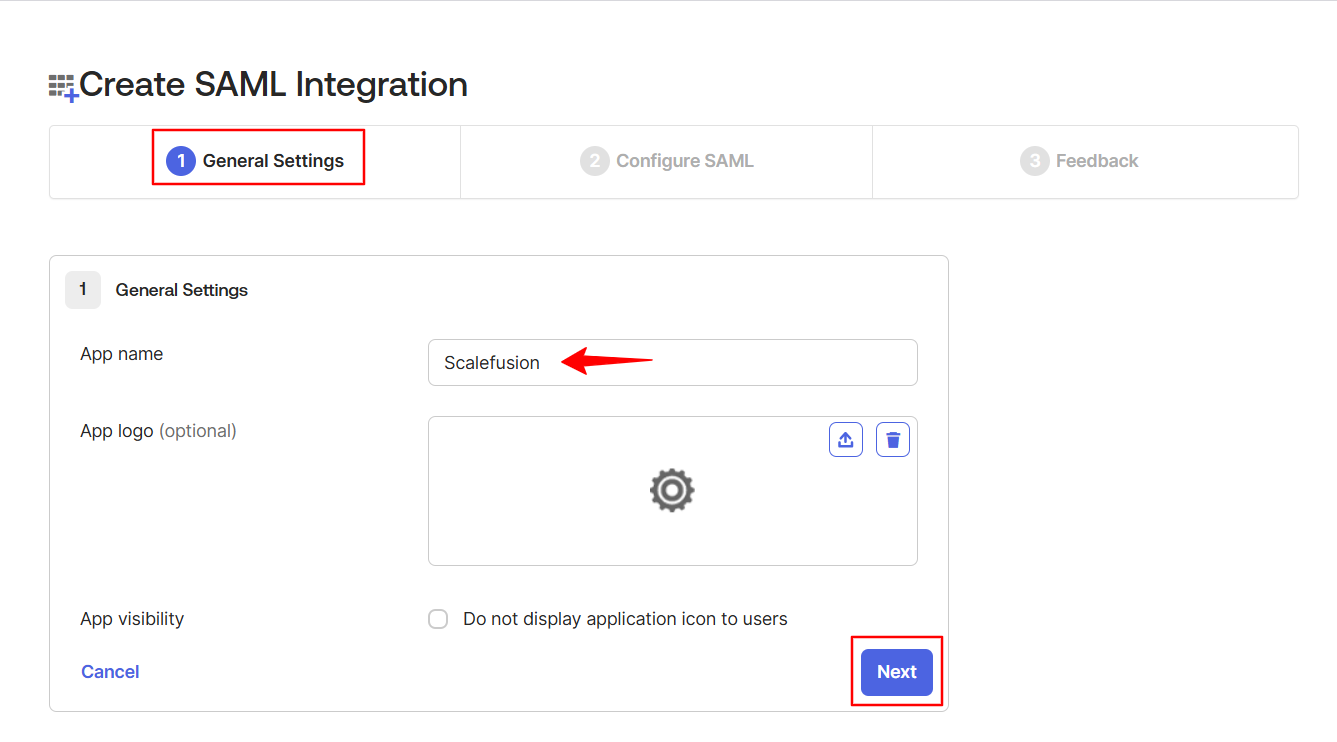
This opens the General Settings page. Enter the following details:
App name: Specify a name identifier for your integration. For example, enter Scalefusion as the app name.
App logo (Optional): Add a logo to accompany your integration in the Okta org. The logo must be a .png, .jpg, or .gif file.
App visibility: Choose whether to hide your integration from your end-user homepage. Choose whether to hide your integration from the Okta Mobile Apps Store on your end-user's devices. You can keep both unchecked.
Click Next.
On the Configure SAML page enter the following details in SAML Settings:
Single sign-on URL: This URL is required and serves as the default ACS URL value for the Service Provider (SP), that is, Scalefusion. This URL is always used for IdP-initiated sign-on requests.
You will find this URL on the Scalefusion dashboard in Service Provider Details, as shown in Step 1.
Audience URI (SP Entity ID): The intended audience of the SAML assertion. This is the Entity ID of the Scalefusion application.
You will find this URL on the Scalefusion dashboard in Service Provider Details, as shown in Step 1.
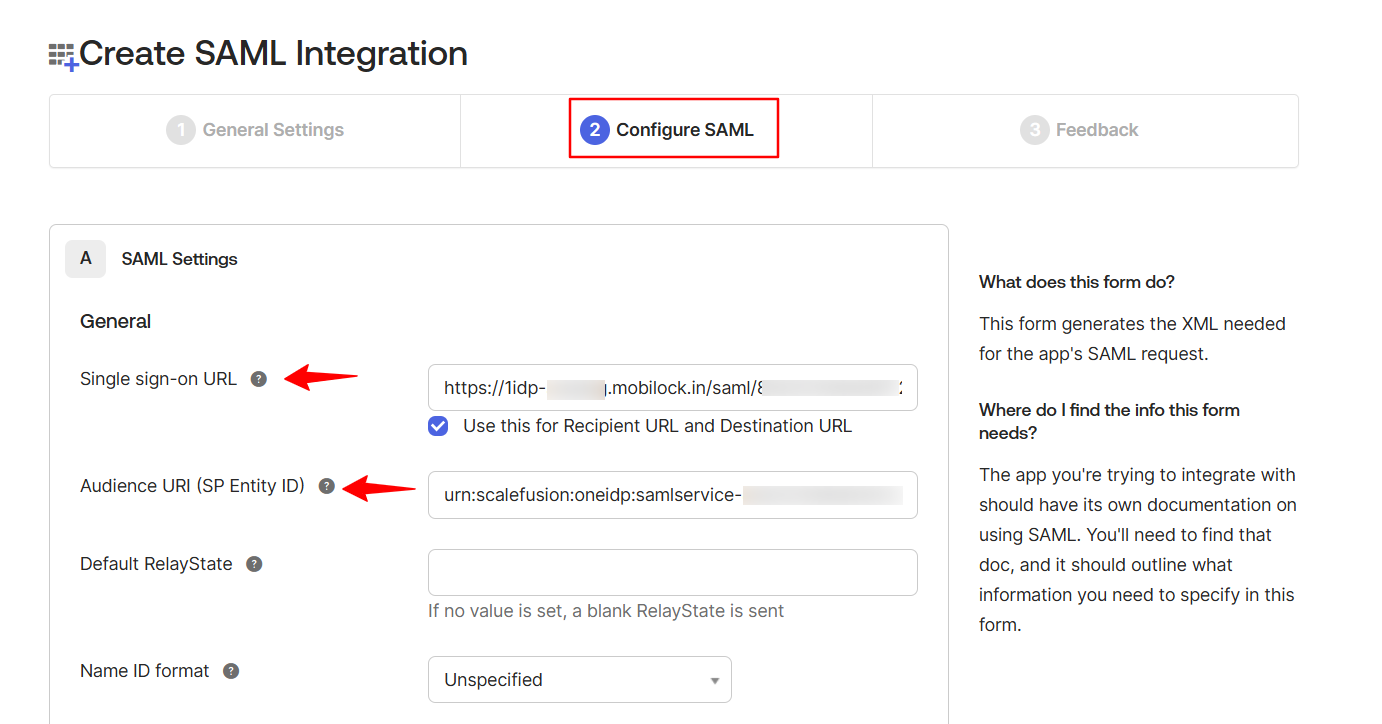
You can skip the rest of the settings and click on Next directly.
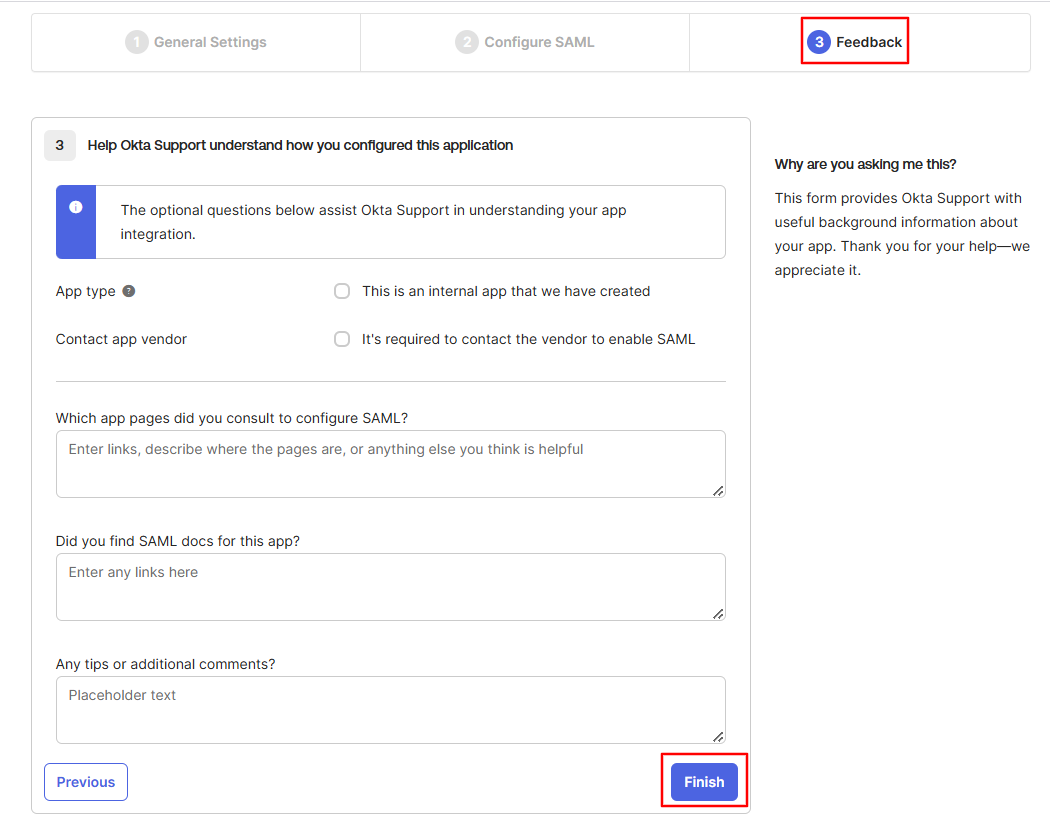
On the next tab, click on the Finish button.
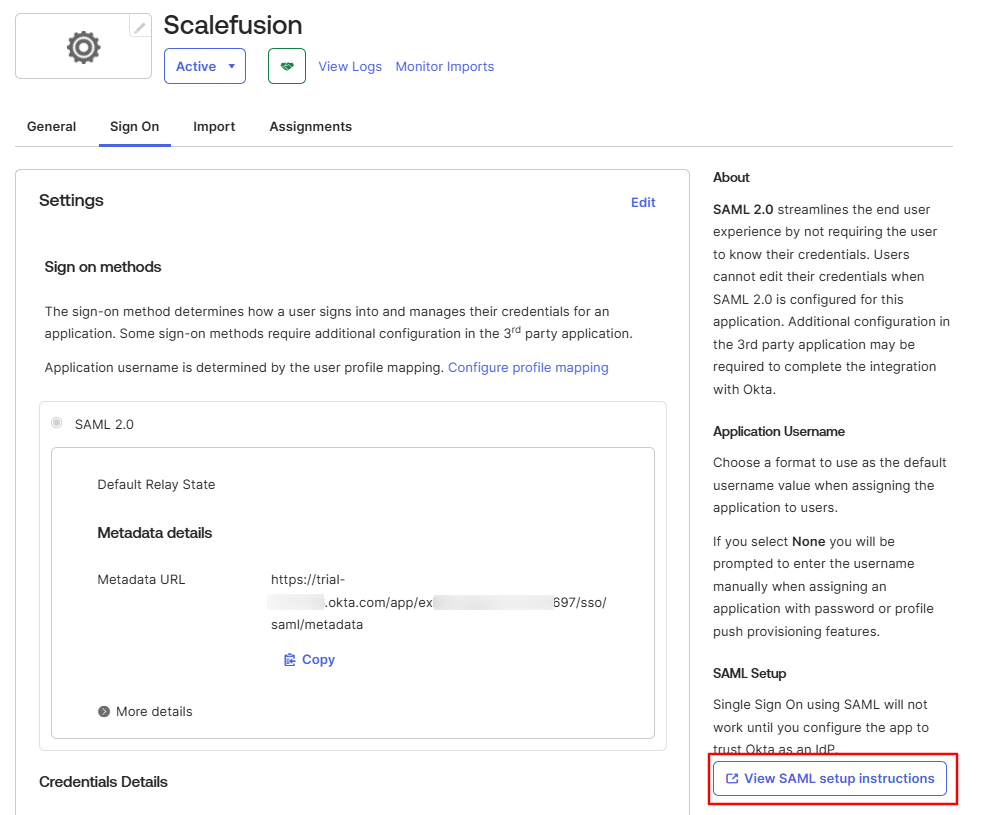
On the next page, scroll down a little and click on the View SAML setup instruction link on the right-hand side. This link will open in a new tab where you will find Okta's Saml setup details that must be added to the Scalefusion dashboard. Copy and save these details.


Step 3: Adding Okta's Saml setup details to the Scalefusion dashboard
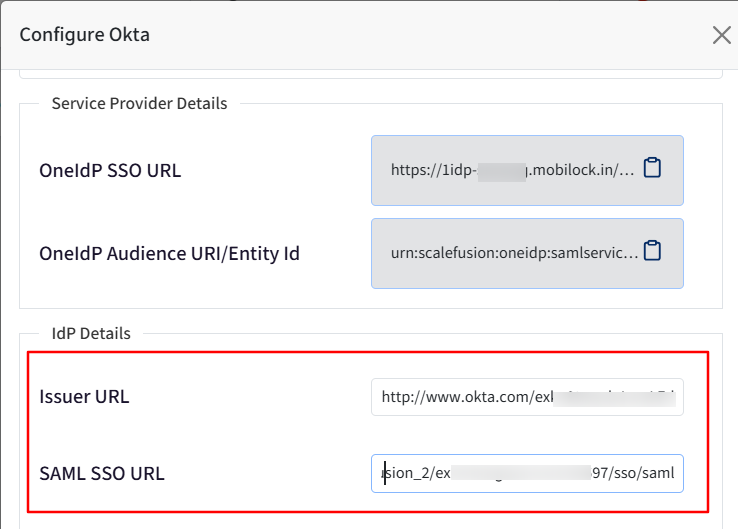
Copy the Identity Provider Issuer URL from the View SAML setup instruction page and paste it into the Issuer URL on the Scalefusion dashboard.
Copy the Identity Provider Single Sign-On URL from the View SAML setup instruction page and paste it into the Scalefusion dashboard in the SAML SSO URL field.
Copy the Identity Provider Single Sign-On URL from this page again and change the “sso” in the URL to “slo”. Now paste it into the Scalefusion dashboard in the SAML SLO URL field.

Download the X.509 Certificate from this page and upload it to the Scalefusion dashboard.
Click on the Save button.


Step 4: Assign users to the Scalefusion application on the Okta admin console
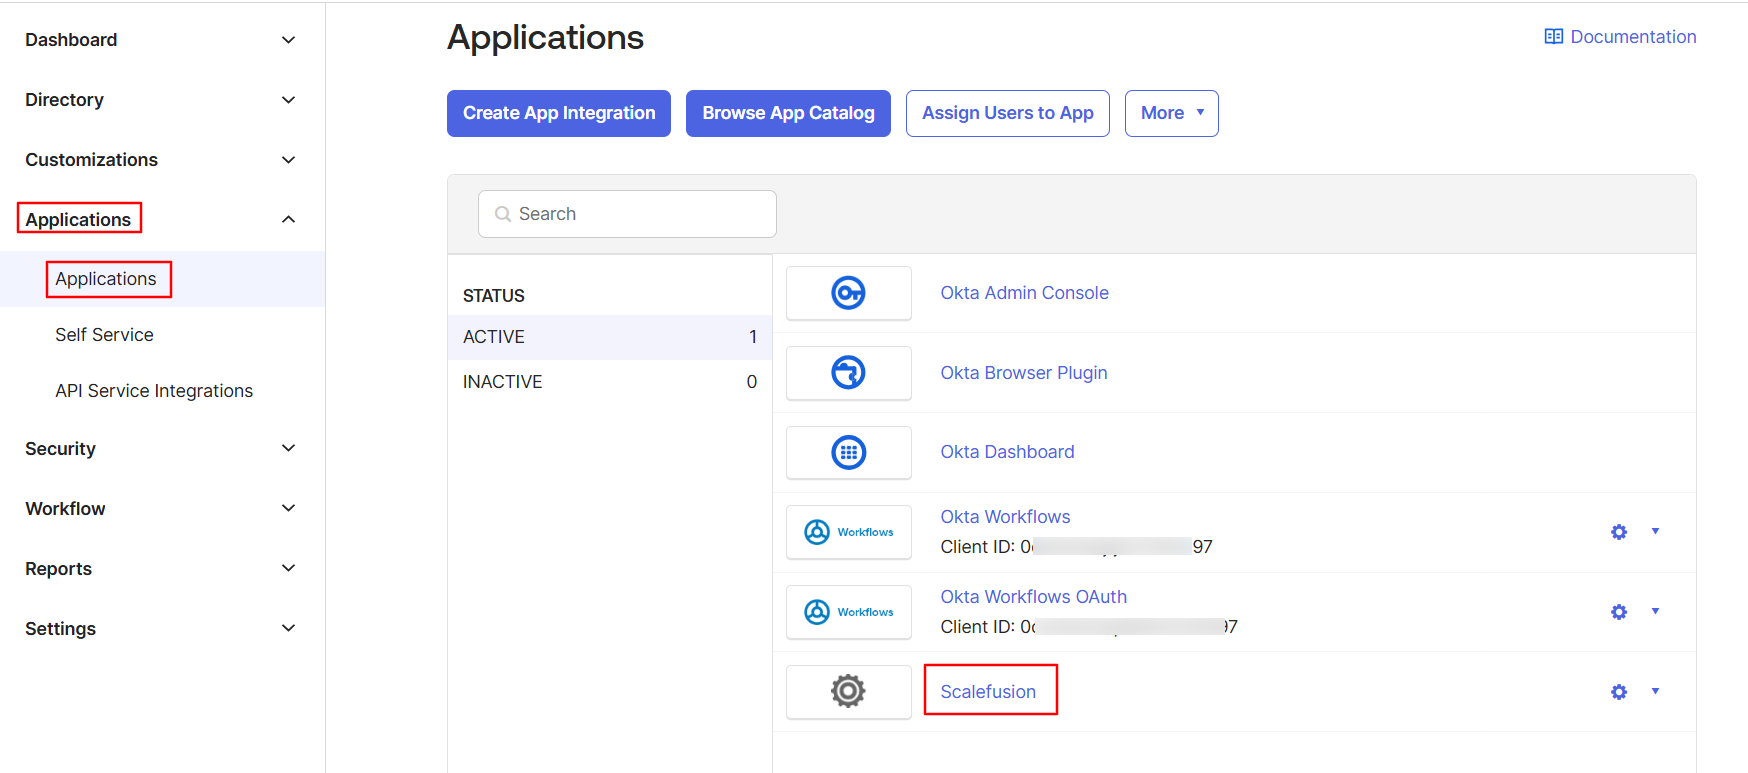
Navigate to Applications > Applications on the Okta admin console.
Here you will see a new application named Scalefusion. Click on it.
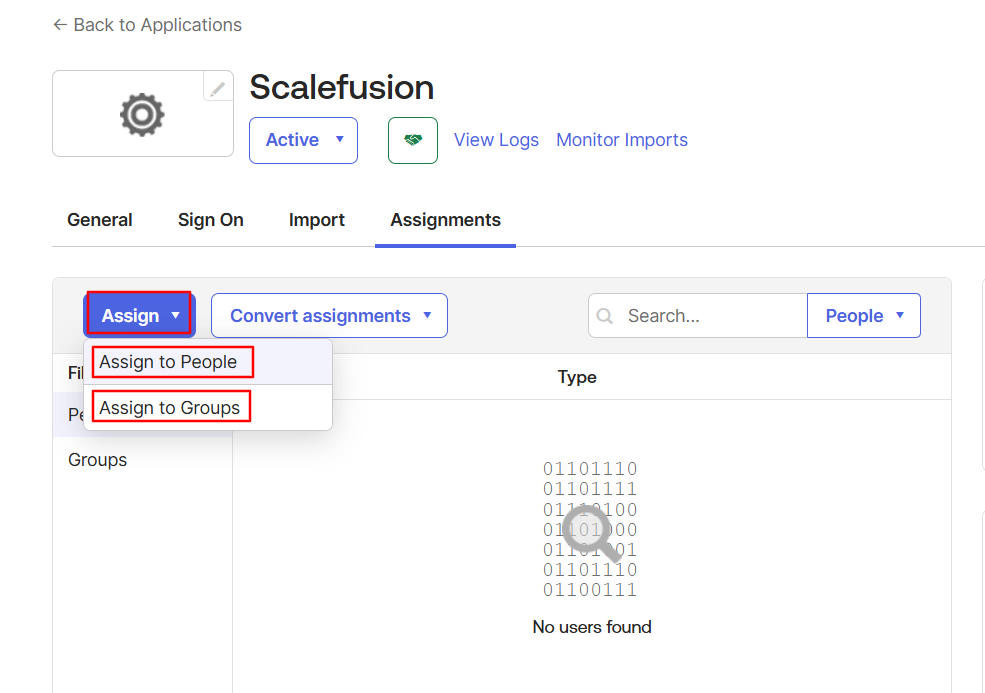
On the next page click on the Assign button to assign People or Groups to it.


Step 5: Associating Okta Identity Provider with a Directory
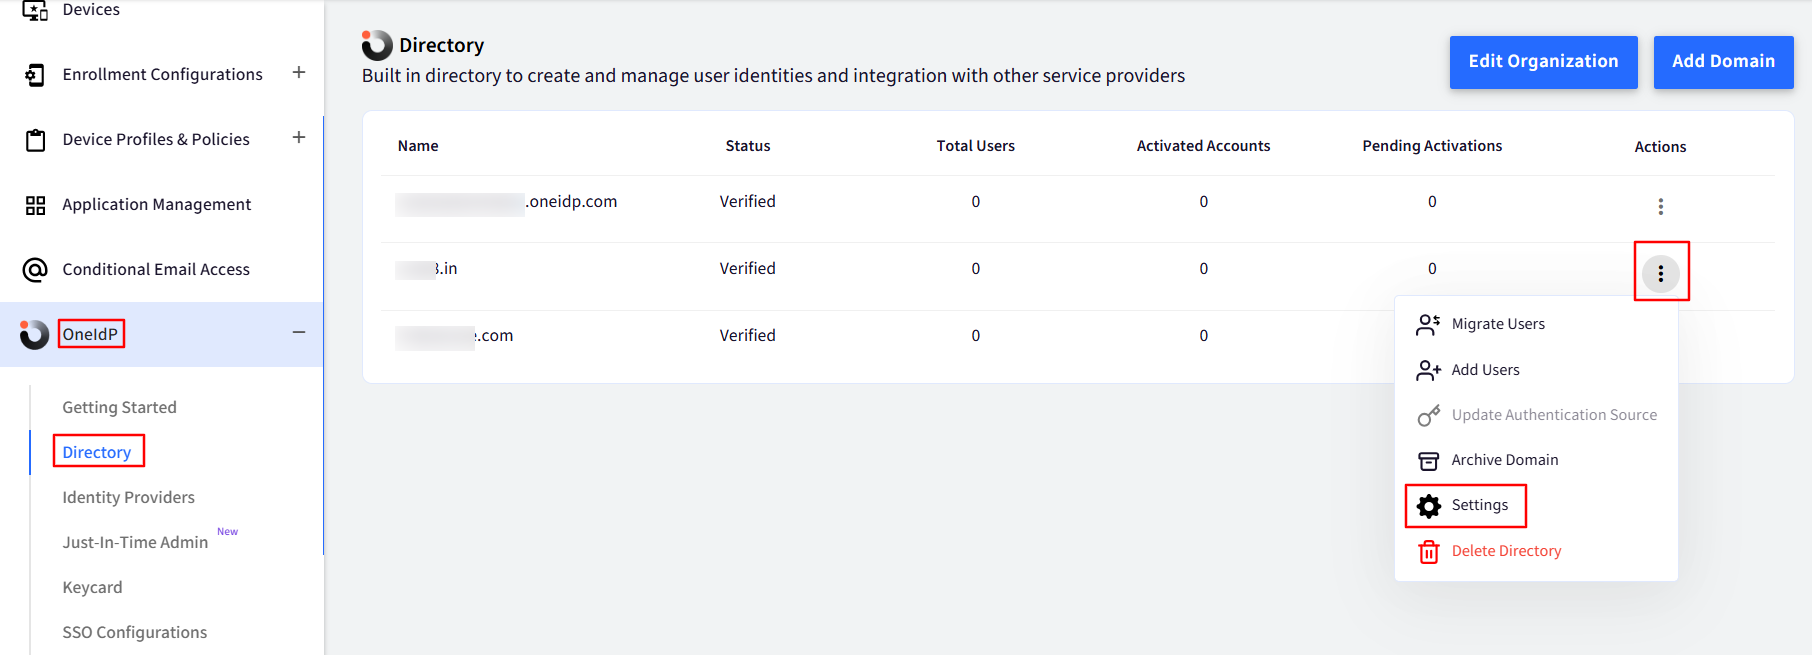
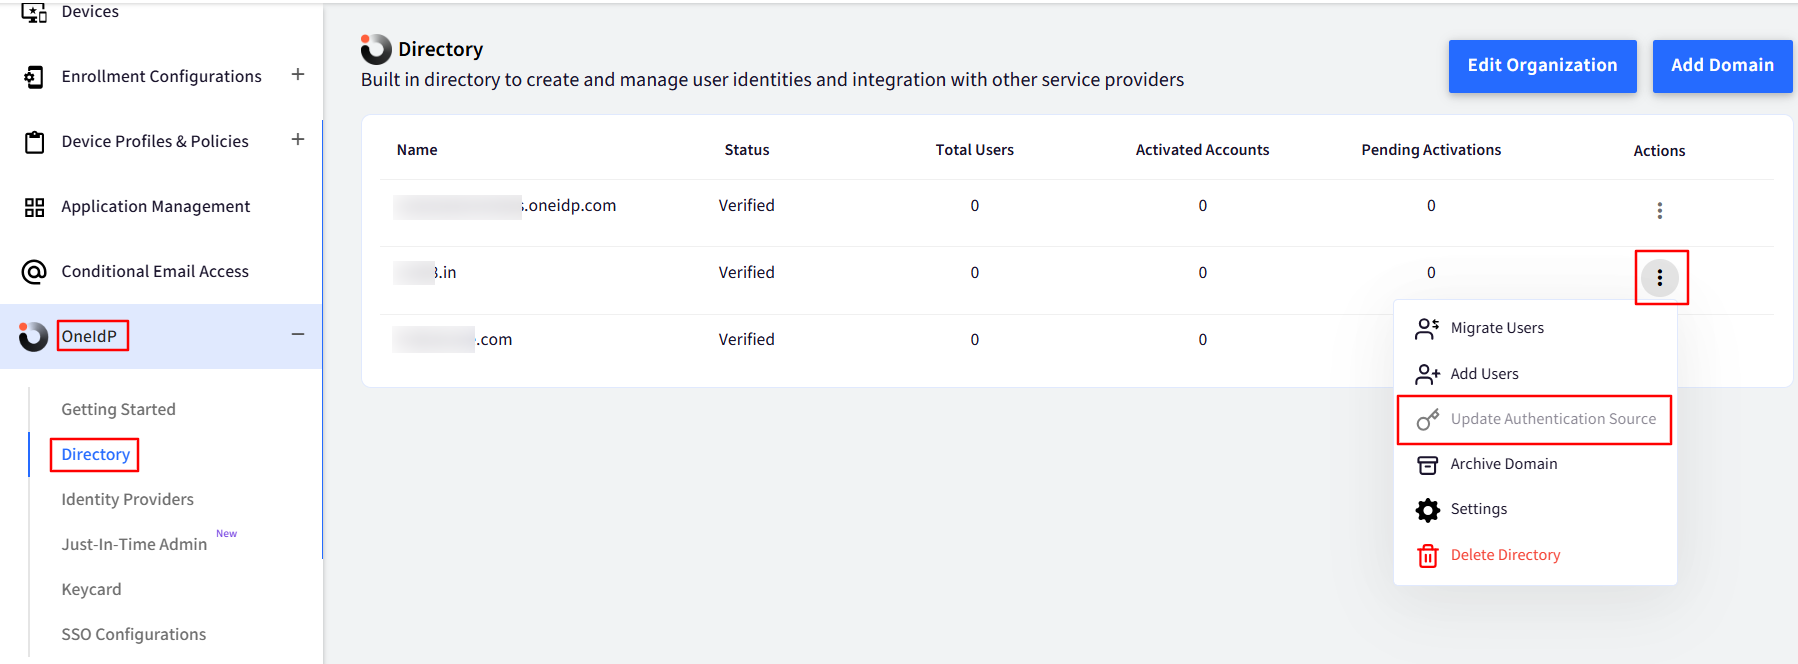
Navigate to OneIdP > Directory.
Click on the 3-dots under Actions for the concerned Domain.
Click on Settings.
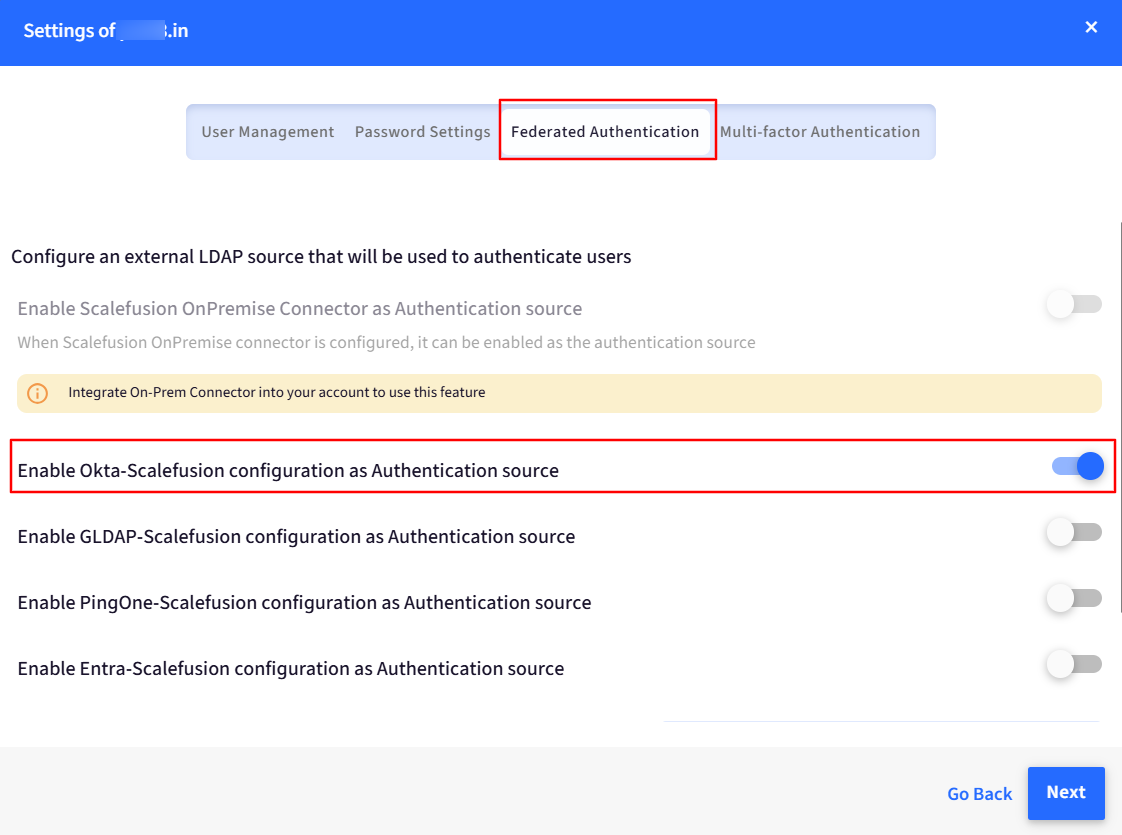
Go to the Federated Authentication tab and toggle on the button for Okta as an Authentication source.
You can also “Set default authentication source”.
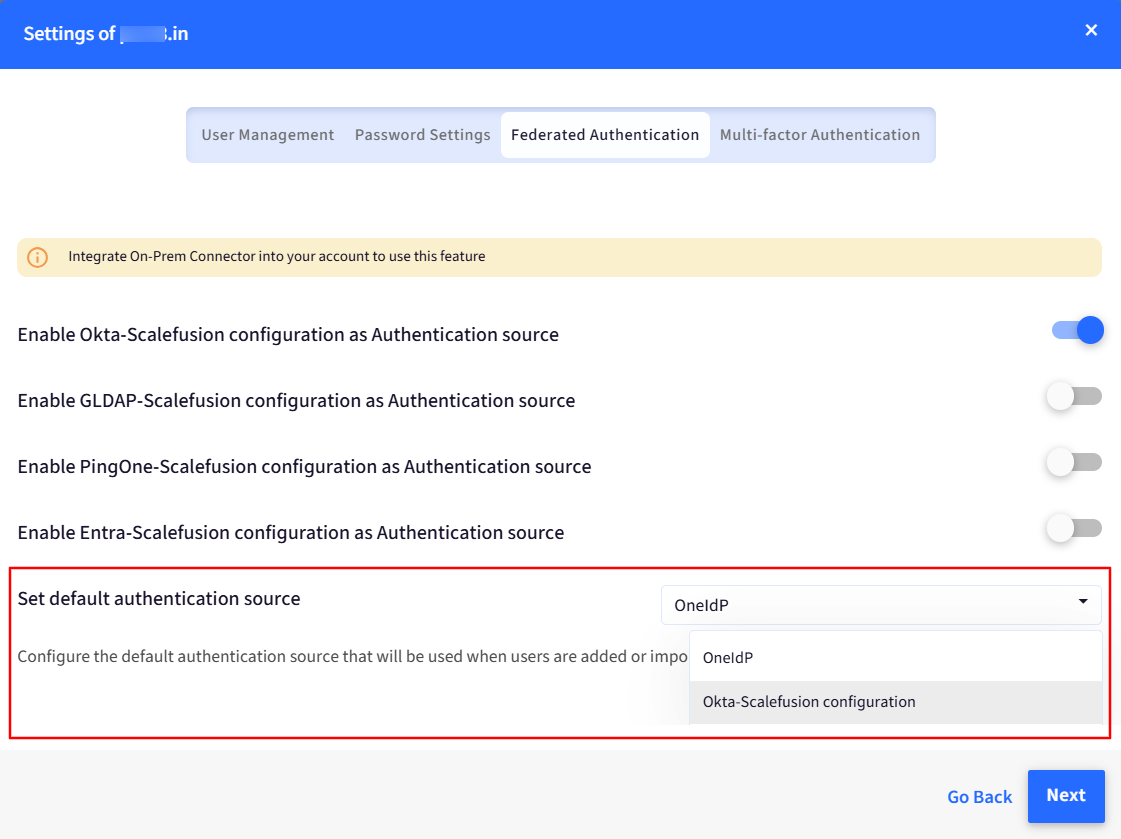
On setting a default authentication source, whenever you add any new user in the Scalefusion dashboard and migrate it to OneIdP, the default Authenticator would be Okta.
Click on Next and Save.
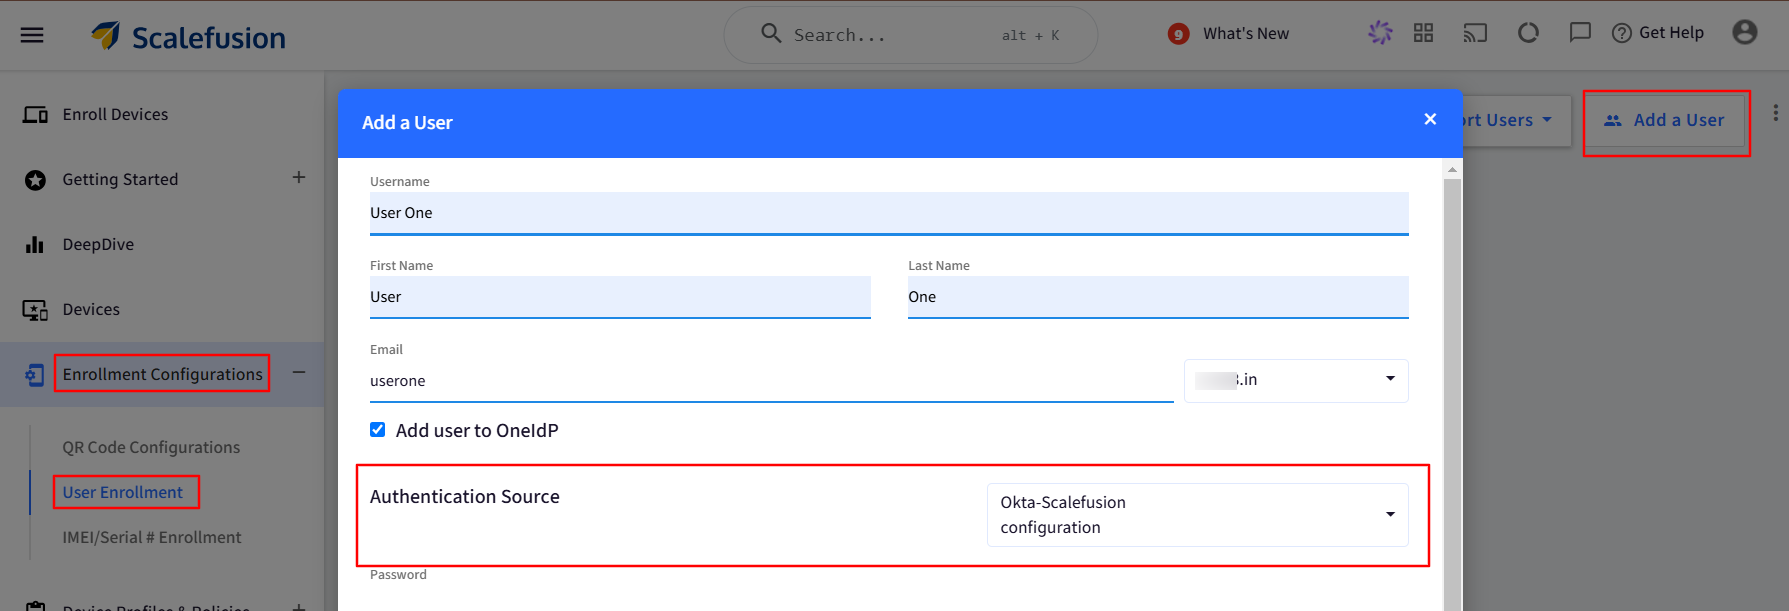
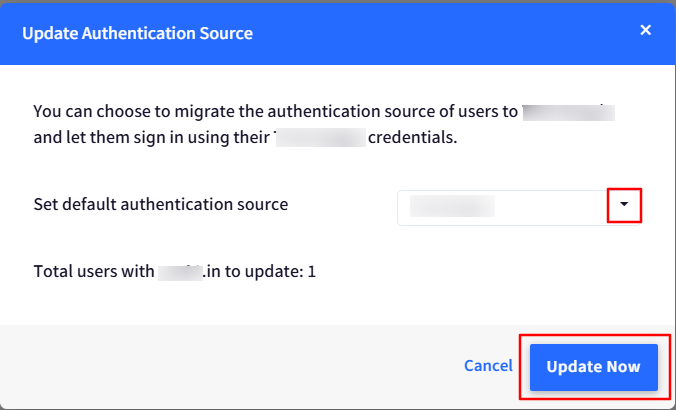
For existing users that are present in the Scalefusion dashboard, you can change the default authentication source by going to 3-dots under Actions > Update Authentication Source.
Select Okta from the drop-down list for “Set Authentication Source” and click on Update Now.


User Experience
When the user enters their email on the service login page, they will be redirected to OneIdP. From there, OneIdP will redirect the user to the chosen identity provider (Okta, in this case) for authentication. Once the identity provider authenticates the user, they will be granted access to the service.
この記事は役に立ちましたか?