Scalefusion provides the option of bulk enrollment of devices. IMEI / Serial # Based Enrollment is a quick and easy way for bulk enrollment of Android Enterprise devices. All you need to do is upload a CSV file containing IMEIs or Serial Numbers along with the group or profile and device names for each of them.
The document describes in detail how to enroll your device with this method.
Enrollment via IMEI/Serial# is only applicable to Android devices
Before You Begin
- Have a valid Scalefusion account
- The Android Device must be running Android 6.0 and higher and is Android Enterprise Ready
- On Devices, the standard Android OOB experience that allows you to enter a GMail account during device setup should be followed.IMEI/Serial # based enrollment does not work beyond Android 9 as Android does not allow reading of the Hardware IDs. Unless you are using a custom ROM or kitting the devices via adb this method won't work. Please use other Enrollment methods like 6-times tap, Zero-touch, Samsung KME or afw#mobilock. Please contact our support if there are any questions.
Enrolling Steps
On Dashboard
- Sign in to Scalefusion and navigate to Enrollment Configurations > IMEI/Serial# Enrollment
- Click on Upload CSV

- A dialog box will open. Click on Sample on the top right to download Sample CSV

- Open the downloaded sample CSV. It contains some sample data.If you have defined any custom fields, they will also be available here, and you can enter values under them.
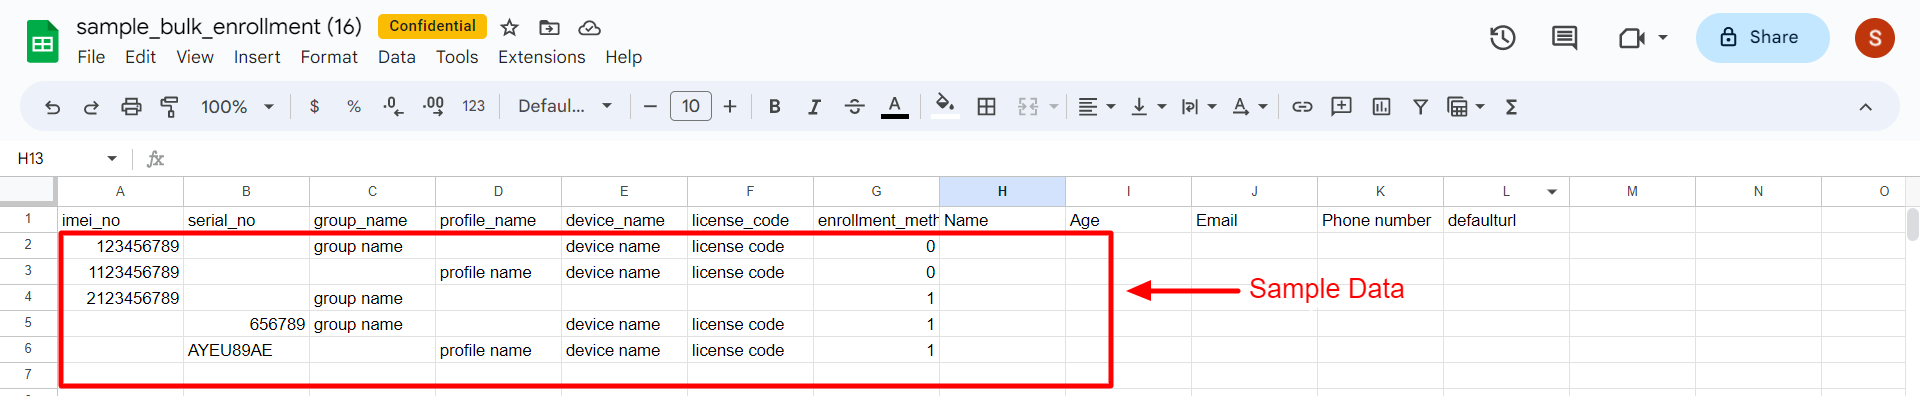
- Remove the sample data and put the Serial no. of the device(s) in the Serial_no and/or IMEI number of device(s) in the IMEI number.
Important Points to Note:- The IMEI / Serial Number can be of Windows, Mac, iOS or Android devices. Based on IMEI/Serial#, the custom field values provided ahead of enrollment will be assigned to the devices once they enroll.
- The Enrollment method can contain 0 or 1, where 0 indicates Regular Enrollment and 1 indicates User Authenticated Enrollment. It is mandatory to enter relevant values under the Enrollment method.
- It is not mandatory to enter other details like device profile, device name, device group, license code etc.
- You cannot upload a CSV with invalid group or profile names
- Duplicate device names are not allowed to be entered.
- Save this file with the newly entered data.
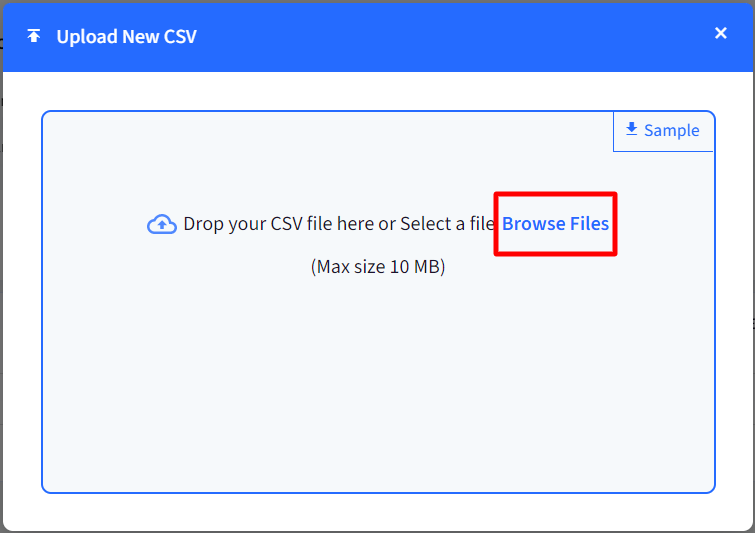
- Now, on the Dashboard, in the same dialog box, browse for the file that you just saved in #6.

- The details (IMEI number etc.) you entered in the csv file will start reflecting on the dashboard. This indicates that the details entered are correct.You can still enter device group, profile name, license etc To do so, click on Edit on the right side, which will open a small box where you can enter all other details.
There is one more way to add device details on the Dashboard. With this method, you can add one record at a time. To do so,
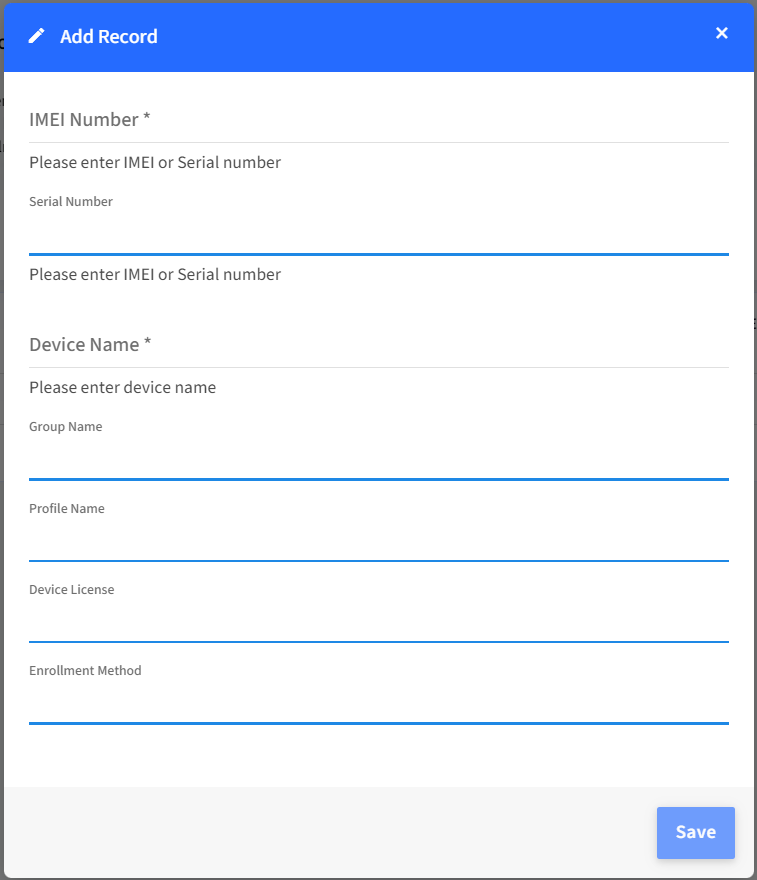
- Click on the Add Record button under IMEI/Serial# Enrollment.

- A new dialog box will open wherein you can enter all details and click Save.
On the Device
- Install Scalefusion on your Android device
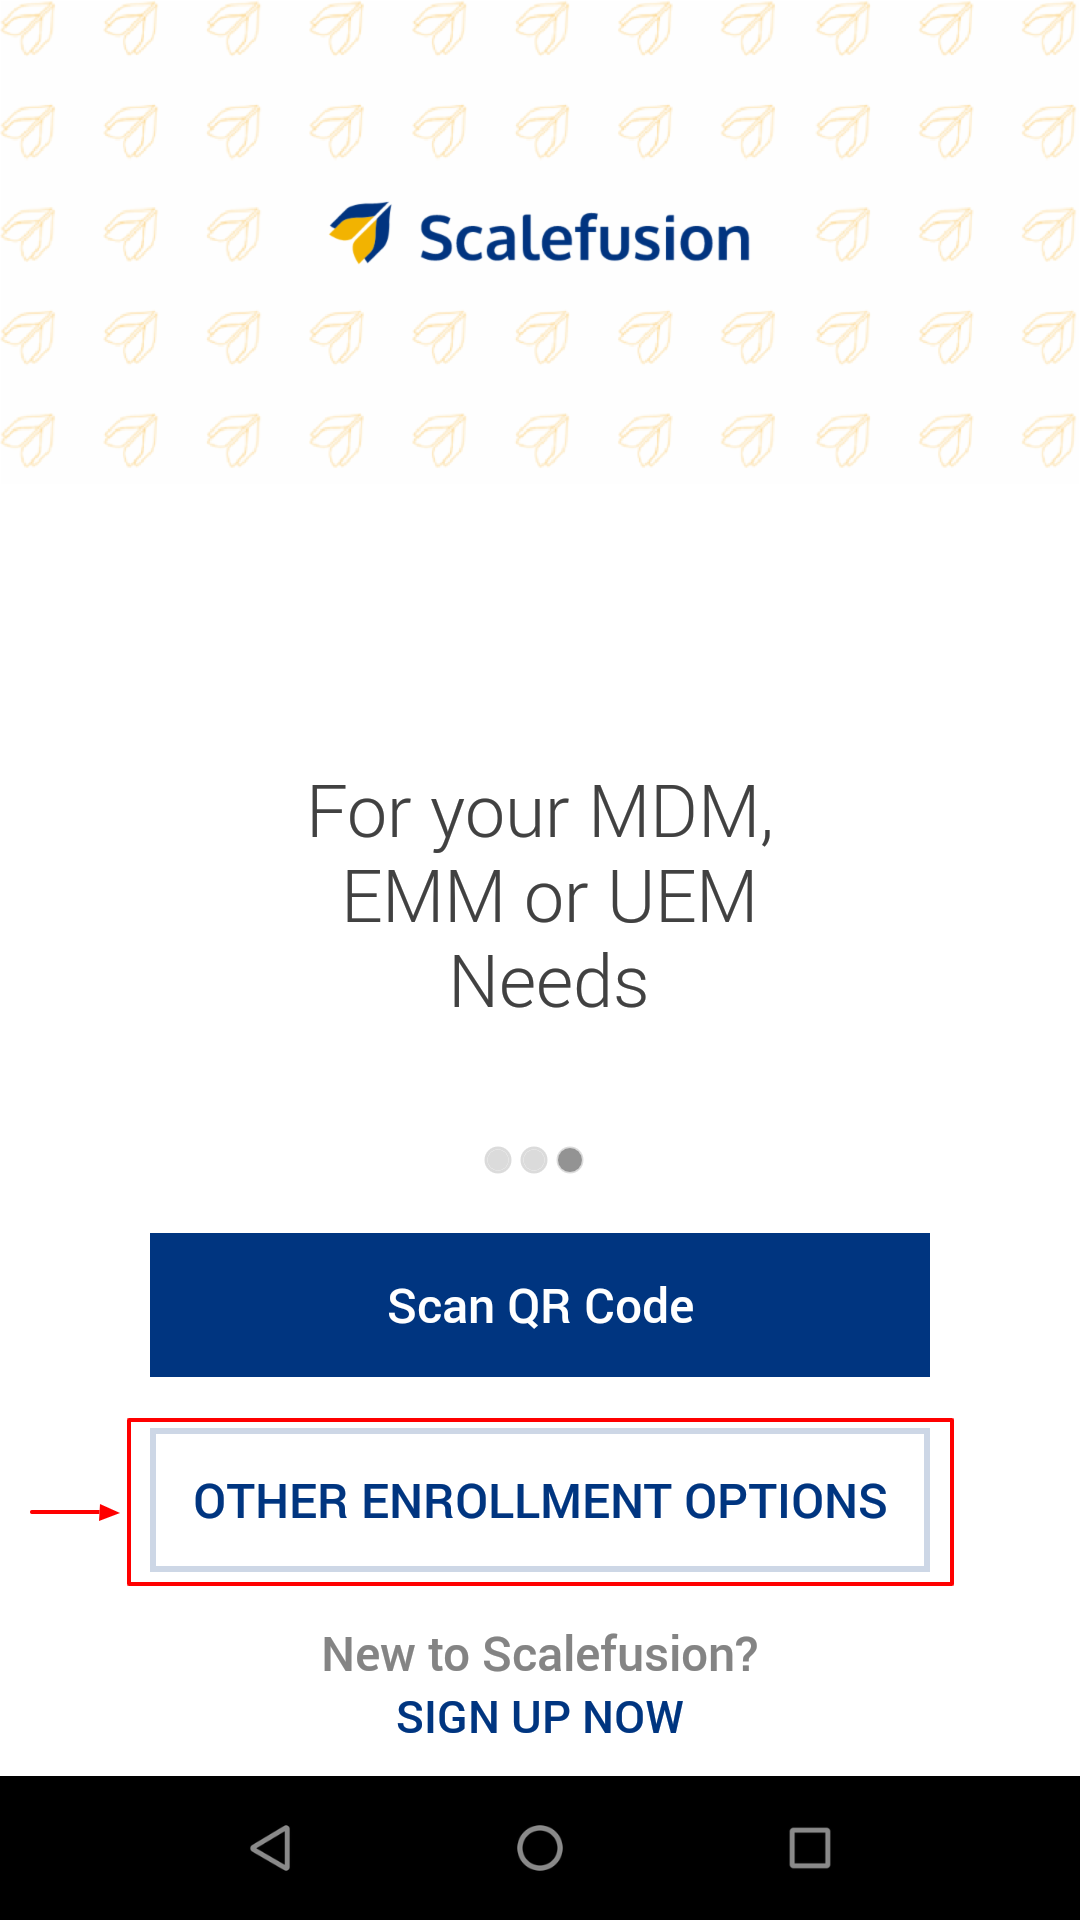
- Tap on OTHER ENROLLMENT OPTIONS
- A new box will open with a number of options. Here, tap Auto Enroll

- You may see this screen. Click Agree
.jpg)
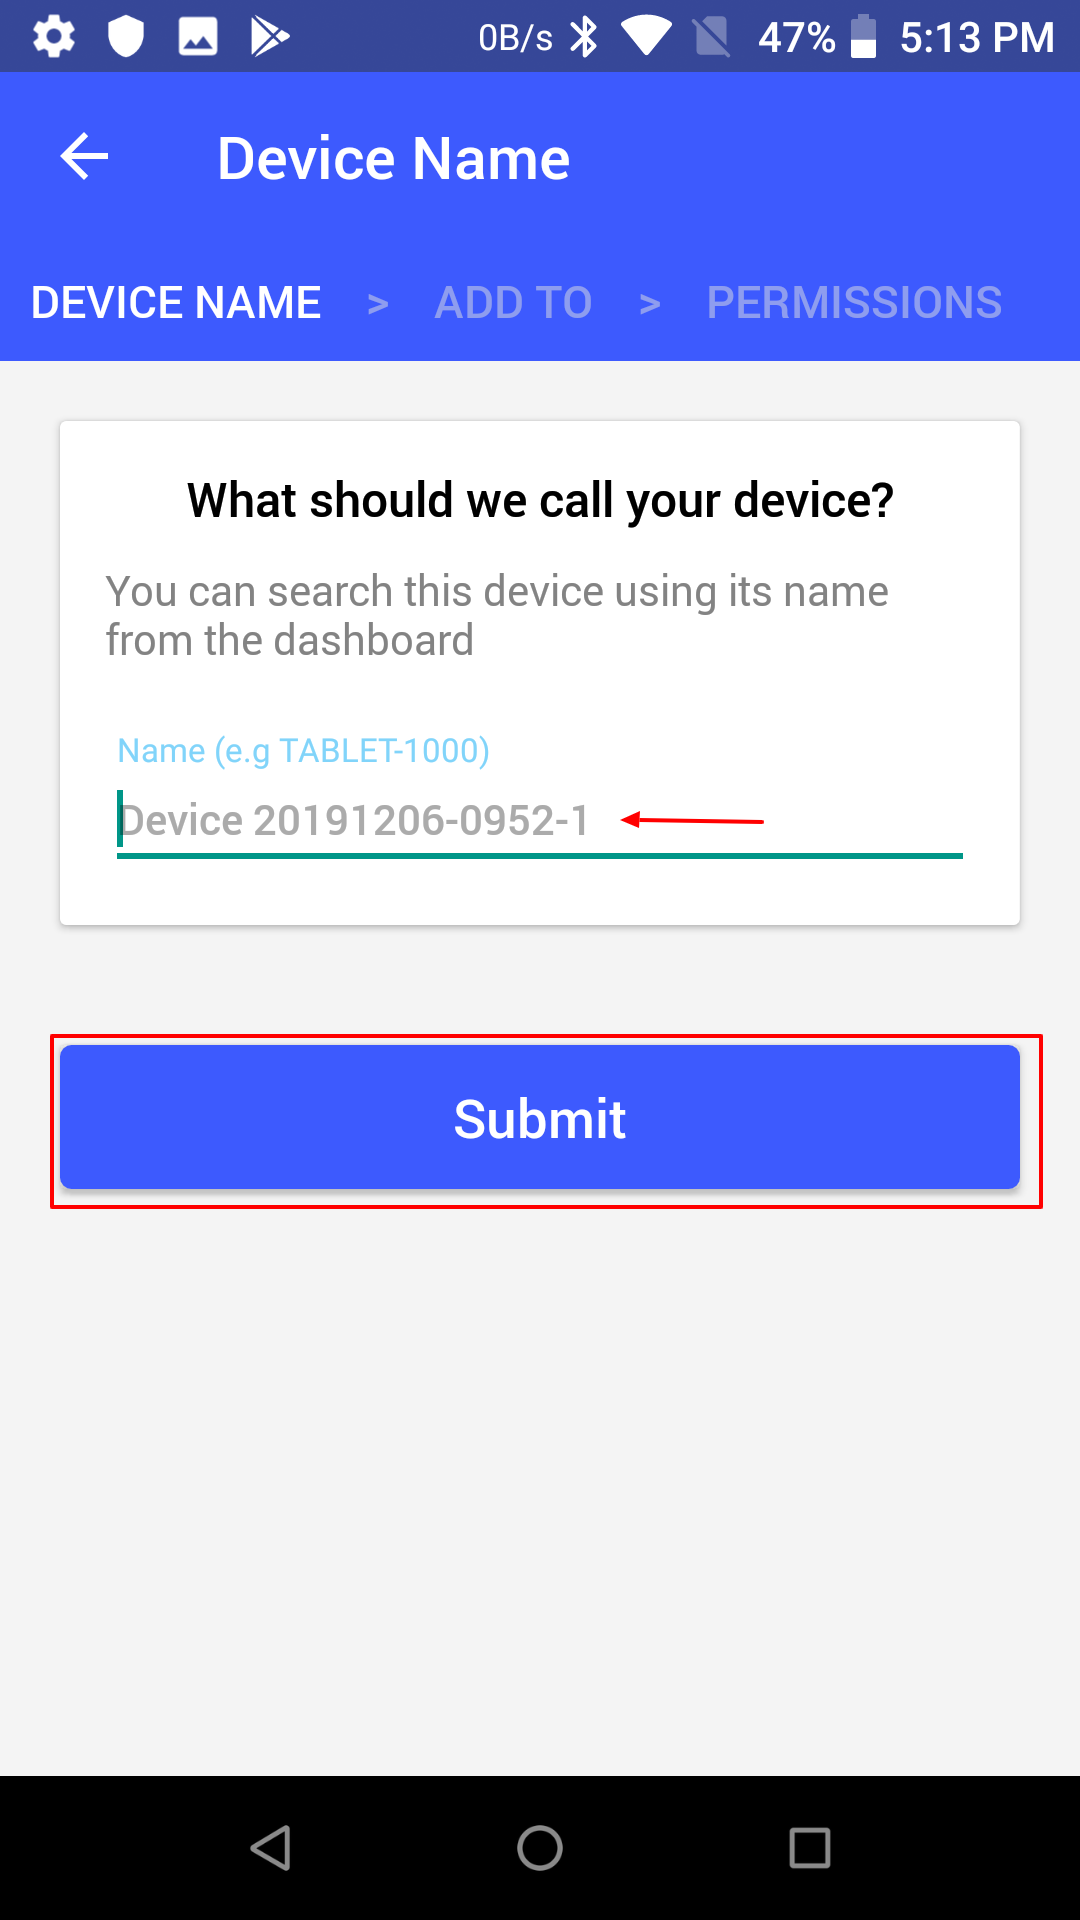
- It will start validating your device as per the details uploaded in csv file. Once validated, you will be asked to enter a name for your device. Enter a name and tap Submit
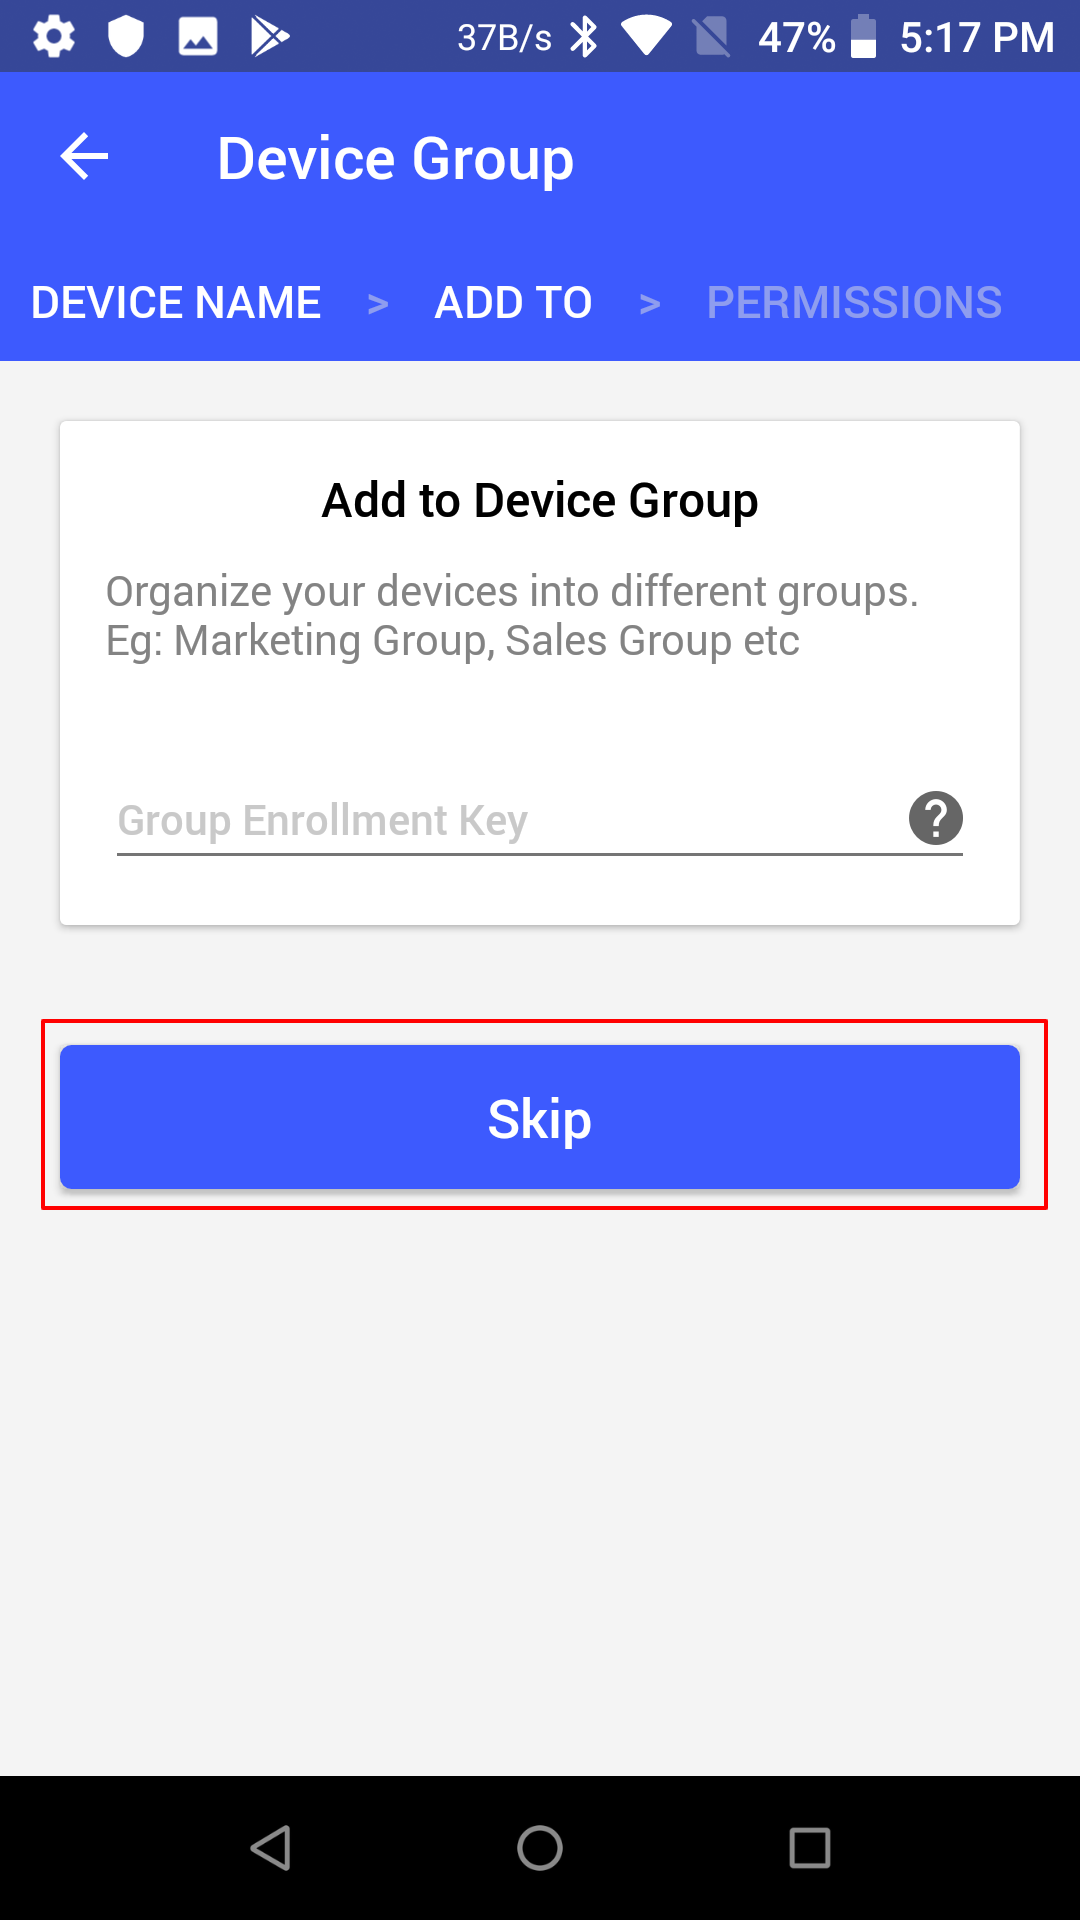
- You can add this device to a Device Group. Tap Skip if you do not want to add a device group.
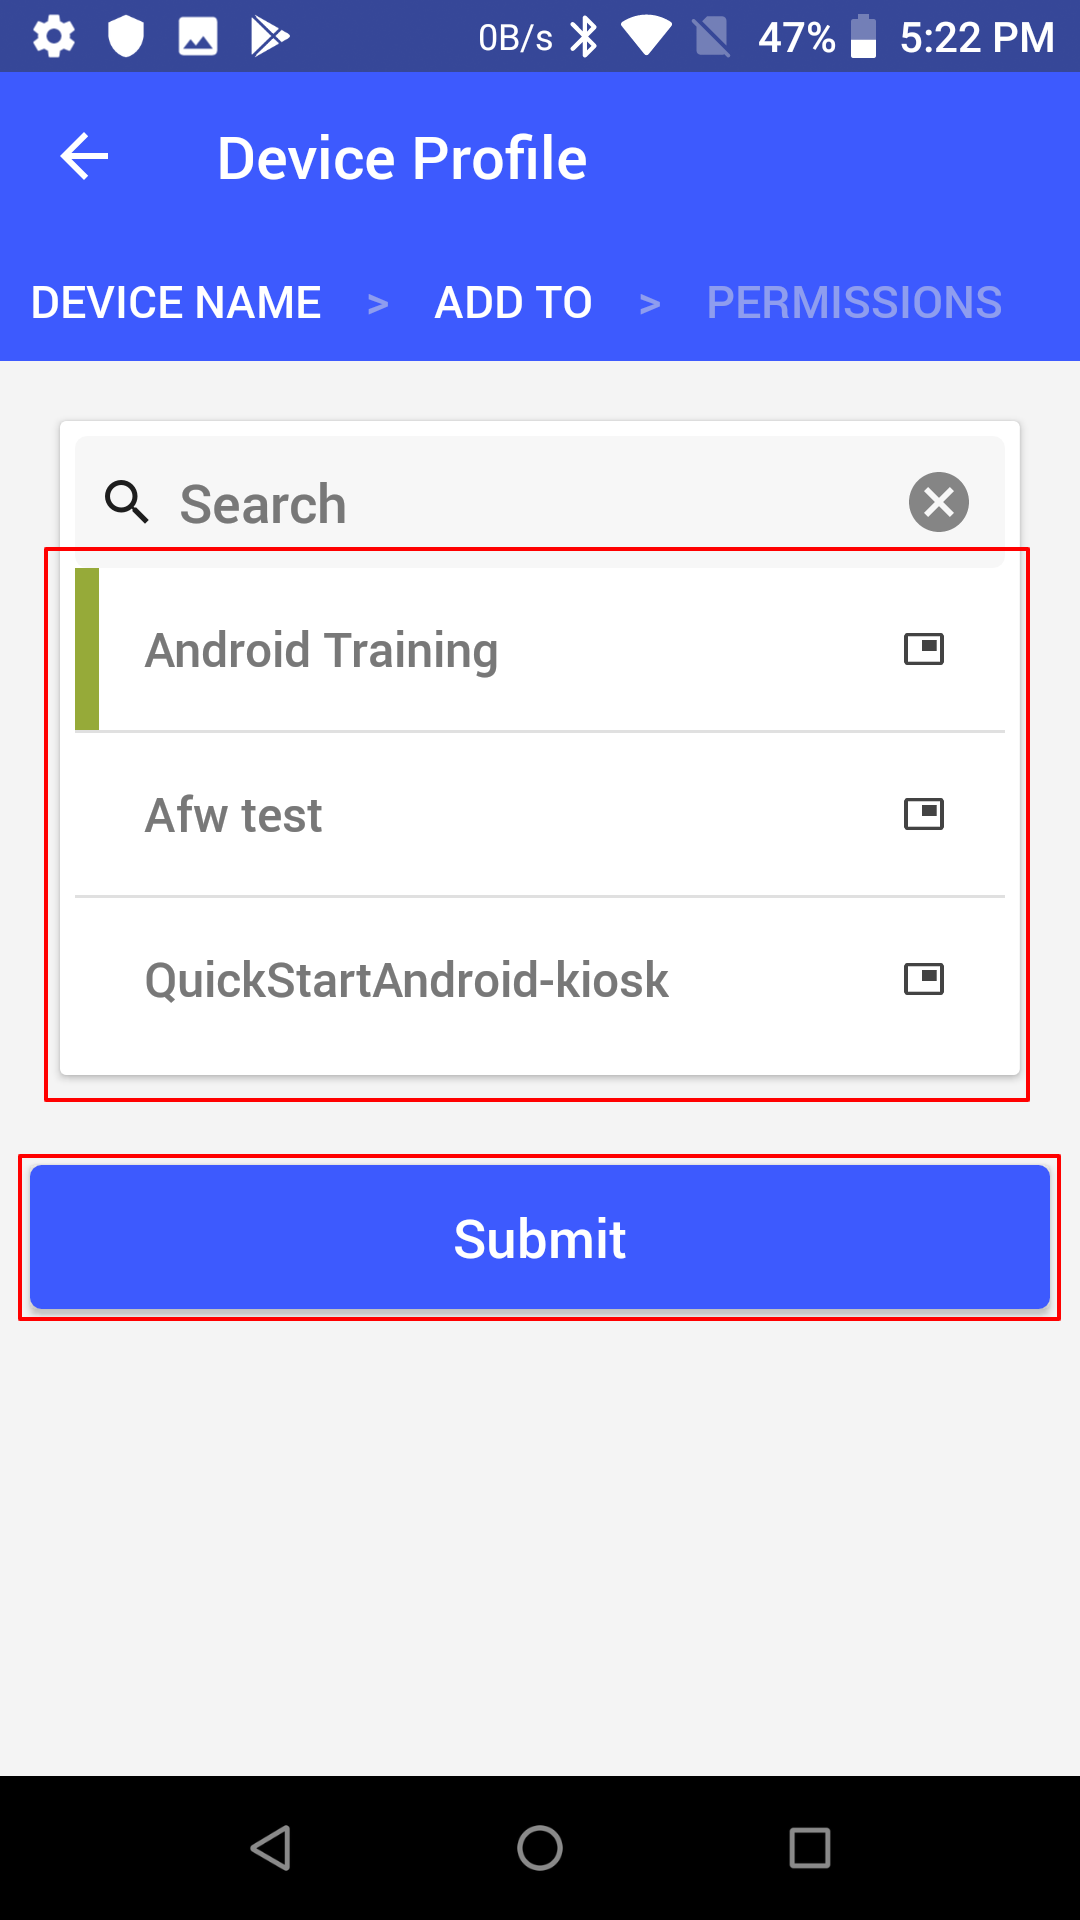
- All Device profiles will be listed. You can select a device profile that you wish to apply on your device or tap Skip if you do not want to.
- Next, you will get to the Permissions screen. Complete the Setup (Grant all the permissions to the Scalefusion app)
.png)
- User Authenticated Enrollment: If you have selected User Authenticated Enrollment in the QR code configuration, you will get the user authentication screen after permission.
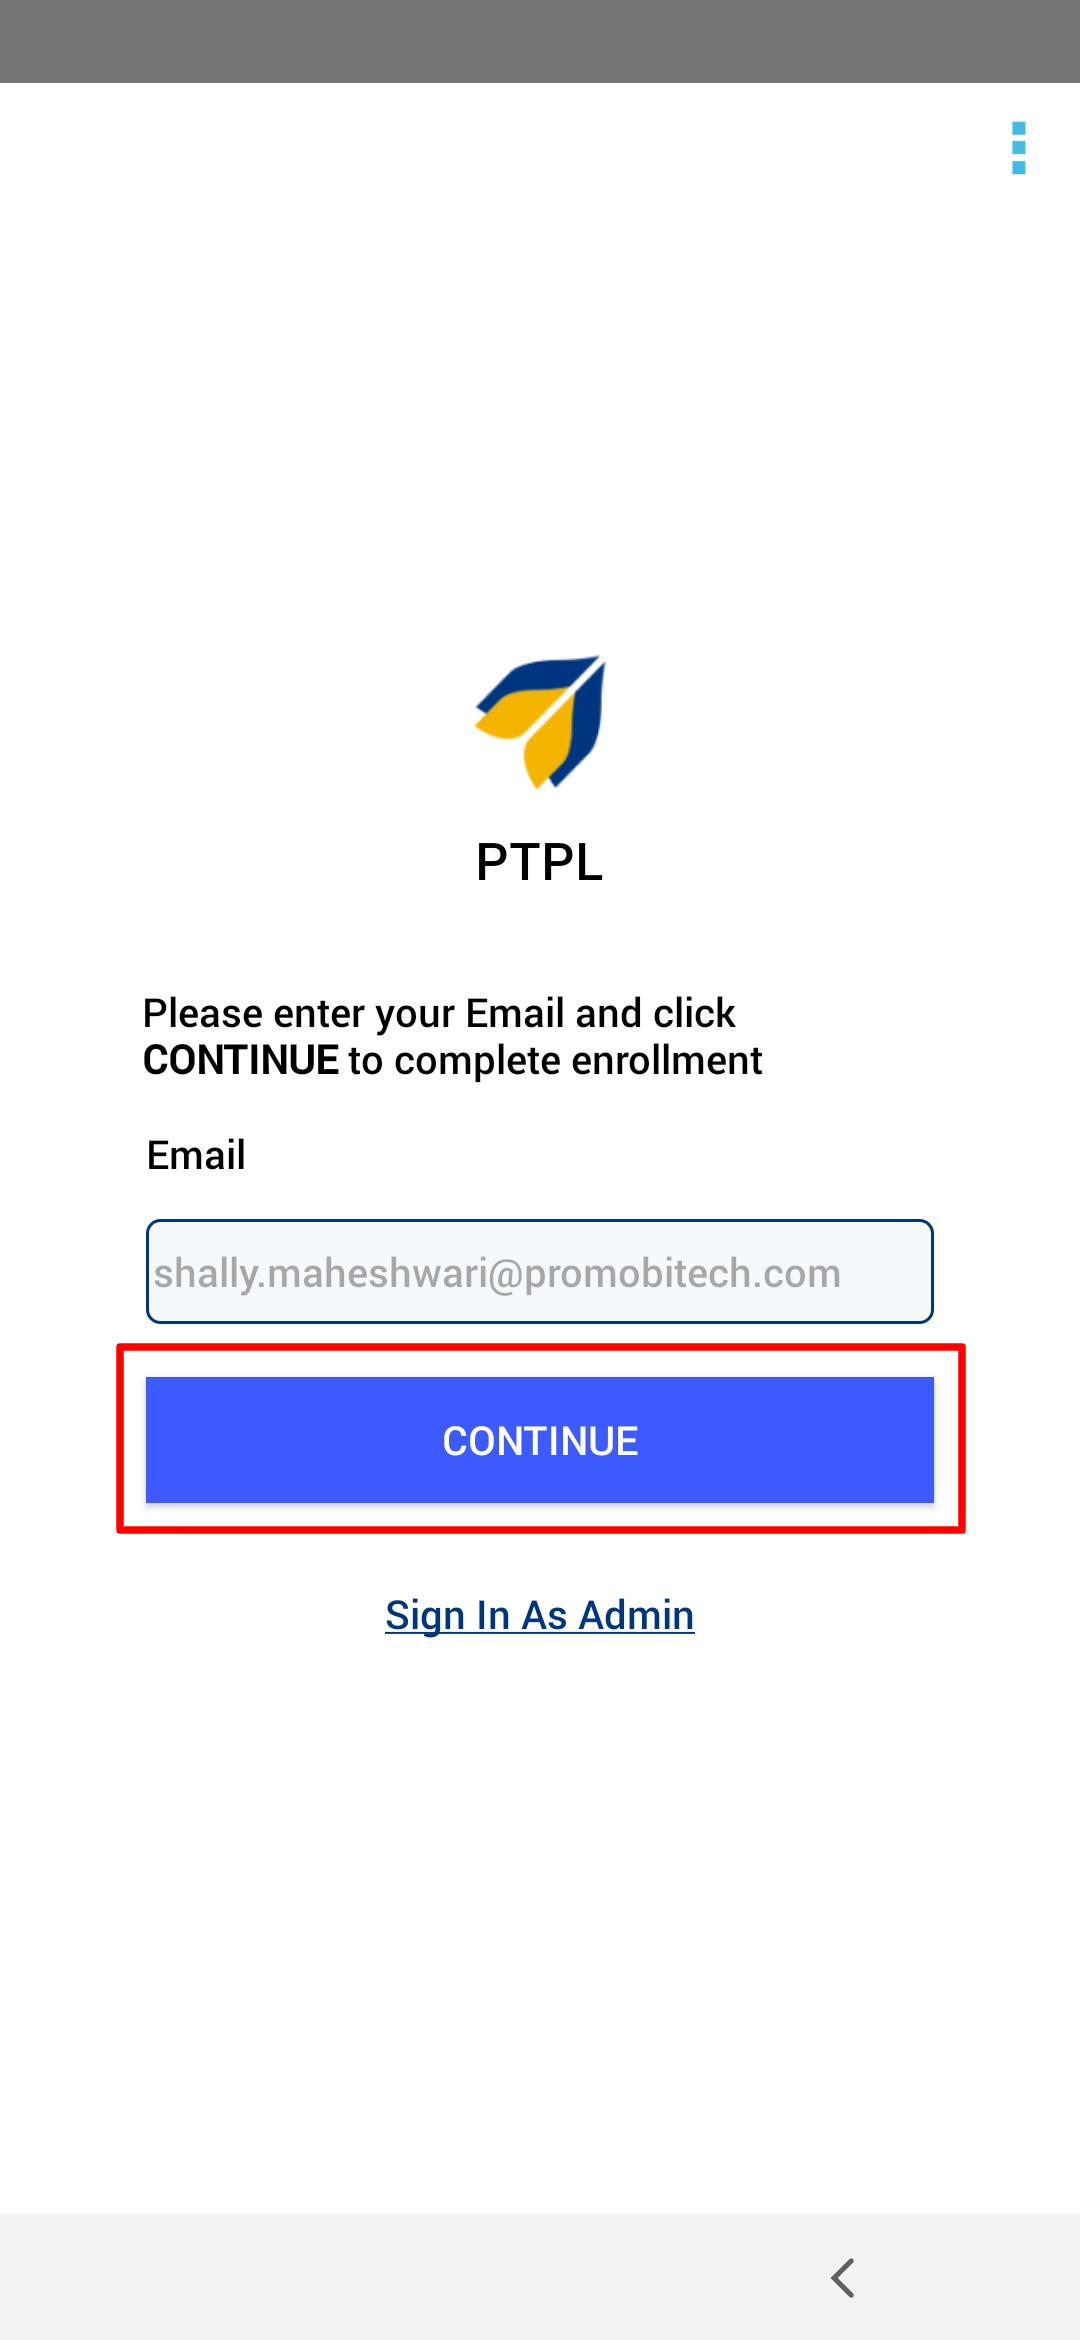
- Enter the user's email ID (id added at the time of adding the user) and tap Continue.
- You will receive OTP on the registered email ID. Enter the OTP on the device and Submit.
Sign in as Admin: Tapping on Sign in as Admin will ask for an exit password. Once you enter the password, it will lock you into Scalefusion.
This option can be used by admins if they are setting up the devices for end users. With this, admins will be directly led to the Scalefusion home screen without authentication and check if policies and published apps are present and working fine or not and then hand over the devices to end users.
- Enter the user's email ID (id added at the time of adding the user) and tap Continue.
- All the apps and other settings set up through the device profile (if selected) will show up on your device. See the screenshot for an example

- On your Scalefusion Dashboard, in the Devices section, you will see a green lock icon next to the device if the setup is properly complete.
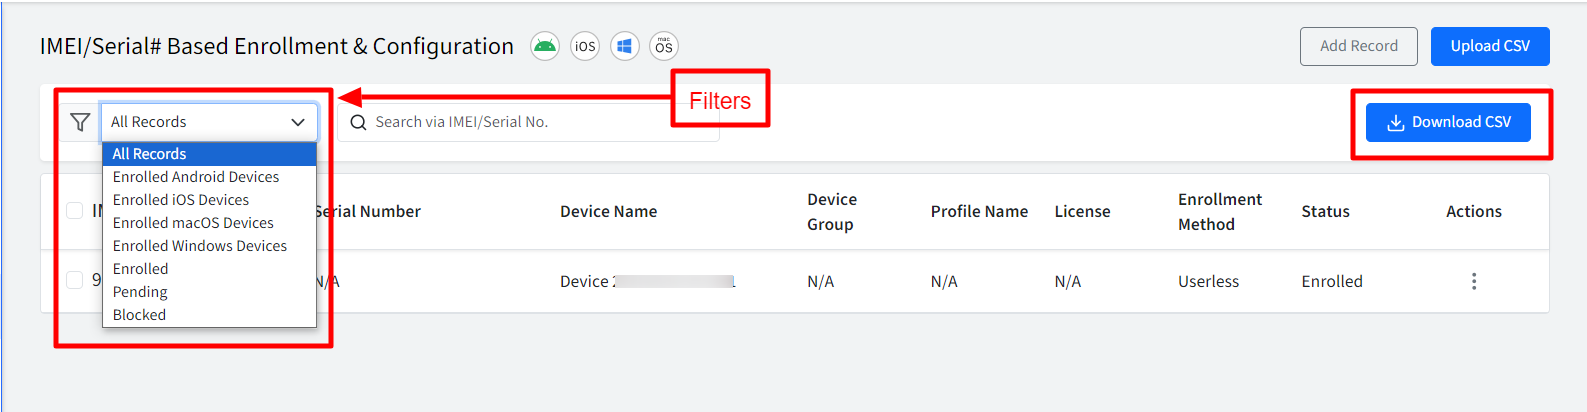
 Also, on IMEI / Serial # Based Enrollment on the dashboard, the Status changes to Enrolled
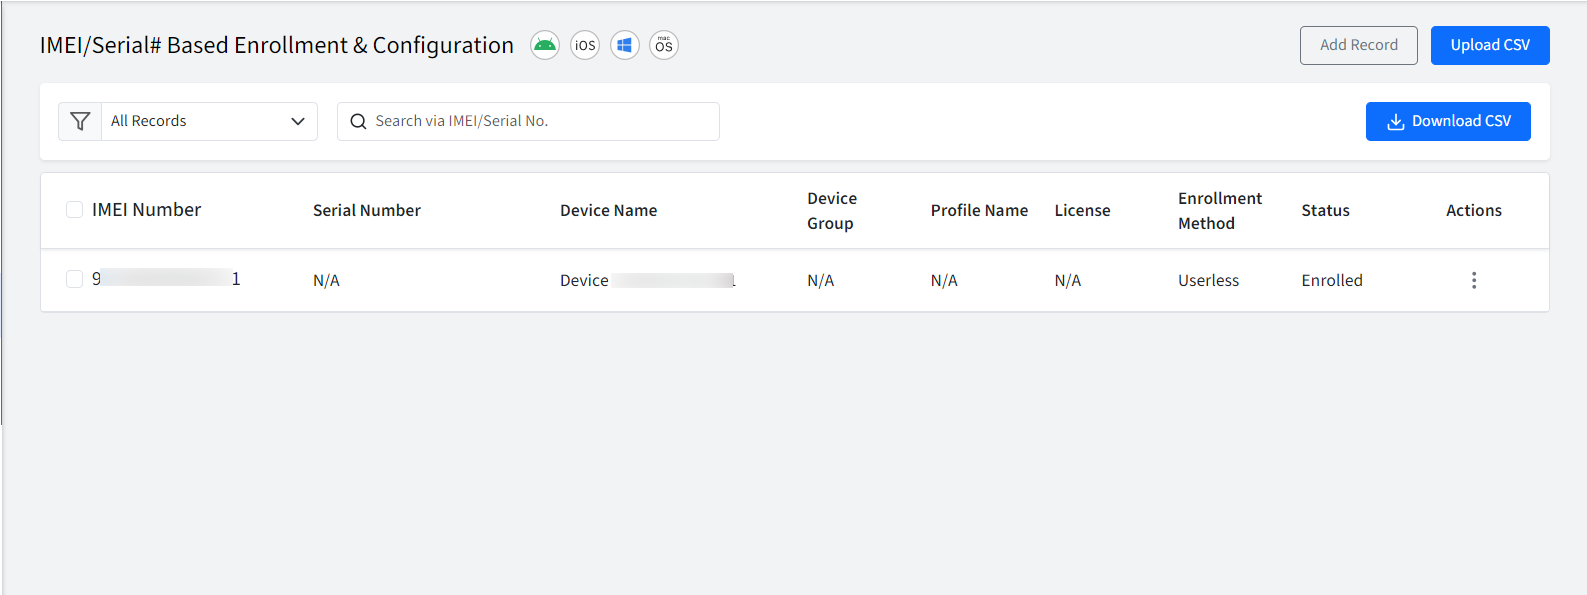
Additional Features
- Filter: You can filter the records based on various enrollment status. Select the enrollment status by clicking on the drop-down on the top
- Download CSV: You can download the IMEI/Serial# records (all or based on selected filter) in a CSV.