This guide provides step-by-step instructions for enrolling your personal Android device (BYOD) in Scalefusion using your OneIdP credentials.
Before You Begin
Make sure you have access to the corporate email.
Make sure that your IT Admin has invited you to enroll in Scalefusion.
Android BYOD Device profile is created.
User Groups are created and mapped with the respective BYOD profile.
Import the users to the Group created.
BYOD Enrollment configuration is created.
Users should be migrated to OneIdP
Steps to Enroll Your Personal Device
There are two methods by which OneIdP users can enroll their personal device to Scalefusion:
Method 1: By sending Email Invitation and Scanning QR code
Method 2: By enrolling via email
Both are explained in detail below.
Method 1: By sending Email Invitation and Scanning QR code
From the Google Play Store, install Scalefusion on your device and open it
Scan the QR Code or select to Sign In via Email > BYOD
Scalefusion app will try to access the device camera and the device information. Please grant the necessary permissions so that you can see the camera view. Open the email in which you have received the invite, and on your device, scan the QR Code that is there in the email.
If you cannot scan the QR Code, then click on Sign In, enter your email ID on which you received the invite and enter the org-id provided by the IT admin
Once the QR Code is scanned and validated or the Sign values are validated, the Data Disclaimer screen will come. Click Agree on it.

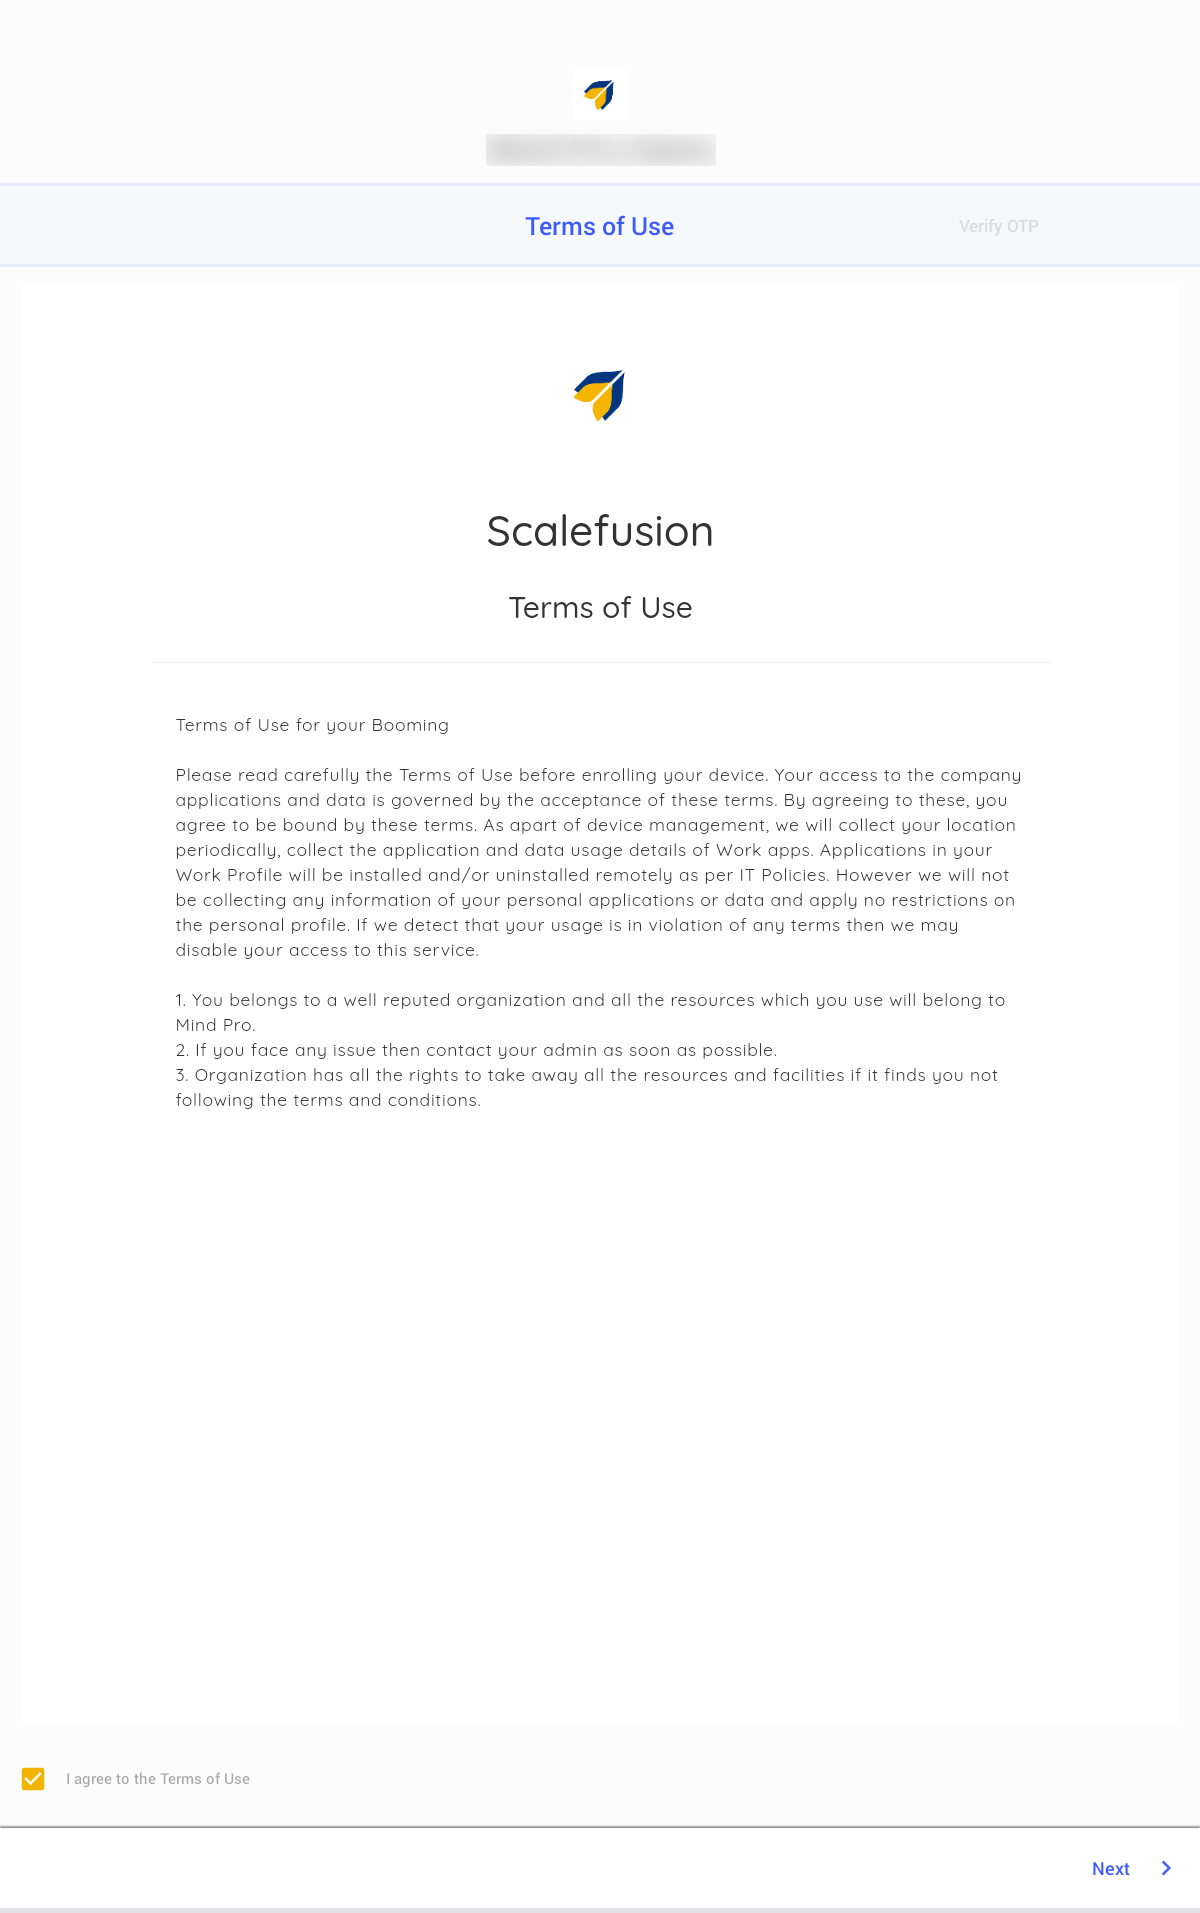
You will be taken to a Terms of Use page. These are the Terms of Use of your organization, read carefully and tap on I agree and choose Next
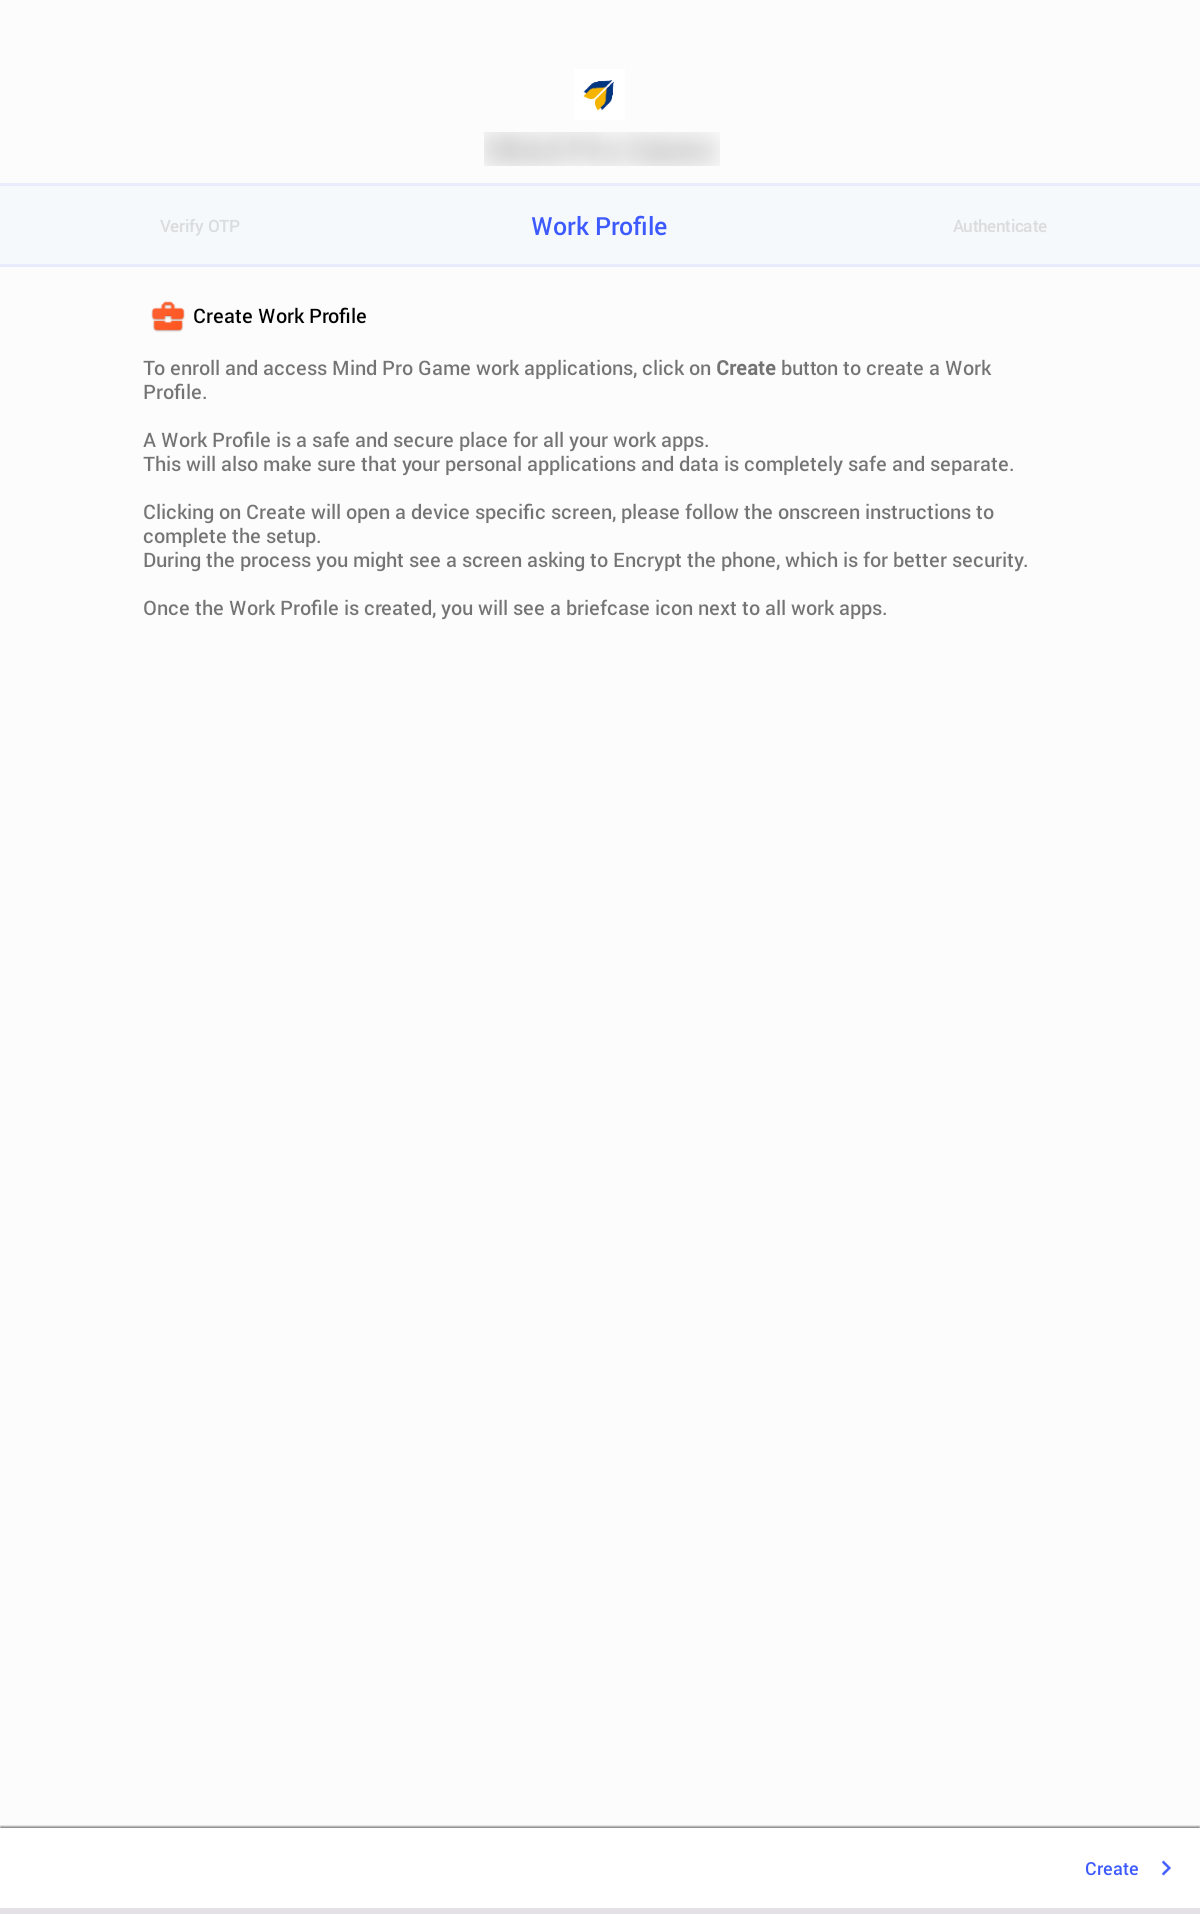
After confirming terms of service, you will get the screen to create a Work Profile. Click on Create
Post creation of Work Profile, you will be asked to authenticate with OneIdP. Click on Sign In using OneIdP by entering your OneIdP credentials.

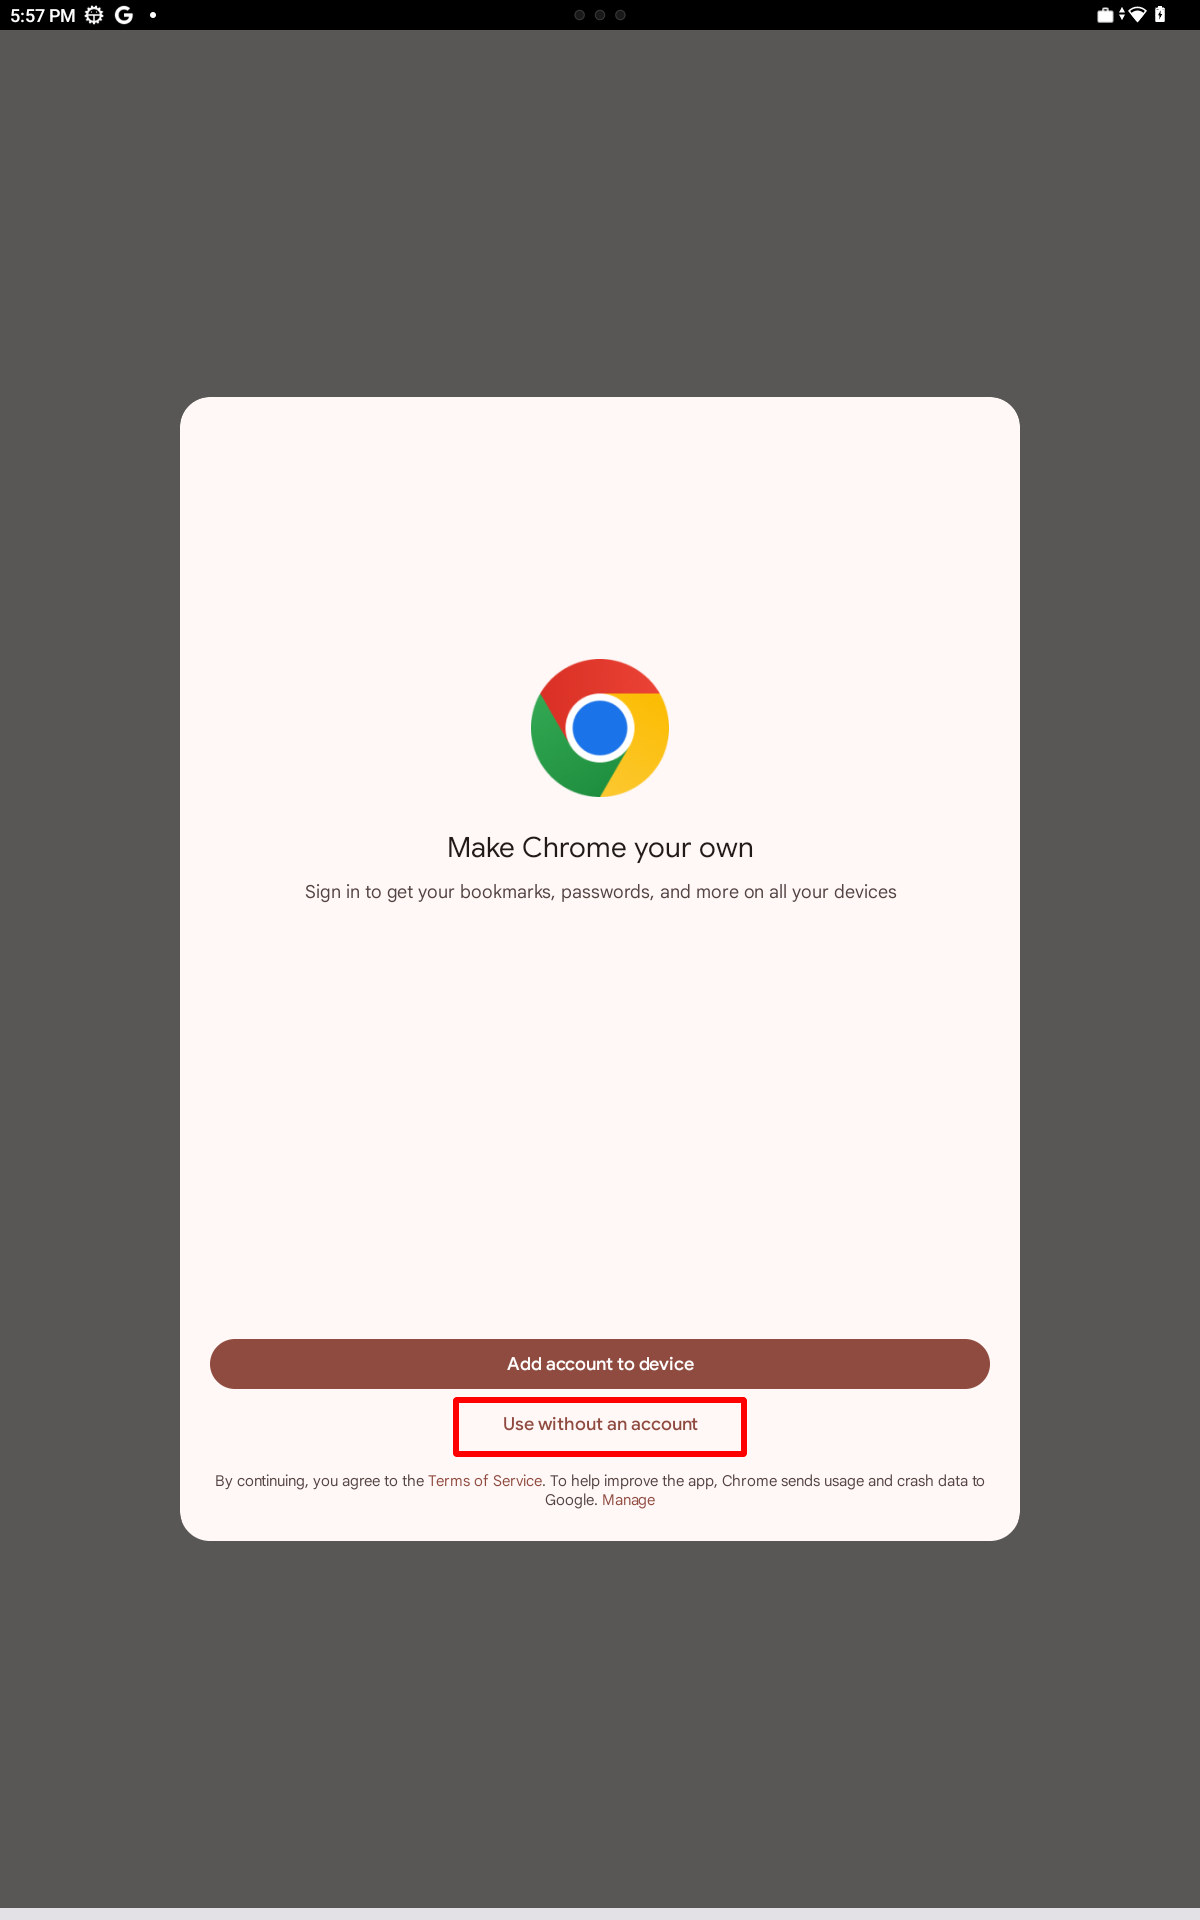
This will launch the default browser. Here, click on Use without an account
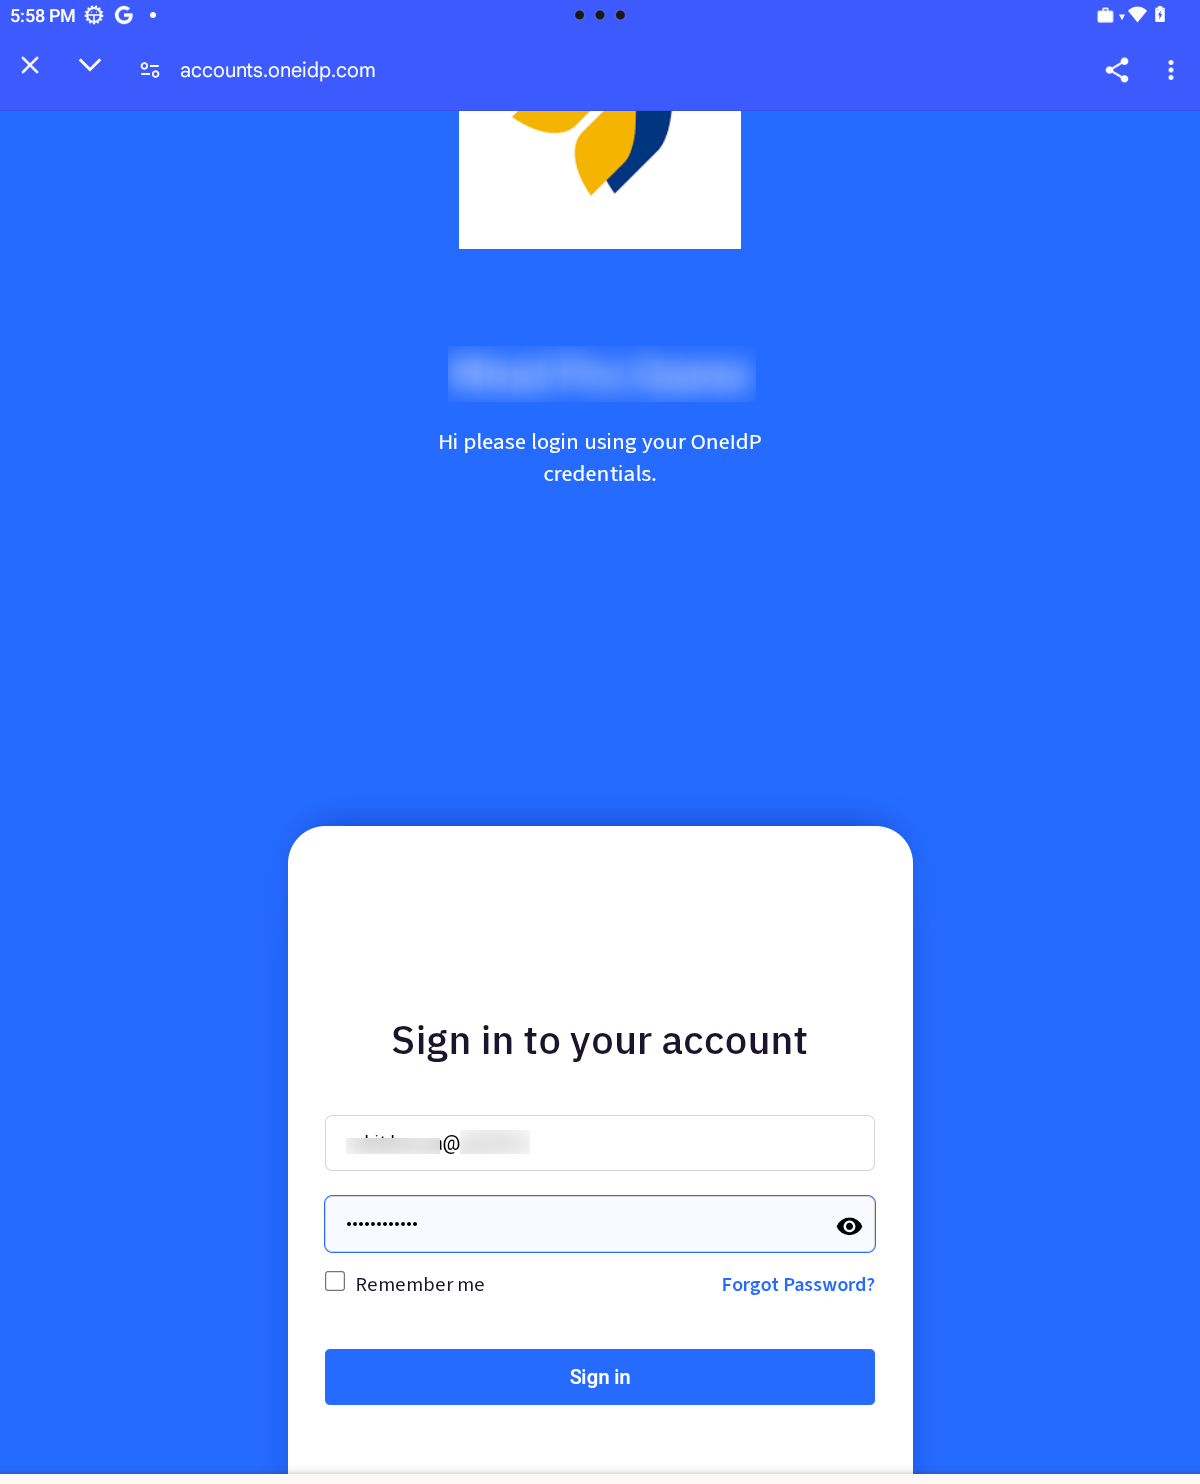
This will open the OneIdP login page. Enter your credentials and click on Sign In.

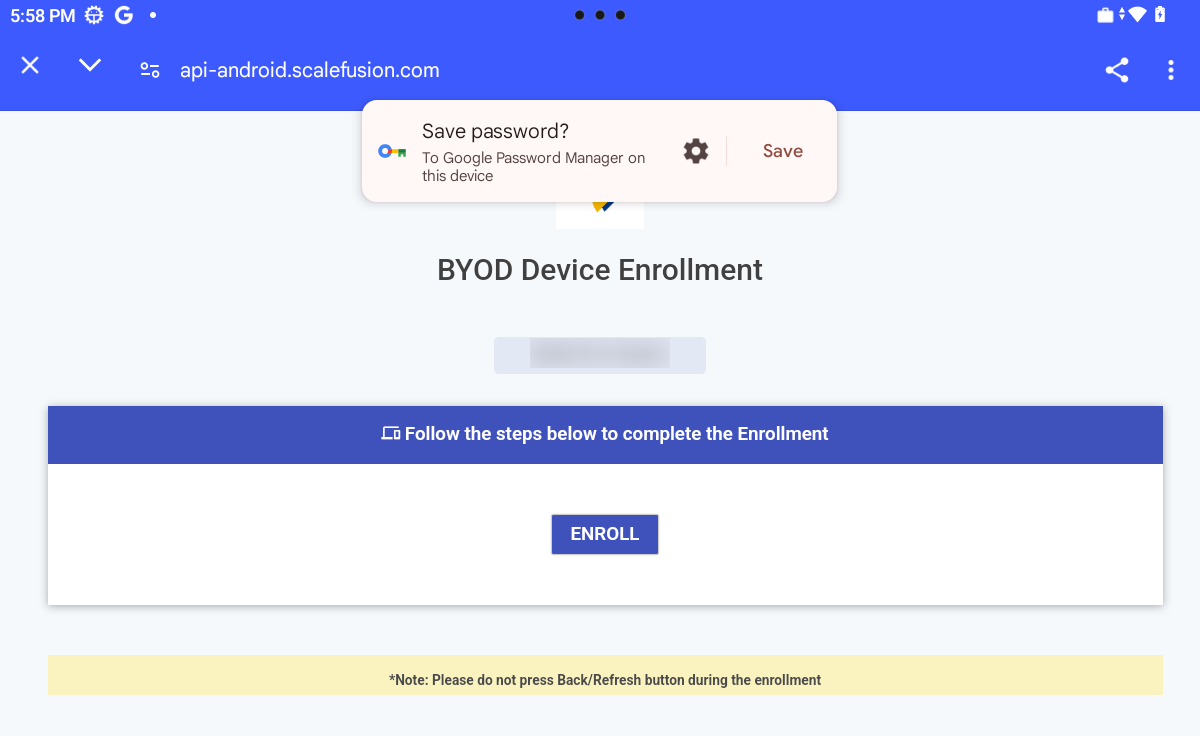
Once authenticated, you will get the screen to complete enrollment. Hit ENROLL

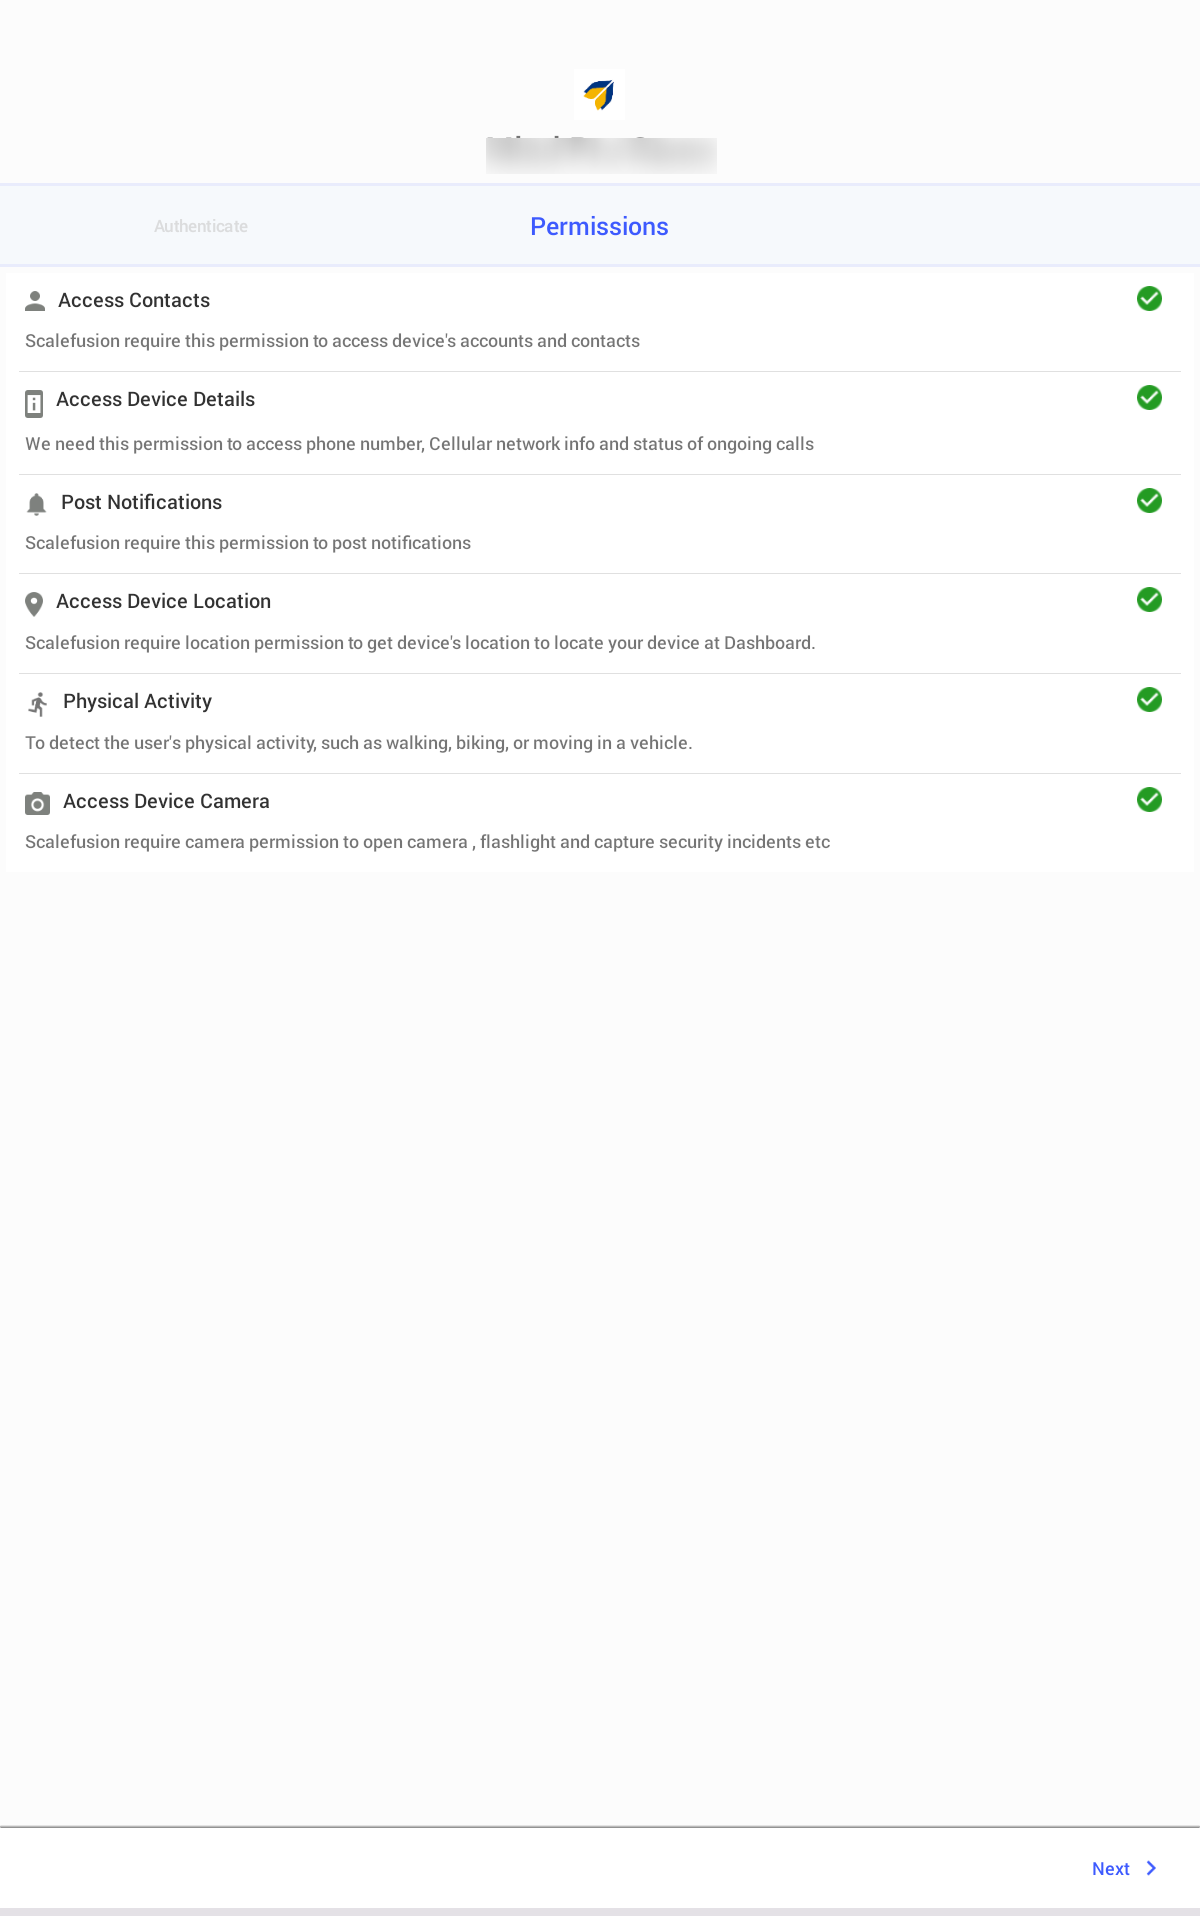
You will get the Permissions screen where you allow the permissions,

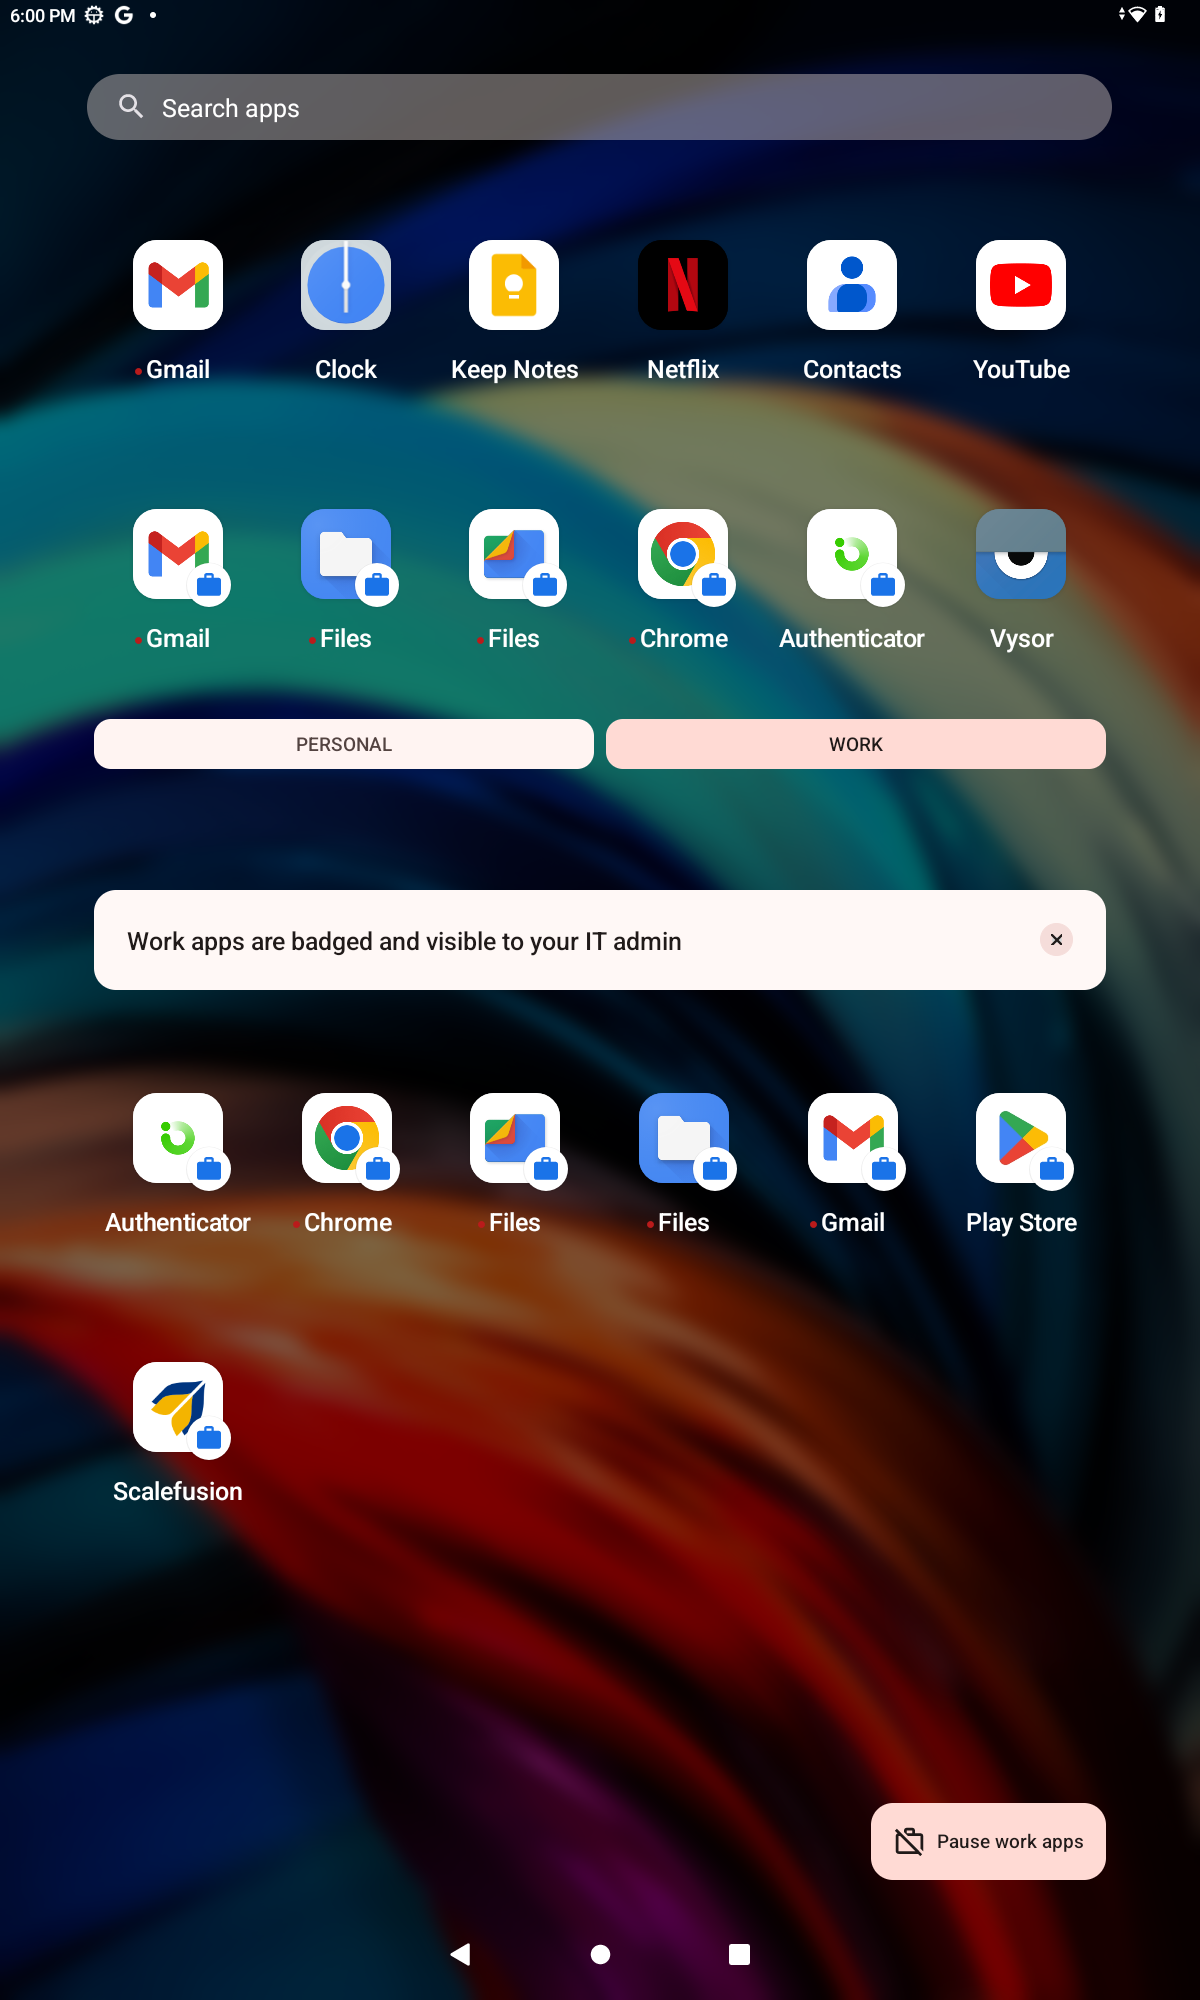
The device gets enrolled.

Method 2: Enrollment via Email
From the Google Play Store, install Scalefusion on your device and open it.
Click on Other Enrollment Options.

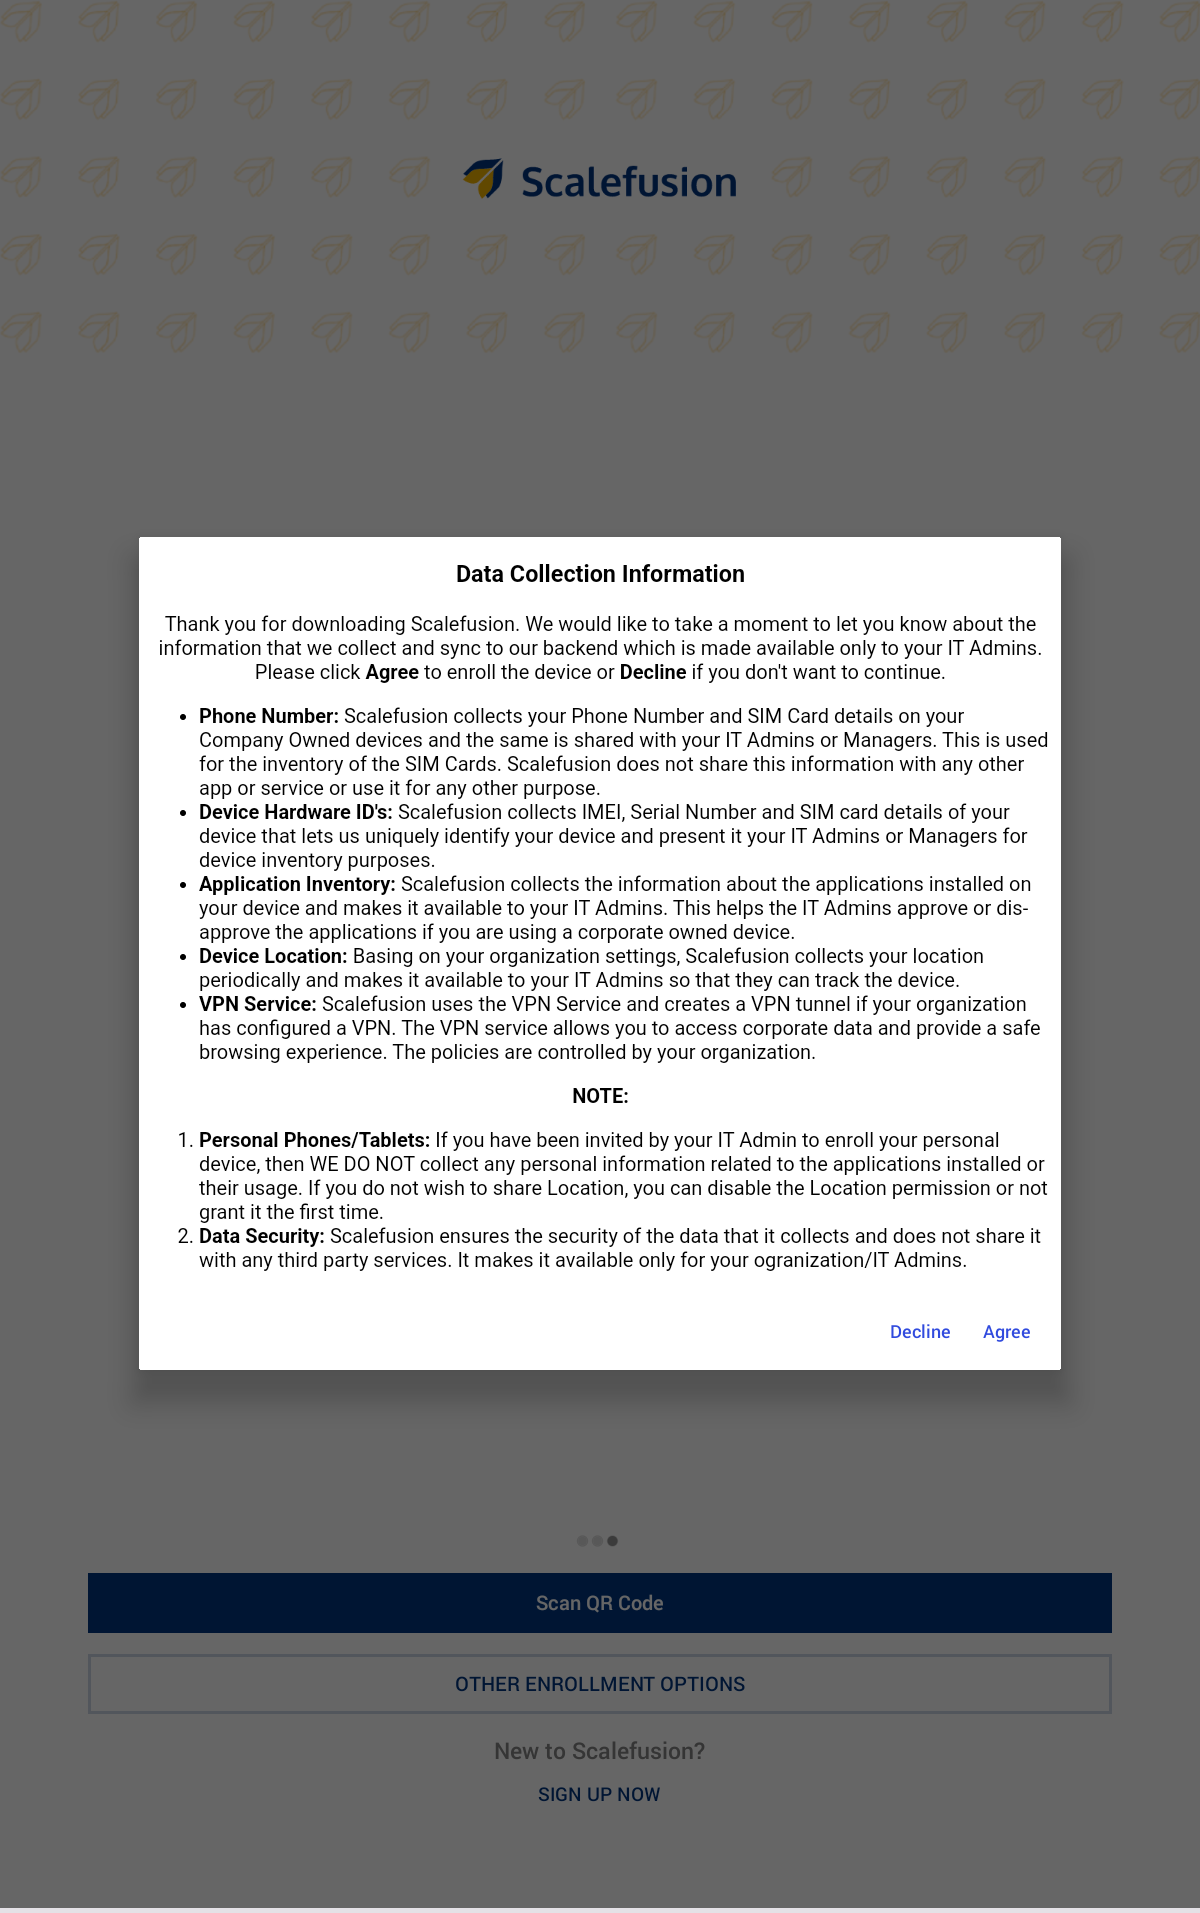
The Data Disclaimer screen will come. Click on Agree
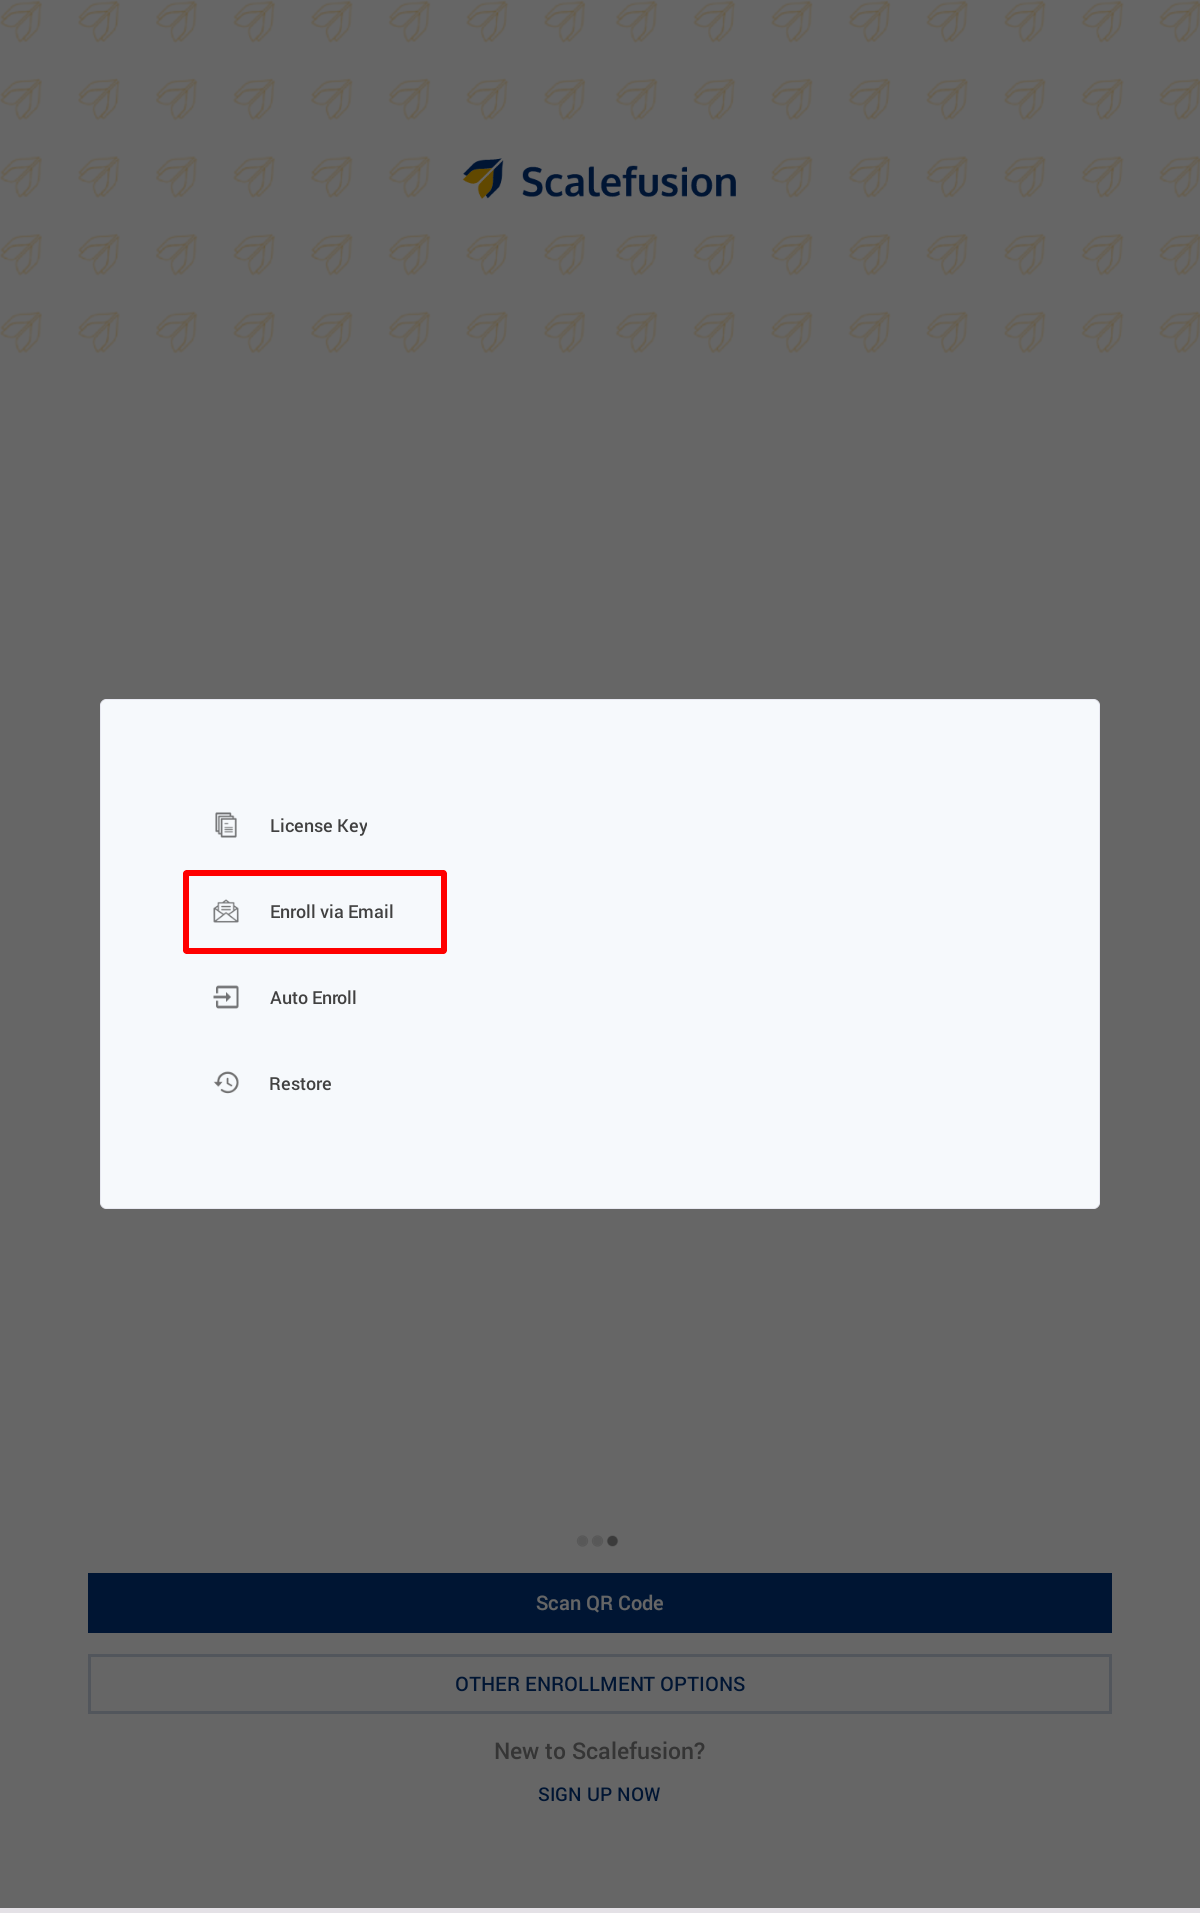
Click on Enroll via Email
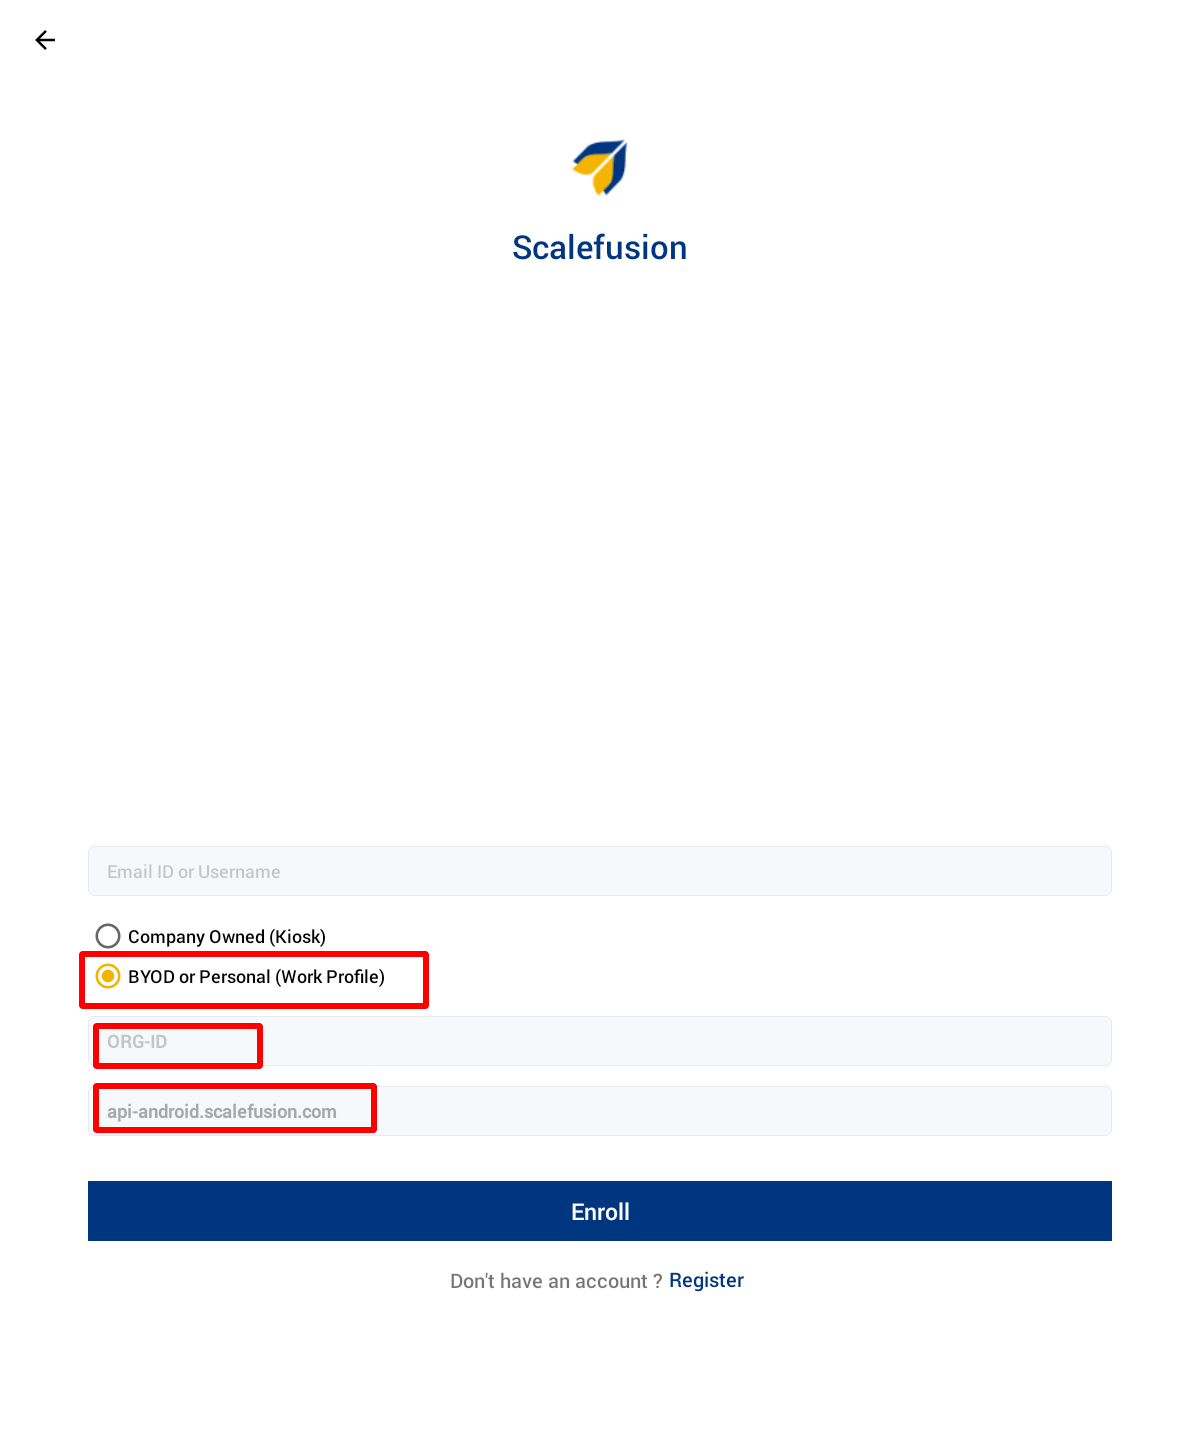
On the next screen, select the option BYOD or Personal (Work Profile) and enter the following and click on Enroll:
Organization ID: You can get Org ID from Getting Started > Organization Info on Scalefusion Dashboard
If you are accessing the Scalefusion Console on India Instance, you will also need to change the URL from api-android.scalefusion.com to in.scalefusion.com
You will be taken to Terms of Use page. These are the Terms of Use of your organization, read carefully and tap on I agree and choose Next

After confirming terms of service, you will get the screen to create a Work Profile. Click on Create

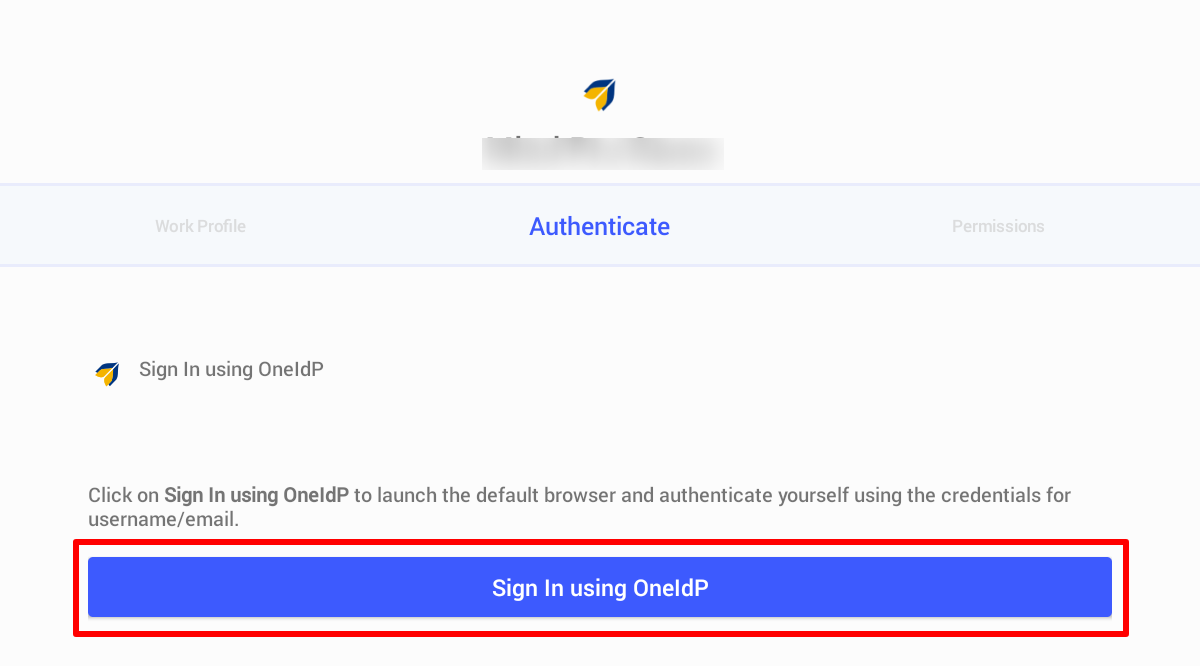
Post creation of Work Profile, you will be asked to authenticate with OneIdP. Click on Sign In using OneIdP by entering your OneIdP credentials.
This will launch the default browser. Here, click on Use without an account

This will open the OneIdP login page. Enter your credentials and click on Sign In.
Once authenticated, you will get the screen to complete enrollment. Hit ENROLL
You will get the Permissions screen where you allow the permissions.
The device gets enrolled.