Enrolling Personal/Employee owned Mac device for users enforced to sign in via Okta
- 14 Aug 2024
- 2 Minutes to read
- Print
- PDF
Enrolling Personal/Employee owned Mac device for users enforced to sign in via Okta
- Updated on 14 Aug 2024
- 2 Minutes to read
- Print
- PDF
Article summary
Did you find this summary helpful?
Thank you for your feedback!
This guide helps you to enroll your personal device to Scalefusion for SAML SSO users enforced to sign in with Okta.
Before You Begin
- Make sure you have access to the corporate email.
- Make sure that your IT Admin has invited you to enroll in Scalefusion.
- Users should have accounts registered with the respective Identity Service Provider (Okta)
- SAML settings for Okta should be configured on the Scalefusion Dashboard
- The setting Enforce Users to sign in using SAML SSO is enabled in User Enrollment Settings on the Scalefusion Dashboard.

Steps to Enroll Your Personal Device
The users who have configured and signed in with Okta, and have enabled the setting Enforce users to sign in using SAML SSO in User Management, will be asked to authenticate by signing in with their Okta credentials. In this case, following will be the process of enrollment:
If this setting is disabled, the device is enrolled with the normal procedure as described here
When the setting to sign in using SAML SSO is enforced, the OTP flow is replaced by authentication using Okta credentials at the time of sending an invite.
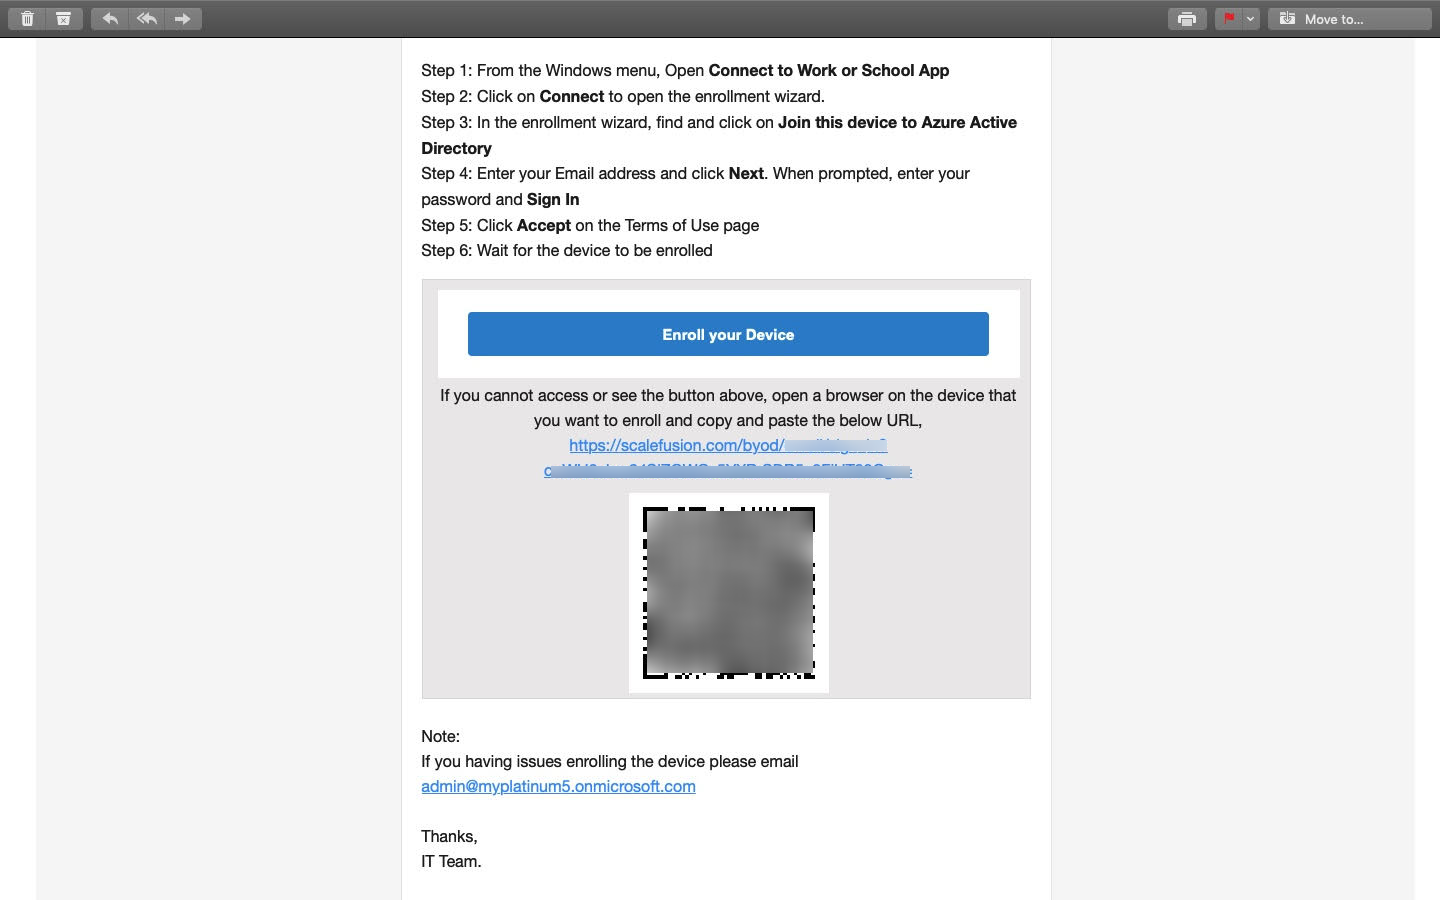
- To start the enrollment process, Click Enroll your Device if you are accessing the email on the Mac device that you are trying to enroll.
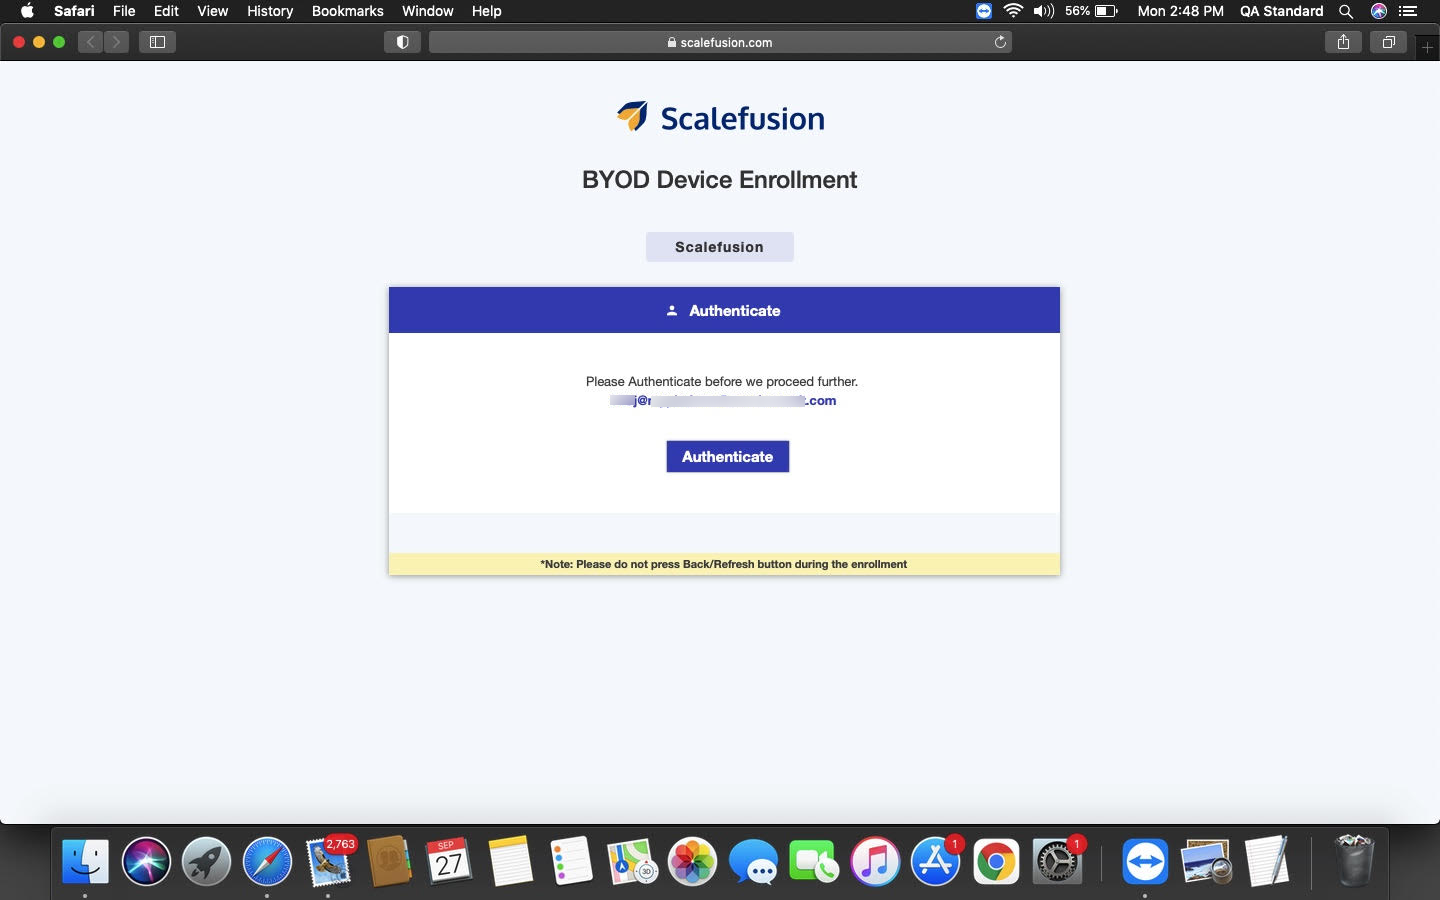
- This will open your default browser and load up a page with the email address to begin enrollment. Verify your email address and click Authenticate.We recommend using Safari or Chrome to enroll your devices.
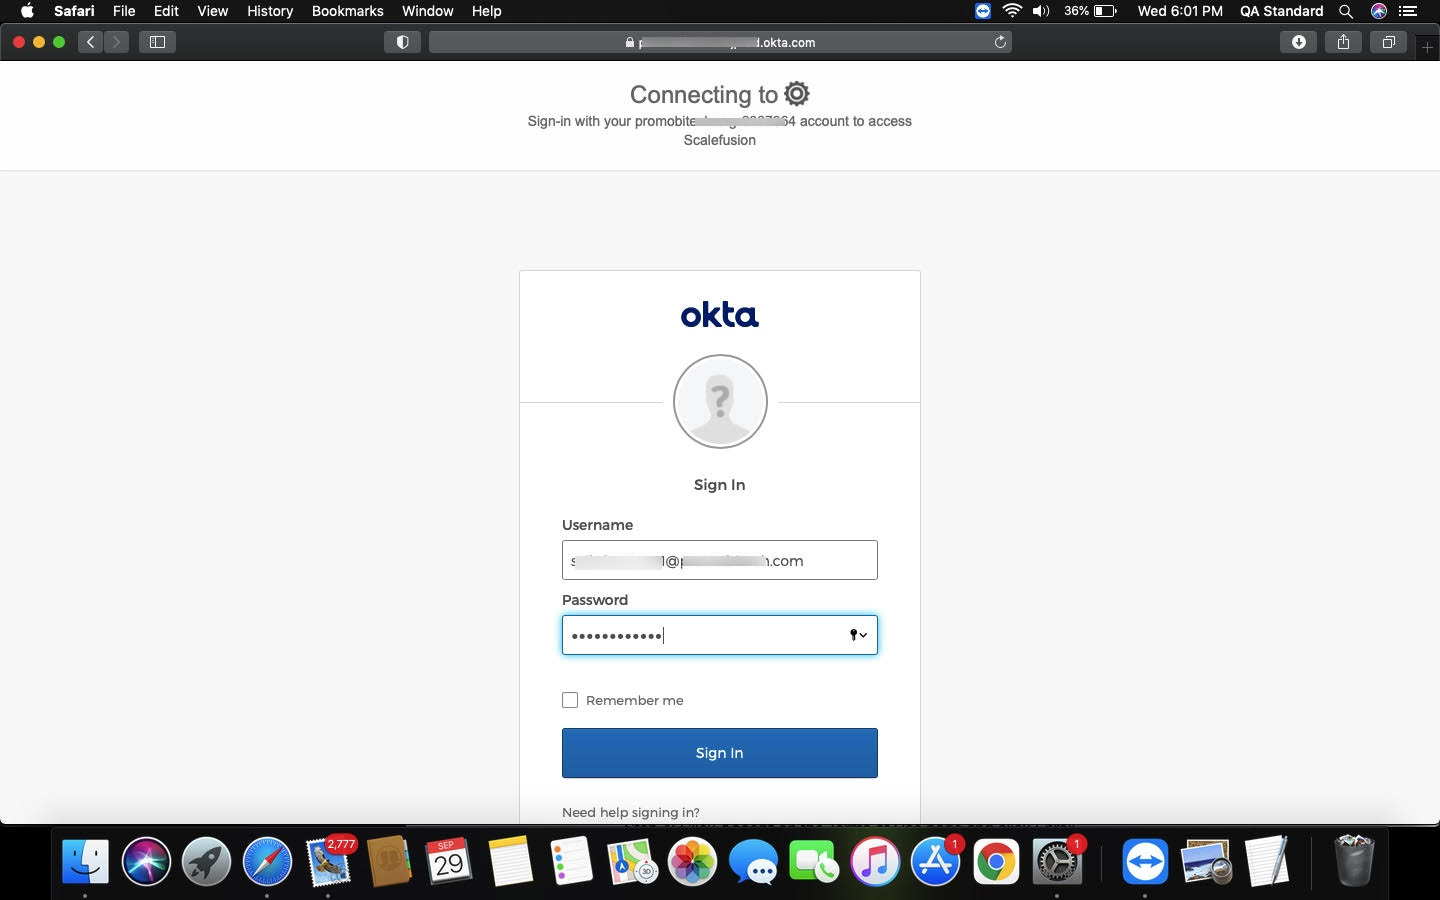
- Next, the user would be taken to Okta's login page with the credentials to sign in. Click Sign In to authorize.
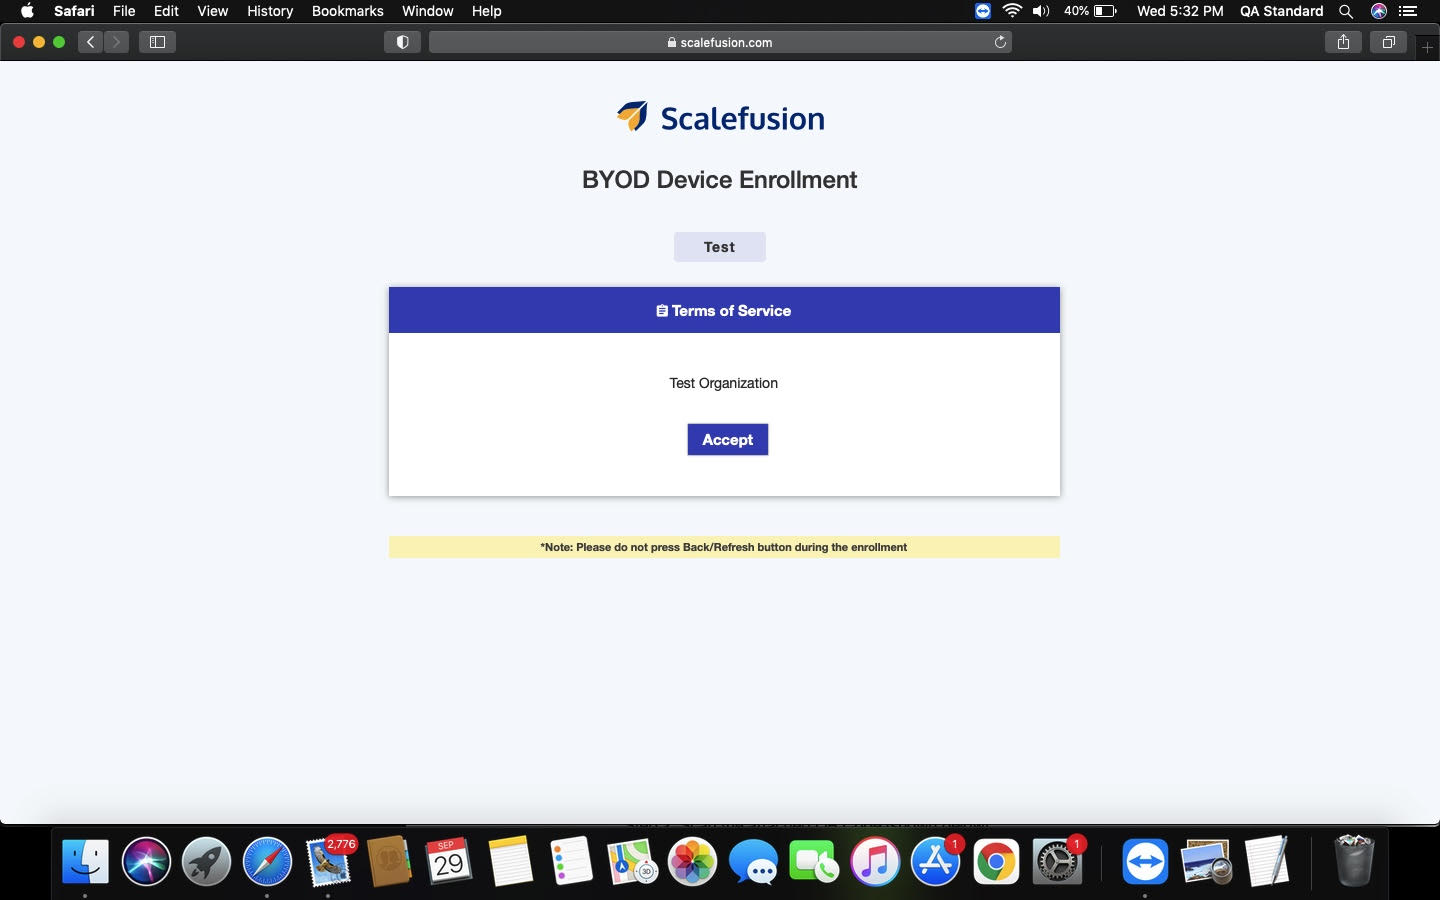
- Read the Terms of Service set by your organization and click ACCEPT
- On the enrollment screen, click ENROLL.
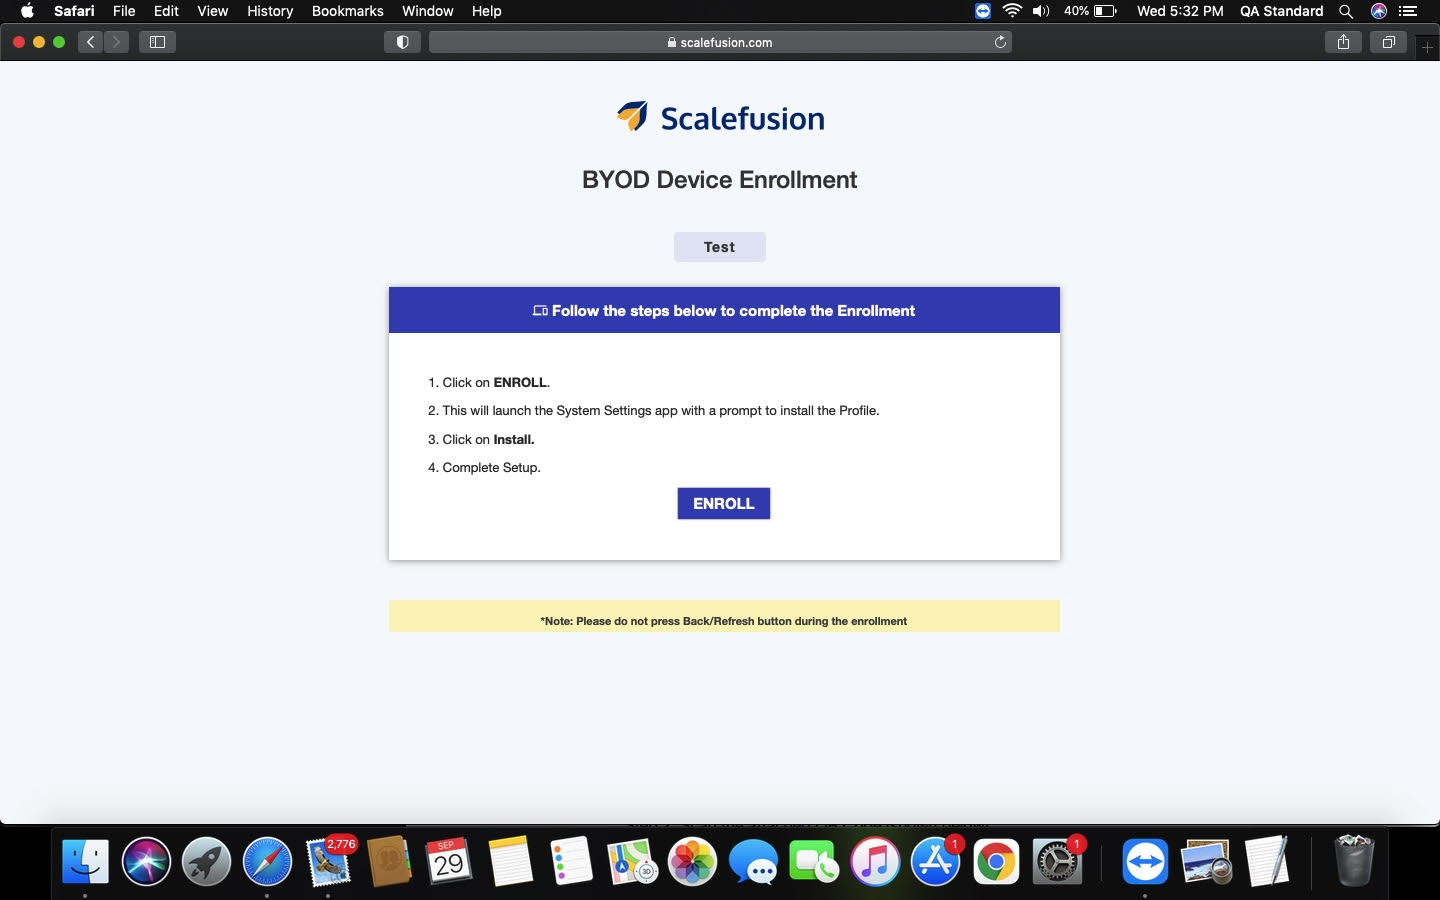
- Depending upon which browser you used to start the enrollment, either of the following will happen,
- Google Chrome: A *.mobileconfig will be downloaded. Once it is downloaded, click on the downloaded file to go to the next step.
.png)
- Apple Safari: If you have enabled Auto-Open, then the file will be downloaded, and you will be automatically directed to the next step. If you are not directed to the next step, please double-click on the downloaded file.
- Google Chrome: A *.mobileconfig will be downloaded. Once it is downloaded, click on the downloaded file to go to the next step.
- This will open the System Preferences pane, and the following dialog will be shown. Click on Install to proceed with enrollment.
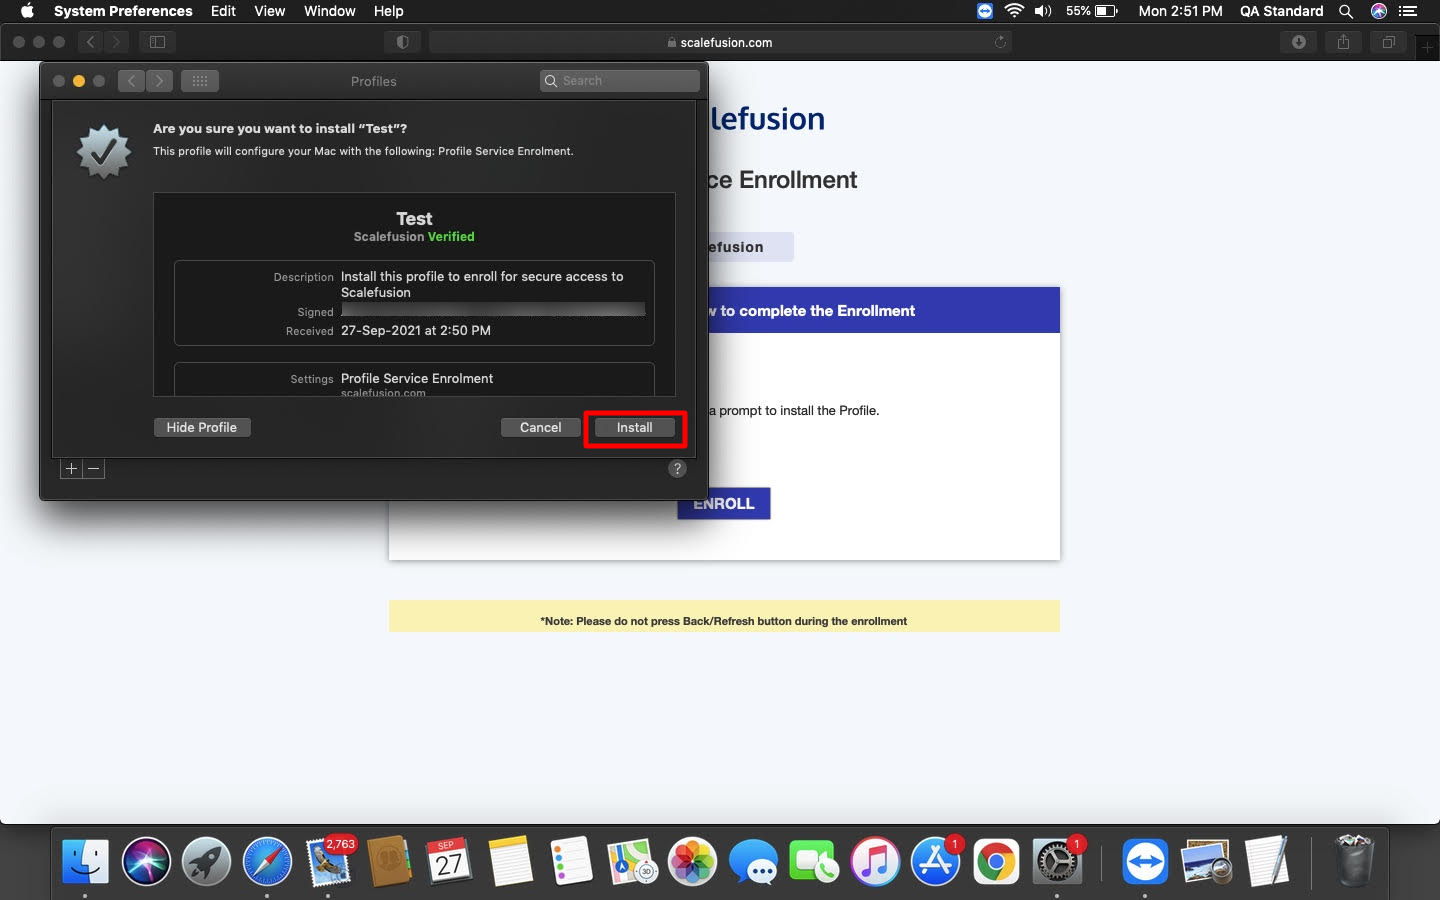
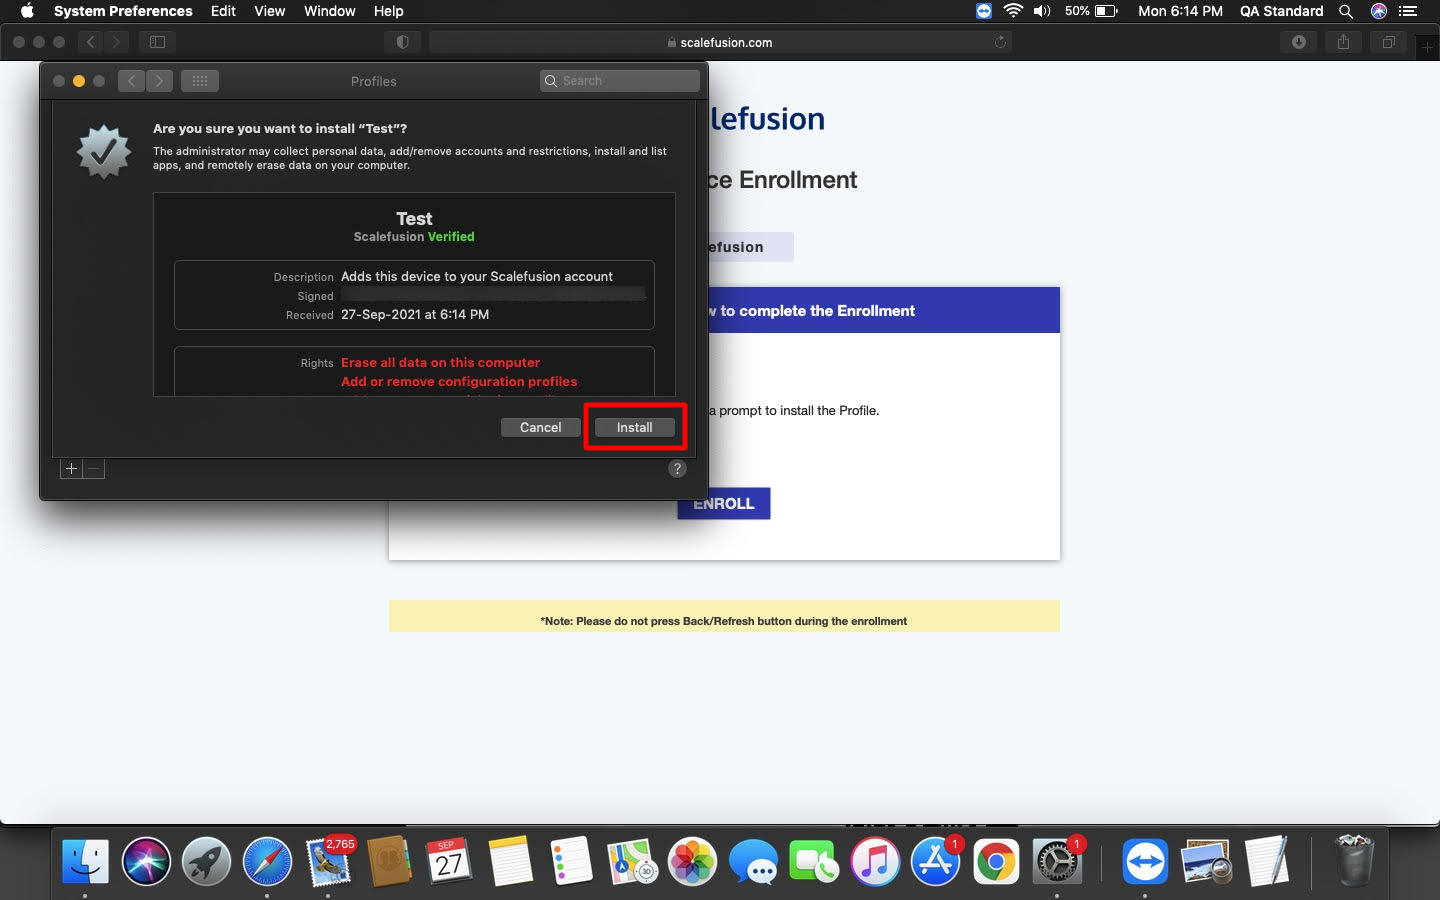
- You will be shown the details of the enrollment profile and asked to confirm the installation. Click Install
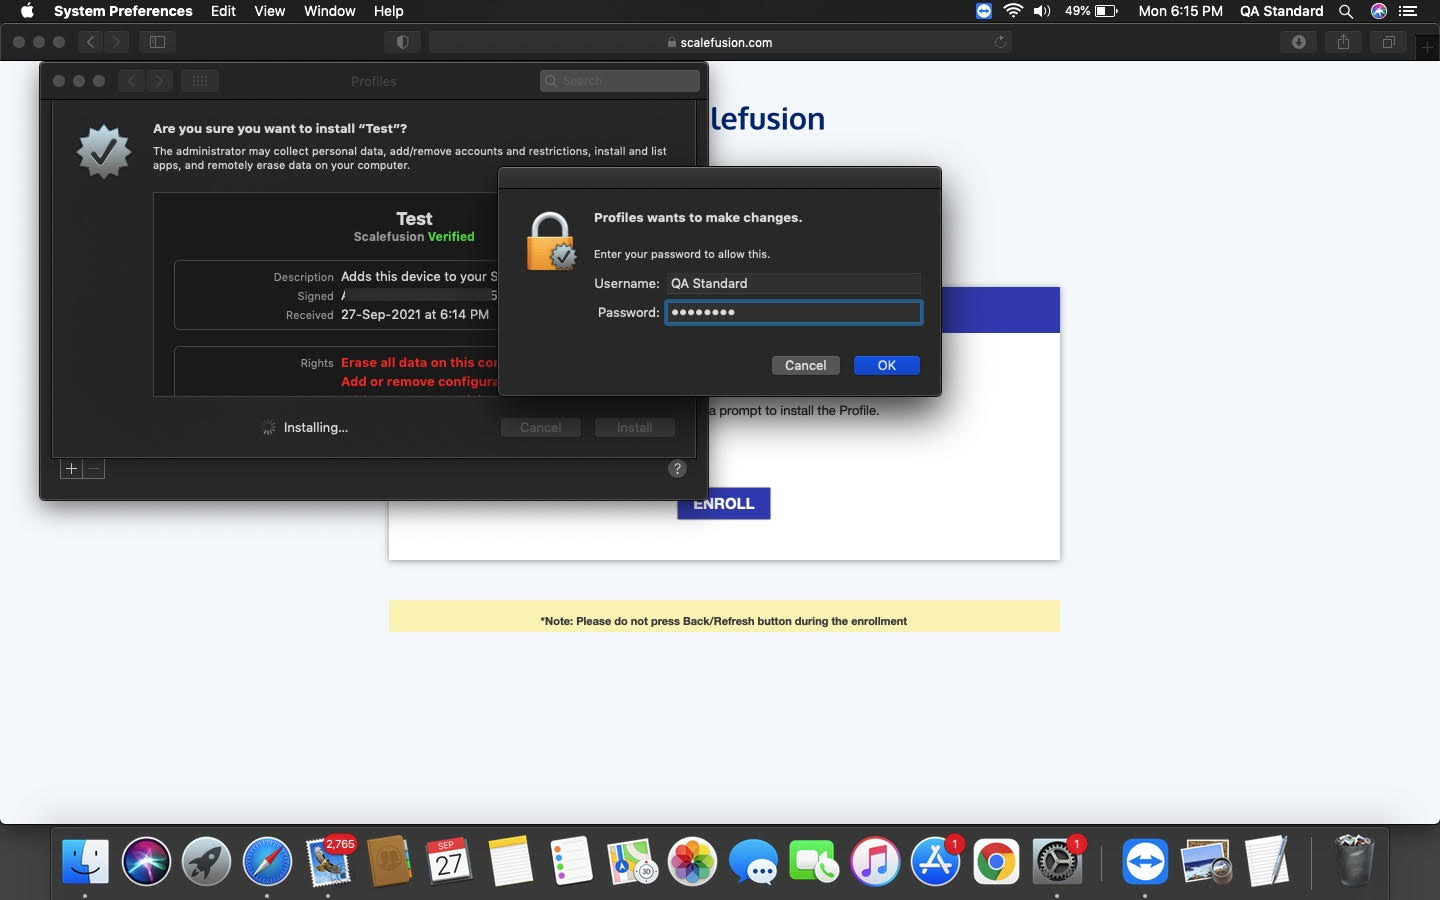
- If you are enrolling from a non-administrator user, you will be asked to enter administrator credentials to confirm the installation. Please enter the administrator credentials and Click OK.
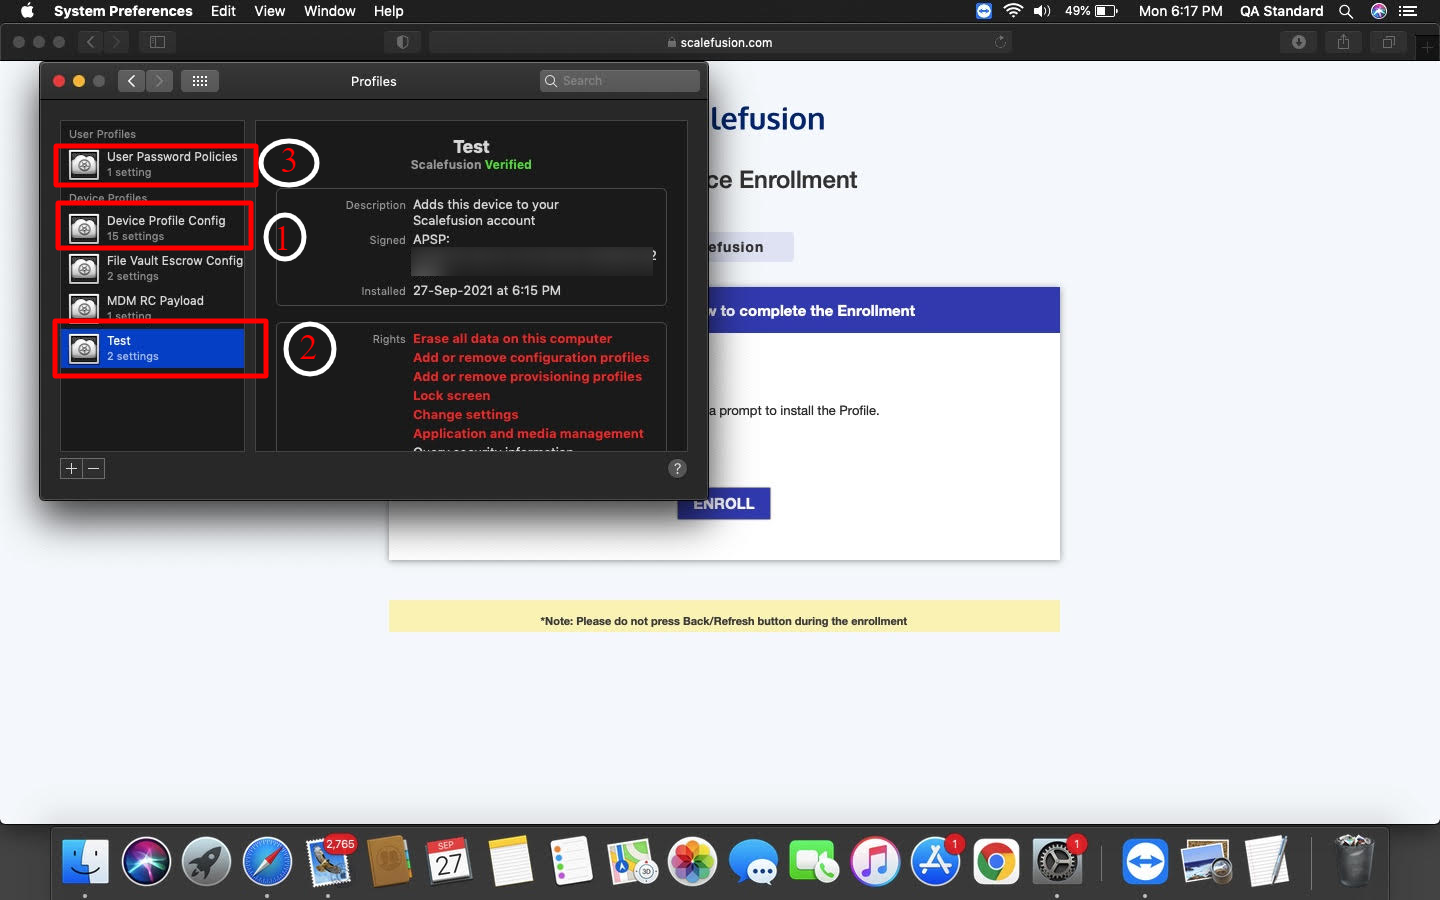
- It will take around 1-2 minutes for the enrollment to be complete, and the following screen confirms that the enrollment is complete. Depending upon the type of policies applied, you would see around 3 Profiles that are installed,
- Device Profiles: This section lists all the Profiles/Policies that are applicable at a device level. The items marked 1 & 2 are device-level profiles, and the policies applied by these profiles are applied to all the users of this machine.
- User Profiles: This section lists all the Profiles/Policies that are applicable at a user level. Identified by point 3 in the image below, these policies are applicable only to the Mac user account from where the enrollment was done.
Was this article helpful?