This guide helps you to enroll your personal device to Scalefusion for SAML SSO users enforced to sign in with PingOne.
Before You Begin
- Make sure you have access to the corporate email.
- Make sure that your IT Admin has invited you to enroll in Scalefusion.
- Users should have accounts registered with the respective Identity Service Provider (PingOne)
- SAML settings for PingOne should be configured on the Scalefusion Dashboard
- The setting Enforce Users to sign in using SAML SSO is enabled in User Enrollment Settings on the Scalefusion Dashboard.

Steps to Enroll Your Personal Device
The users who have configured and signed in with PingOne, and have enabled the setting Enforce users to sign in using SAML SSOin User Management, will be asked to authenticate by signing in with their PingOne credentials. In this case, the following will be the process of enrollment:
If this setting is disabled, the device is enrolled with the normal procedure as described here
When the setting to sign in using SAML SSO is enforced, the OTP flow is replaced by authentication using PingOne credentials at the time of sending an invite.
- To start the enrollment process, depending on where you are checking your configuration email, use the appropriate option below,
- If you are viewing this e-mail on your iOS device to be enrolled, you can click on Enroll your Device
- If you are viewing this email on your laptop/desktop, then on your iOS Device, launch the Camera app and scan the QR Code
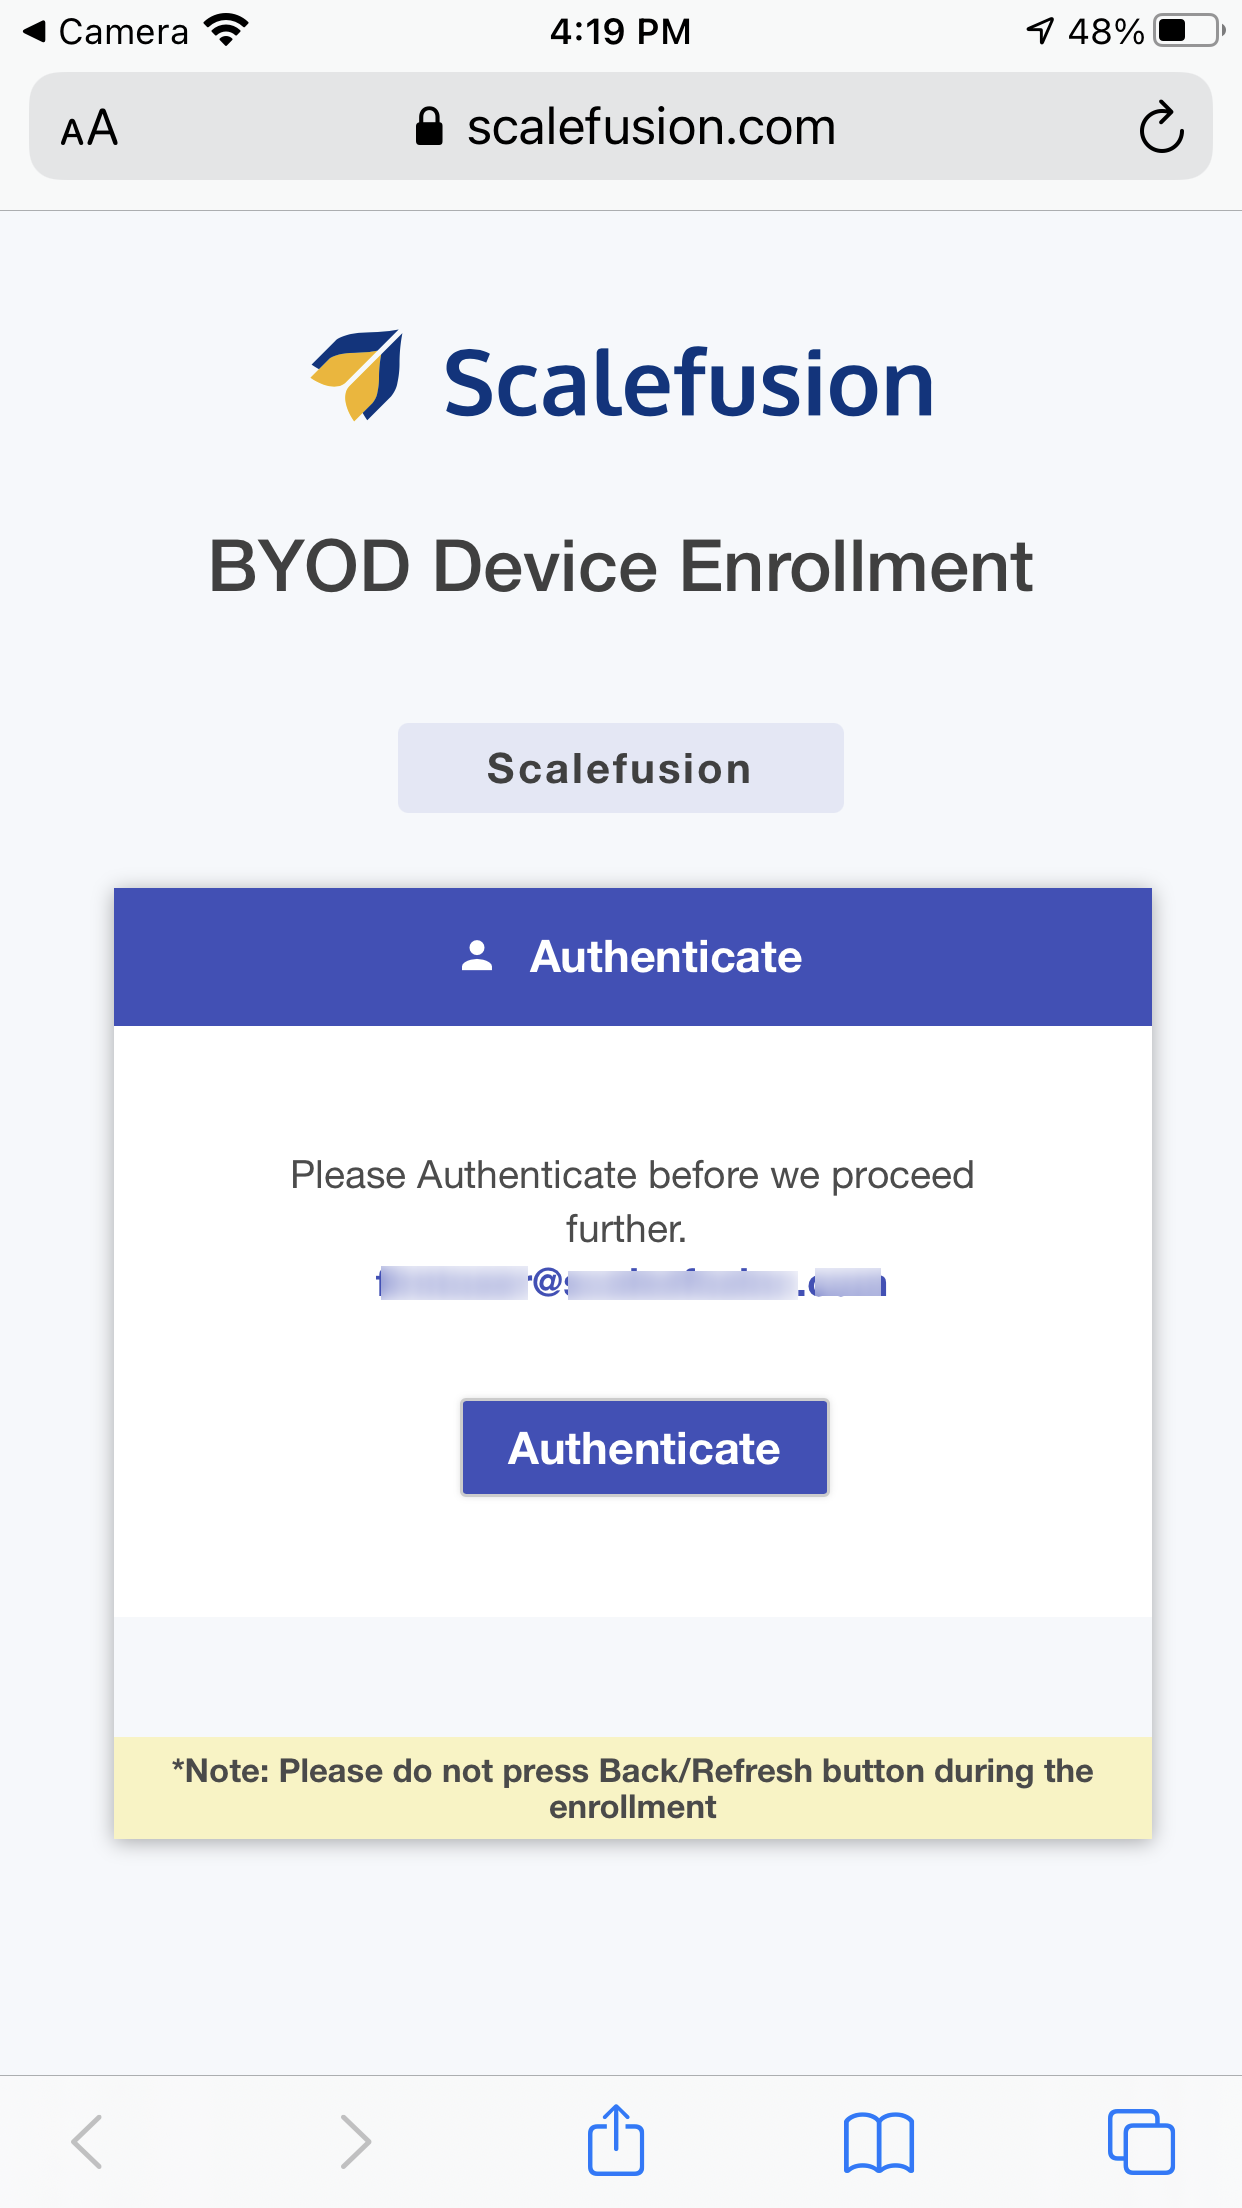
- Either of the steps above will open Safari, where you need to authenticate your e-mail address. Click Authenticate
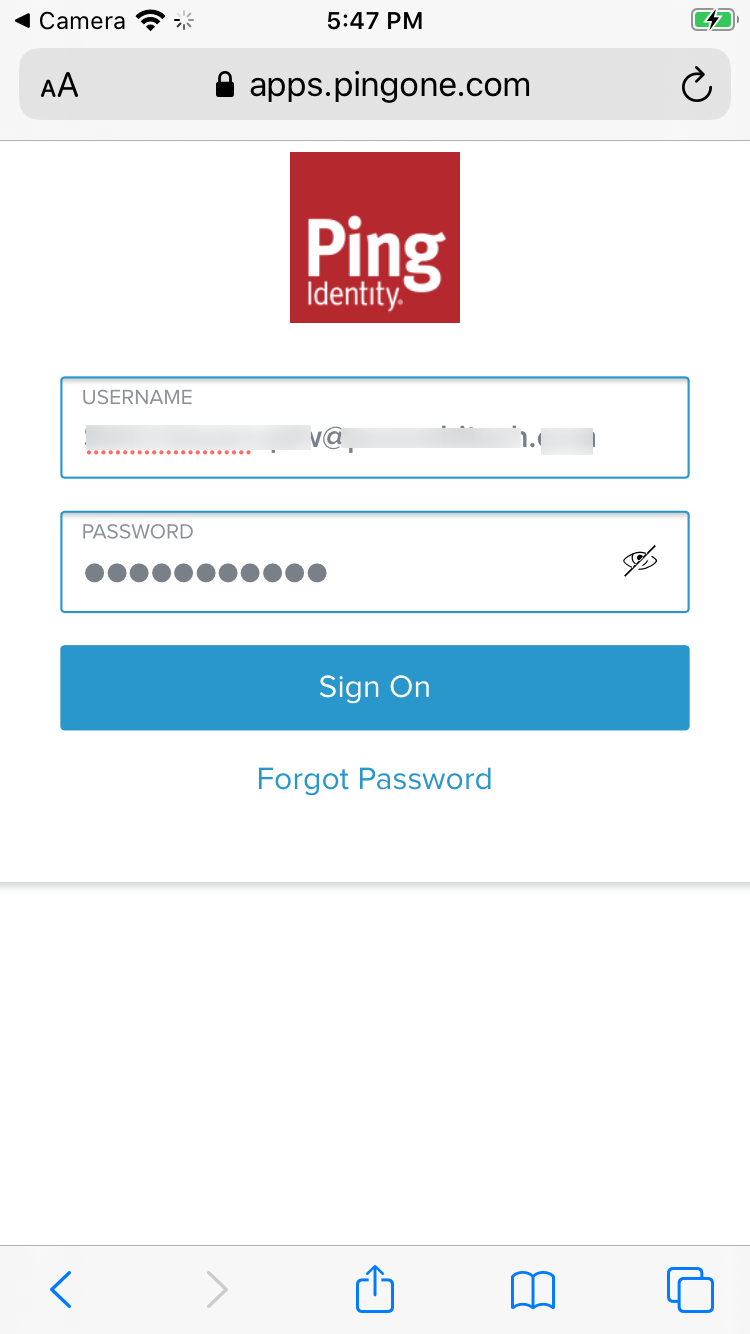
- Next, the user would be taken to PingOne's login page with the login credentials to sign in and further handling till authorization succeeds.
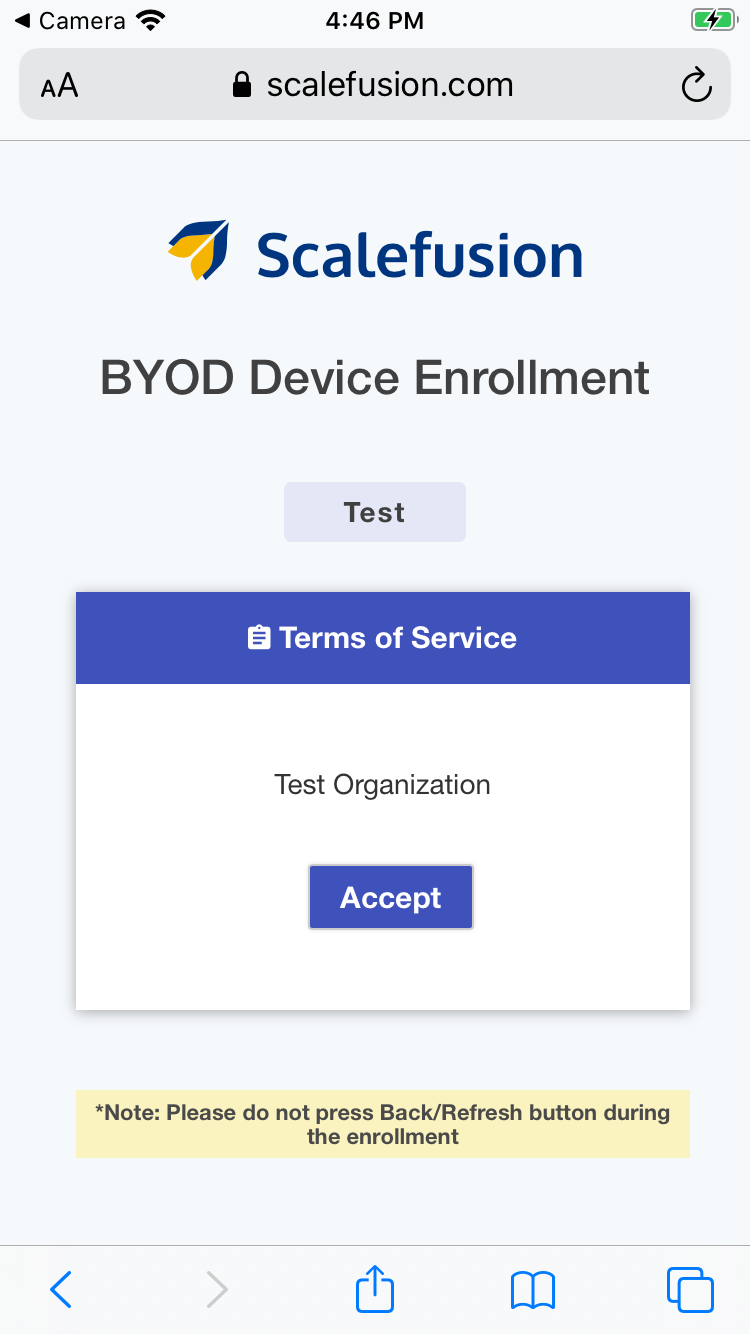
- Once authenticated, accept the Terms of Service set by your organization
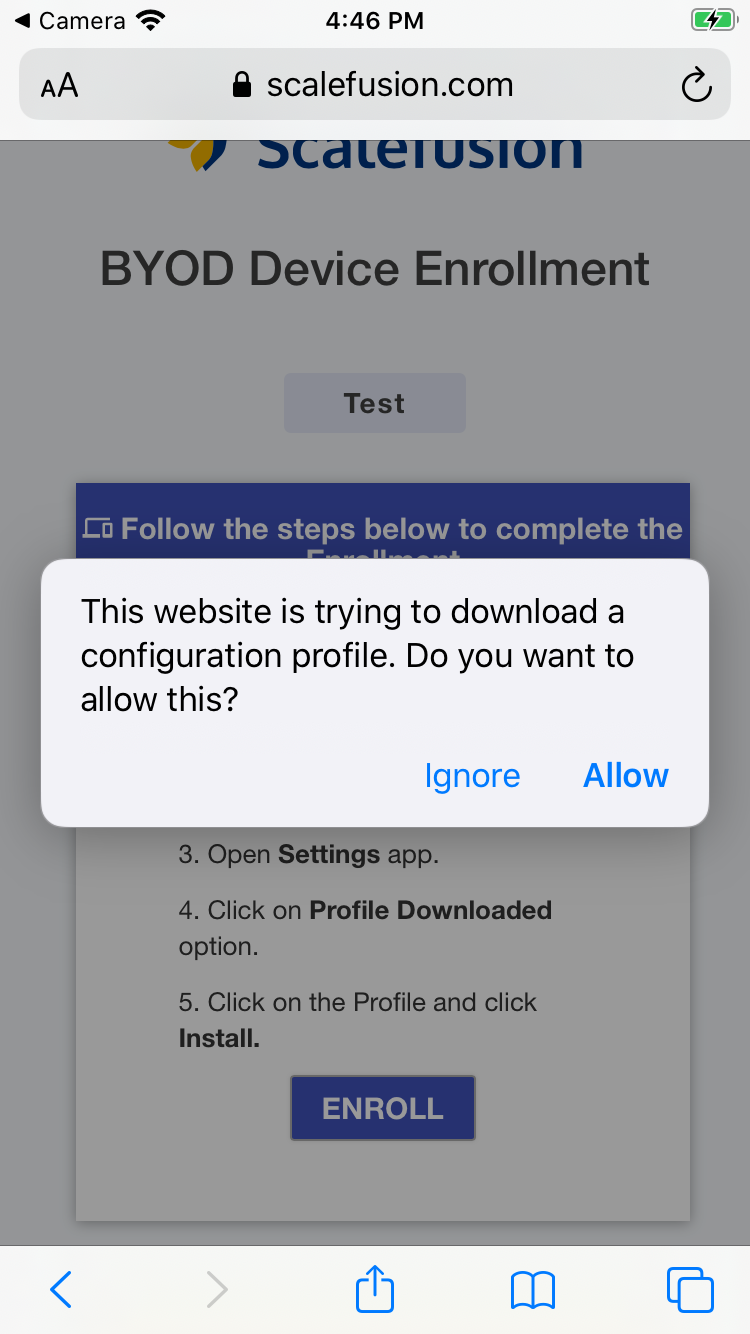
- On the enrollment screen, click ENROLL.

- When you see a dialog to download the configuration profile, click ALLOW
- You get a confirmation box for the downloaded profile
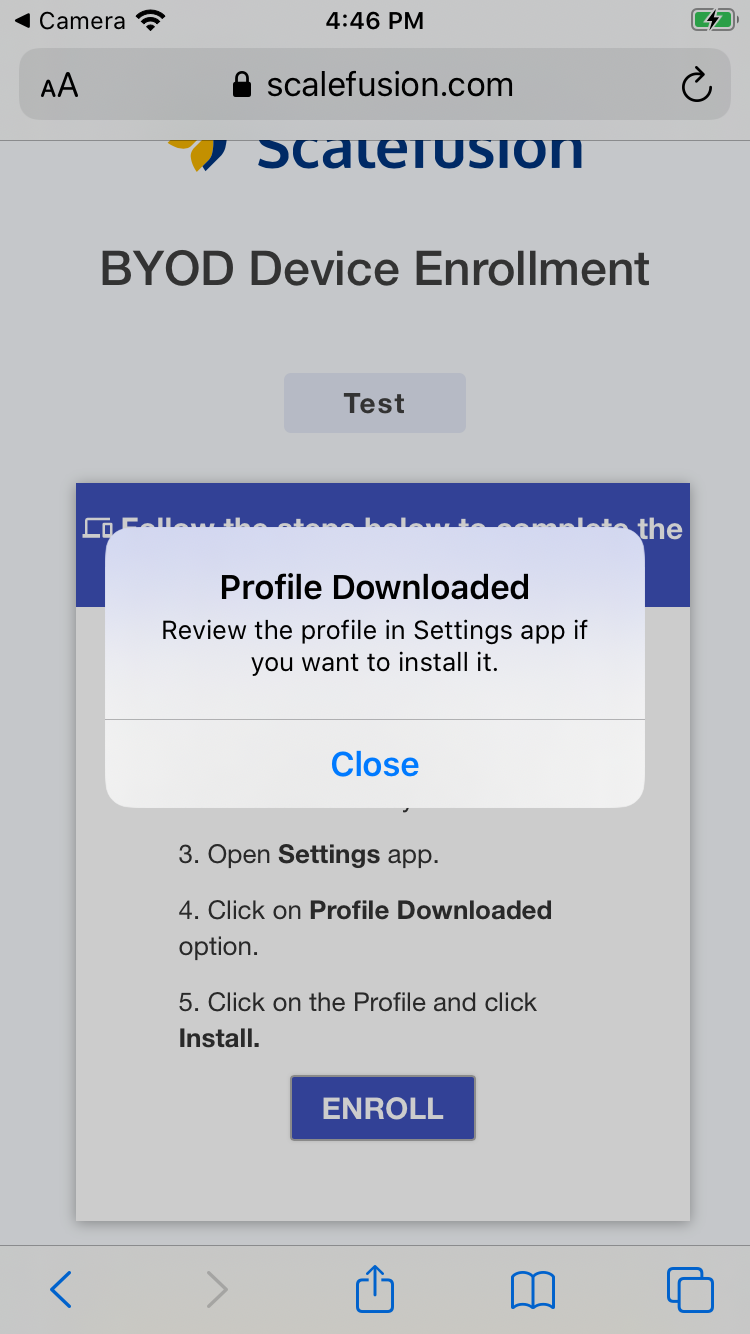
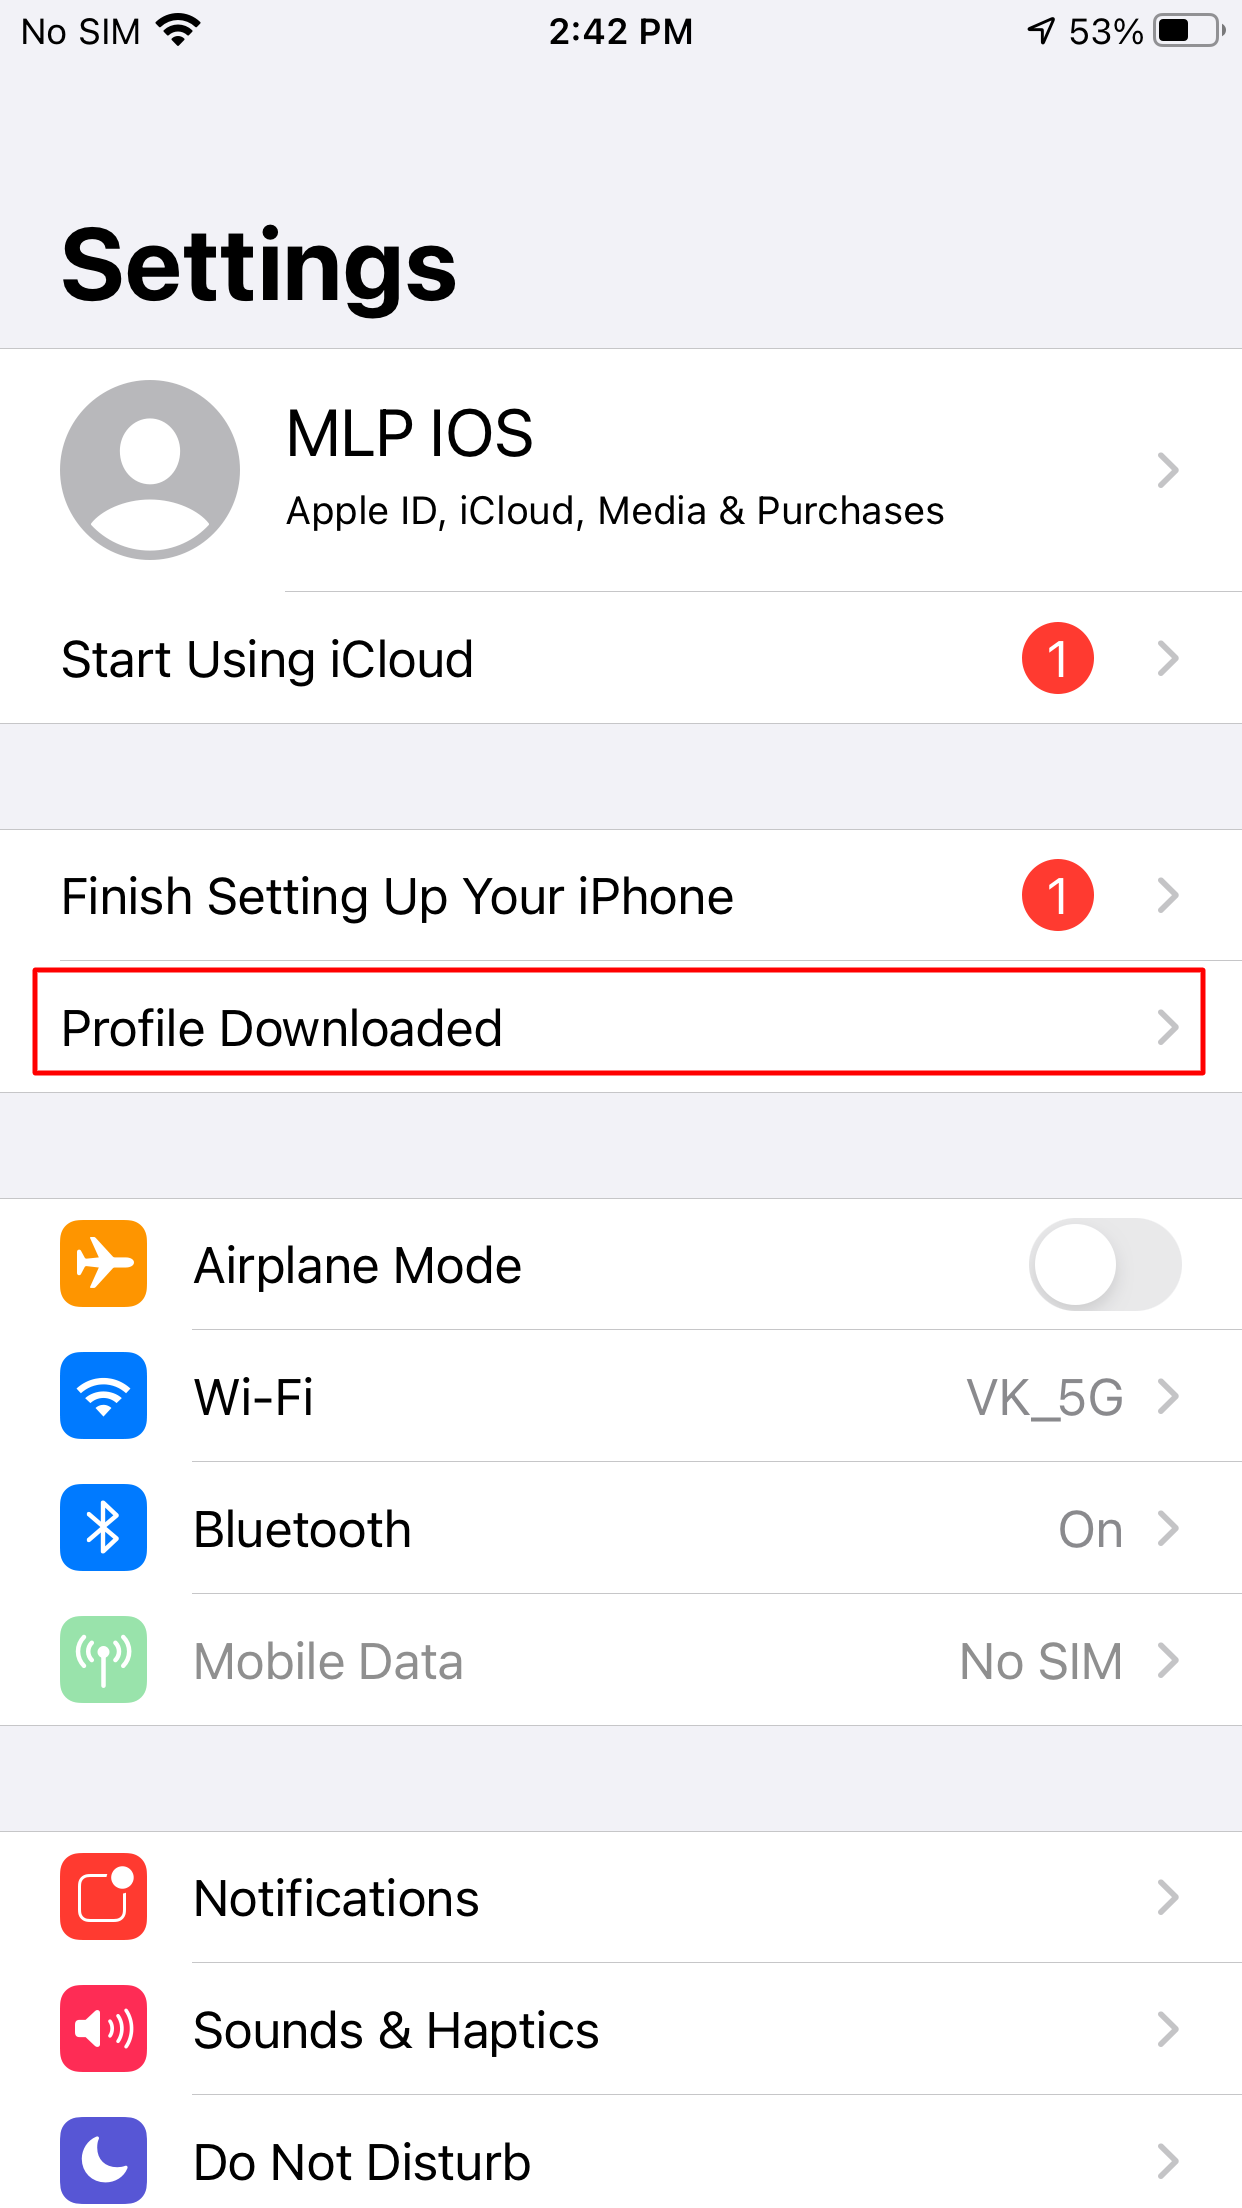
- Open the Settings application and click on the Profile Downloaded option
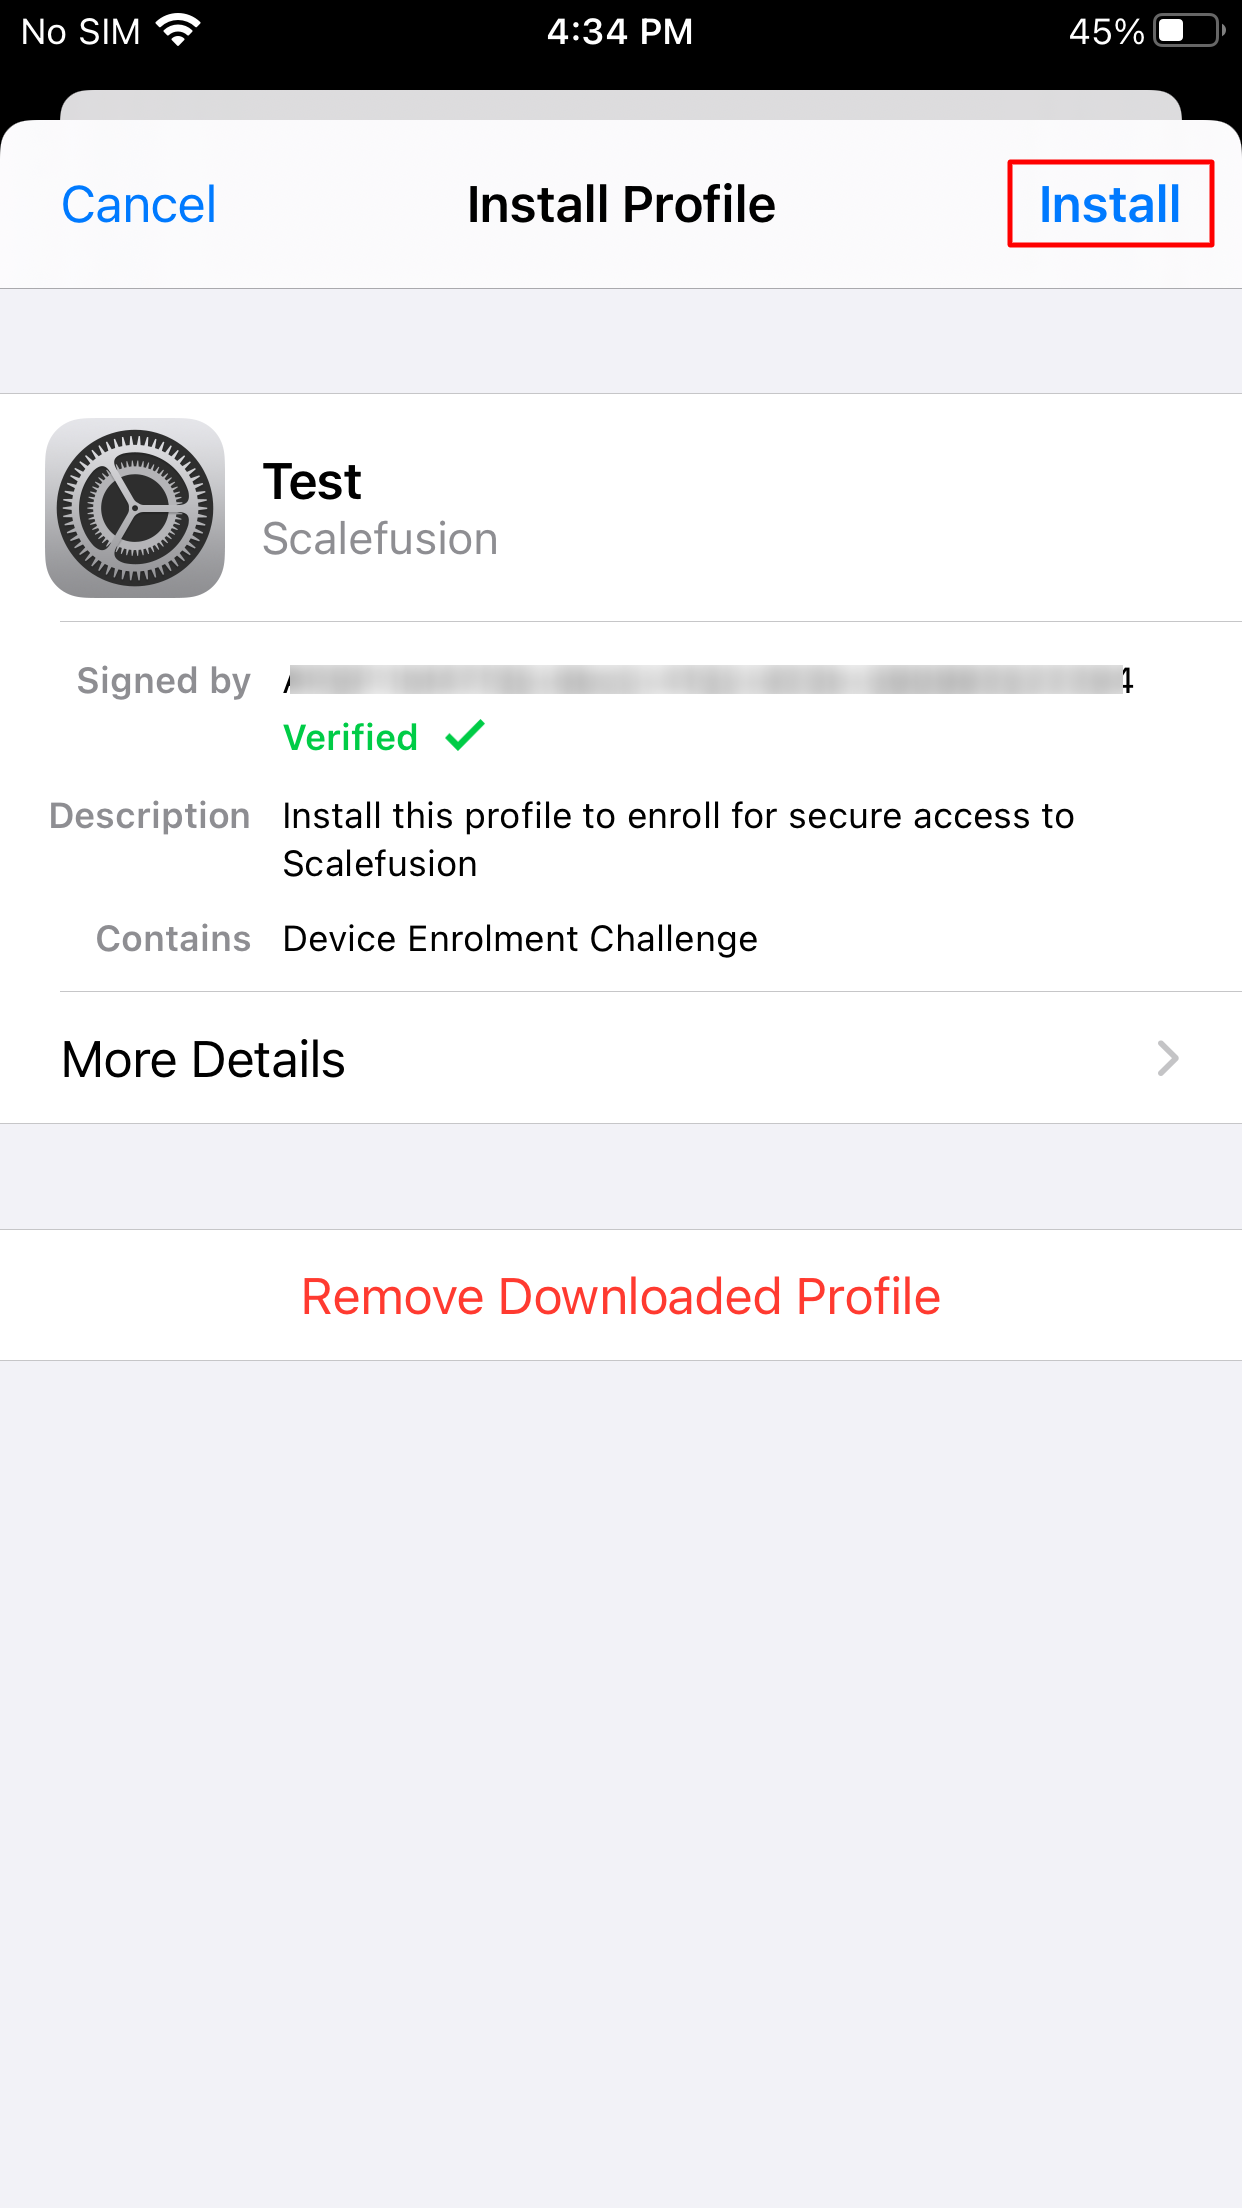
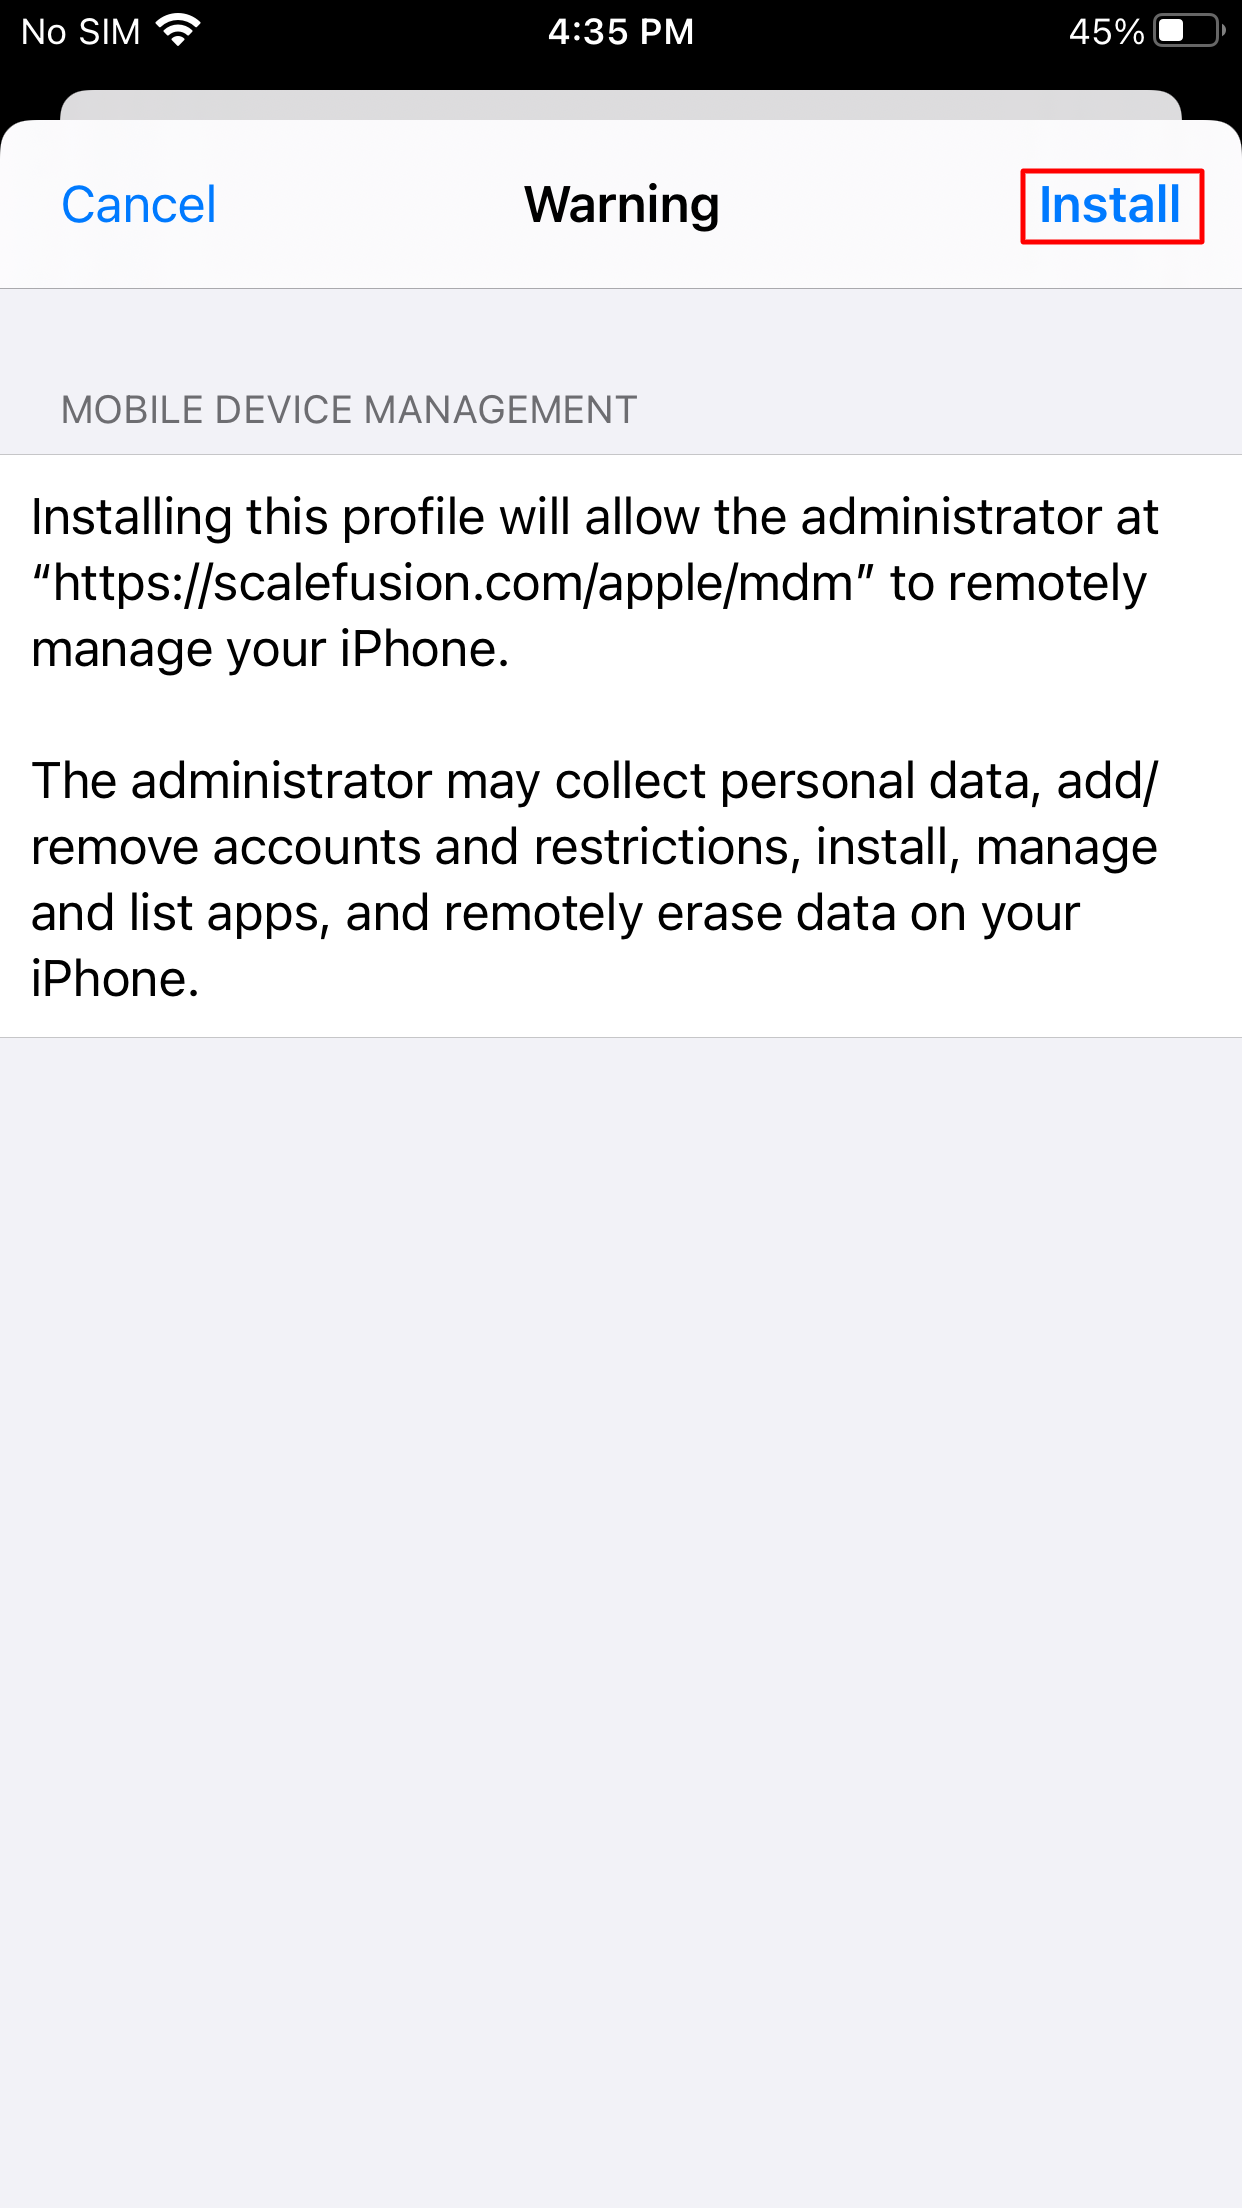
- Click on Install on the top right corner
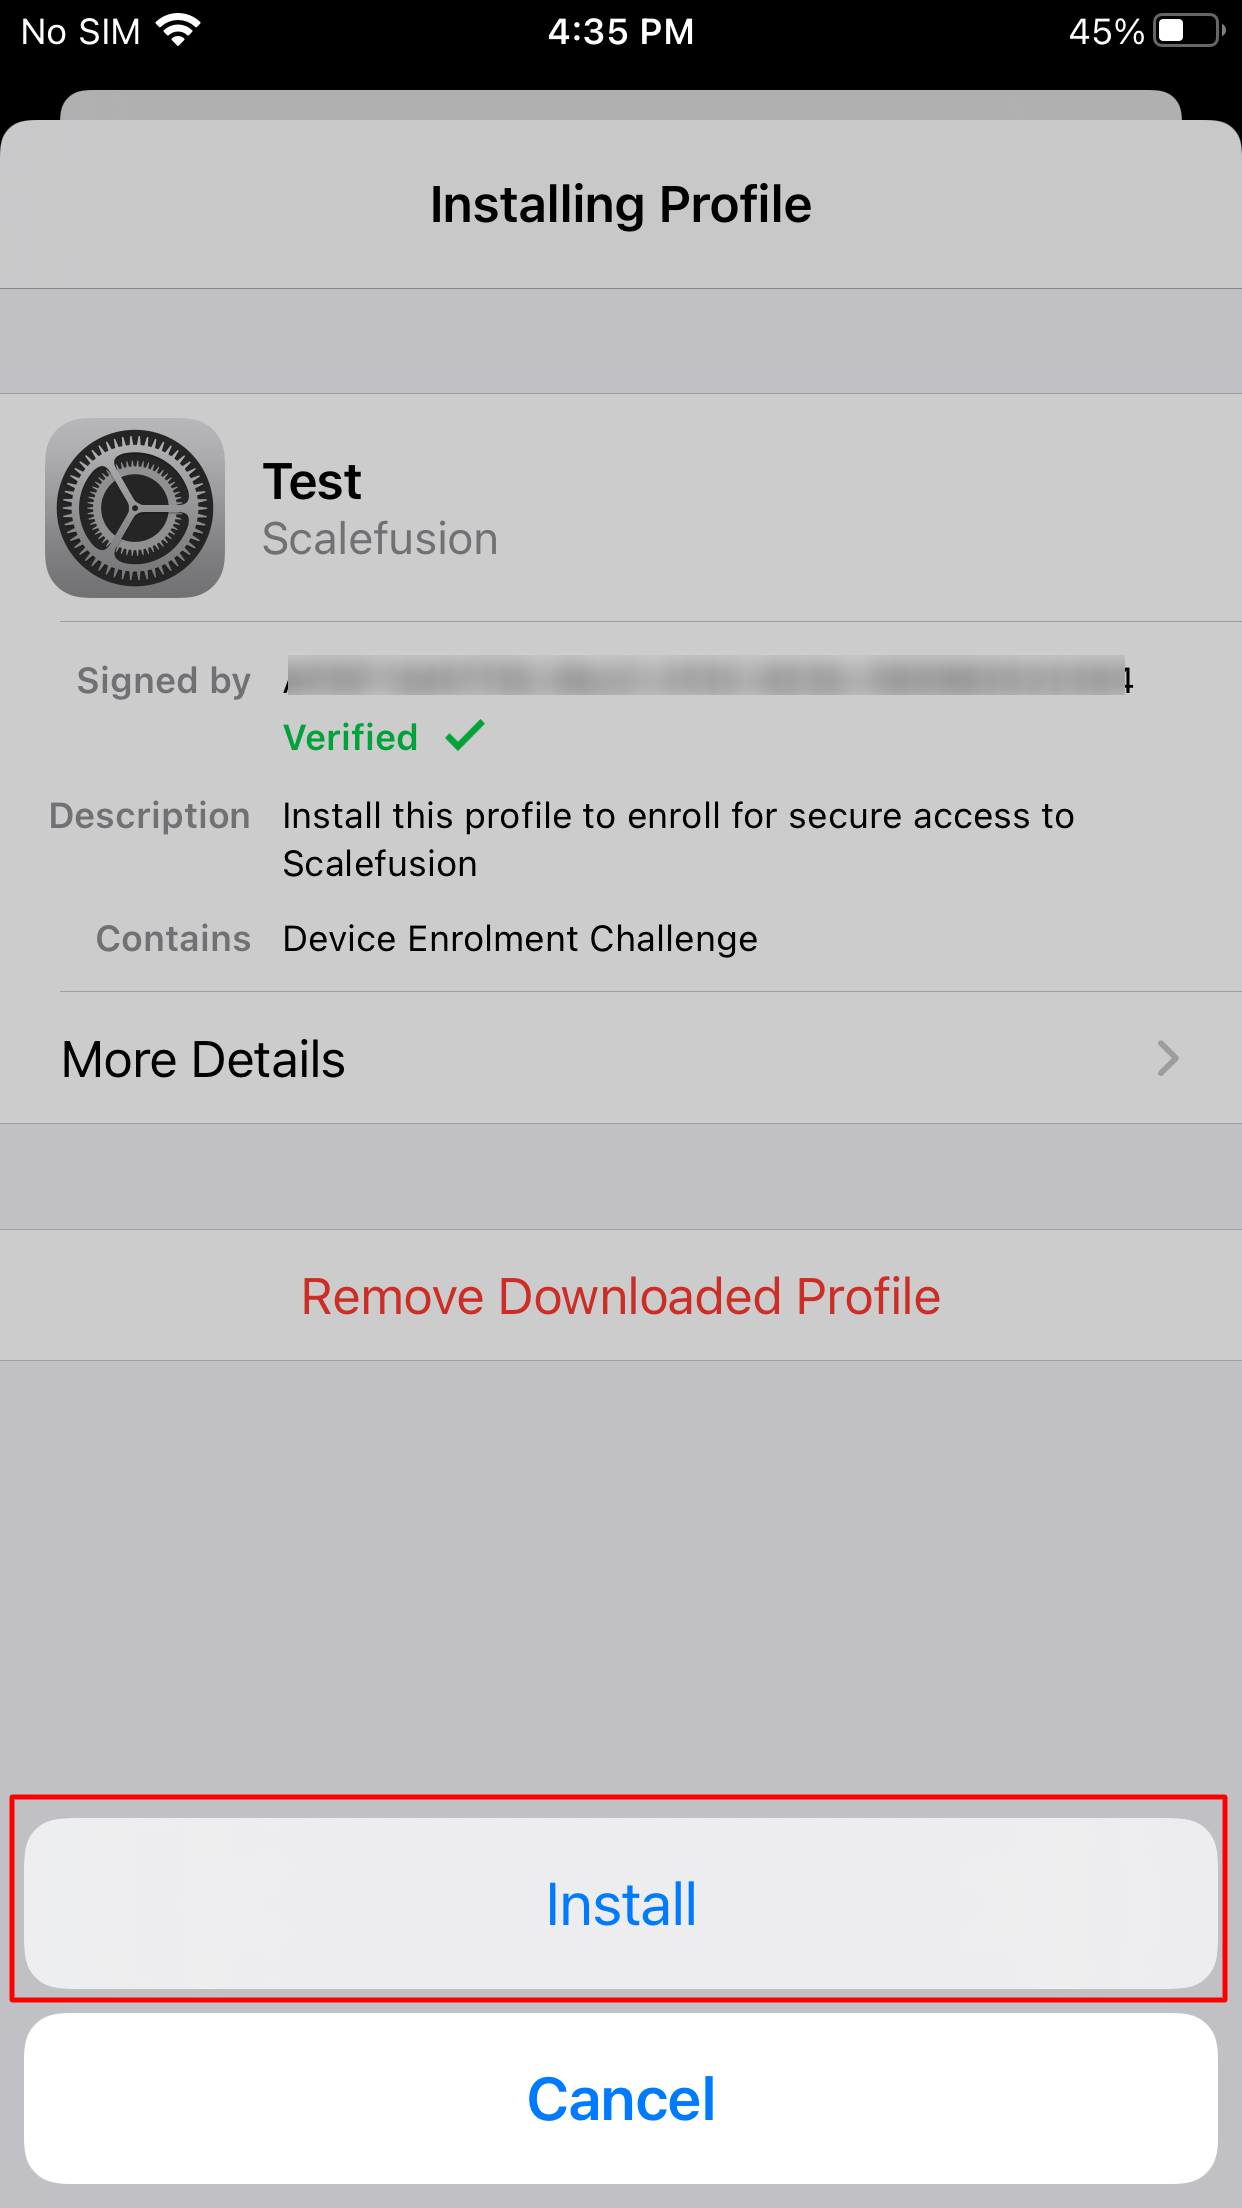
- Now click on Install on the action menu
- Now the enrollment request is initiated, and after a couple of seconds, one more confirmation will be asked for. Verify that the enrollment URL is https://scalefusion.com and Click Install.
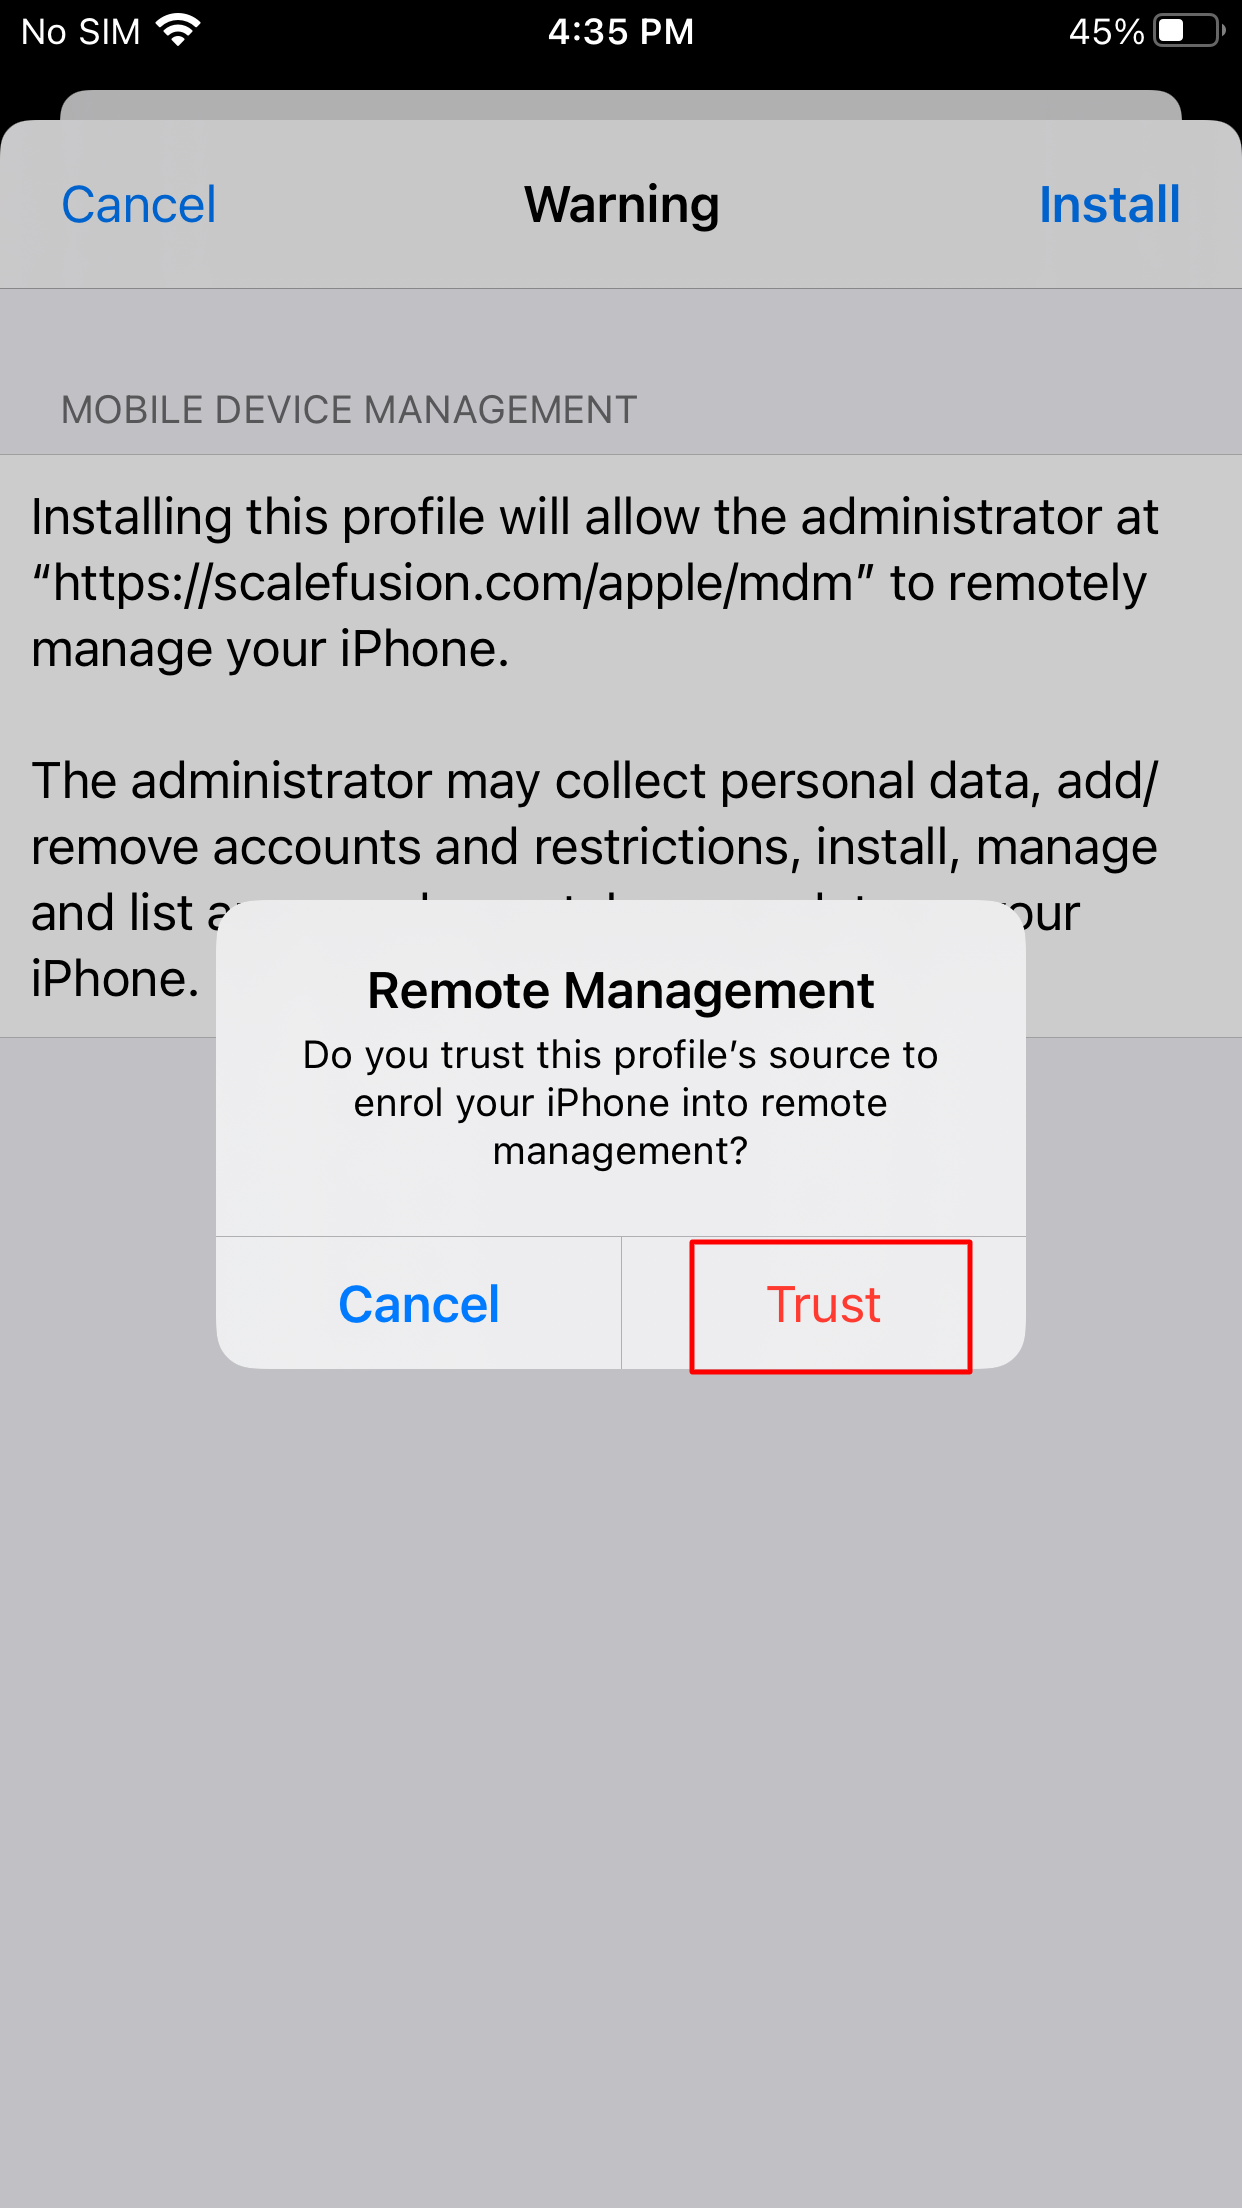
- The device will show a warning, asking if you trust this source. Verify Click Trust
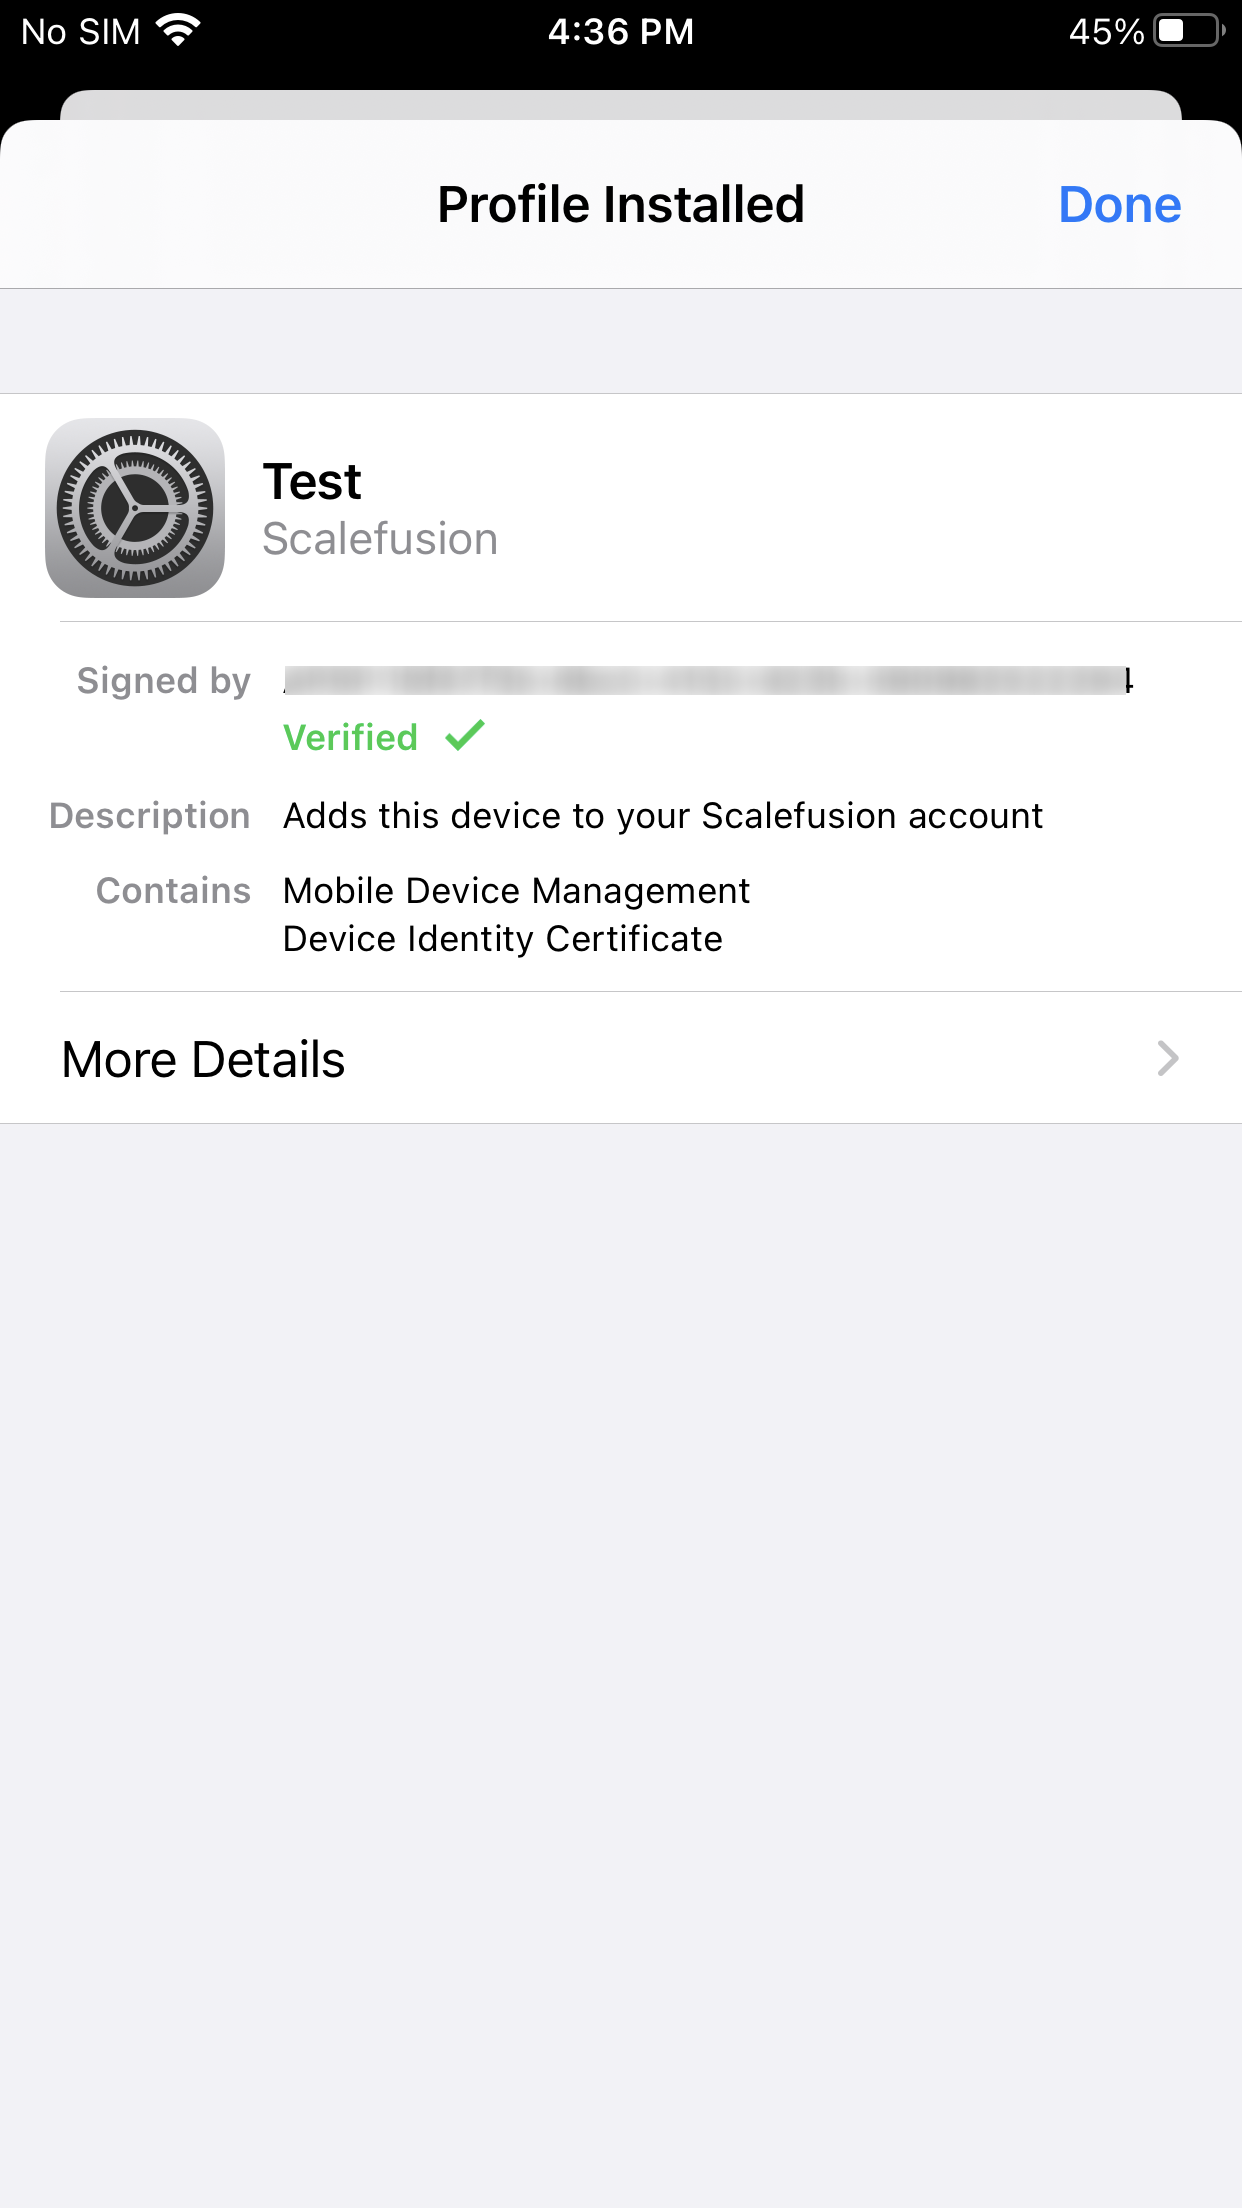
- This will complete the enrollment process, and your device is now managed. The applications and policies pushed by your IT Admin will start getting installed. Click Done to navigate back to the home screen.
If you have any questions or are having issues enrolling your device, please leave us a message at support@scalefusion.com with your Device details, and we will get in touch with you.