Enrolling iOS devices with Managed Apple IDs
- 12 Feb 2024
- 2 Minutes to read
- Print
- PDF
Enrolling iOS devices with Managed Apple IDs
- Updated on 12 Feb 2024
- 2 Minutes to read
- Print
- PDF
Article summary
Did you find this summary helpful?
Thank you for your feedback
This guide helps you to enroll your personal iOS device to Scalefusion as BYOD to access work related applications.
Prerequisites
- You should have a managed Apple ID
- The managed apple ID should be imported on the Scalefusion Dashboard under User Enrollment
- Supported OS: iOS/iPadOS 13+ devices
- Apple User Enrollment Profile is created
- Enrollment Configuration for Apple User enrollment is created
Users can enroll their device using any of the following methods:
Method 1: Enroll by Inviting Users
Invite users to enroll their devices by:
- Clicking the Email icon from actions bar, or
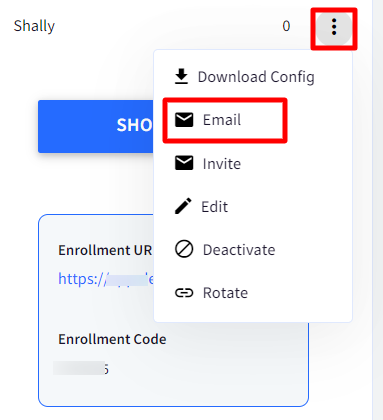
- Click on Invite Users button, configure the email and select users whom you want to send the invite.


Prerequisites
- Make sure you have access to the corporate email.
- Make sure that your IT Admin has invited you to enroll in Scalefusion.
Steps to enroll
- To start the enrollment process, depending on where you are checking your configuration email, use the appropriate option below,
- If you are viewing e-mail on your iOS device to be enrolled, you can click on Enroll your Device.
- If you are viewing email on your laptop/desktop, then on your iOS Device, launch the Camera app and scan the QR Code.
- Either of the steps above will launch Safari with your managed Apple ID automatically populated. Click Confirm

- On the next screen, click Enroll
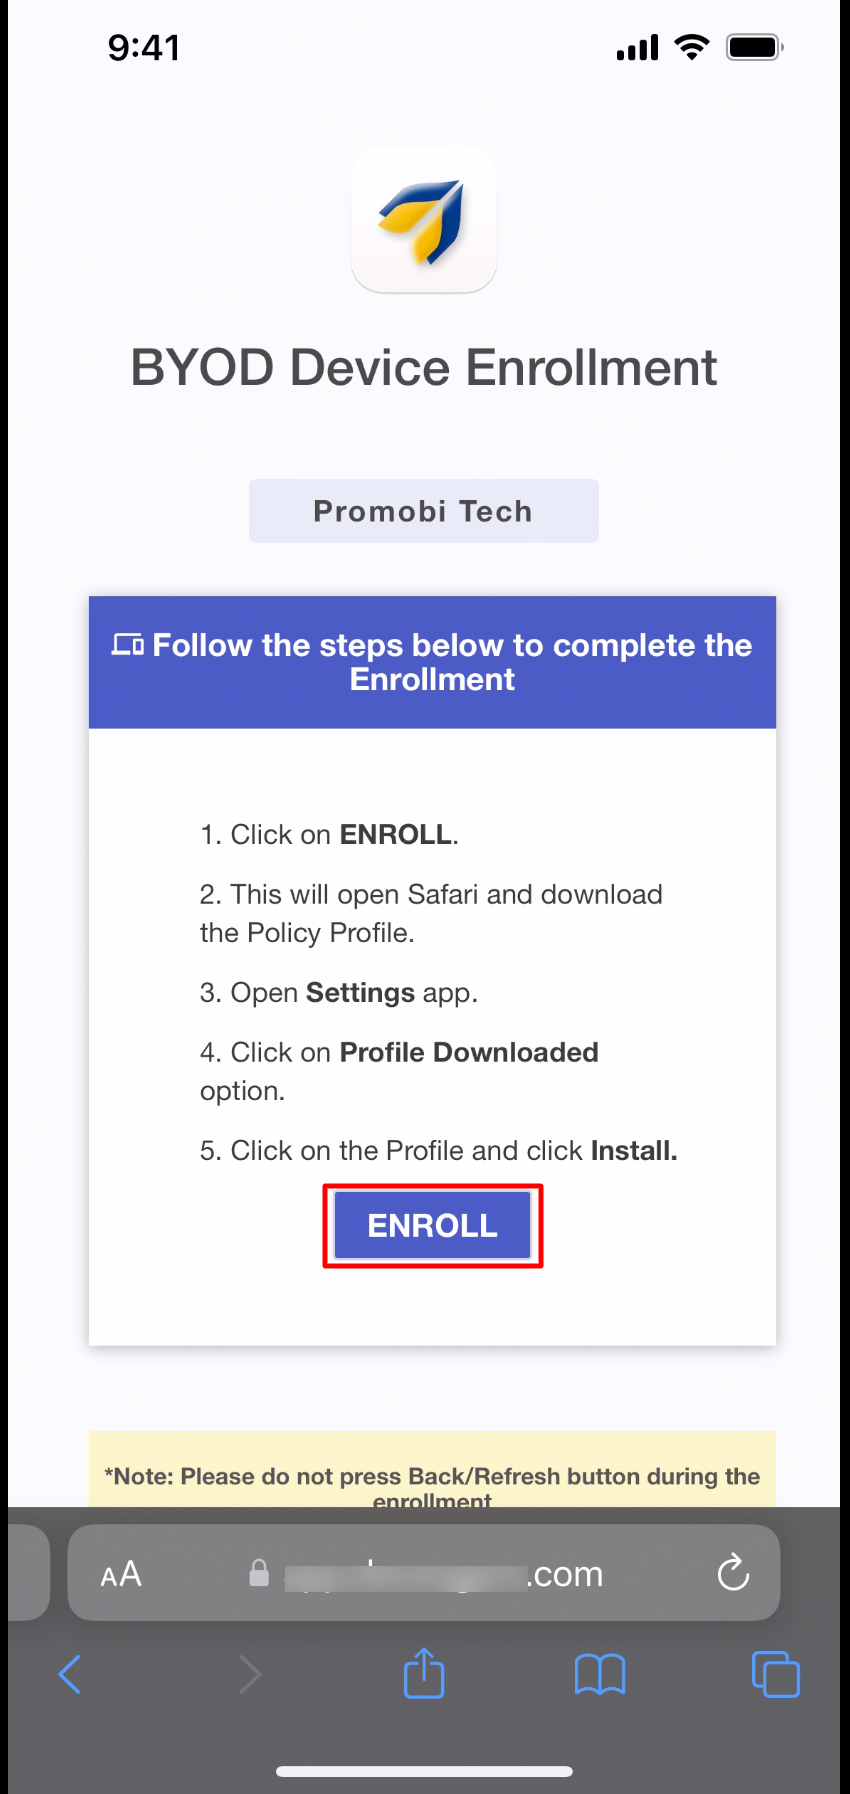
- When you see a dialog to download the configuration profile, click ALLOW

- The profile will be downloaded and show a confirmation screen

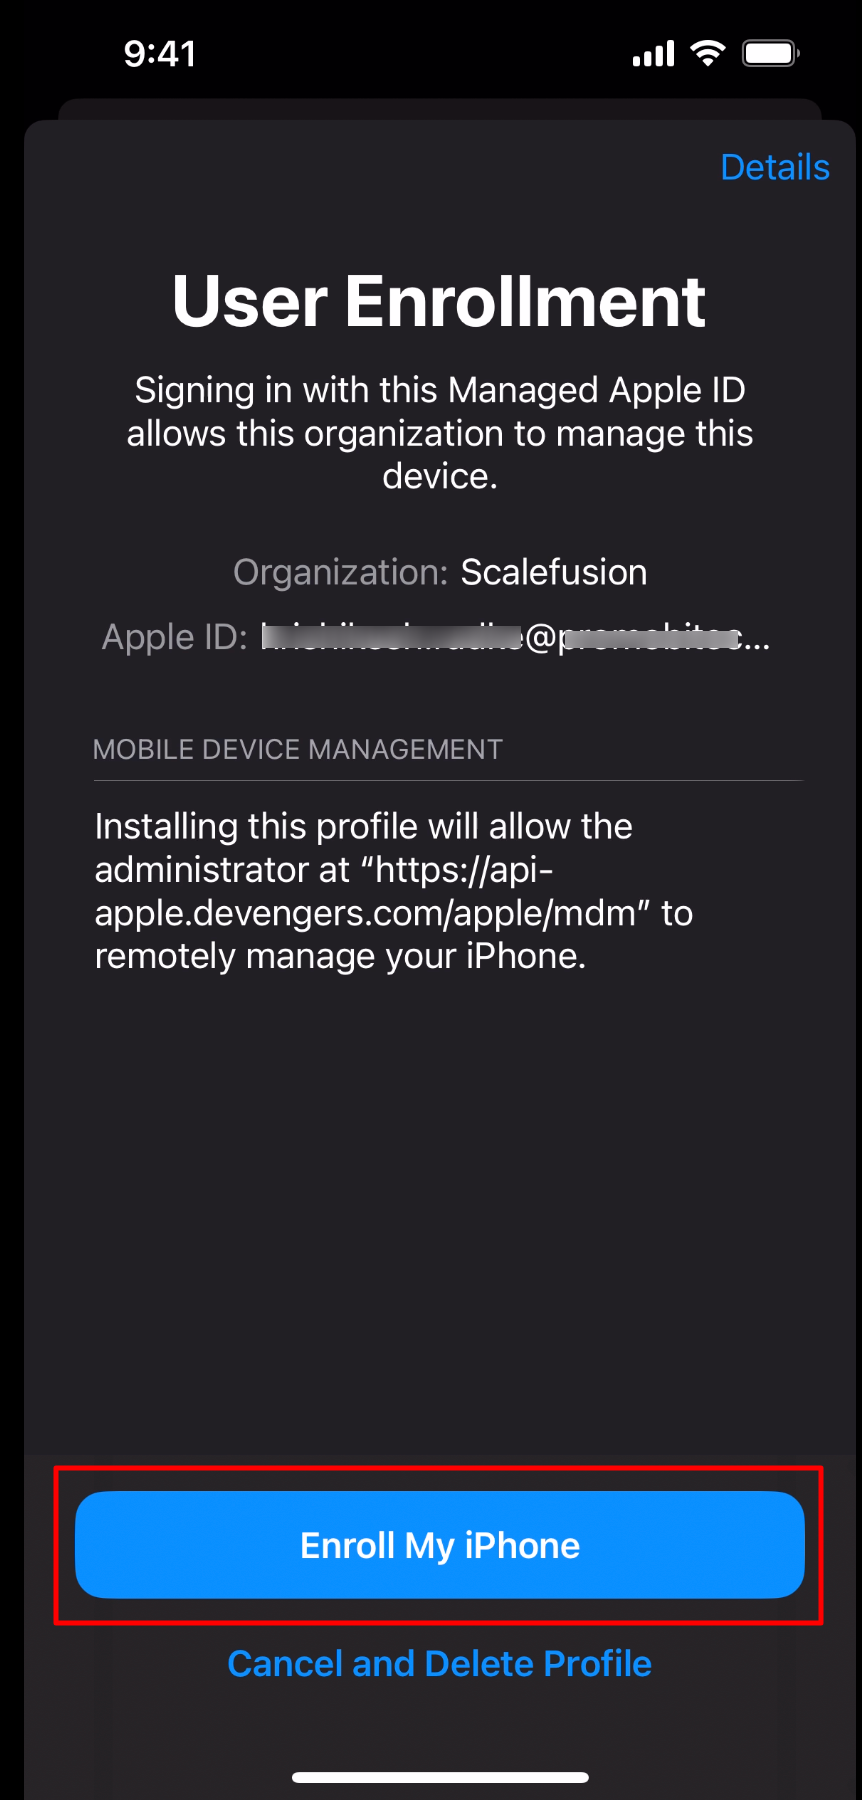
- Open the Settings application and click on Enroll in Scalefusion option.
- Here, you will see the organization and apple id information displayed. Click on Enroll my iPhone
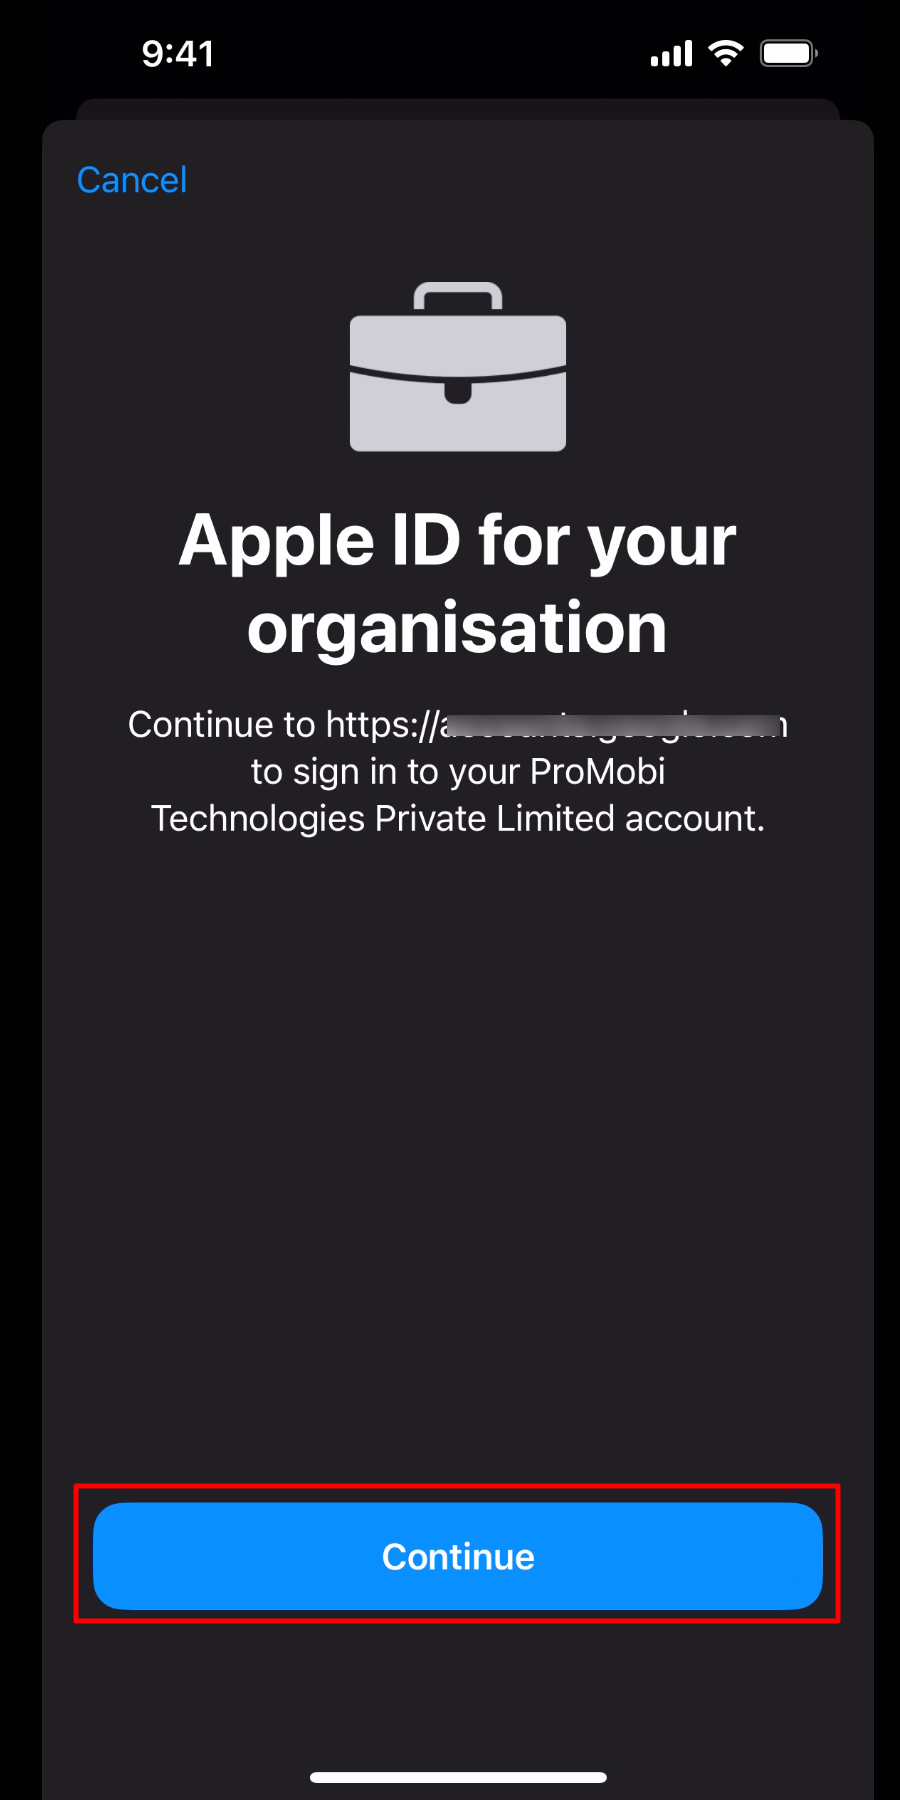
- Click Continue
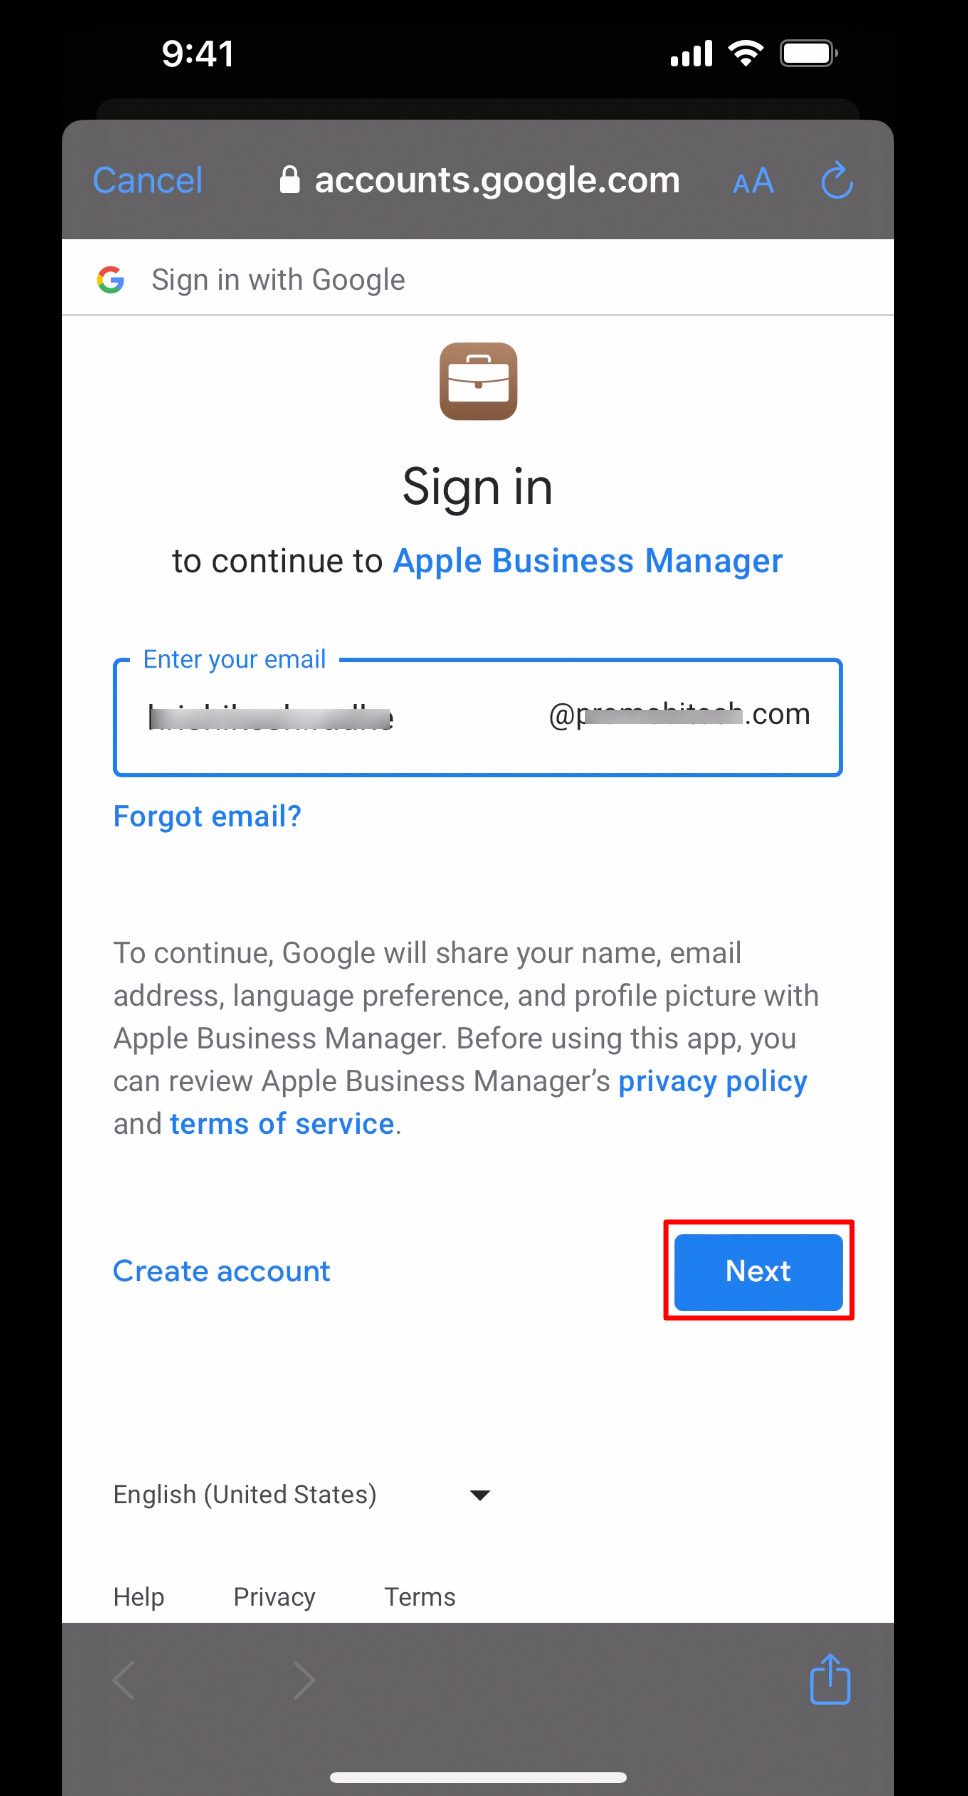
- If you have a GSuite/O365 account federated, the next screen will ask you to enter your credentials. Enter your email id and click Next
- Enter your GSuite/O365 account password and click Next
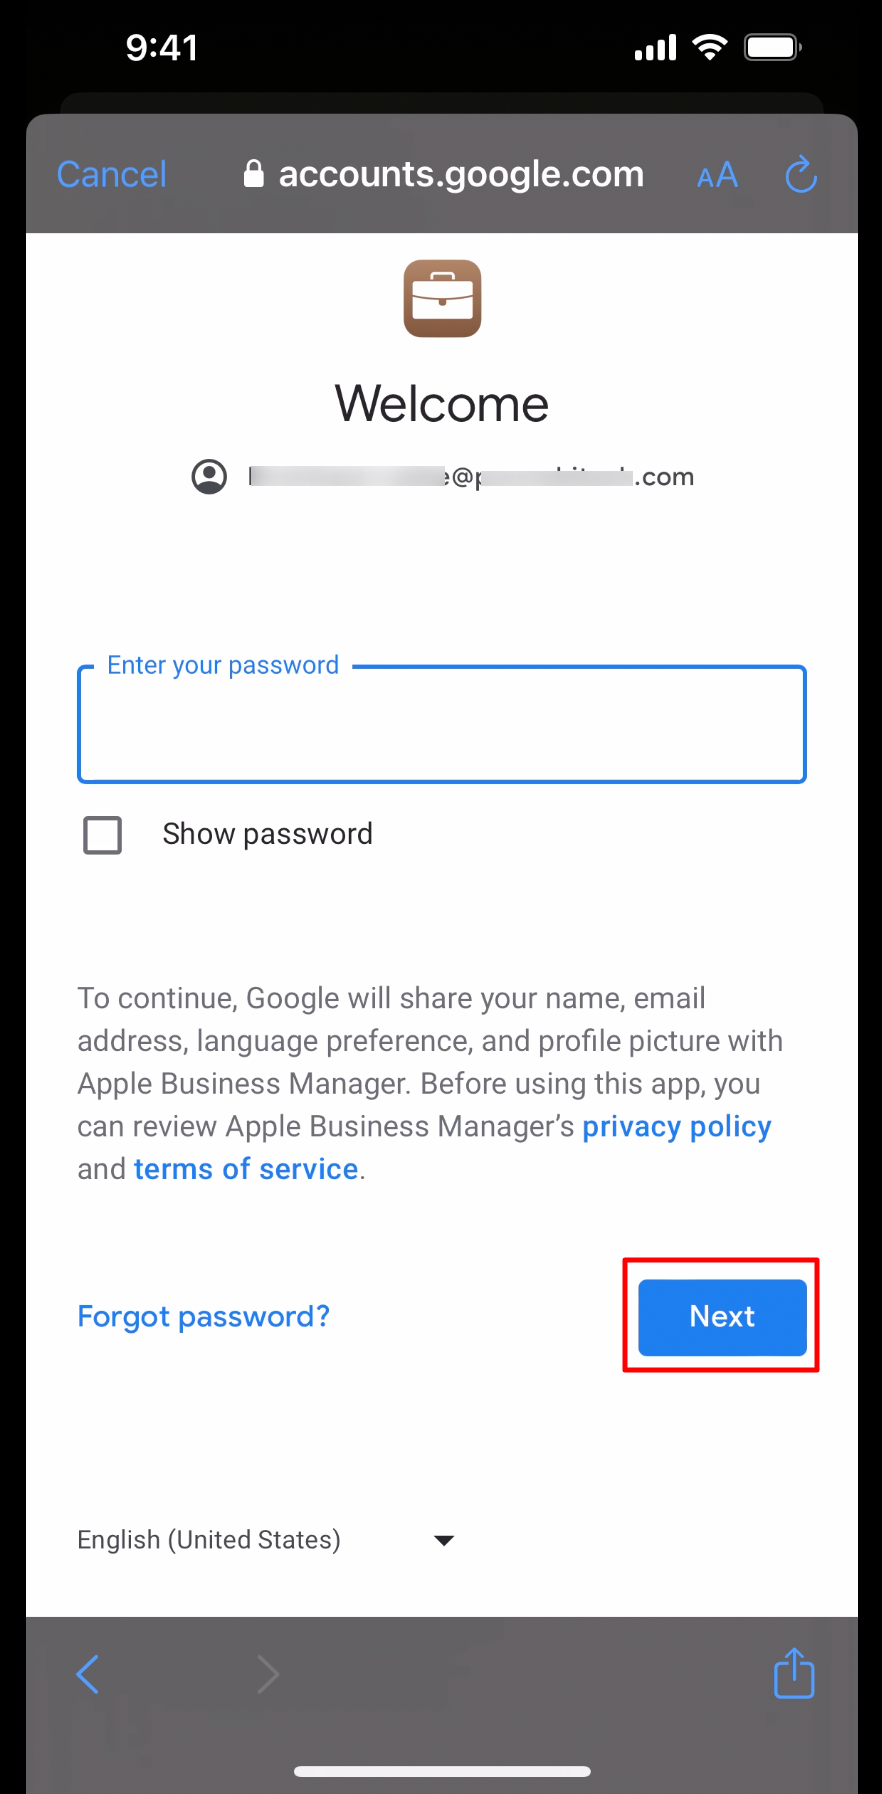
- If 2FA is enabled, you will get the authentication screen else not.
- This will complete the enrollment process, and your device is now managed. The applications and policies pushed by your IT Admin will start getting installed.


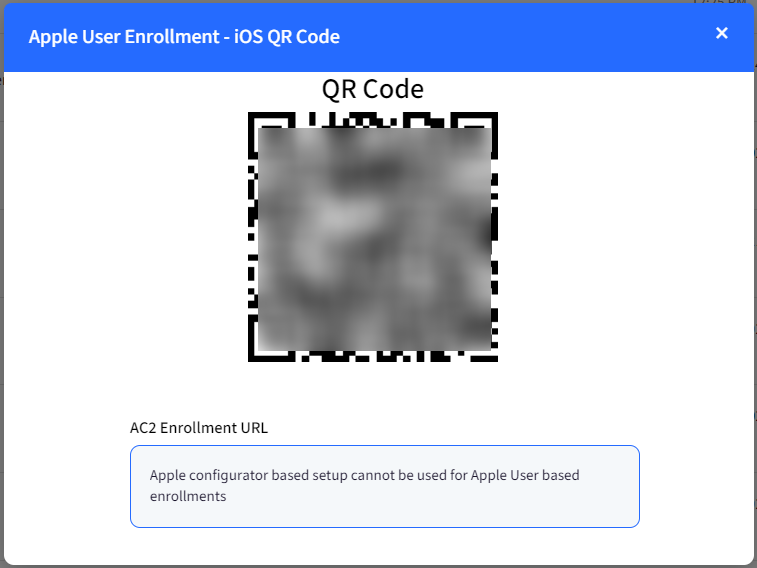
Method 2: Scan QR code
- Launch Device Camera
- Scan the QR Code that appears on clicking Show iOS QR in the Enrollment Configuration on Scalefusion Dashboard
- Safari will be launched. Here, enter your managed Apple ID and click Confirm

- On the next screen, click Enroll
- Follow Next steps (similar to Step #4 to #12 as above) to complete enrollment


Method 3: Enrollment URL and Enrollment code
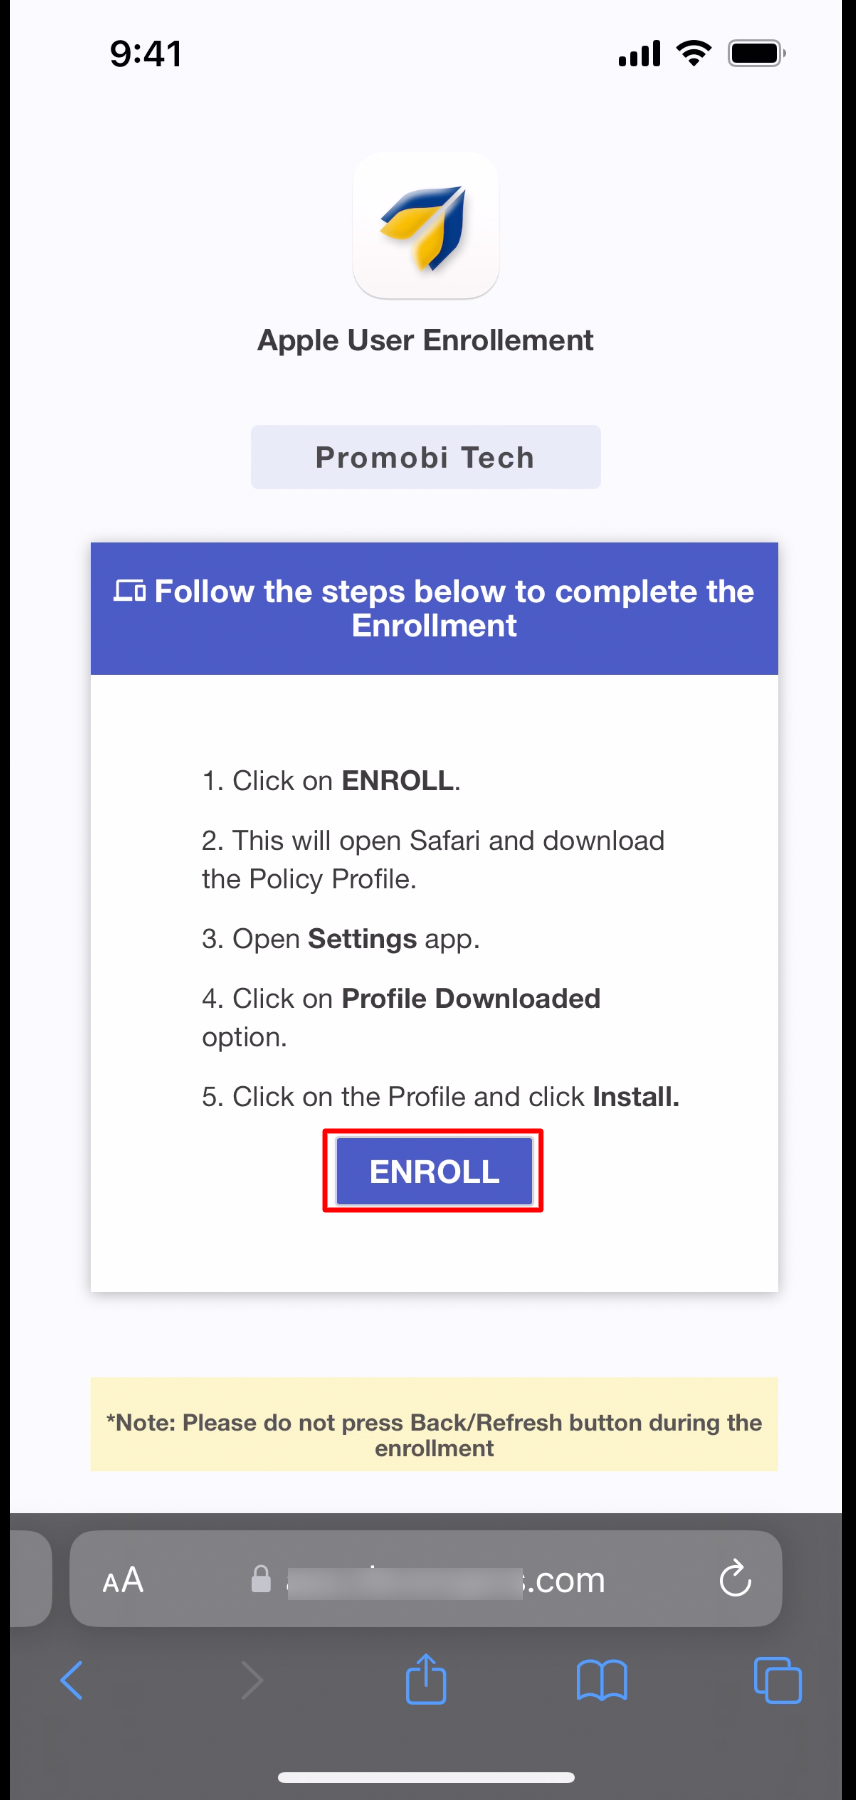
- Open Safari and type in the Enrollment URL (in Enrollment Configuration on Scalefusion Dashboard) and press Enter Key

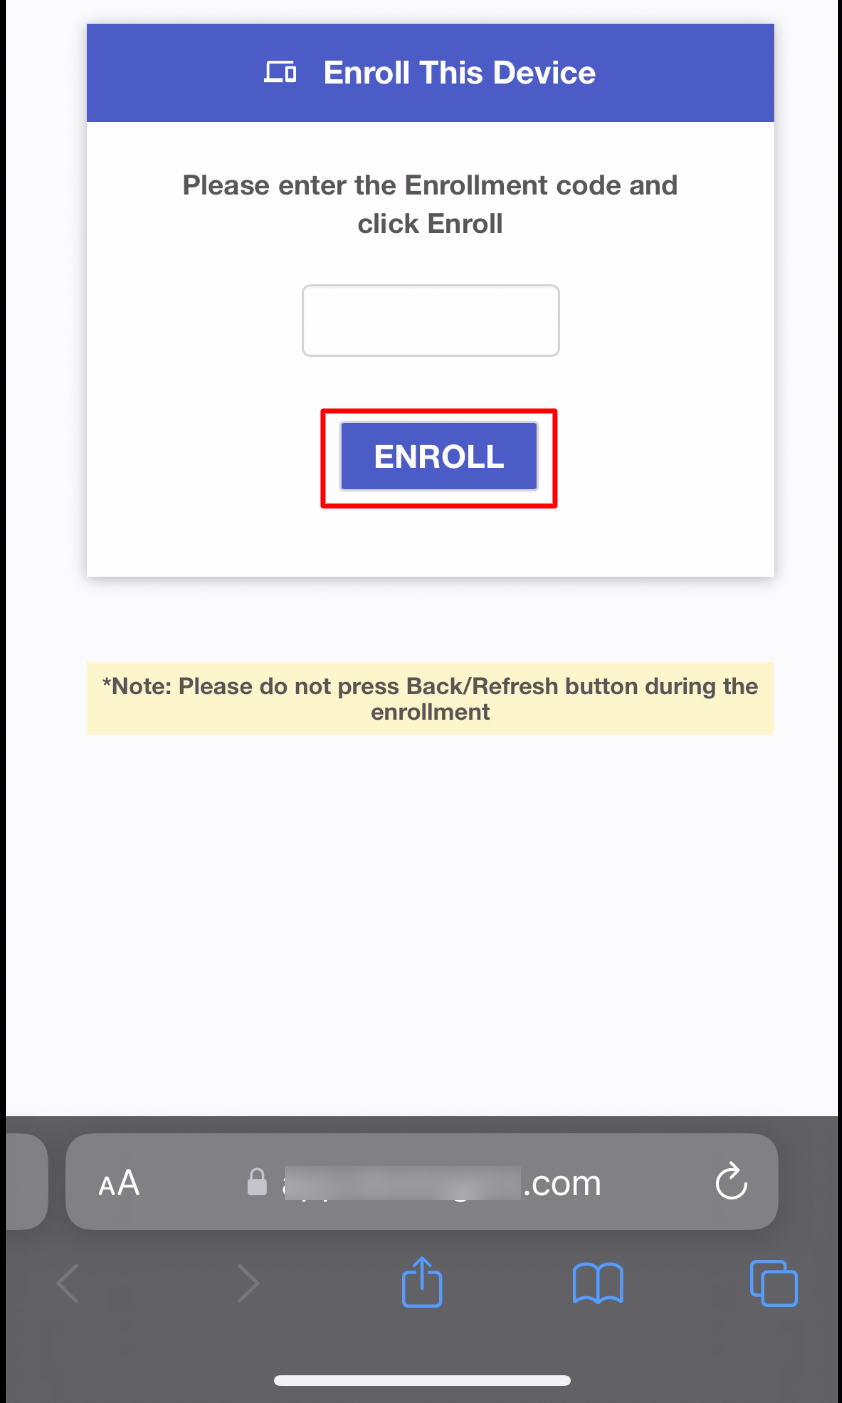
- Enter the Code shown in the Enrollment Code section (in Enrollment Configuration) and click Enroll
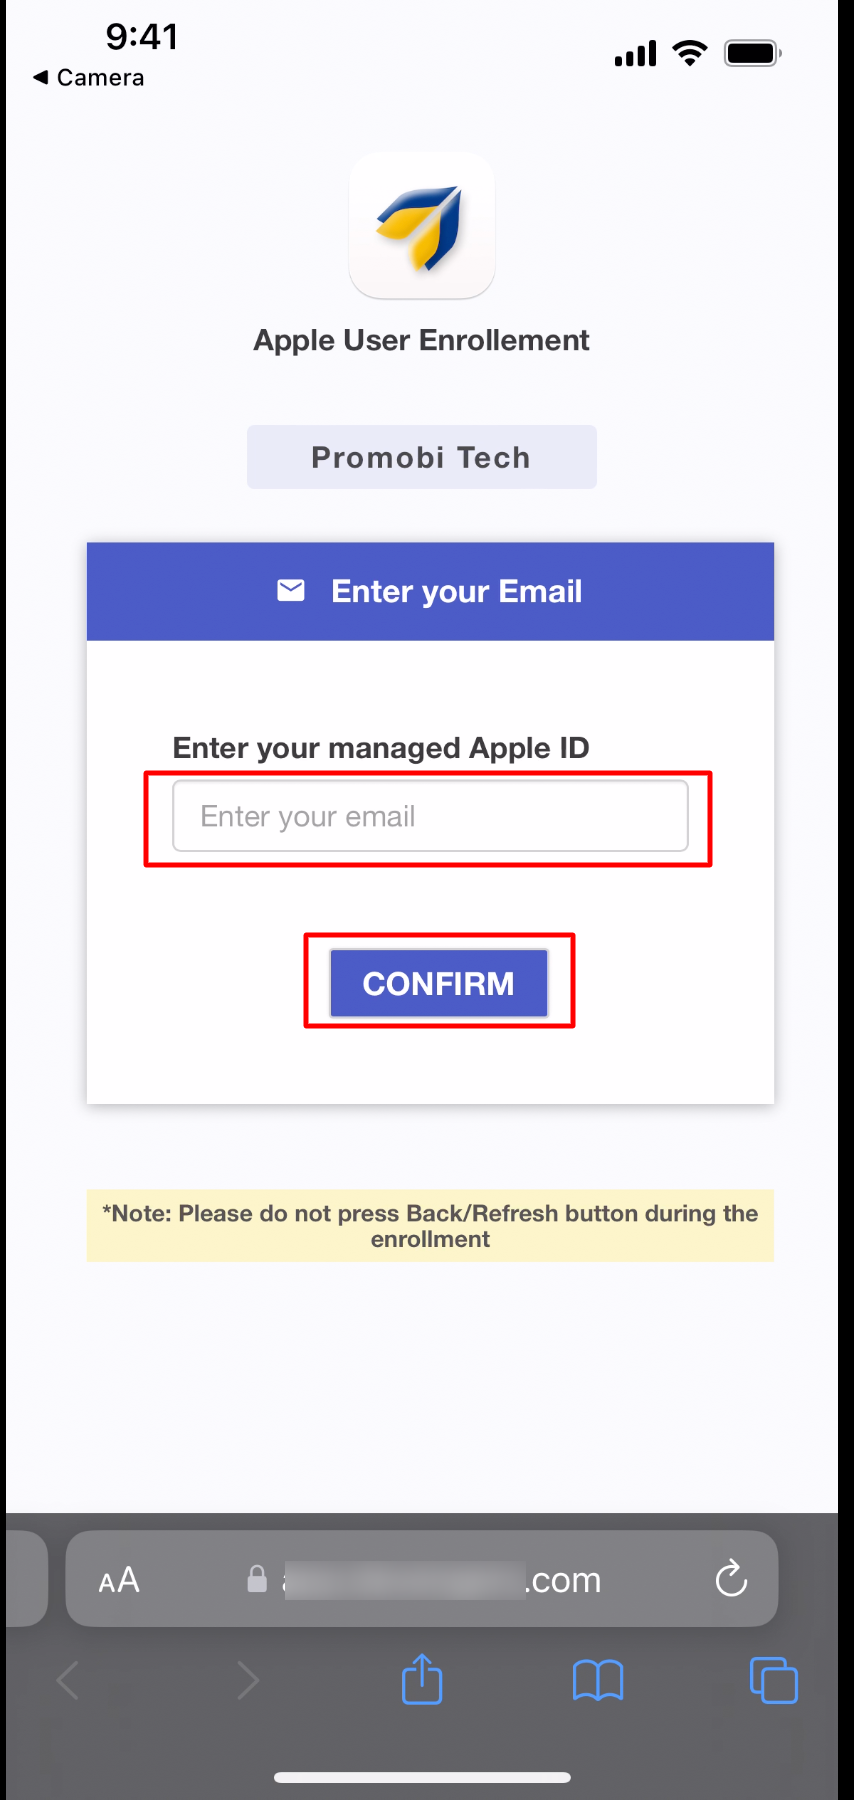
- Next, enter your managed Apple ID and click Confirm
- On the next screen, click Enroll

- Follow Next steps (similar to Step #4 to #12 in Method 1 above) to complete enrollment


Post Enrollment
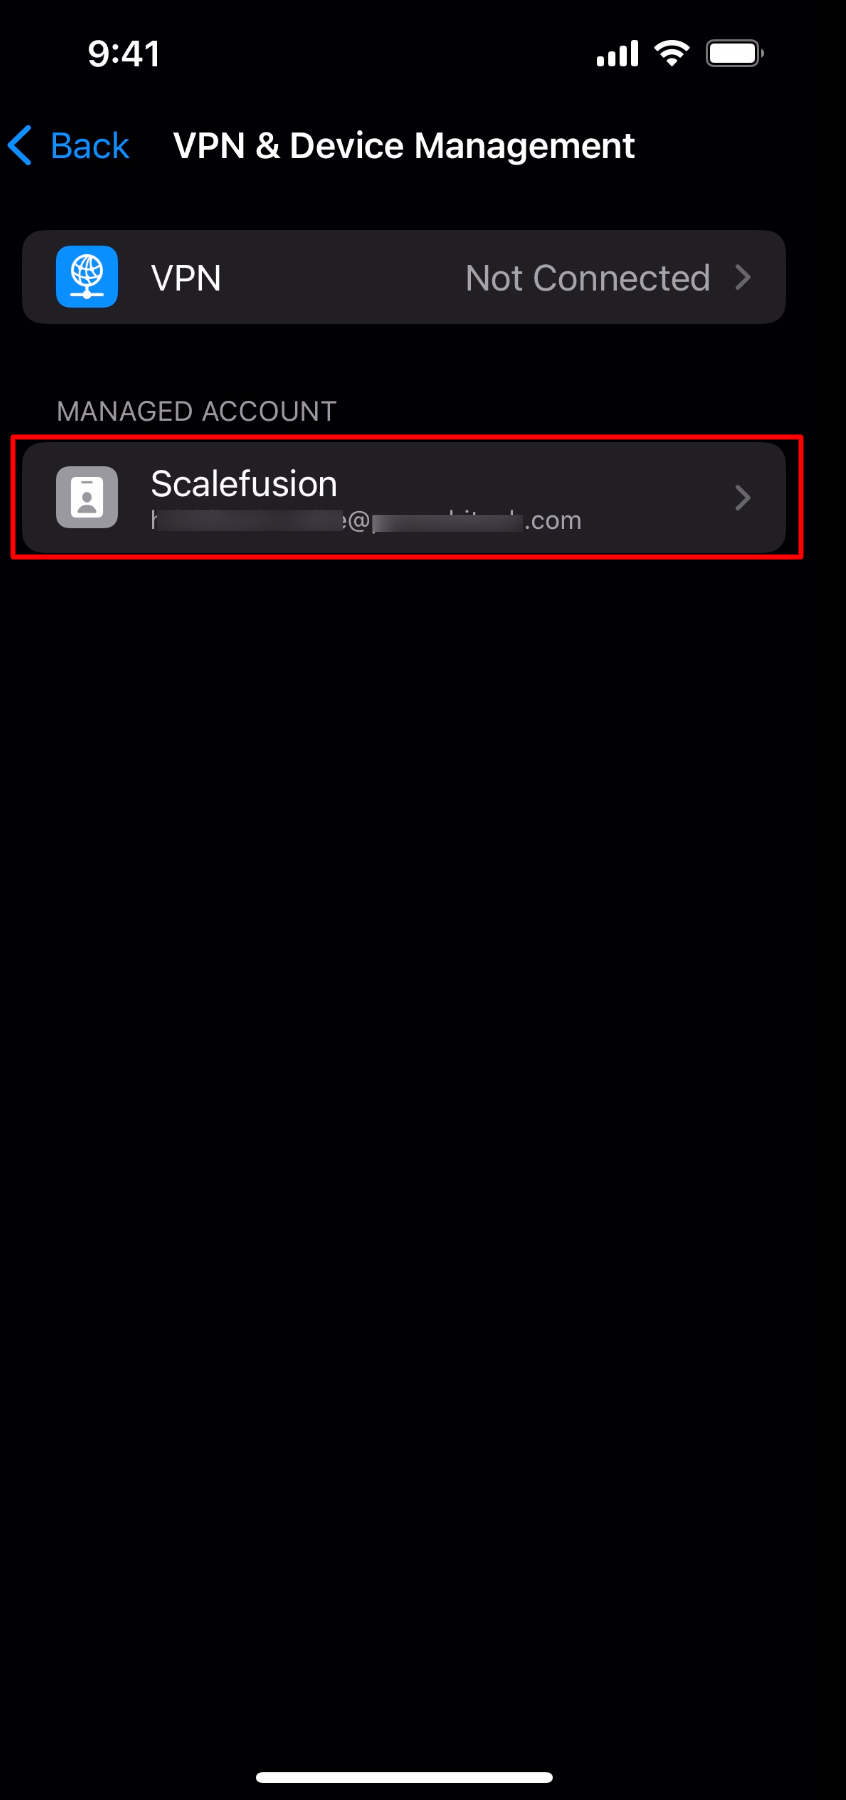
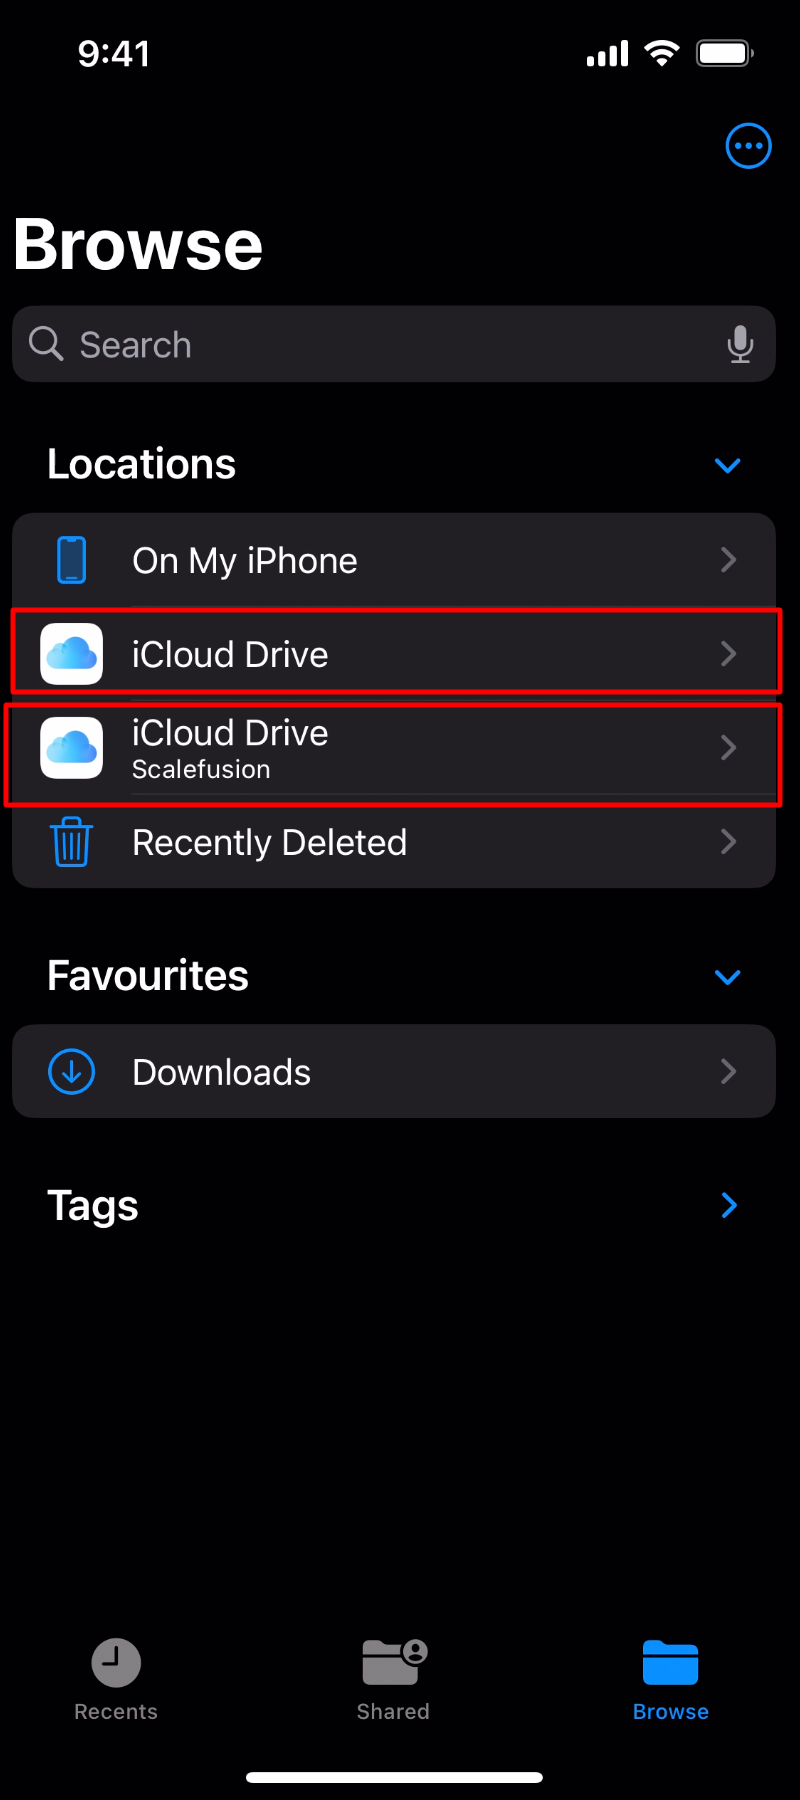
Once iOS devices are enrolled as BYOD, notice there will be separate containers for work and personal data.
- In Settings two profiles created, one is personal and second is the work profile with the name Scalefusion.

- In Files, there will be two iCloud Drives. The one for work has Scalefusion written underneath.
- Similarly, two system apps will be visible (one for work and one for personal use) on the device.


Known Behavior
- Allowing Managed Apple ID on a device may not be completely secure as users can use this ID on any device and access the data from managed iCloud.
Was this article helpful?