To remotely manage your Mac devices, they need to be enrolled in the Scalefusion Dashboard. If you have procured your Mac devices under Apple's Device Enrollment Program (DEP) program, then you can automate the enrollment right when the devices are unboxed for the first time. Please refer to our DEP guide on how to set up DEP and sync DEP devices.
However, if you are using Mac devices that are not under the DEP program, then you would have to manually enroll them in Scalefusion Dashboard. In this document, we will see how to enroll your Mac device.
Before You Begin
- Complete the Configure APNs step.
- Create a macOS Device Profile.
- Create an Enrollment Configuration for Company Owned Mac.
- Have physical access to a Mac device.
Enrolling a Mac (macOS) Device
- Power on the Mac device and Sign in to the user that you want to manage.
- Launch Safari. Sign In to Scalefusion Dashboard, navigate to Enrollment Configurations > QR Code Configurations. Click the button Show Enrollment URL for Mac.
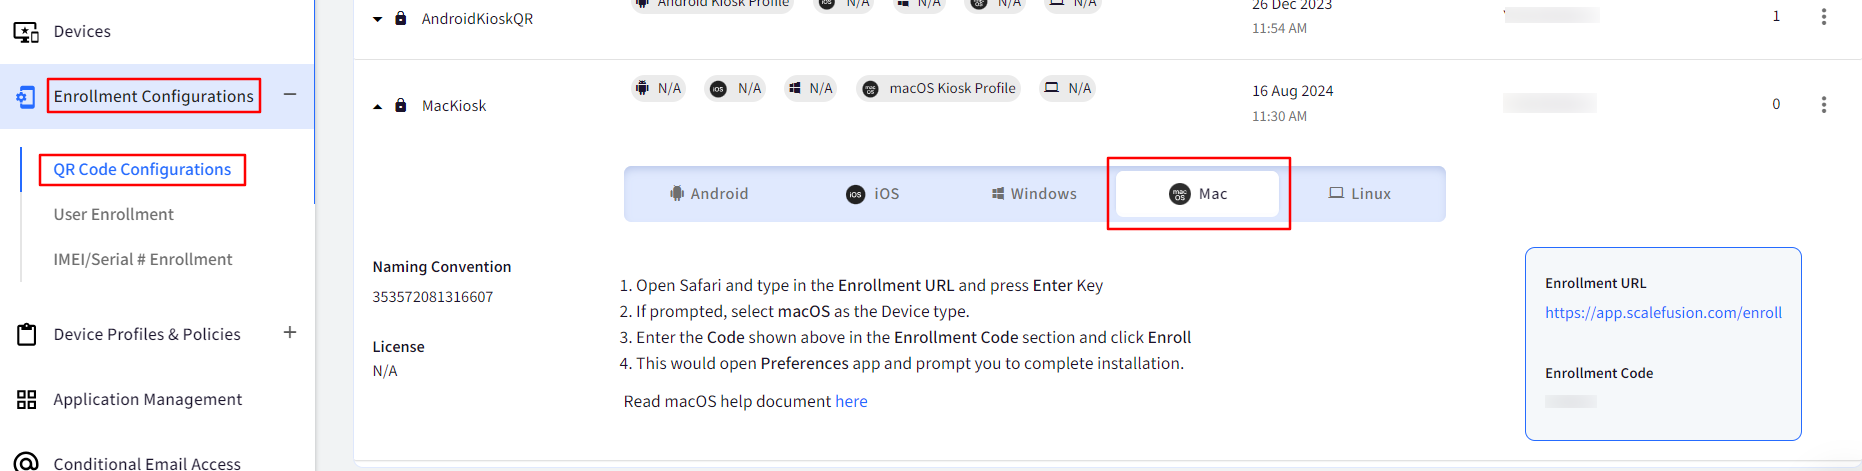
- In the Safari browser, type in the Enrollment URL and press Enter Key. A new window, Kiosk Device Enrollment, will open. Enter the Code you have received in the Enrollment Code section and click Enroll

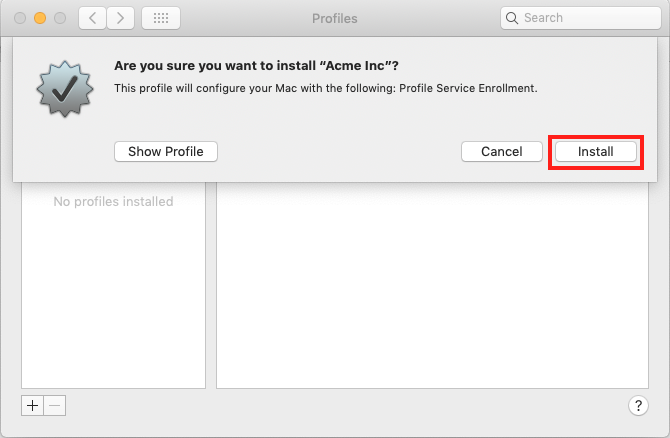
- This will open the System Preferences pane, and the following dialog will be shown. Click on Install to proceed with enrollment.
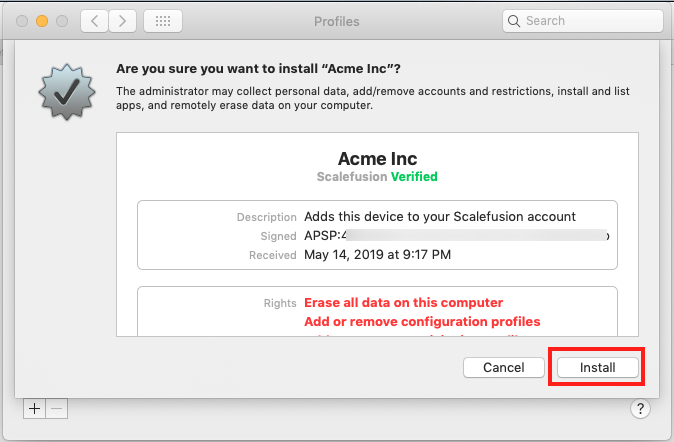
- You will be shown the details of the enrollment profile and asked to confirm the installation. Click Install
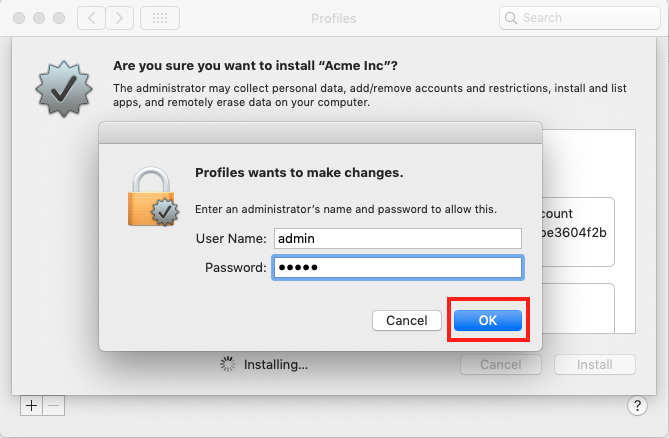
- If you are enrolling from a non-administrator user, you will be asked to enter administrator credentials to confirm the installation. Please enter the administrator credentials and Click OK.
- It will take around a minute or so for the enrollment to complete, and you will see the following screen,
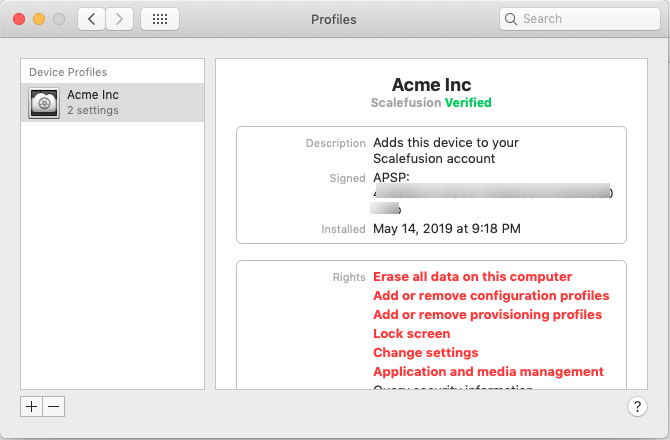
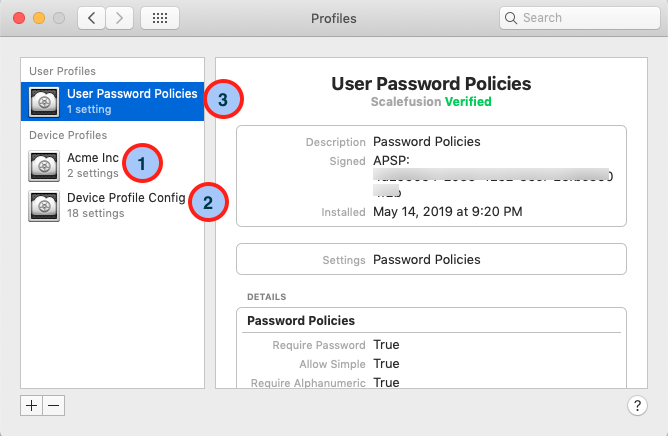
- It will take around 2-3 minutes for the enrollment to be complete, and the following screen confirms that the enrollment is complete. As mentioned in the Device and User Policies section, you would see 3 Profiles that are installed,
- Device Profiles: This section lists all the Profiles/Policies that are applicable at a device level. The items marked 1 & 2 are device-level profiles, and the policies applied by these profiles are applied to all the users of this machine.
- User Profiles: This section lists all the Profiles/Policies that are applicable at a user level. Identified by point 3 in the image below, these policies are applicable only to the Mac user account from where the enrollment was done.
- Now if you log in to the Scalefusion Dashboard and navigate to the Devices section, you will see the newly enrolled device, confirming the successful enrollment.

Frequently Asked Questions
Question: We get an error while installing the *.mobileconfig file, and the enrollment fails when installing the profile. What might be the reason?
Answer: Make sure that the device is not enrolled in any other test account that you might have created with Scalefusion. Also, make sure that you have completed the APNs setup or renewed your APNs certificate if it has expired.
Question: Although the enrollment is complete, we see that none of the policies are applied, and the device appears as Unnamed in Scalefusion Dashboard.
Answer: This can happen if you have not completed the APNs setup or if your APNs certificate has expired. Please complete the APN setup or renew the certificate.
Question: What do we do if clicking on Enroll does not launch the Preferences app?
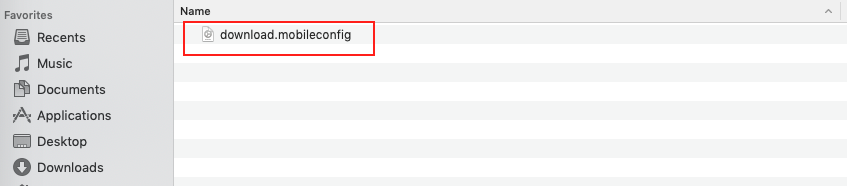
Answer: Sometimes, the Preferences app may not open, but clicking on Enroll will download a *.mobileconfig file. In that case, please follow the steps below
- Open a Finder window and navigate to the location where the *.mobileconfig file is downloaded. Double-click on the file to start the enrollment.
- Click on the file to launch the Preferences app. Follow the onscreen instructions to Install the profile.
Now that you have enrolled your device head over to the Device Information & Actions document to see the device information that is collected and the various actions that can be performed.