Microsoft Exchange is one of the most frequently used email and calendar software. However, some organizations, opt for POP/IMAP-based email servers, which give the full benefits of email and at the same time keep the costs low.
Scalefusion addresses this by providing you with an easy-to-use Email Settings section, where you can configure the Email policy for your organization and then push them to Scalefusion-managed macOS devices. In this guide, we will see how to create, configure and publish an Email configuration from Scalefusion Dashboard.
Creating an Email Configuration
The first step is to create an email configuration that can then be pushed to devices. Follow the steps below to create a email configuration,
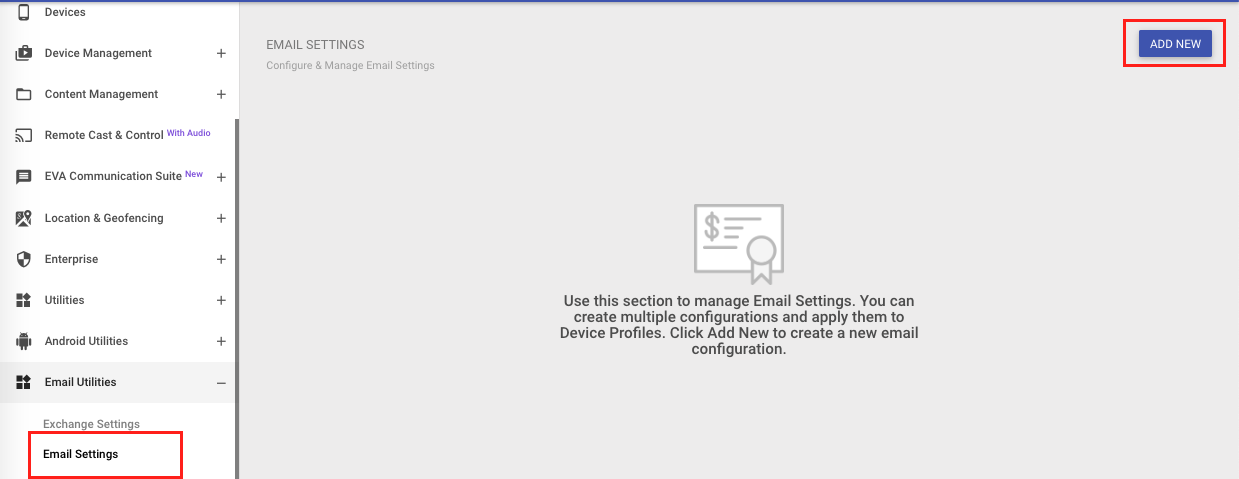
- Navigate to Email Utilities > Email Settings. Click ADD NEW to launch the email configurator wizard.
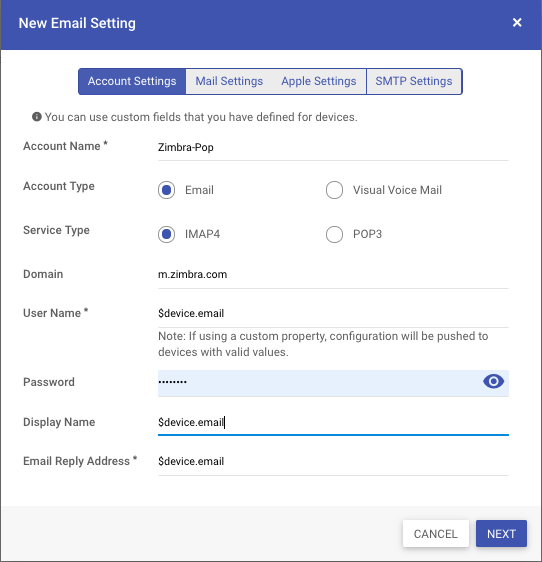
- In the Account Settings tab, select the account type and fill in the account details of the account. Here you can use the custom fields/properties that you might have defined for the devices. Click NEXT
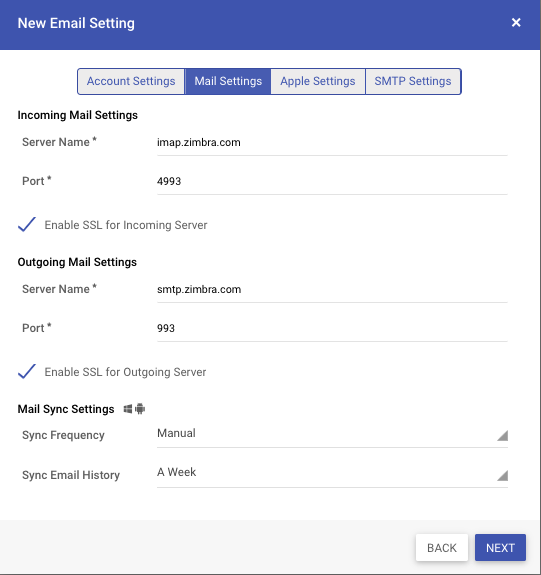
- In the Mail Settings tab, provide the incoming and outgoing server settings. Click NEXT
- In the Apple Settings section, select options that are applicable only to iOS and macOS devices. Click NEXT
- Prevent users from moving messages from this account: Prohibits the user from forwarding an email to another account. Also, the user cannot reply to a mail from a different account other than the one it originated from.
- Allow a recent address to be synced: Displays this email account in the Recent Addresses list.
- Allow Mail Drop: Allows you to send an attachment through Mail Drop. Mail Drop lets you send attachments up to 5GB.
- Use only in Mail: Enabling this option will make this account unavailable for sending mail from any app other than the Apple Mail app.

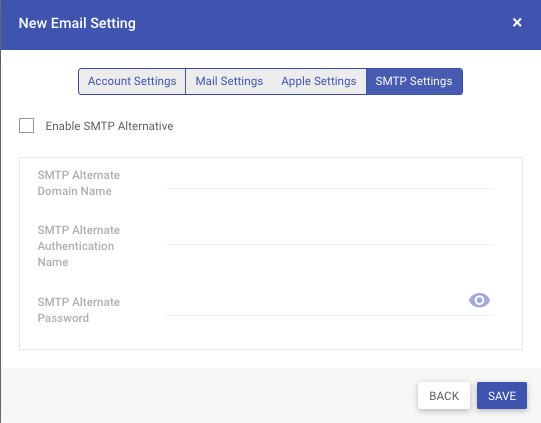
- Configure additional SMTP alternative settings if required in the SMTP Settings tab and click on SAVE
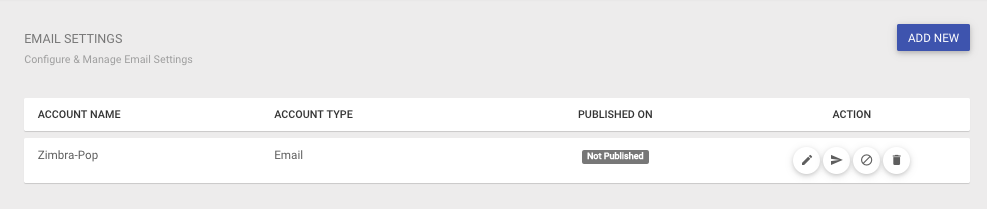
- Once a configuration is saved, it is available in the list of configurations. The following actions are supported for a saved configuration,
- Edit: Allows you to edit the configuration.
- Publish: Allows you to publish the configuration directly to device profiles from this screen.
- UnPublish: Choose this option to remove the configuration from a Device Profile.
- Delete: Choose this option to remove the configuration from all Device Profiles and also delete it from the Scalefusion Dashboard.
Publishing an Email Configuration to a Mac Device Profile
Now that we have created an Email configuration, let us look at the steps to publish it to a Device Profile.
- Navigate to Device Management > Device Profiles section.
- Launch the Device Profile Wizard, by clicking on CREATE NEW PROFILE or select a Mac Device Profile and Edit it from the action panel.
- Click on the Exchange & Email section.
- Under Choose Email Settings, select the newly created email configuration,
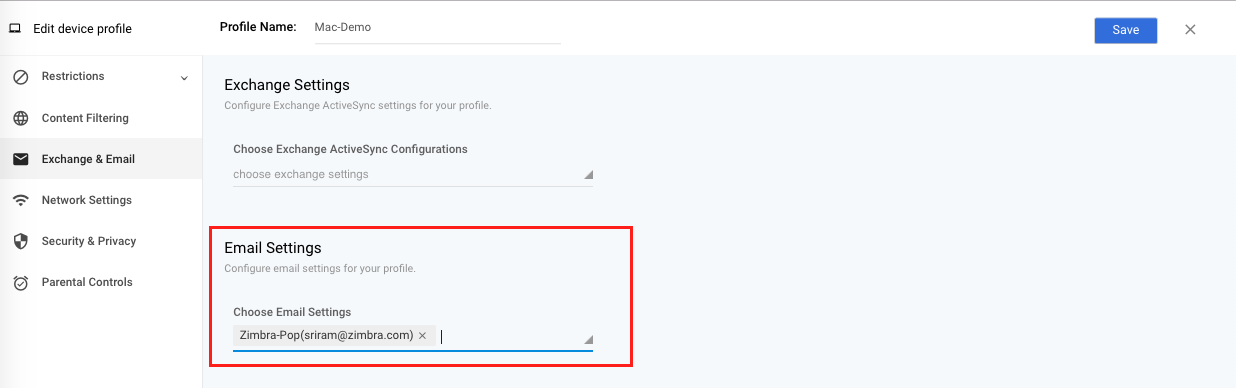
- Click SAVE on the top right corner to save the changes to the profile.
- Once the configuration is published, the Mail client on the macOS device is configured with the email settings.
NOTE: The end-users will have to enter the password of their account for the email sync to start working.
Frequently Asked Questions
Question: What would happen if I move the Device from a Device Profile with an Email configuration to a Device Profile without Email configuration?
Answer: This will cause the Email settings to be removed from the device.