Device Profiles are a great way to streamline your enrollment process. Like Device Profiles for Corporate devices, you can create BYOD Profiles for employee-owned iOS devices. BYOD Profiles are a great way to unify all your policies under one entity which then can be assigned to a QR Code configuration or a User Group.
At a high level, a BYOD profile offers the following policies on iOS devices,
- Application Policy: Select the applications that are to be installed in the secure work container.
- Browser Shortcuts: Select the browser shortcuts that will be shown in the Scalefusion workplace to provide your employees with quick bookmarks.
- Restrictions: Choose and control the finer security policies that should be applied on an employee-owned device.
The article below explains how to create a Device Profile for Apple User Enrollment and policies offered therein.
Before You Begin
- You must have a valid Scalefusion account.
- VPP token should be configured under Apple Setup in Scalefusion Dashboard.
Creating Apple User Enrollment Profile
- Sign In to Scalefusion Dashboard and navigate to Device Profiles & Policies ➞ Device Profiles.
- Click on Create New Profile in the upper right corner.

- From the iOS tab, select the Apple User Enrollment (BYOD) option under Choose Profile mode. Enter a name for your new Profile and click SUBMIT to see the profile creator window.

- The Profile creator has mainly following sections
Select Apps
- This helps you decide on the application policy. Only the apps purchased under Volume Purchase Program (VPP) will be listed here. Enable the applications that you would like to be installed and used in Work Apps, and click NEXT once done.

Select Browser Shortcuts
- The next section is the BROWSER SHORTCUTS section, where you can select the previously allowed websites. The visible shortcuts will appear in Scalefusion Workplace as bookmarks so that your users can easily navigate to them. Click NEXT once you are done.
Note: Use Device Profiles & Policies > Allowed Websites section to create and allow websites.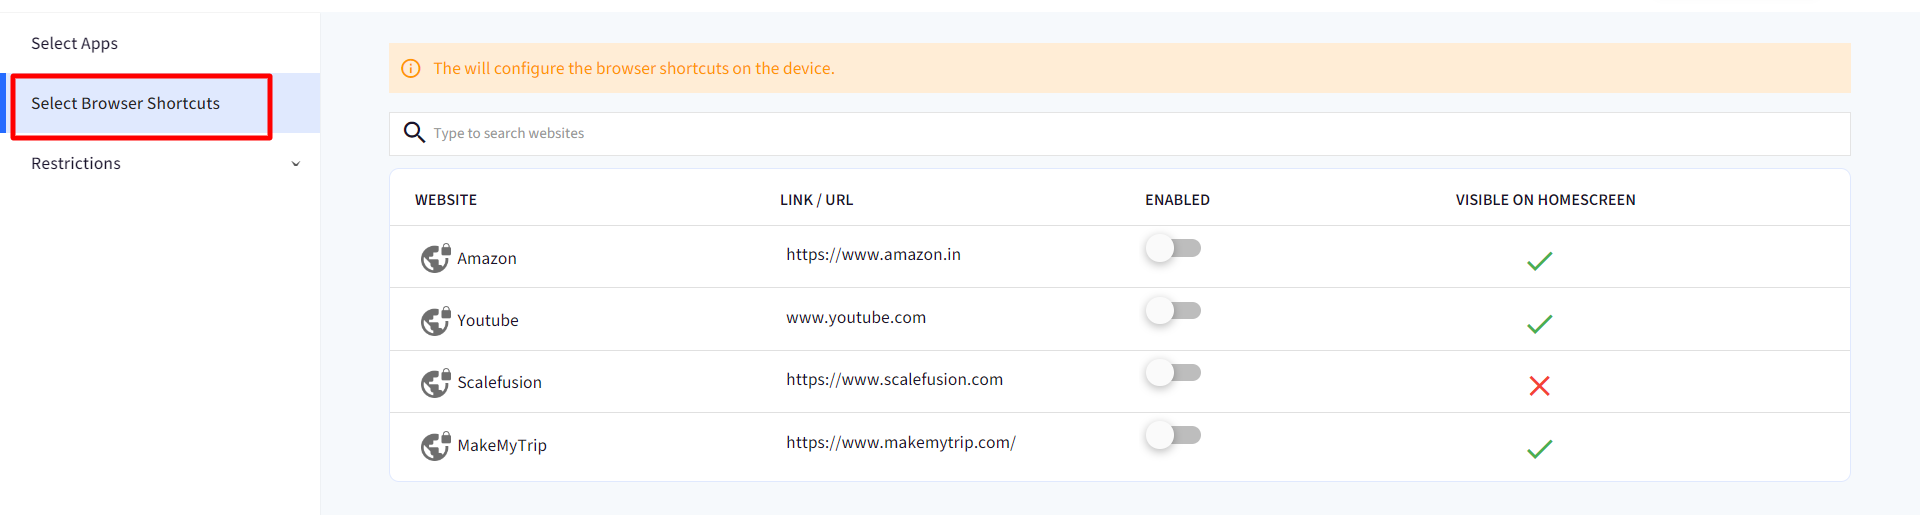
Restrictions
- The last section is the RESTRICTIONS section which gives you a wide range of policy controls. Configure the policies as per your requirements. The section is divided into sub-sections allowing you to define various policies,
General Settings
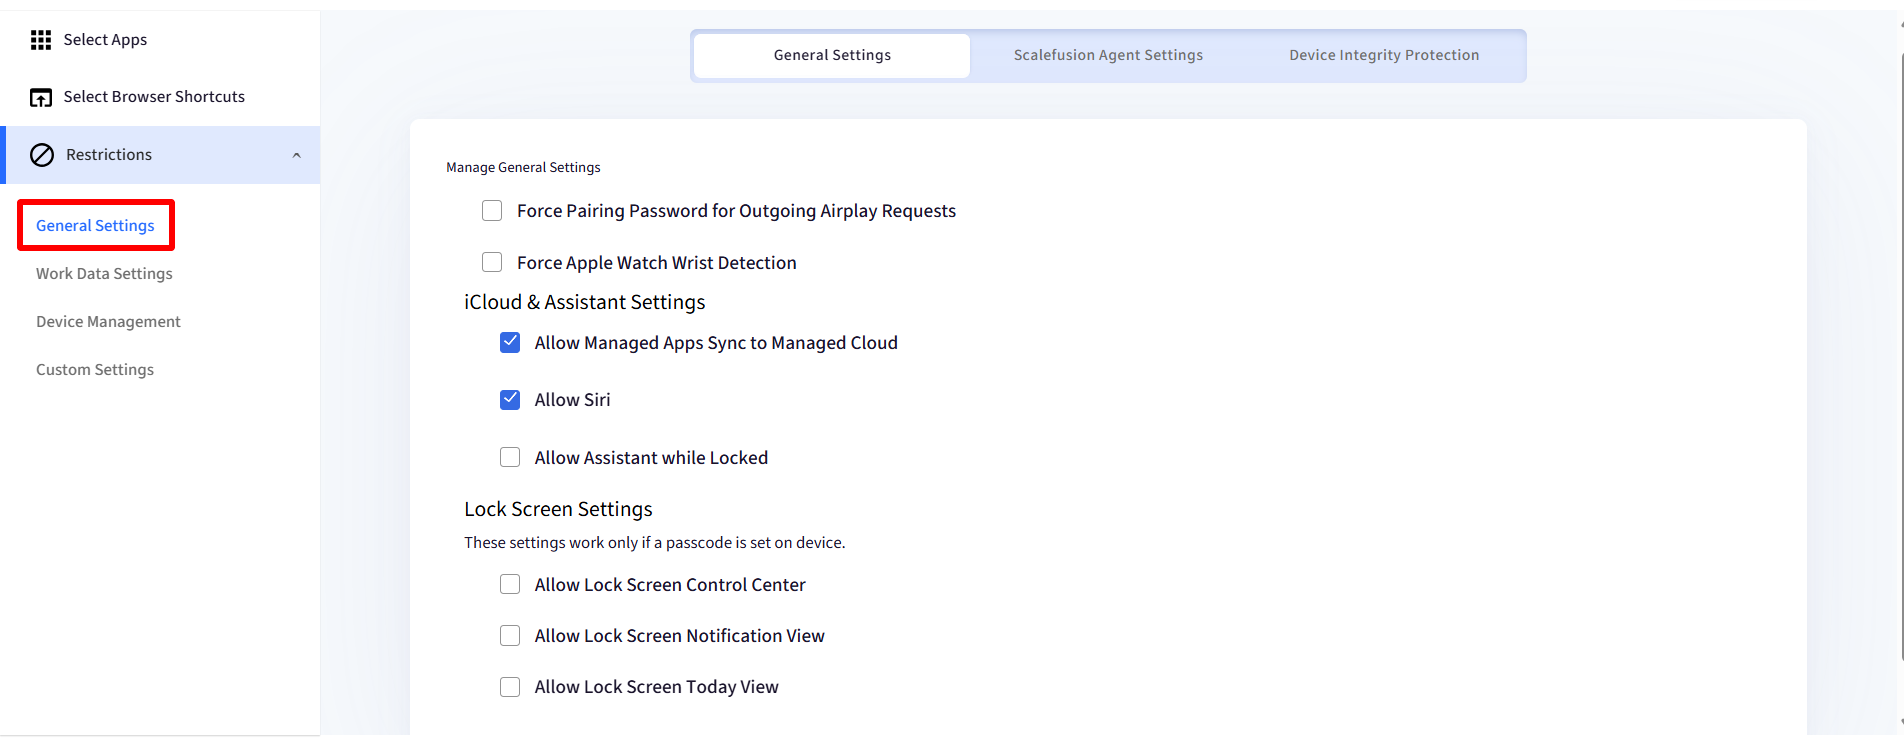
iCloud & Assistant Settings
| Setting | Description |
| Allow Managed Apps Sync to Personal iCloud | Allow/Restrict syncing of managed apps to personal iCloud |
| Allow Siri | Allow/Restrict usage of Siri. |
| Allow Assistant while Locked | Allow Siri on Lock screen. Works only if Siri is Allowed in iCloud and Siri settings. |
Lock Screen Settings
| Setting | Description |
| Allow Lock Screen Control Center | Allow/Restrict the Control Center on the Lock screen. |
| Allow Lock Screen Notification View | Allow/Restrict Notifications view on the Lock screen. |
| Allow Lock Screen Today View | Allow/Restrict Today View notifications when the device is locked. |
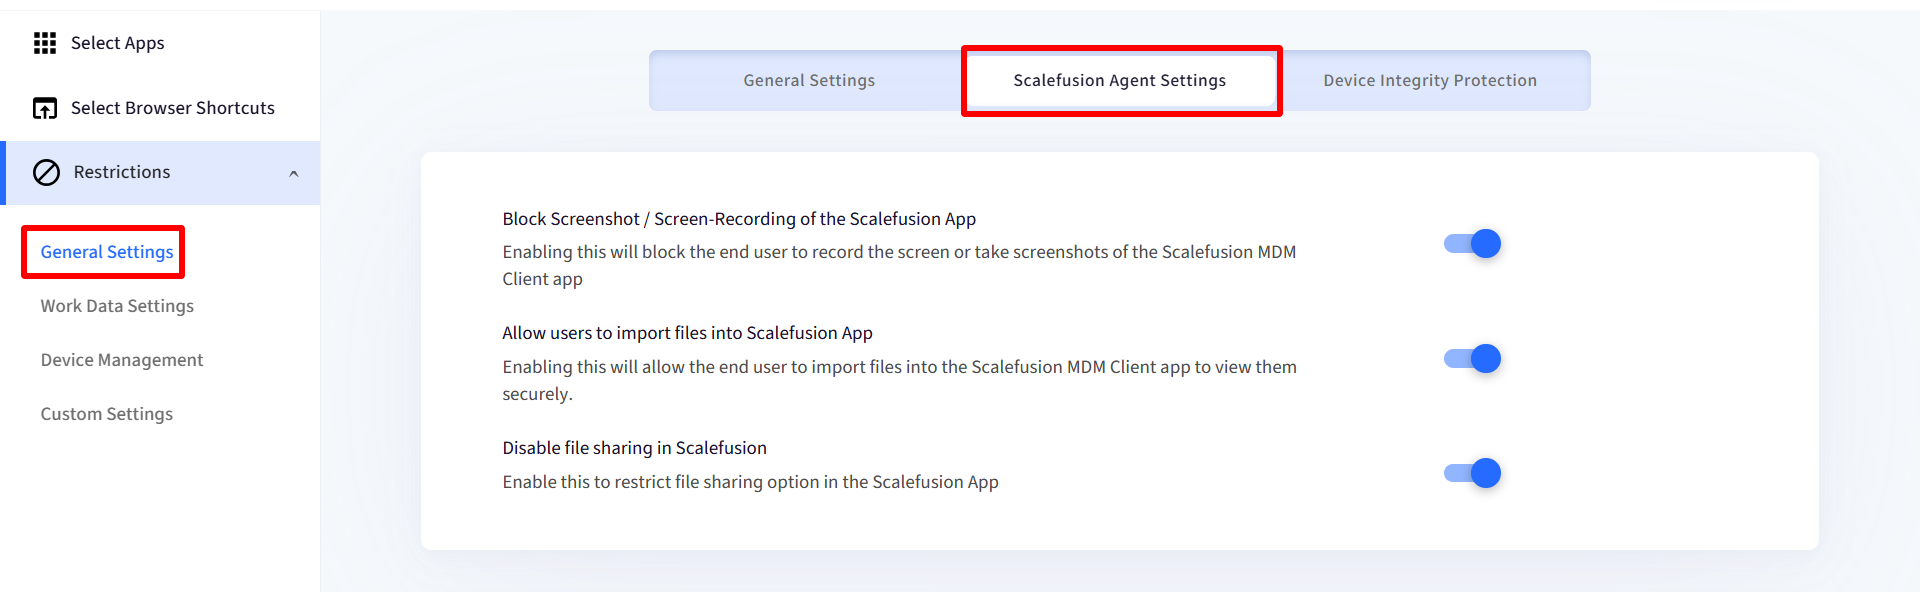
Scalefusion Agent Settings
- Block Screenshot / Screen-Recording of the Scalefusion App: Enabling this setting will block the end user from recording the screen or take screenshots of the Scalefusion MDM Client app. When this setting is enabled, and you try to take screenshot you will see a black screen.
- Allow users to import files into Scalefusion App: Enabling this feature allows organizations to import and open files using the Scalefusion app without using third-party applications thereby acting as a secure file explorer.
- Disable file sharing in Scalefusion: Enable this option to restrict file sharing within the Scalefusion app.
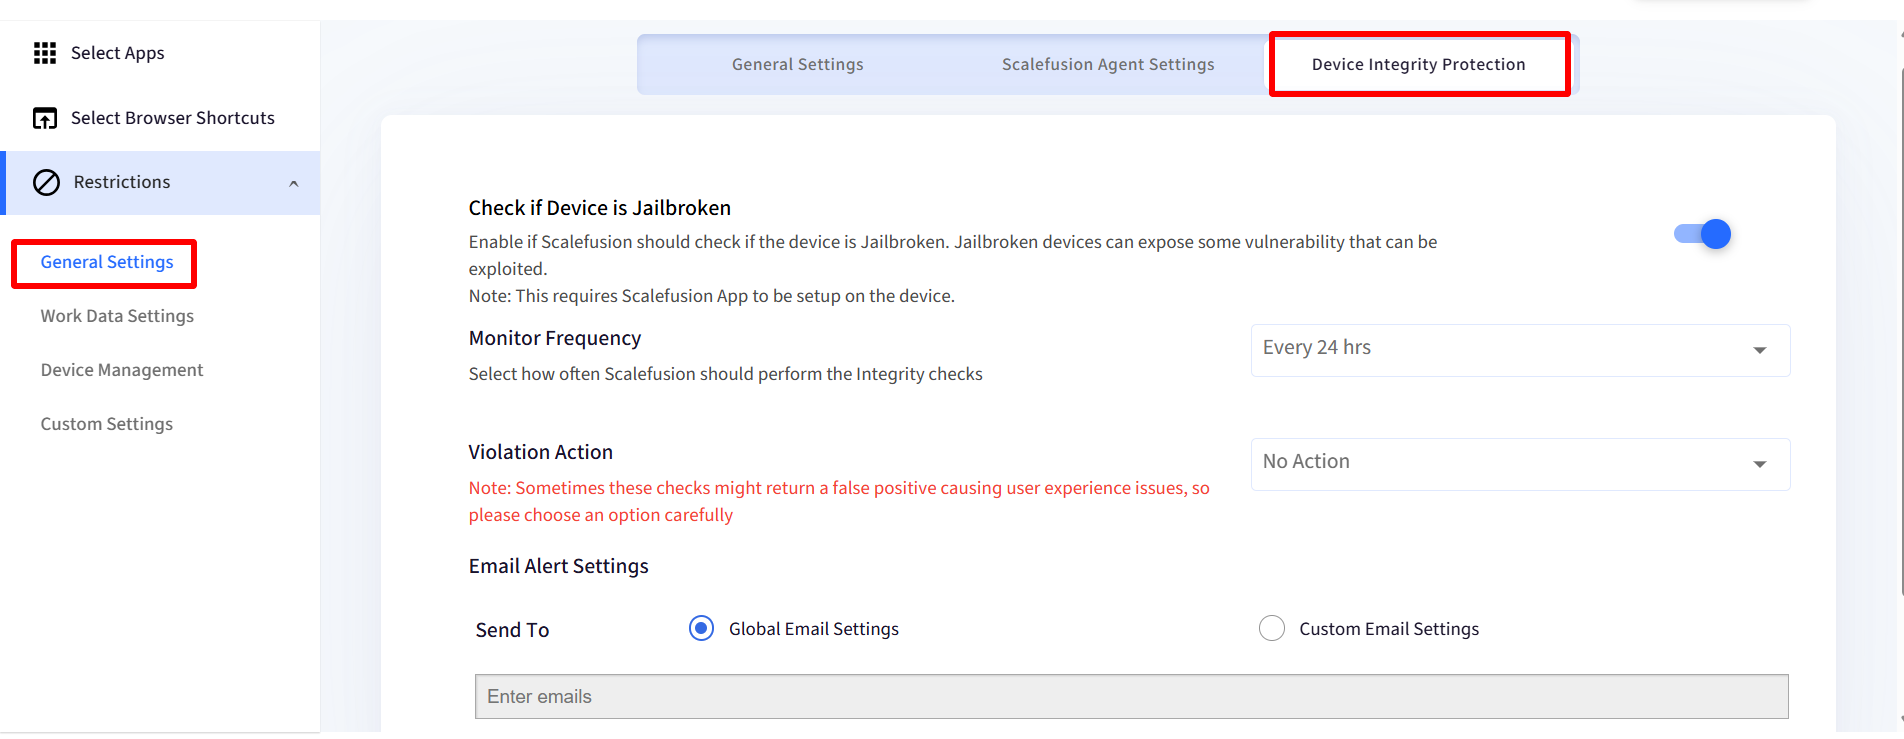
Device Integrity Protection
Check if Device is Jailbroken: When turned on, Scalefusion will perform jailbreak detection to check if the device is jailbroken, using the Scalefusion agent on enrolled devices.
Monitor Frequency: Use this setting to define how frequently device attestation or jailbreak detection should run. Options:
Every 24 hours
Every 48 hours
Weekly Once
Violation Action: Choose how Scalefusion should respond if a device fails the attestation or is detected as jailbroken. Options:
No Action: Detects the attestation failure but will not take any automatic enforcement action on the device.
Unenroll Device: Automatically unenrolls the device from management upon detection of a failed attestation.
Sometimes these checks or APIs may return a false positive, so please choose a violation action accordingly.
Email Alert Settings: Configure email alerts for attestation or jailbreak violations. Options:
Global Email Settings: The email alert will go to the account owner
Custom Email Settings: If Custom Email Settings is selected, a text field will appear to enter recipient email addresses. You are required to enter at least one email.
Work Data Settings
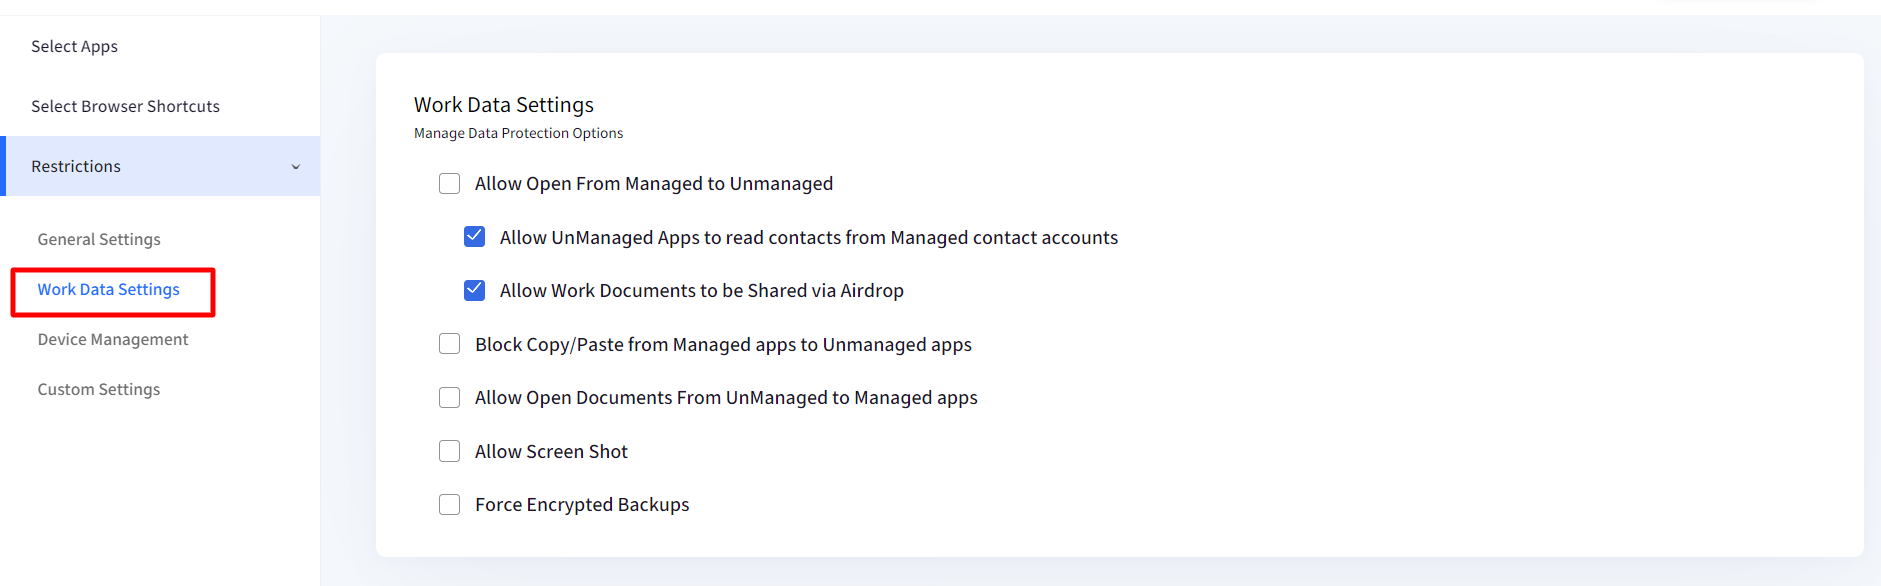
These settings help you control the exchange of data between Managed (work) apps and non-Managed (personal apps). These settings work on all iOS devices irrespective of they are Supervised or not (min.OS version required), and help you secure the corporate data by preventing the Unmanaged applications from being used to view/open Managed data. The settings offered are:
| Setting | Description |
| Allow Open From Managed to Unmanaged | Allow Work documents/files to be opened via Unmanaged apps. Disabling this prevents the Unmanaged apps from being listed in the Share menu. |
| Allow UnManaged Apps to read contacts to Managed contact accounts | Allow Unmanaged applications to add/edit contacts to Work managed accounts. his setting will be forced to true if Allow Open From Managed to Unmanaged is true. Requires 12.0+ to work |
| Allow Work Documents to be Shared via Airdrop | Allow Work documents/files from managed applications to be shared via Airdrop. This setting will be forced to true if Allow Open From Managed to Unmanaged is true. |
| Block Copy/Paste from Managed apps to Unmanaged apps | Blocks copy and paste actions done from managed to unmanaged apps. When this setting is enabled, and if you try to copy anything from a managed application onto an unmanaged one, the following message will appear: This setting will not work if Allow Open From Managed to Unmanaged setting is also enabled  |
| Allow Open Documents From Managed to Unmanaged | Allow non-Work documents/files to be opened via Managed applications. Enabling this will cause the managed apps to be shown in the Share menu of unmanaged apps. |
| Allow Screenshot | Allow/Restrict users to take screenshot. |
| Force Encrypted Backups | Allow/Restrict users to enforce encrypted backups where they can set a password for encrypted files while taking backup. This option is unchecked by default. |
Device Management
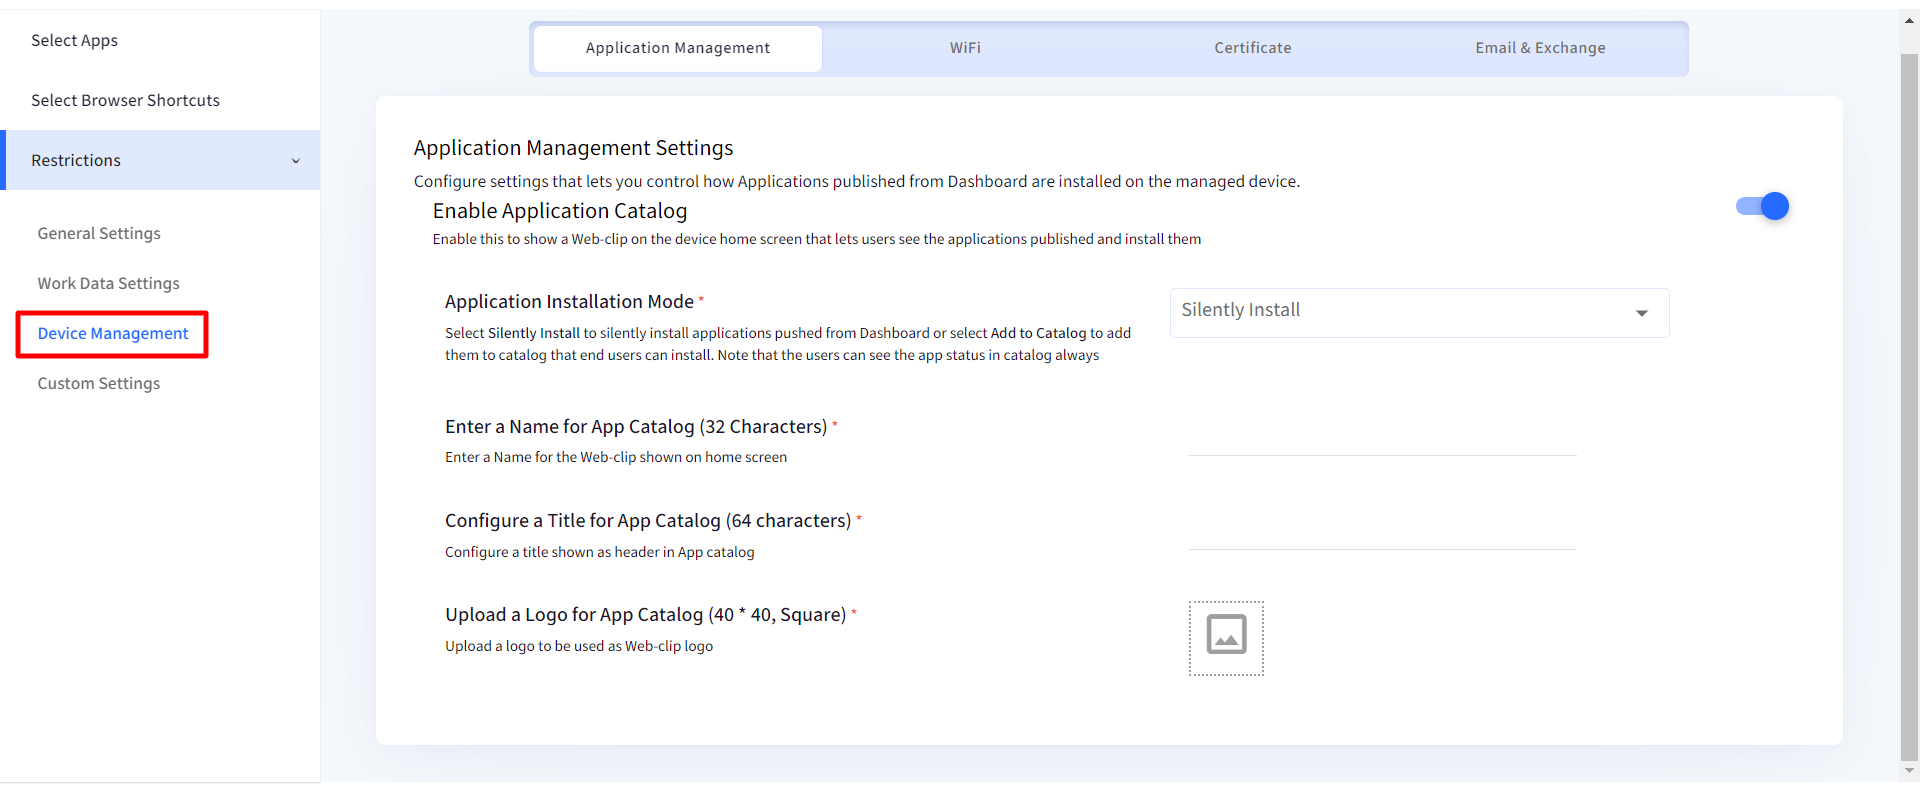
Application Management
In this section, admin can configure settings that give control to users over how Applications published from the Dashboard are installed on the managed devices. This can be done by enabling the application catalog. To know more about the app catalog, click here.
WiFi
From here, you can select a Wifi configuration from the drop-down and enforce it on the iOS device. The drop-down will show list of configurations created for iOS from Wifi Configurations section.
Certificates
Use this section to install and deploy certificates on your managed devices. The certificates uploaded via Enterprise > Certificate Management are listed here. To learn more about how certificates can be applied on managed devices, please refer to the document here.
Email & Exchange Settings
Use this section to select the Email or Exchange configurations that you want to publish to the devices in this Device Profile. You can select one or multiple configurations to be pushed on the devices. To learn how to create Exchange and Email configurations, please refer to our document here.
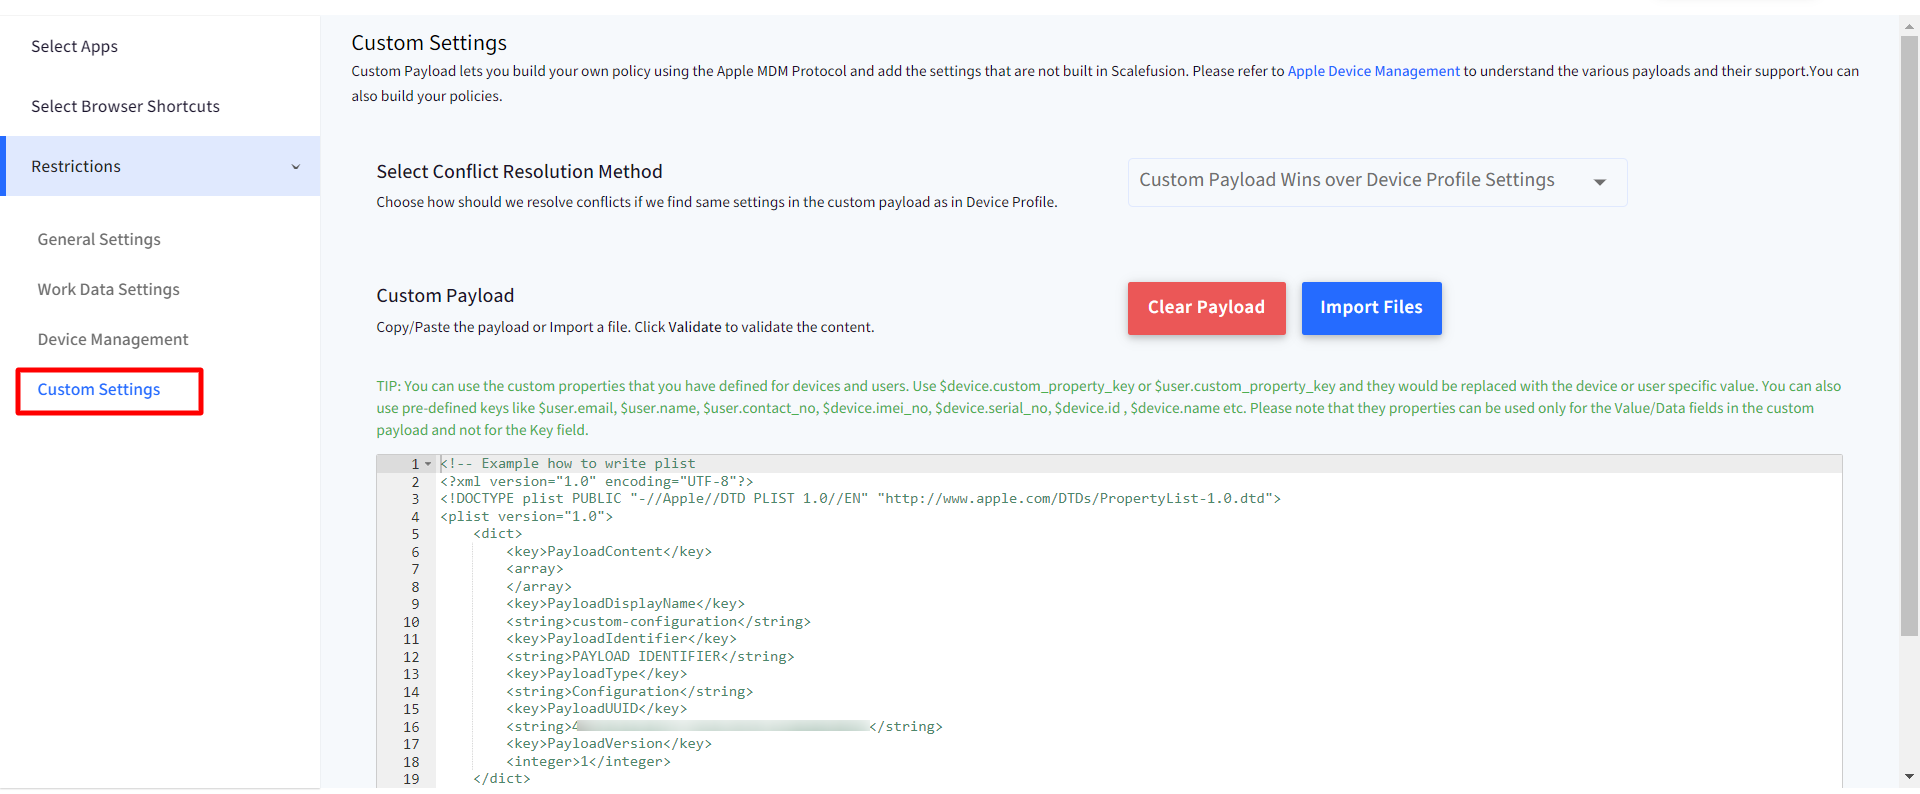
Custom Settings
By using the Custom Settings feature of a Scalefusion iOS Profile, IT Admins can use a top-notch XML editor and push a Custom Payload directly to the devices. Hence, with this admins will now be able to add those features for iOS which are not yet offered under Scalefusion. To learn more about Custom Settings feature, click here.
- Once you have configured the various sections, click on CREATE PROFILE to create the profile. Once the profile is created, it starts appearing in the Device Profile listing view with a User badge next to it, indicating that this is a BYOD profile.
- Any future updates to the device profile are automatically pushed to the devices. Hence please make sure to validate the changes before editing.
- Once you have created a Device Profile to apply it to devices, you can do the following,
- Create Enrollment Configuration: This will make sure that any user using the enrollment configuration will get these policies by default.
- Assign to a User Group: This will apply this profile to all the iOS devices belonging to the users in that group.