Access Point Name or APN configurations are cellular carrier provided settings that allow a device to access the internet via the cellular data (SIM Card). Often times, an Enterprise can partner with a cellular carrier and get custom APN settings that restrict the usage of cellular data on Corporate devices. Depending upon the APN configurations, the devices are allowed to access the corporate devices directly without the need for a specific VPN service. These settings also can restrict the data usage on devices where the SIM card are also corporate-owned.
Scalefusion lets an enterprise define their APN settings on the Scalefusion Dashboard and then push to Android Device Profiles, so that they are automatically configured on managed devices.
The document below provides configurations specific to Akamai for setting up APN on Scalefusion managed Android devices.
Support for Access Point Name (APN)
- The devices should be EMM Managed with OS 9.0 and above
Creating an Access Point Name (APN) Configuration
The first step is to create an Access Point Configuration on Scalefusion Dashboard. Follow the steps below to create an APN configuration on Scalefusion Dashboard,
- Sign In to Scalefusion Dashboard.
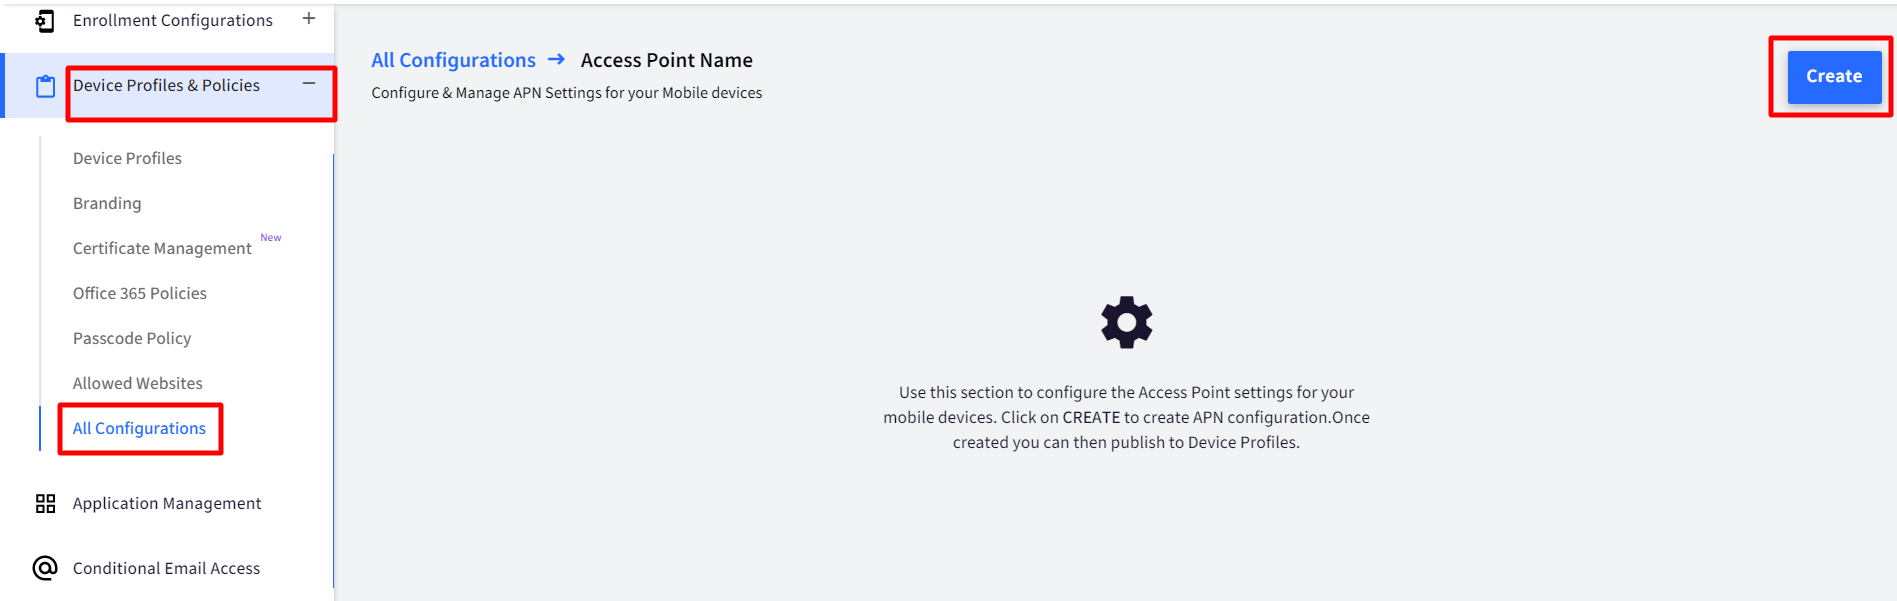
- Navigate to Device Profiles & Policies > All Configurations > Global Settings > APN Settings and click on CREATE to see the APN configuration creator.
- In the APN Configuration creator, enter the following details,
- Configuration Name: The name that is used to identify the configuration in Scalefusion Dashboard.
- Platform Type: Choose Android.
- Configuration Details: Enter the following configurations for Akamai:
- Access Point Name: Enter securemobi.iot
- APN: Enter securemobi.iot
- Mobile Network Code (MNC): Enter the Mobile Network Code, used to identify the carrier.
- Mobile Country Code (MCC): Enter the Mobile Country Code, used to identify the carrier.The MNC and MCC shown in below screenshot are example values and will vary as they are dependent on the mobile network operator that is being used to access Akamai's services.
- Access Point Username: Enter data
- Access Point Password: Enter data
- Authentication Type: Select PAP from the drop-down
The other fields can be left empty.
d. After you have entered all the details, click SAVE.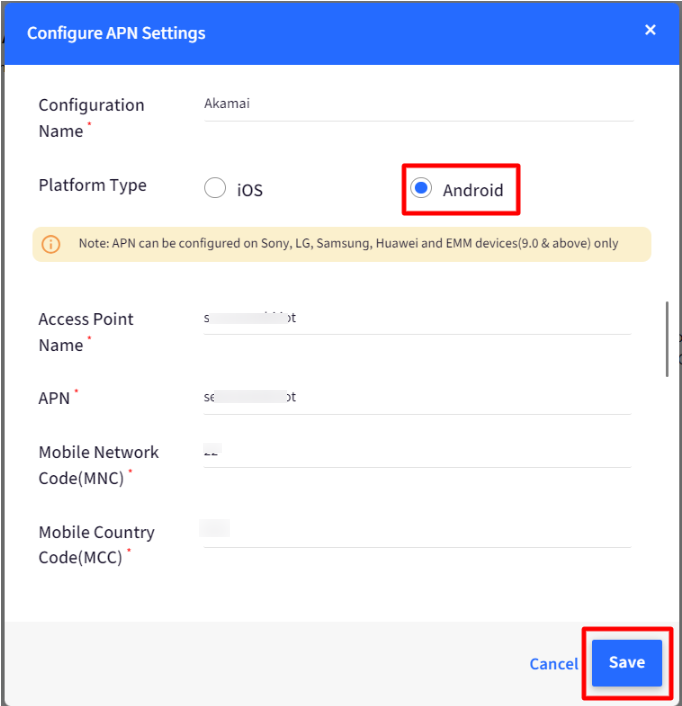
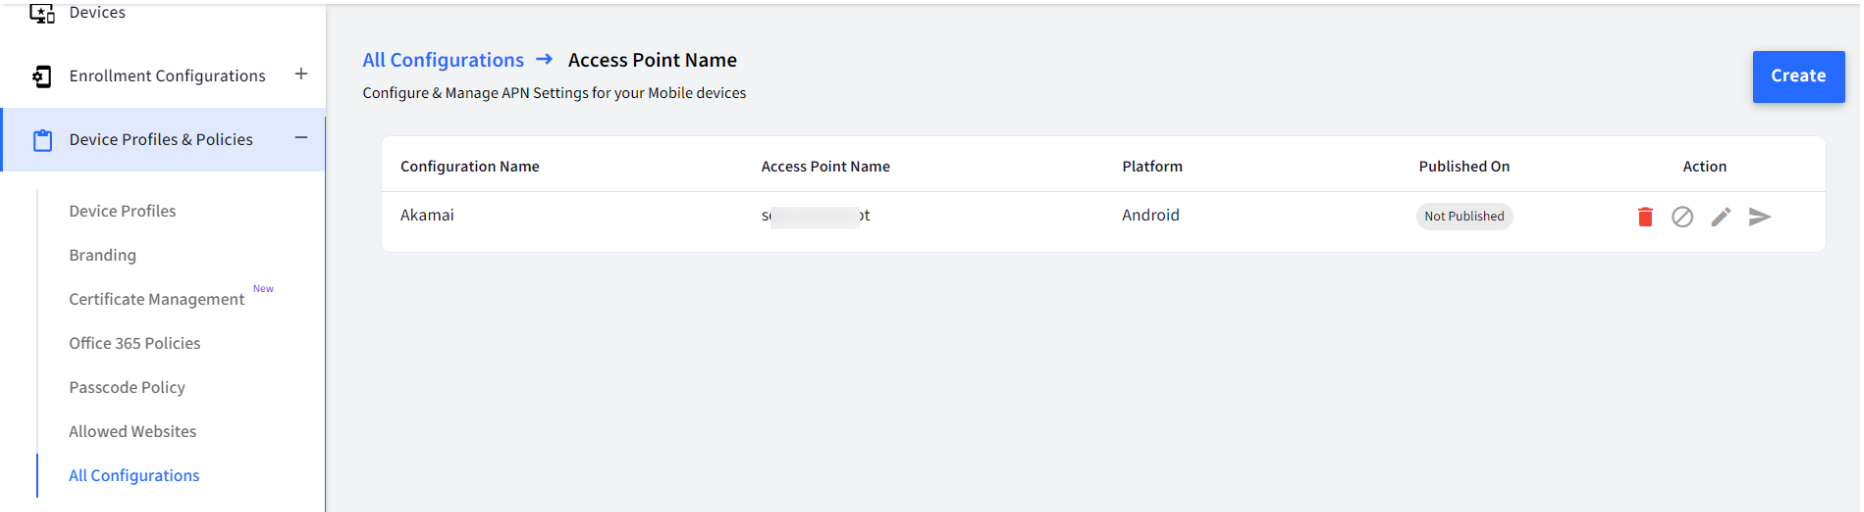
4. Once the configuration is saved, it will appear in the list of configurations as shown below.
Publishing Access Point Configuration
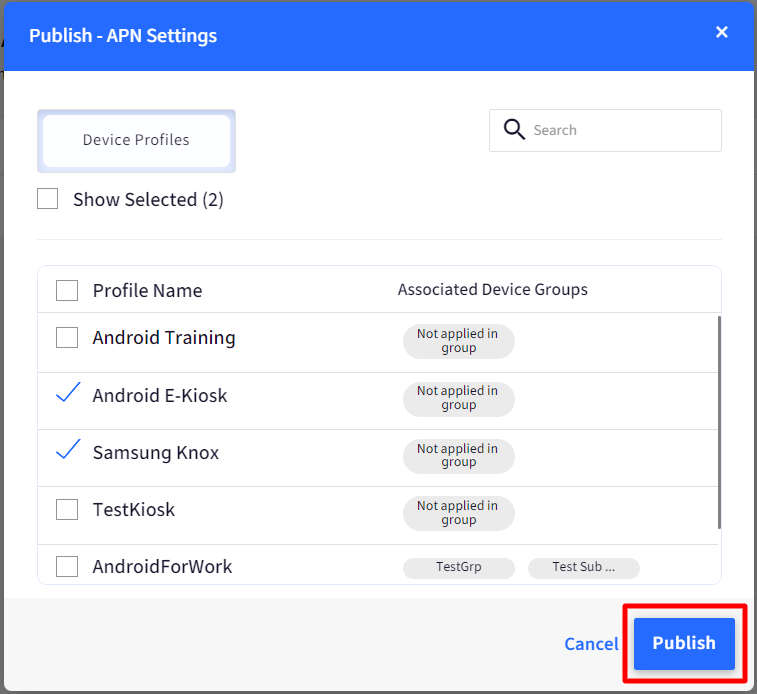
- Click on the Publish button on the Akamai configuration that you want to publish.

- From the list of Device Profiles, select the profile and Click PUBLISH.
- The configuration will be pushed to the devices and on supported devices it will be configured.
Frequently Asked Questions
Question: How many APN configurations can we publish to a Device Profile?
Answer: At this point, Scalefusion supports only one configuration to be published on a device.
Question: Why doesn't the APN configuration work even though it appears as if it is applied on the Device?
Answer: For the APN configuration to work the following must be true,
The device should have a valid SIM card.
"Mobile Network Code(MNC)" and "Mobile Country Code(MCC)" should be valid and correct.
If your MNC or MCC is a single digit number and it does not work, then try prefixing a 0 in front of them.
Question: Why isn't the APN configuration removed on a Sony device?
Answer: This is known behavior/limitation. Sony Enterprise SDKs do not offer an API to remove the APN settings.