On macOS devices, standard users did not have access to network proxy settings. However, this is now possible with Scalefusion MDM Client (agent app for macOS) where even standard users can access as well as configure network proxy settings on their Scalefusion managed macOS devices. The document explains how proxy settings can be accessed and configured via Scalefusion MDM Client, on Scalefusion managed macOS devices.
Pre-requisites
Devices should be enrolled with Scalefusion
The latest version of Scalefusion MDM Client should be installed on the macOS device
macOS Device Profile should be created.
Step 1: Add custom payload in Device Profile
On Scalefusion Dashboard, navigate to Device Profiles & Policies > Device Profiles
Select a macOS device profile and edit or create a new Mac profile to start adding the custom settings. Navigate to Custom Settings.
Copy the contents directly from below and add it in Custom Settings in the Device Profile or click here to download the file and import it in the Device Profile.
<?xml version="1.0" encoding="UTF-8"?>
<!DOCTYPE plist PUBLIC "-//Apple//DTD PLIST 1.0//EN" "http://www.apple.com/DTDs/PropertyList-1.0.dtd">
<plist version="1.0">
<dict>
	<key>PayloadContent</key>
	<array>
        <dict>
            <key>PayloadContent</key>
            <dict>
                <key>com.promobitech.scalefusion.mac</key>
                <dict>
                    <key>Forced</key>
                    <array>
                        <dict>
                            <key>mcx_preference_settings</key>
                            <dict>
                                <key>NetworkSettingsEnabled</key>
                                <true/>
                            </dict>
                        </dict>
                    </array>
                </dict>
            </dict>
            <key>PayloadEnabled</key>
            <true/>
            <key>PayloadIdentifier</key>
            <string>MCXToProfile.6aa7bd5a-89fe-4daa-827e-568b76a06b33.alacarte.customsettings.1cf380e5-afc9-47d5-9bff-cab47cea785a</string>
            <key>PayloadType</key>
            <string>com.apple.ManagedClient.preferences</string>
            <key>PayloadUUID</key>
            <string>1cf380e5-afc9-47d5-9bff-cab47cea785a</string>
            <key>PayloadVersion</key>
            <integer>1</integer>
            <key>PayloadDisplayName</key>
            <string>Enable Network options in Scalefusion</string>
        </dict>
	</array>
	<key>PayloadDisplayName</key>
	<string>Untitled</string>
	<key>PayloadIdentifier</key>
	<string>com.promobitech.scalefusion.A6712335-EBE5-43BE-A4F0-BBA0013F688D</string>
	<key>PayloadType</key>
	<string>Configuration</string>
	<key>PayloadUUID</key>
	<string>A6712335-EBE5-43BE-A4F0-BBA0013F688D</string>
	<key>PayloadVersion</key>
	<integer>1</integer>
</dict>
</plist>
You can also follow the steps here to learn how to add the Custom Payload in the Device Profile
Click Save
Step 2: Network Settings in Scalefusion MDM Client
After adding payload, open Scalefusion MDM Client (agent application for macOS)
Navigate to Settings on the left. You will find Network State. Network State shows the status of the currently connected network on your system.
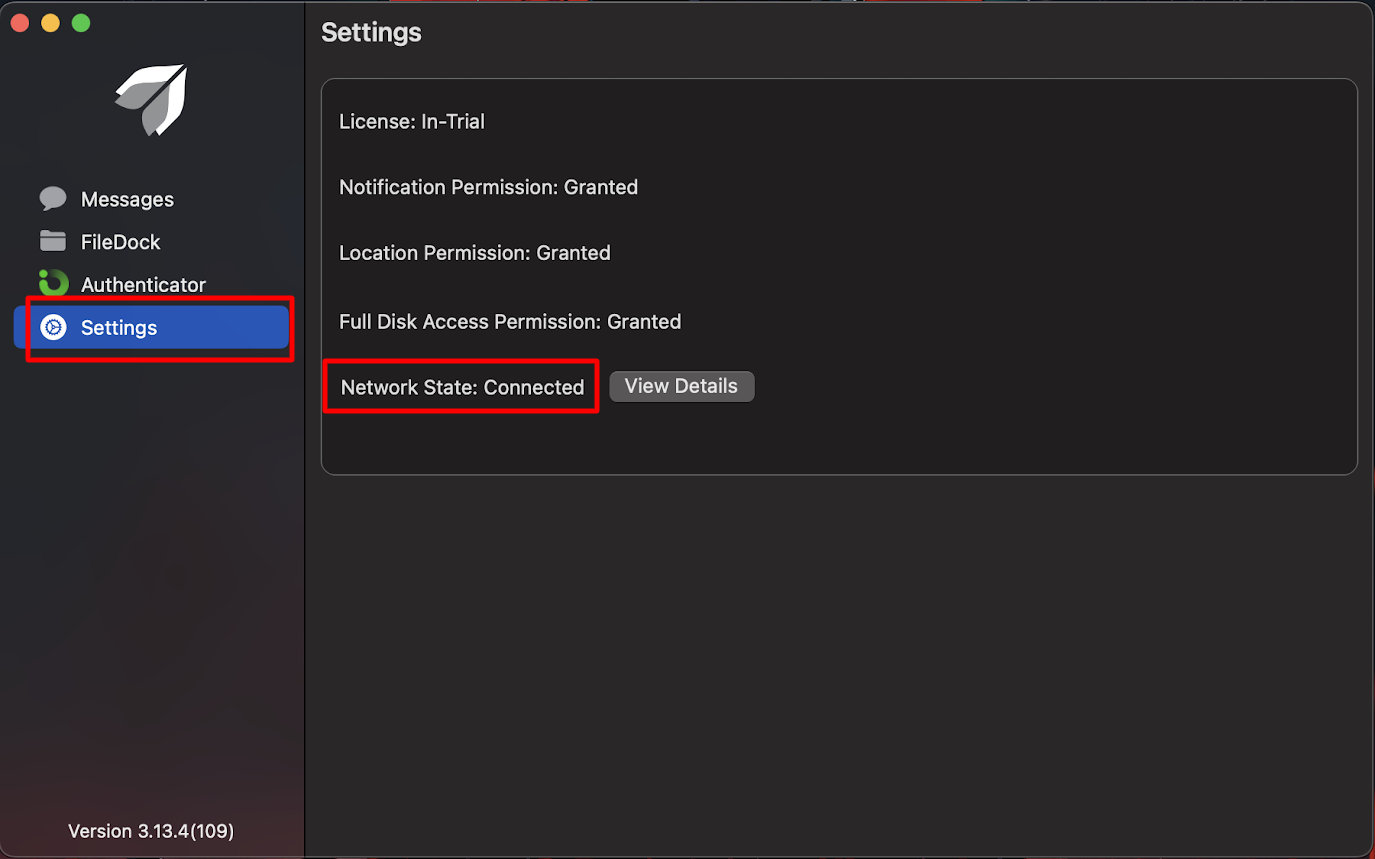
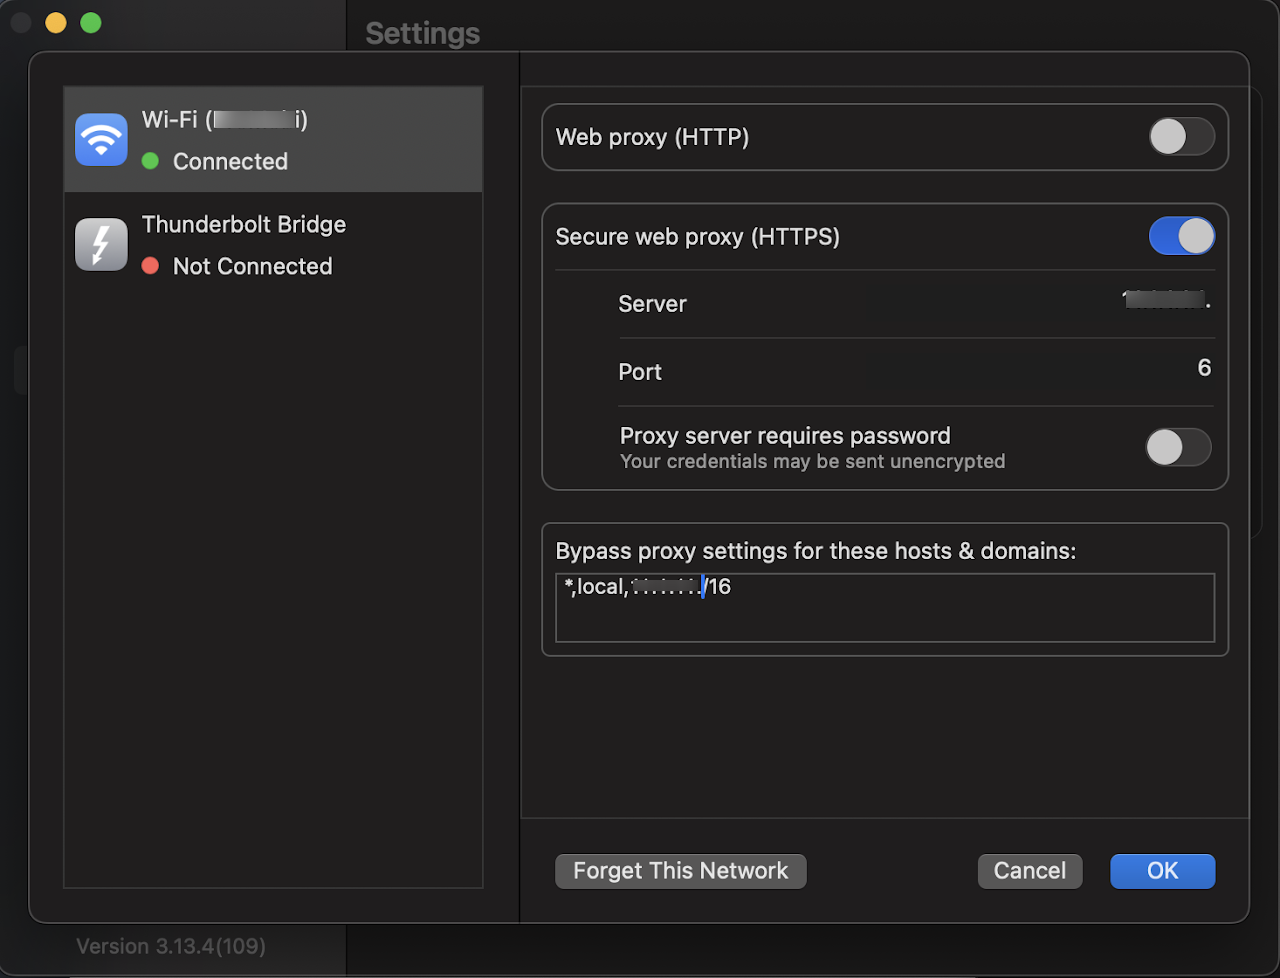
If you click on View Details in front of it, the same Proxy settings (which are there in Settings > Proxies) are displayed here. Standard users can configure Proxy settings from here.
Additional actions:
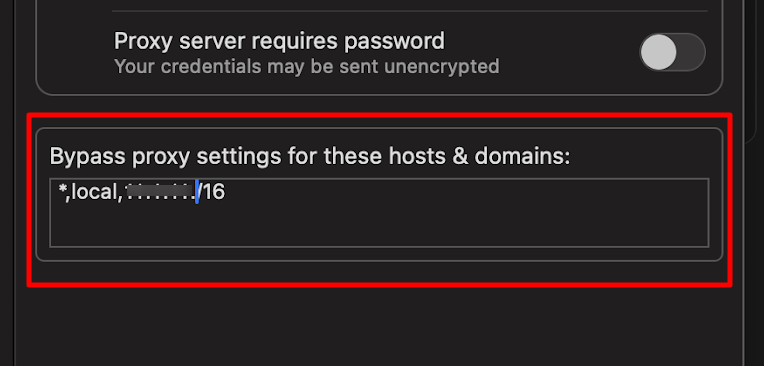
Bypass proxy settings for these hosts & domains: Specify the hosts/domains (separated by comma) which have to bypass the proxy settings configured above.
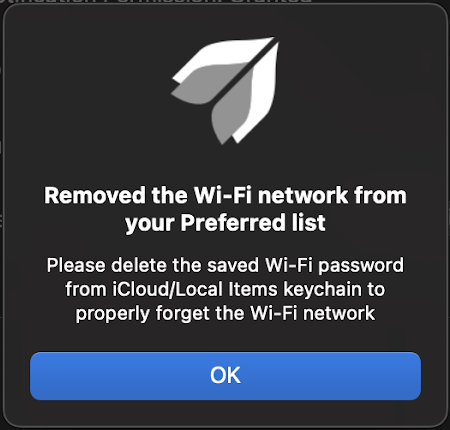
Forget This Network: If you click on Forget This network, it will remove the Wi-Fi network from the list. However, to remove it fully, you will need to delete the saved wi-fi passwords from keychain. Hence, on clicking Forget this Network, you will get the following pop-up. Click on Ok and go to keychain settings to delete the password.
Note: We do not support USB Port as of now