Organizations prefer to enforce a particular branding on their managed Windows devices. By configuring custom wallpapers for both the home and lock screens, uploading brand logos, setting alert sounds, and deploying screensavers, you can create a consistent and professional brand experience across your device fleet. This article will walk you through the process of creating, configuring, and applying a custom brand to your Windows devices using the Scalefusion Dashboard.
Before You Begin
- Login to Scalefusion Dashboard
- Have access to one enrolled Windows 10 Pro and above PC.
- Have a couple of wallpaper images stored on your local computer.
Create a Branding
- Navigate to Device Profiles & Policies > Branding. Click on CREATE NEW BRAND.

- Enter a name for your Branding so that you can refer to it when required.
- Lock Screen Message: Enter message that would be visible when the device screen is locked. This can also be taken as message displayed as a policy banner or one displayed right before the login window. Custom fields can also be entered as part of lock screen message. For example, $device.serial_no.
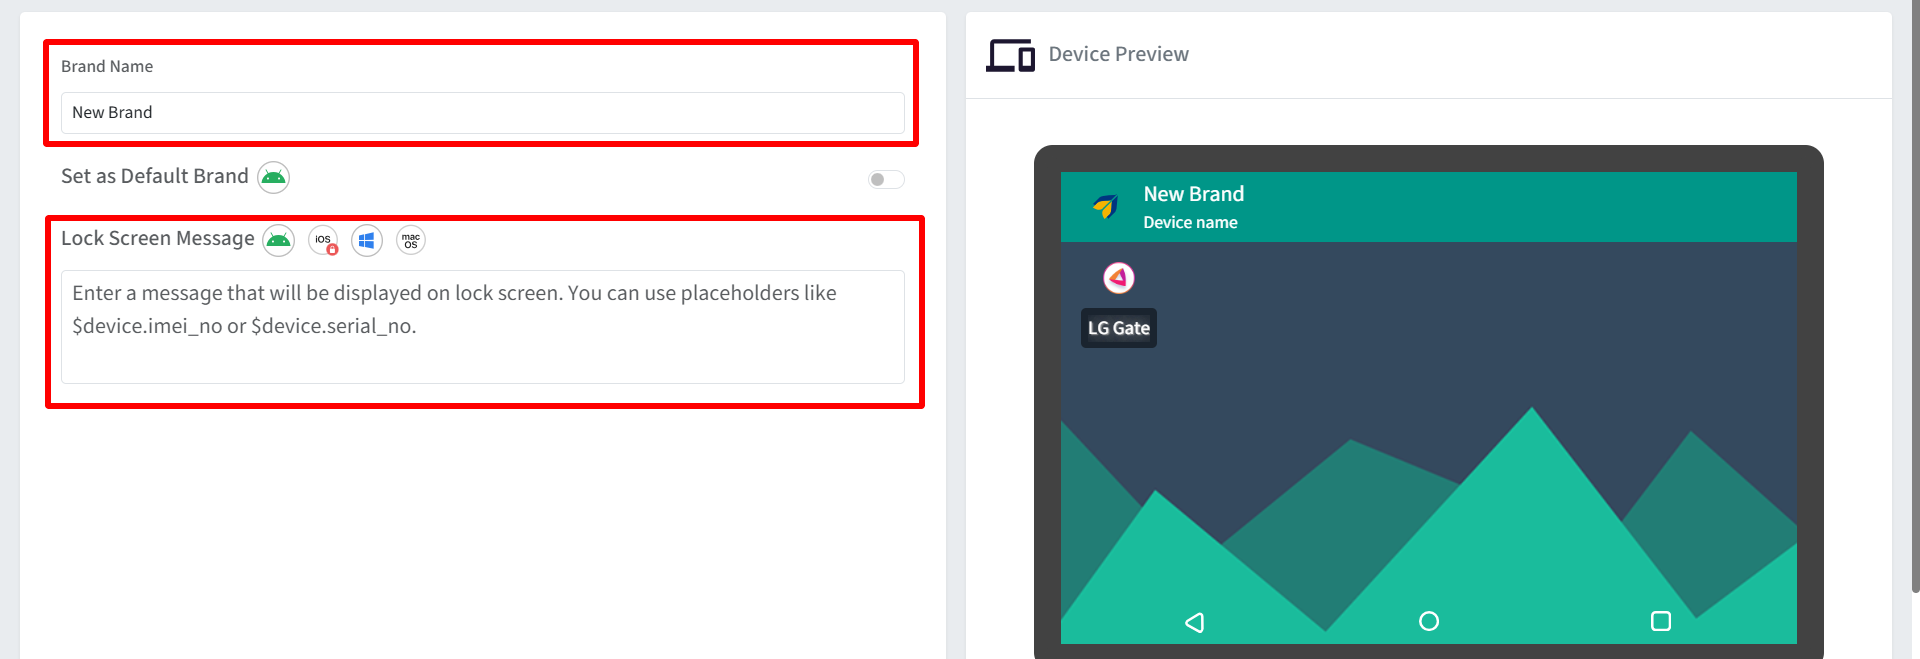
- Click on Windows tab. Brand settings can be configured under following sections,
- Basic: Configure basic branding settings
- Alert Sounds: Configure alert sounds when devices are buzzed, the message is broadcasted, or a workflow alert is sent.
- Screensaver: Configure screensaver to be shown when devices are idle.
- Once you have configured your brand settings, click on SAVE BRAND button to save the brand. On saving, it will start appearing in the list of brands.
Basic
- Upload Brand Logo: You can replace the default Windows PC logo (that appears on the bottom left corner of screen), with your own Brand's logo by uploading it from this section. Brand Logo can be applied on devices enrolled under Multi-App kiosk - Agent mode.
- Home screen wallpaper
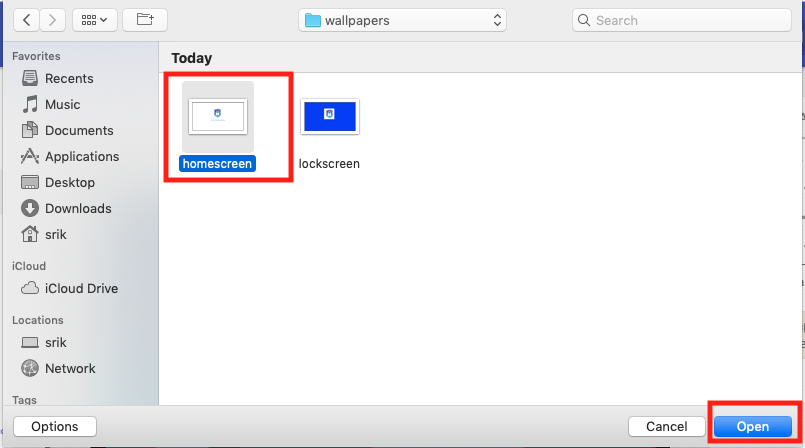
- Click on Upload Home Screen Wallpaper and select a wallpaper from your local computer.
- Once the selected image is uploaded, you would see a visualization of how it may look on the device.
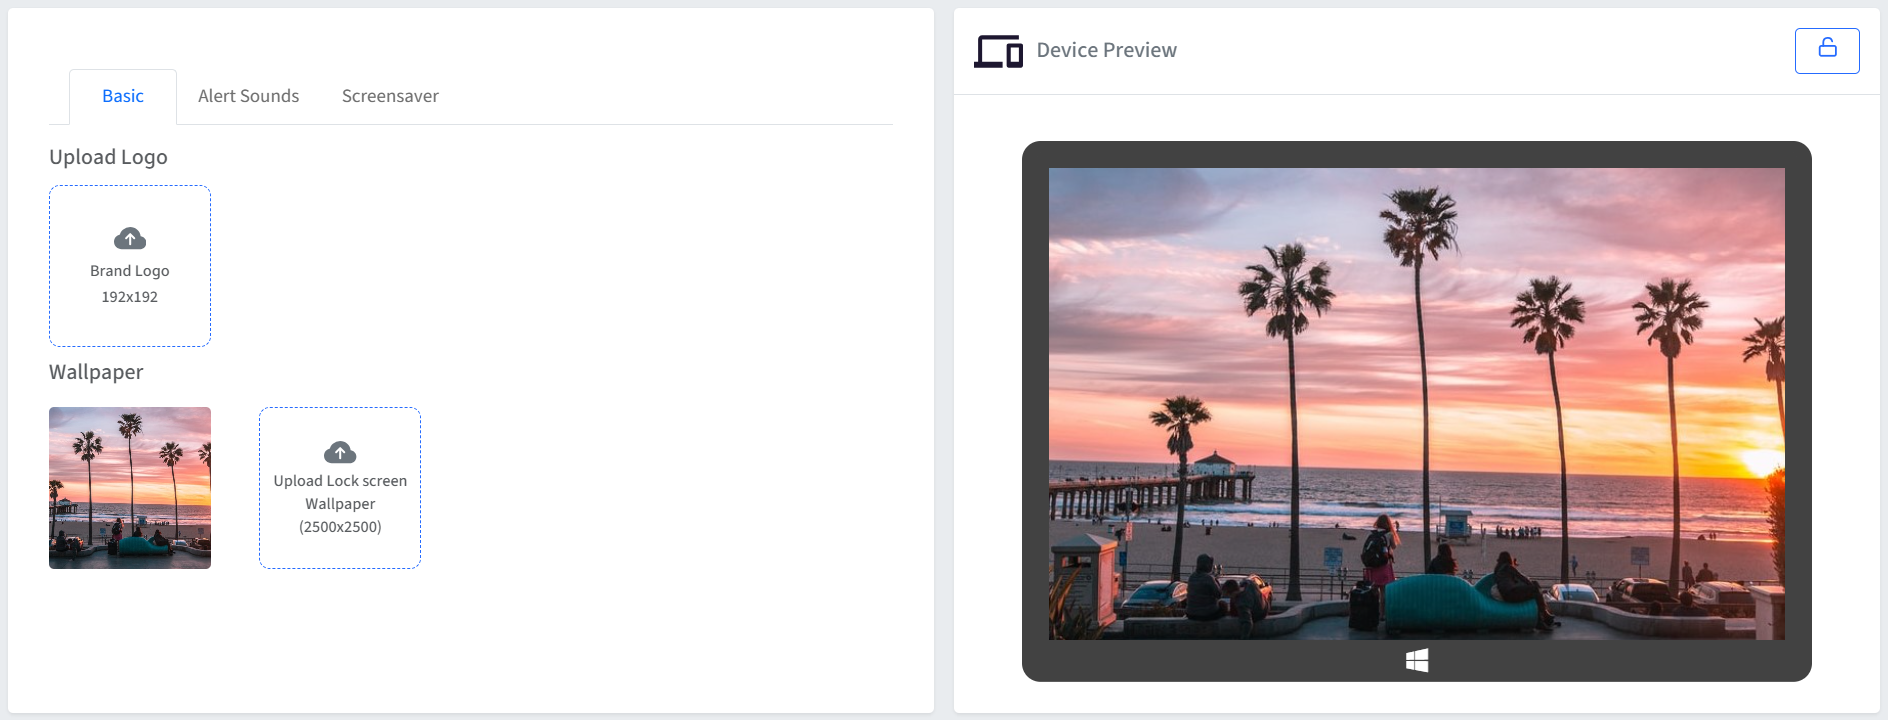 Note that the depending upon screen resolution the image might appear differently than represented on Dashboard.
- Click on Upload Home Screen Wallpaper and select a wallpaper from your local computer.
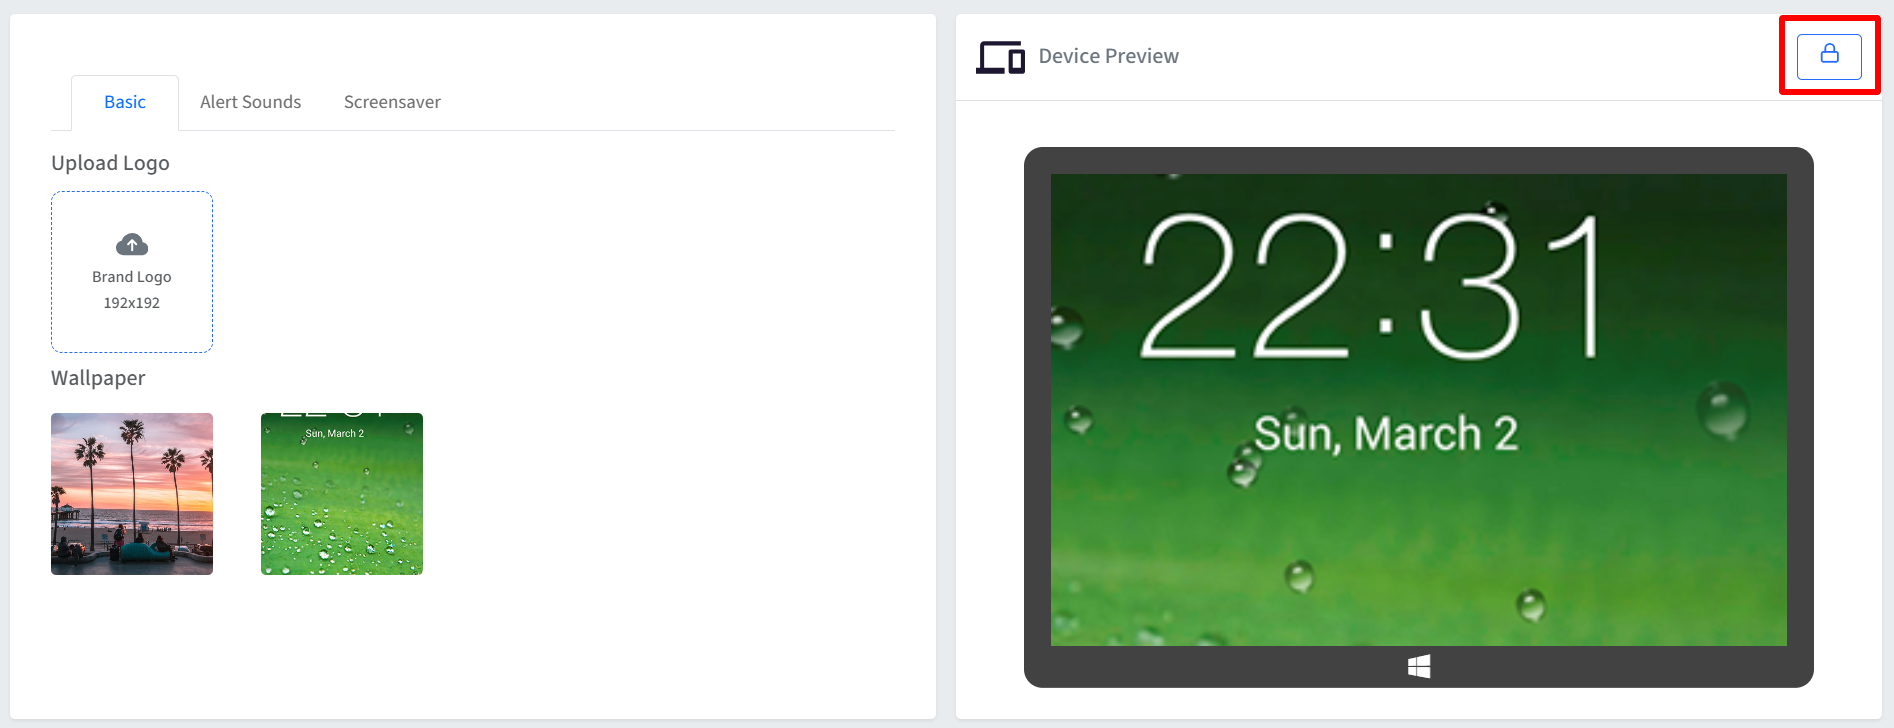
- Lock screen wallpaper
- Similarly click on the Upload Lock Screen Wallpaper, you can upload a wallpaper for lock screen. Once you have uploaded a lock-screen wallpaper, you can toggle between the visual representation using the Lock button on the top right.
- Similarly click on the Upload Lock Screen Wallpaper, you can upload a wallpaper for lock screen. Once you have uploaded a lock-screen wallpaper, you can toggle between the visual representation using the Lock button on the top right.
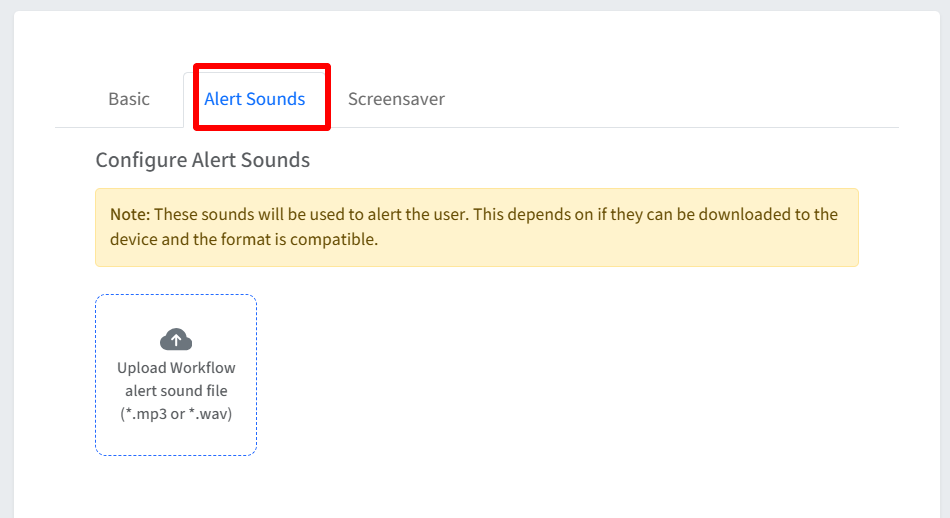
Alert Sounds
Under this, you can upload sound files that will be played as alerts when users send Geofence compliance workflow alerts from Scalefusion Dashboard.
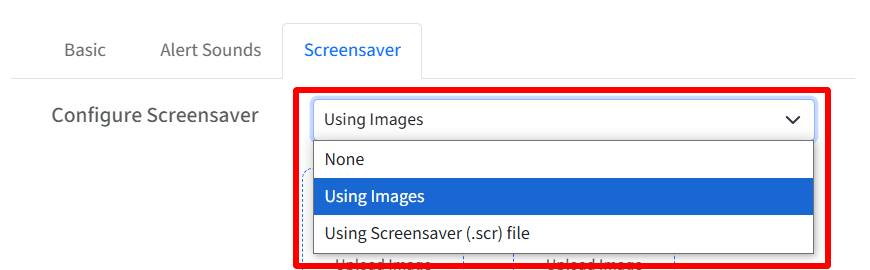
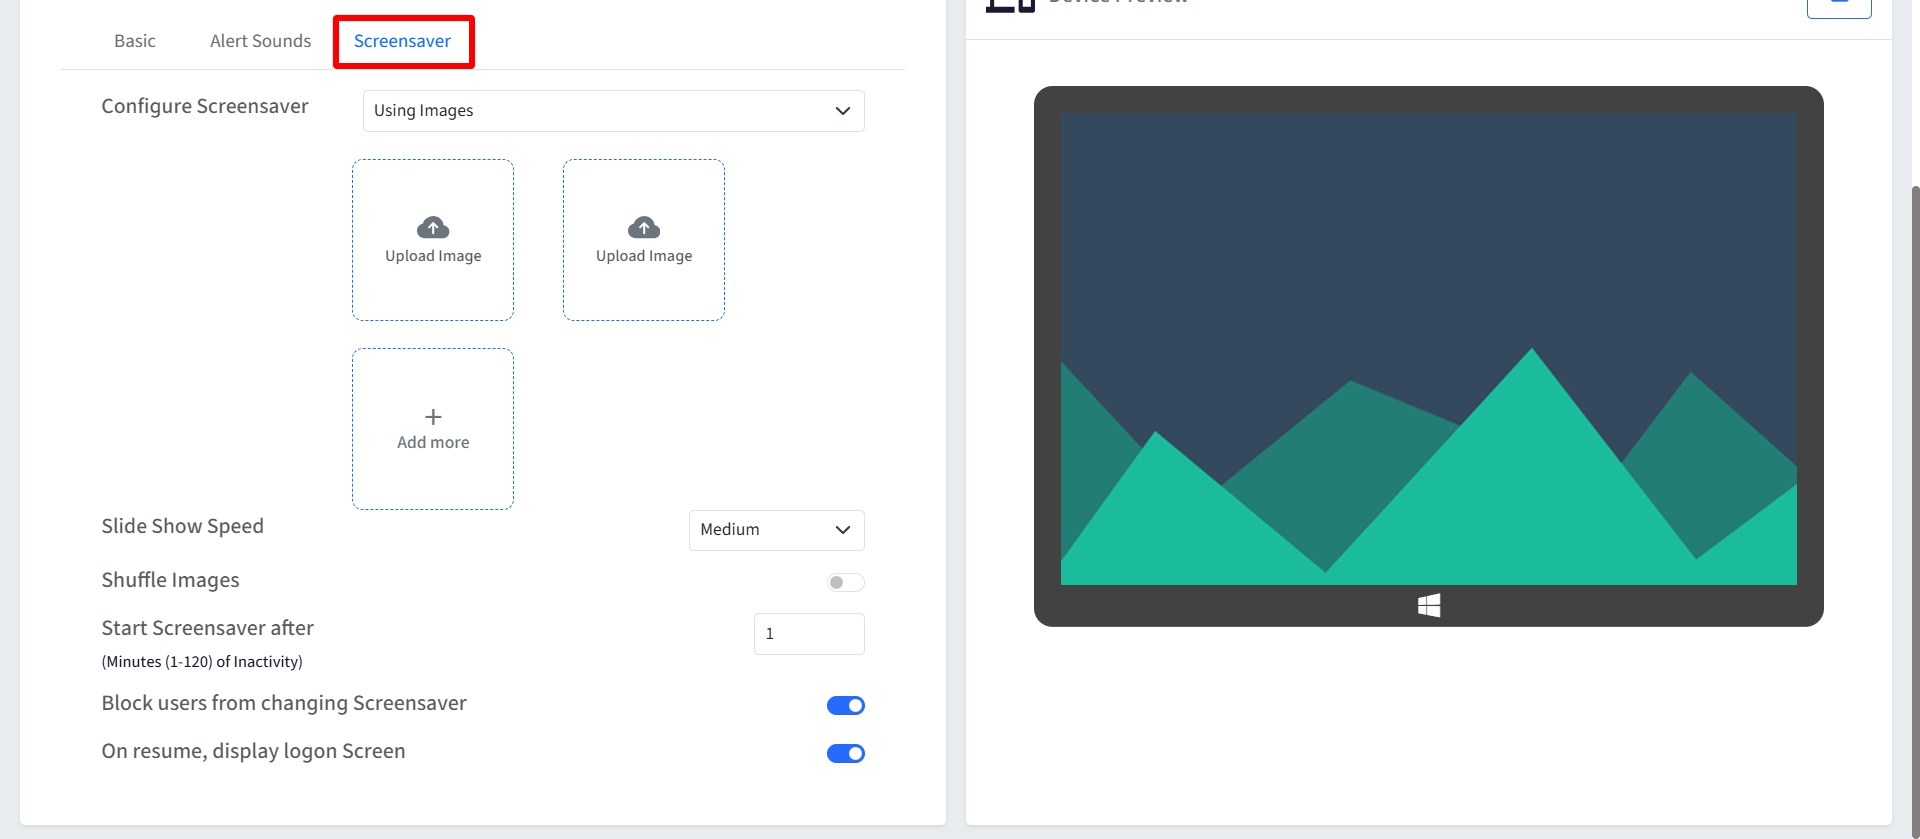
Screensaver
Screensavers are essential for protecting displays in organizations and on individual devices when they are idle. This feature allows IT administrators to deploy and manage screensavers across their managed devices.
- Windows Home edition
- Windows OS 7, 8 and above
| Setting | Description |
| Configure Screensaver | Use this option to select the type of screensaver you wish to deploy. The following options are available:
|
| Slide Show Speed | Once images are uploaded, use the Slide show speed dropdown menu to control the transition speed between images in the screensaver. The following options are available:
|
| Shuffle Images | When enabled, this option shuffles the order of images displayed in the screensaver slideshow. When disabled, images are displayed in the order they were uploaded. |
| Start Screensaver after | Choose the screen inactivity timeframe (from 1 to 120 minutes) after which the screensaver should start. |
| Block users from changing Screensaver | If this setting is enabled, it prevents standard users on a managed device from modifying the currently set screensaver. When user attempts to access the screensaver settings, they will receive a message indicating that they do not have permission to make changes. |
| On resume, display logon Screen | If this is enabled, it displays the login screen when the device resumes from the state of inactivity and showing screensaver. |
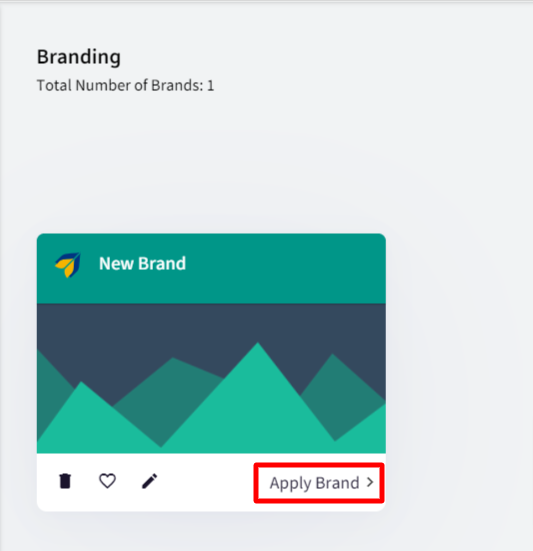
Publishing/Applying a Branding
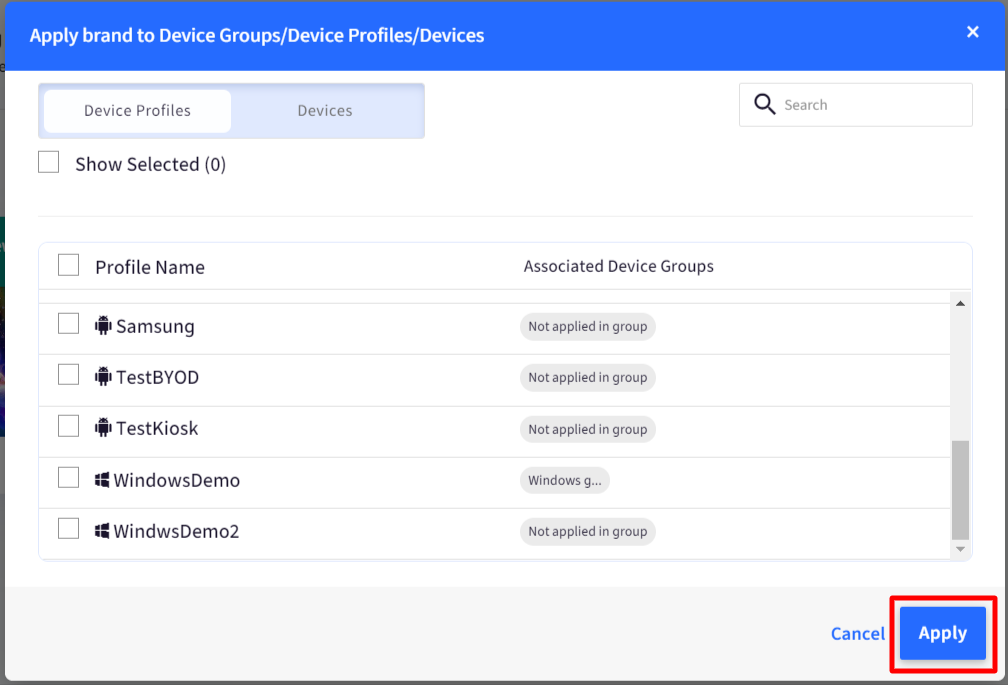
- The next step is to apply the newly created brand to your devices. To do so click on Apply Brand option on the branding card,
- From the list of Device Profiles, select the device profile(s) where you want to publish this brand. Once you have selected the profiles, click on APPLY.
- Wallpaper changes are applied once the Windows 10 device restarts or the user Logs off and Logs In to the account.Windows branding can be applied to Windows Device Profiles only. It cannot be directly applied to devices.Once you have created a Brand, you can apply this Brand to a Device Profile by editing the profile and selecting the Brand in Settings > Device Management > Branding section.