Organizations prefer to enforce a particular branding throughout the enterprise devices. Once your macOS devices are enrolled in Scalefusion, you can use the Branding option to upload your wallpapers and then apply them to the devices. In this document, we will see how to create and apply a Branding configuration.
Before You Begin
- Login to Scalefusion Dashboard
- The device should be enrolled with Scalefusion
- The latest version of Scalefusion MDM Client (agent app for macOS) should be installed on device.
- Have a couple of wallpaper images stored on your local computer.
Create a Branding
- Navigate to Device Profiles & Policies > Branding. Click on CREATE NEW BRAND.

- Enter a name for your Branding so that you can refer to it when required.
Lock Screen Message: Enter a message that will be visible when the device screen is locked. Custom fields can also be entered as part of the lock screen message. For example, $device.serial_no.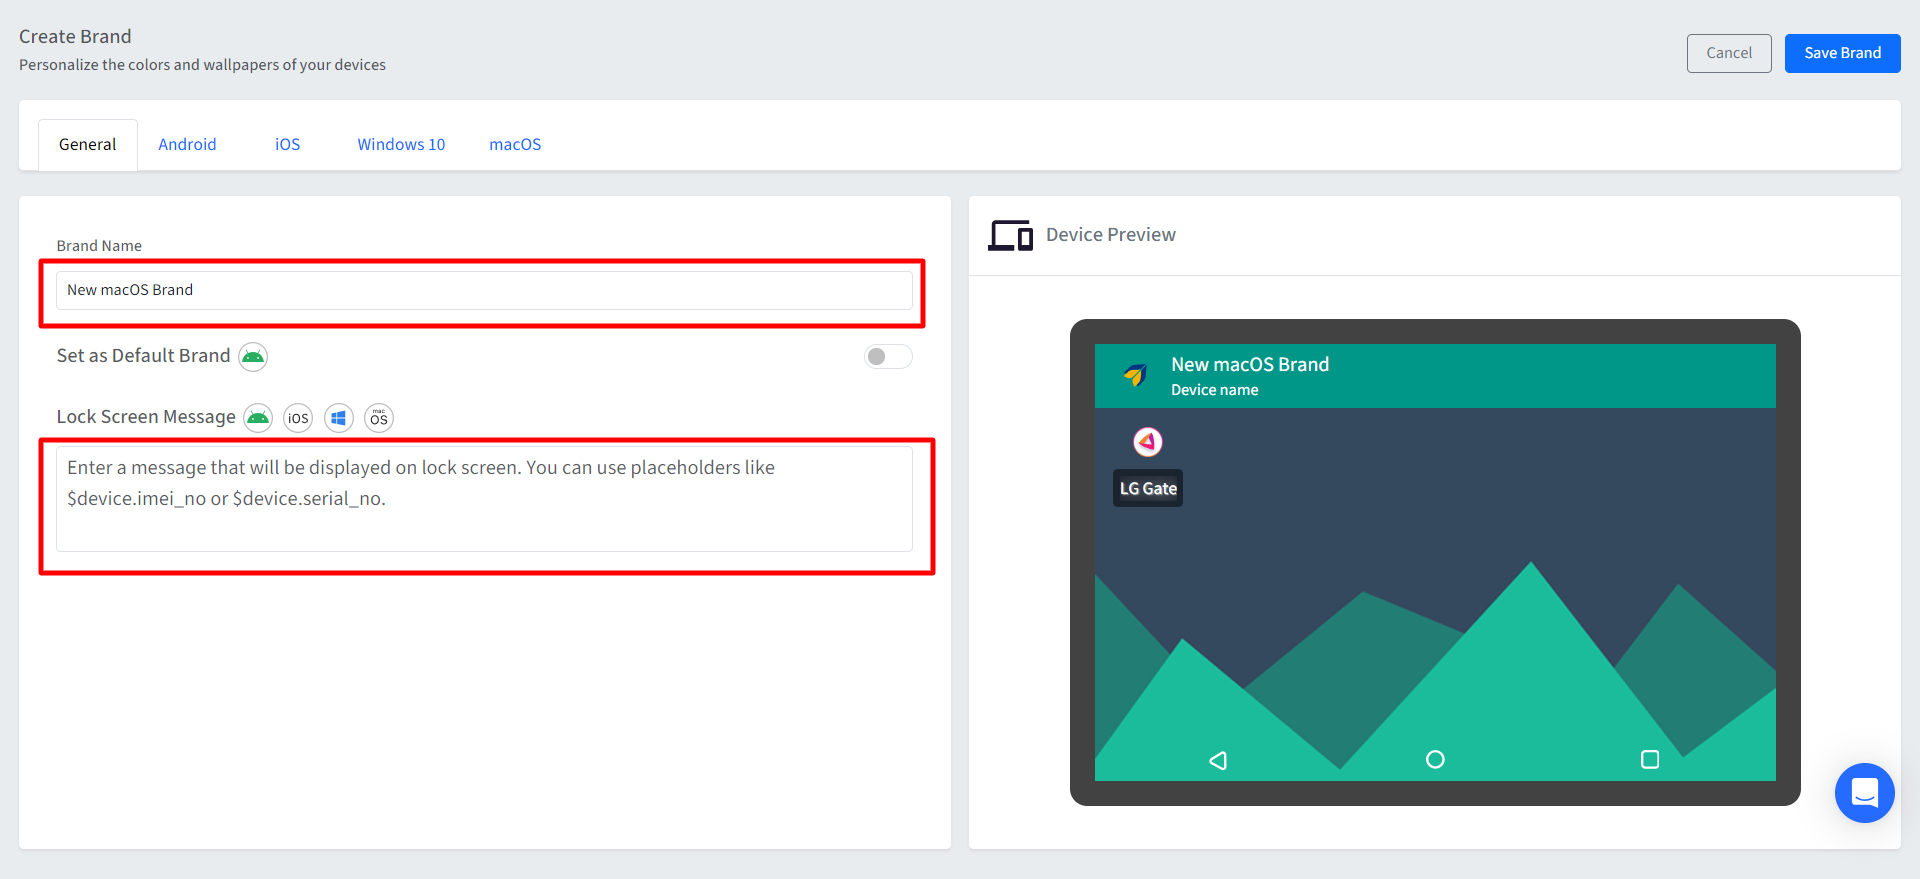
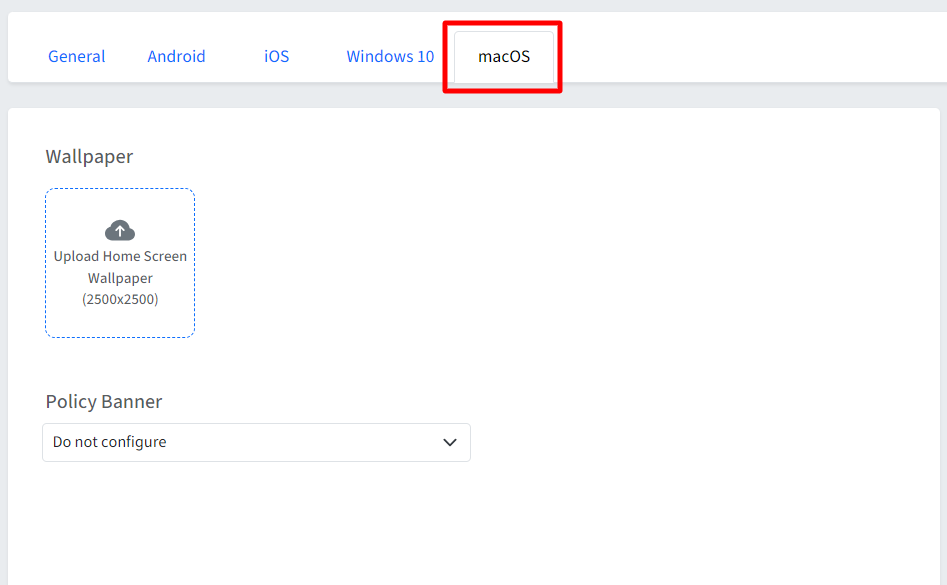
- Next, move to macOS tab. Following can be configured: The settings you configure here are visible on the sample device on the right, giving a preview of how it will reflect on the device.
| Setting | Description |
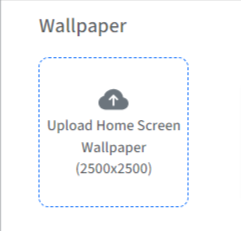
| Wallpaper | Upload Home Screen Wallpaper: Choose and upload wallpaper for the device's home screen. Click on the respective card to select and upload wallpaper from your local computer.
|
| Policy Banner | Configure a policy banner message that is displayed to users before they log in to a system. It is often used to inform users about acceptable use policies, legal disclaimers, or other important information. Select one of the following options from the drop-down:
|
4. Once you have reviewed your changes, click on the SAVE BRAND button to save the brand. Once the brand is saved, it will start appearing in the list of brands.

Publishing/Applying a Branding
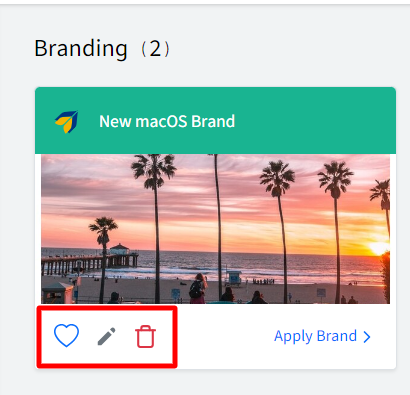
- The next step is to apply the newly created brand to your devices. To do so, click on the Apply Brand option on the branding card,

- From the list, select the device profile(s) / Device(s) where you want to publish this brand. Once you have selected the profiles, click on Apply Brand.

- The Brand will be applied to the device.
Brand can also be applied to devices via Device Profile. To do so:
a. Navigate to Device Profiles & Policies > Device Profiles.
b. Select the macOS device profile and edit it.
c. Go to Branding section on the left panel. This displays all the brands created.
d. Here, you can select the brand and save the profile.
Other actions
The following actions can be performed over the Brands from the Dashboard:
From the Branding card
- Edit
- Delete
Others
- Search and Filter Brands: Search by typing in the Brand name, which will filter the brands

Known Behavior
- On macOS devices having version 10.5 and 11, the Accept button does not get displayed on the login window if you have configured an RTF policy banner with lengthy file.