Organizations prefer to enforce a particular branding throughout the enterprise devices. Once your Android devices are enrolled in Scalefusion, you can use the Branding option to upload your wallpapers and then apply them to the devices. In this document, we will see how to create & apply a Branding configuration.
Before You Begin
- Login to Scalefusion Dashboard
- The device should be enrolled with Scalefusion
- Have a couple of wallpaper images and logos stored on your local computer.
Create a Branding
- Navigate to Device Profiles & Policies > Branding. Click on CREATE NEW BRAND.
- Enter a name for your Branding so that you can refer to it when required.
Set as Default Brand: If you toggle this On, then this brand will be set as the default brand on all the enrolled devices.
Lock Screen Message: Enter a message that will be visible when the device screen is locked. Custom fields can also be entered as part of the lock screen message. For example, $device.serial_no. - Next, move to Androidtab. There are four sections under which the brand settings can be configured,
- Basic: Configure basic branding settings
- Advanced: Configure Advanced branding settings like changing app icon size, app icons' text color and more.
- OEM SDK: Configure Boot and shutdown animation settings for Lenovo and Samsung Knox devices
- Alert Sounds: Configure alert sounds when devices are buzzed, the message is broadcasted, or a workflow alert is sent.The settings you configure here are visible on the sample device on the left, giving a preview of how it will reflect on the device.
Basic
| Setting | Description |
| Top Bar Color | Use this to select a color for the top bar on the device. To select a color, click on the link Change, which displays all the colors. Choose the one that you want to apply on the top bar. |
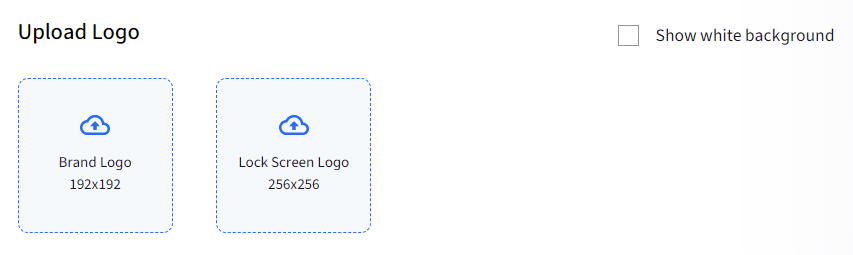
| Upload Logo | From here, you can do the following:
Click on the respective cards to select and upload a logo from your local computer. |
| Brand Logo Position | You can choose to keep the brand logo on the left or in the center of the Top bar.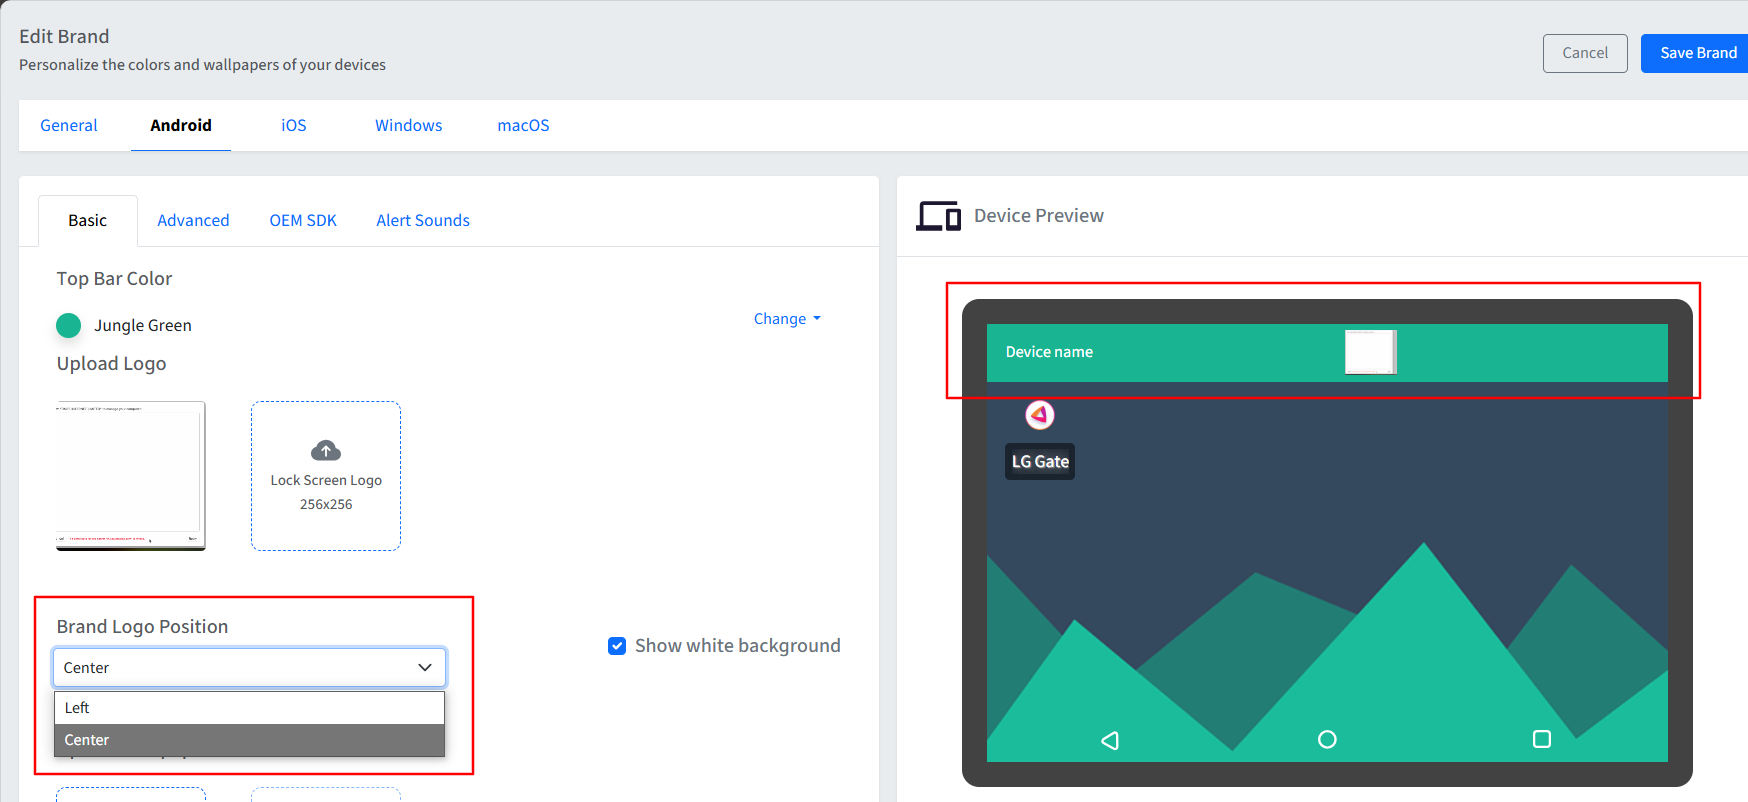 |
| Upload Wallpaper | Upload Home Screen Wallpaper: Choose and upload wallpaper for the device's home screen
Click on the respective cards to select and upload wallpaper from your local computer. |
| Show Device Name | Toggle this to ON if you want the device name to be shown over the device |
| Show brand name | Toggle this off if you want to hide the brand name on the device.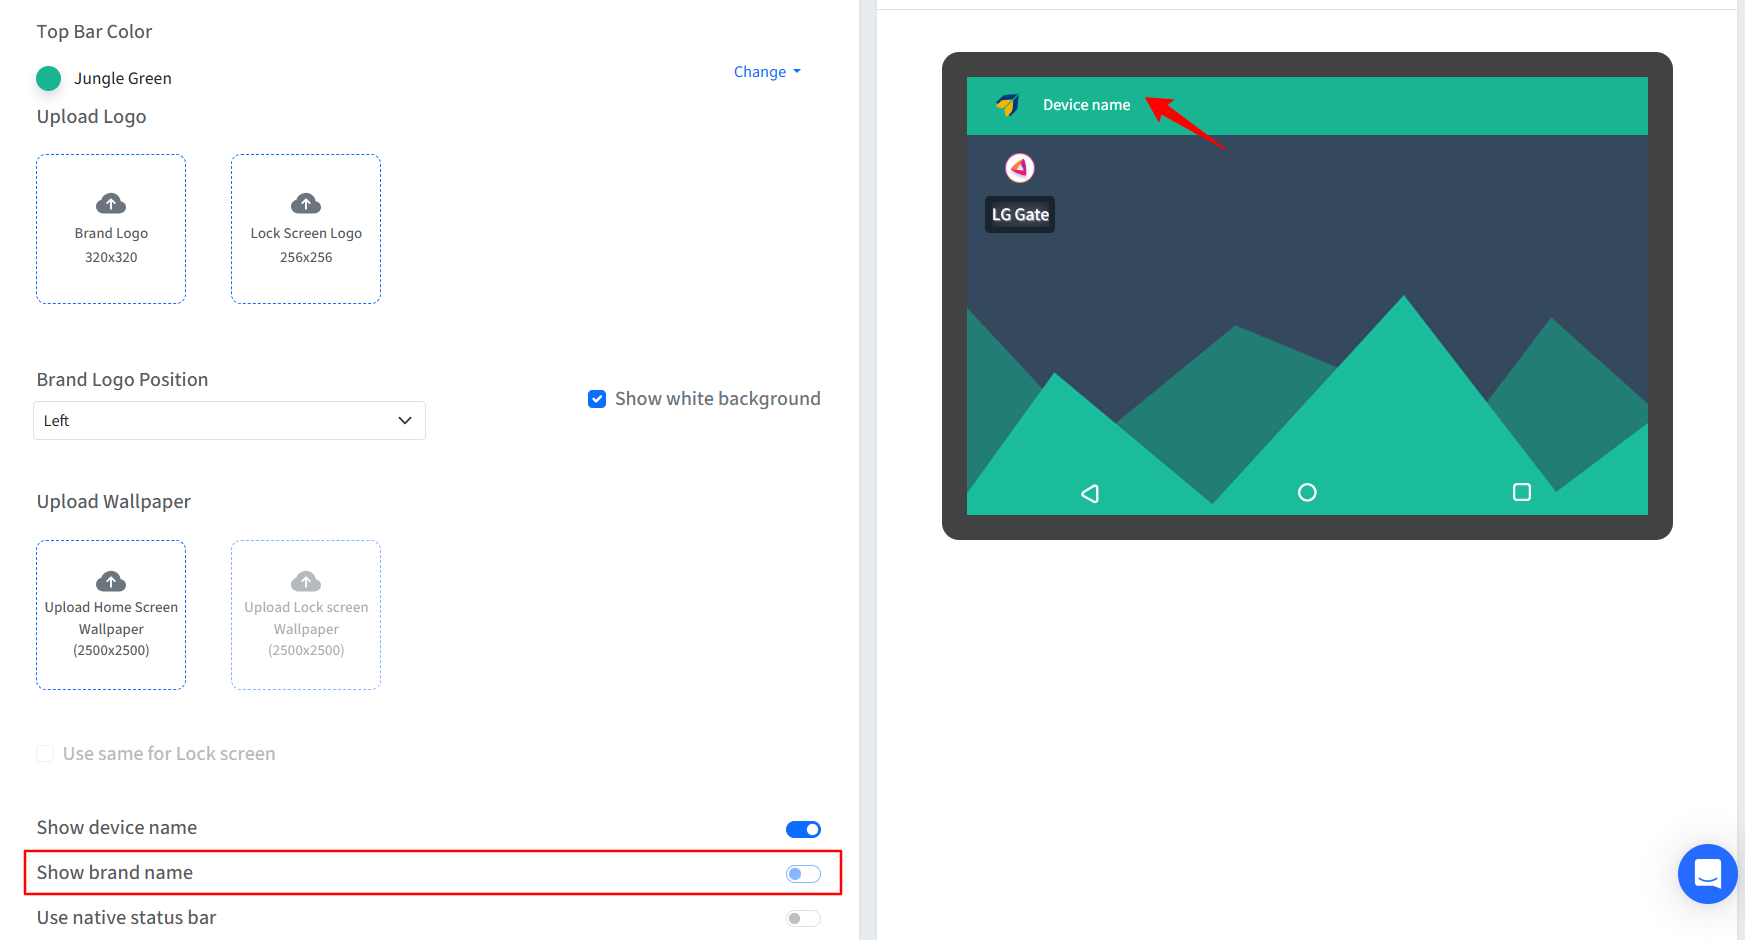 |
| Use Native Status Bar | Toggle on this setting to show the status bar of your device |

Advanced
| Setting | Description |
| Icon Size | Choose the size of the app icons from the following:
|
| App Icon Text Color | Choose the color of text that is written on each app icon |
| App Icon Label Color | Select the color of the label for the app icon |
| App Icon Label Transparency | Set the transparency level of the app icon label. By default, it is set to 80 |
| Hide App Label | Hides the app labels (the names with which app icons are identified) |
| Hide App Label Shadow | Hides the shadow over the app labels |
| Browser Shortcut Branding | Toggle this ON if you want Scalefusion's default branding on browser shortcuts |
| Transparent Top Bar | Use this setting to hide the top bar, which also hides the device name |
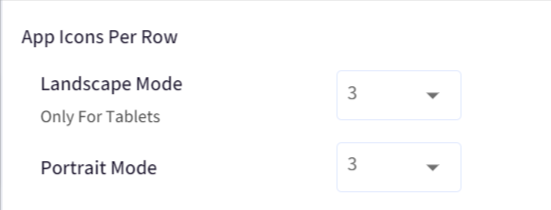
| App icons per Row | Allows you to select the number of icons that should be displayed in a row. You can choose from the following modes:
|

OEM SDK
Upload the animation files that will run when your device boots up or is being shut down.
Lenovo & Acer
The boot and shutdown animation files should be in zip format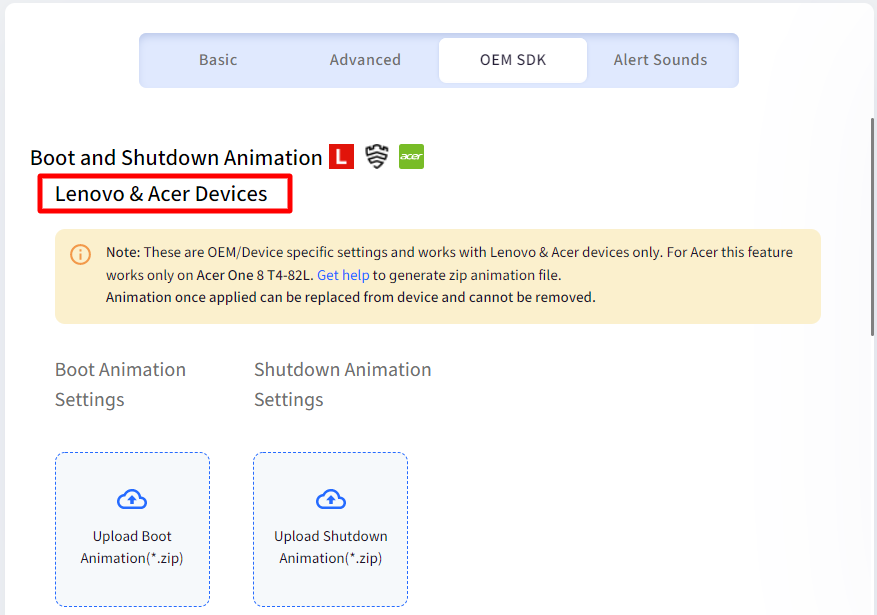
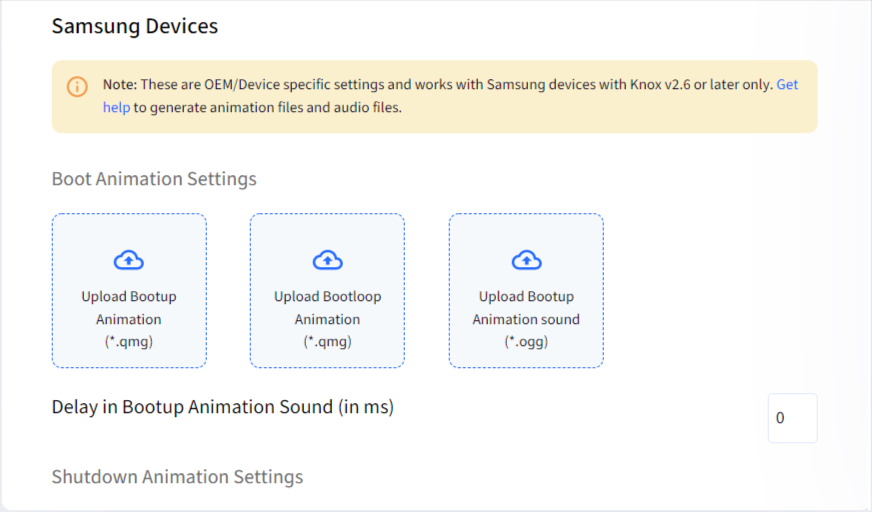
Samsung
| Setting | Description |
| Bootup animation | Upload the custom animation that the admin wants to display during the device boot-up. Supports only qmg file format |
| Bootloop animation | Upload a QMG animation file that has to be displayed during the device boot loop. |
| Bootup animation sound | Upload a .ogg audio file that will be played when the device boots up. Delay in bootup animation sound: You can also set the number of milliseconds to delay playing the boot-up animation sound. Choose a value between 0 and 2147483646 |
| Shutdown animation | Upload a QMG animation file to be displayed during the device shutdown. |
| Shutdown animation sound | Upload a .ogg audio file that has to be played during the device shutdown. |
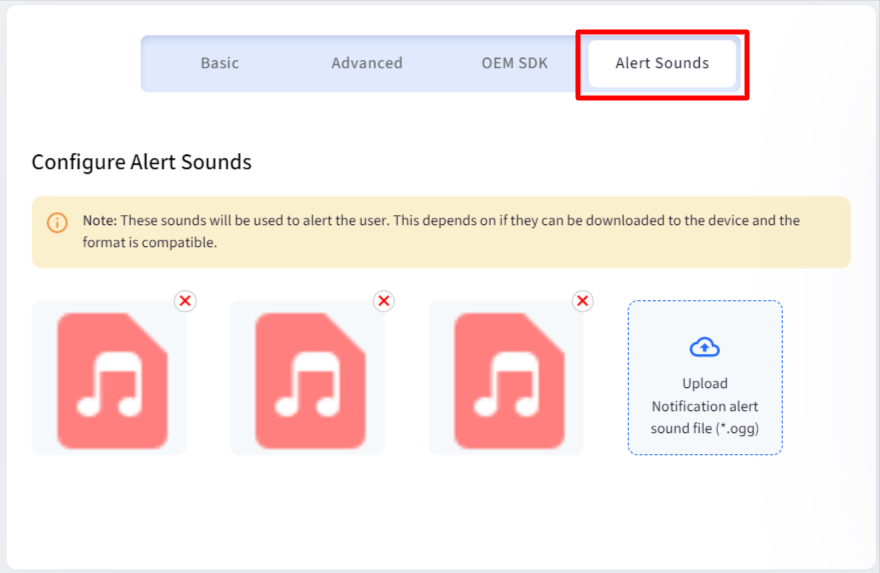
Alert Sounds
Under this, you can upload sound files that will be played as alerts when users perform the following from Scalefusion Dashboard:
- Buzz device(s)
- Send a broadcast message
- Send workflow alerts: The alert sound will be played on the following workflows:
- GeoFence
- DataUsage
- Battery Compliance
- Security Incident Compliance
- Send Notification
4. Once you have reviewed your changes, click on the SAVE BRAND button to save the brand. Once the brand is saved, it will start appearing in the list of brands.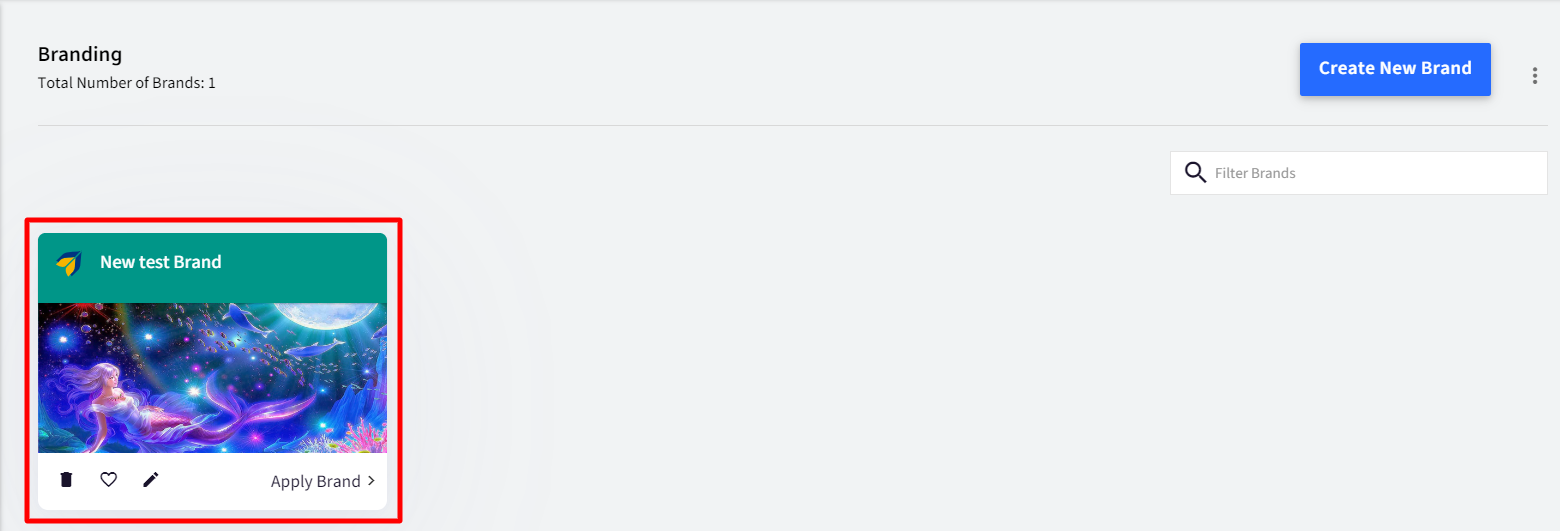
Publishing/Applying a Branding
- The next step is to apply the newly created brand to your devices. To do so, click on the Apply Brand option on the branding card,
.png)
- From the list, select the device profile(s) / Device(s) where you want to publish this brand. Once you have selected the profiles, click on APPLY.
.png)
- The Brand will be applied to the device.
Brand can also be applied to devices via Device Profile. To do so:
a. Navigate to Device Profiles & Policies > Device Profiles.
b. Select the Android device profile and edit it.
c. Go to Select Brand / App Order which displays all the brands created.
d. Here, you can select the brand and save the profile.
Other actions
The following actions can be performed over the Brands from the Dashboard:
From the Branding card
- Delete
- Set as Default Brand
- Edit
.png)
Others
- Search and Filter Brands: Search by typing in the Brand name, which will filter the brands
- Change view: By default, the brands are shown in a comfortable view and can be changed to a Compact view by clicking on the three vertical dots on the top right next to the Create New Brand button
