On iOS devices, Branding can also be applied through iOS Device Profiles. From here, IT Admins can even change and organize the iOS devices' home screen layout, arrange apps on dock, create folders and more.
The document describes how you can select brands, arrange home screen layout and publish the same from device profiles section.
Pre-requisites
- Branding for iOS should be created from the Branding section on the Scalefusion Dashboard.
- For organizing the home screen layout, iOS devices should be supervised.
Publishing from Device Profiles
Step 1: Select Brand
- Navigate to Device Profiles & Policies > Device Profiles.
- Select the Profile where you want to publish it and click on EDIT icon.
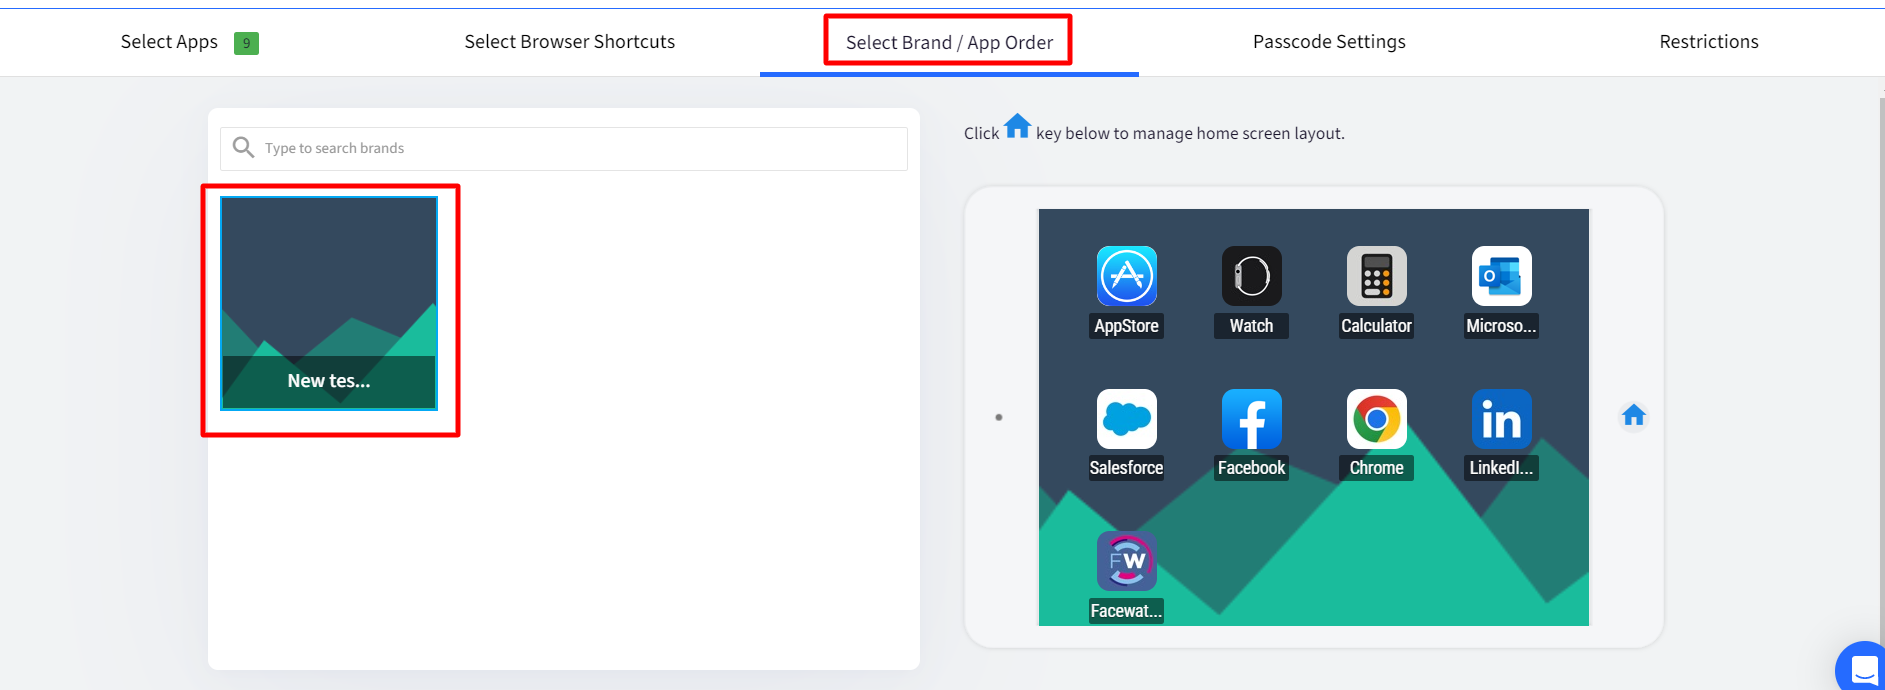
- Once in the Edit mode, navigate to Select Brand/App Order.
- Choose the Brand that you want to Apply. The preview is available on the right side.
You can disallow the user from changing the wallpaper by disabling Allow Wallpaper Modification setting in Device Profiles > Restrictions > General Settings
Step 2: Arrange app order
From the Brand/App order section you can also organize the home screen layout for iOS devices by adding the enabled apps on home screen, re-ordering them, adding the apps on the dock, add folders, add multiple home pages etc.. These are explained in detail below.
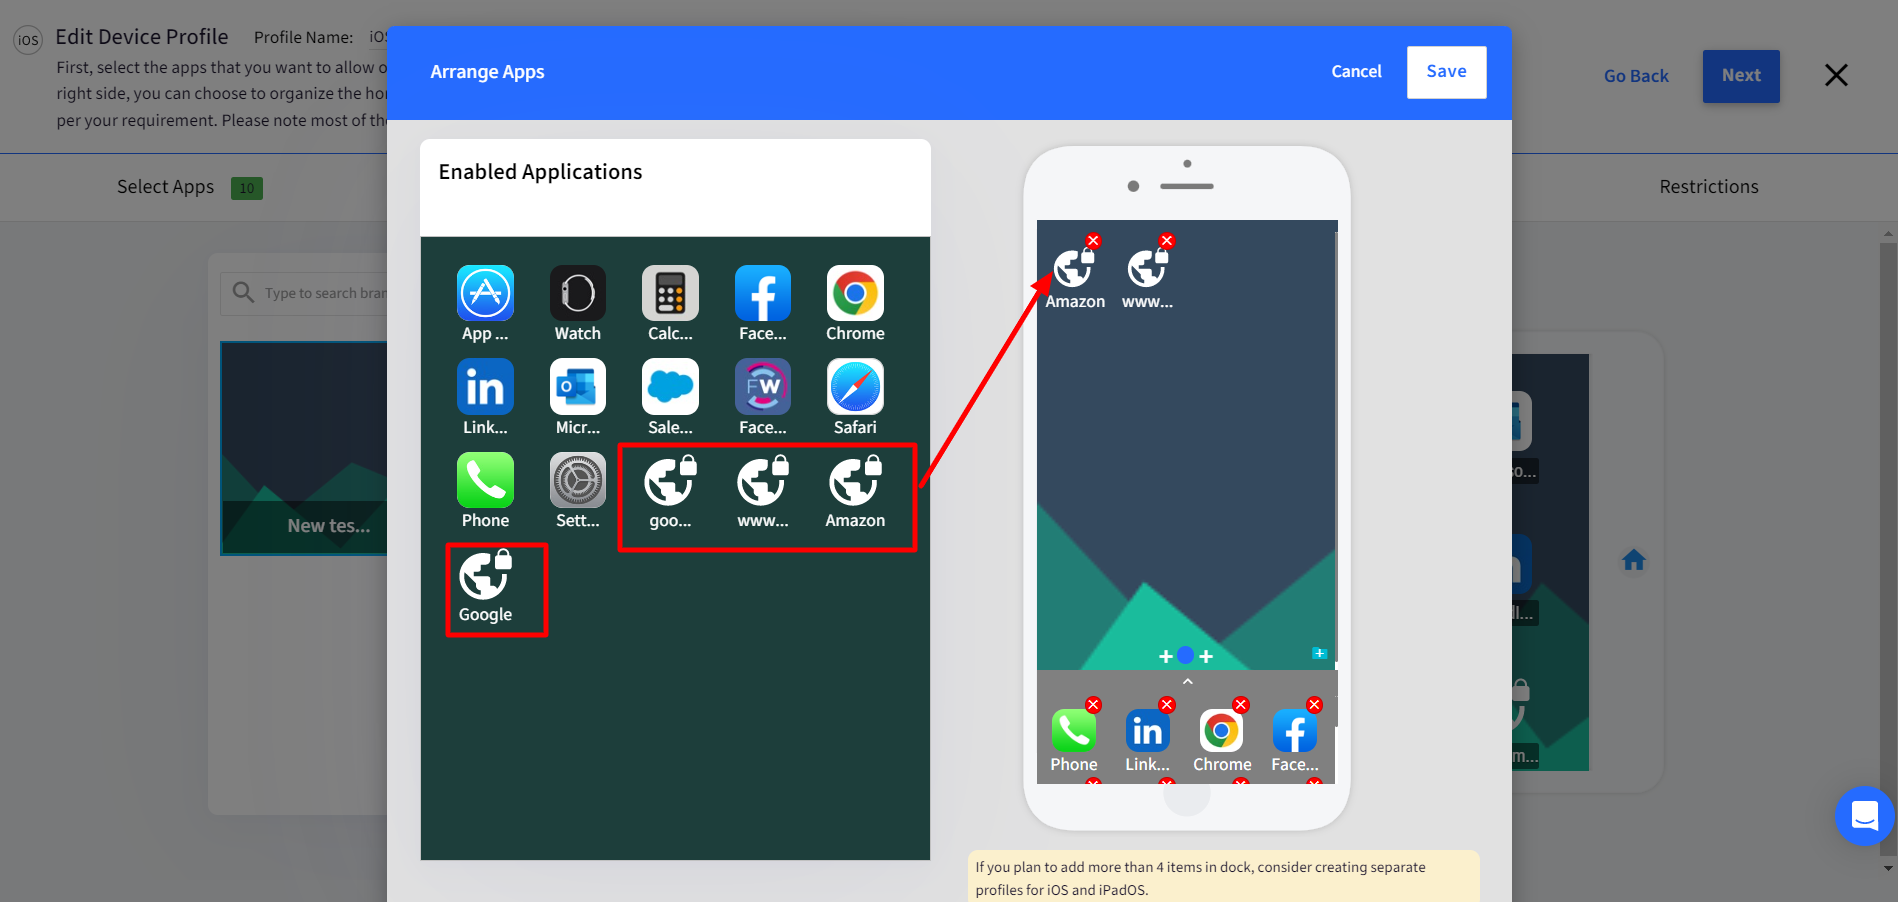
Add and arrange apps on home screen
- Navigate to Select Brand/app Order in iOS device profile.
- On the brand you choose to publish, click on the Home button on the preview image on the right.
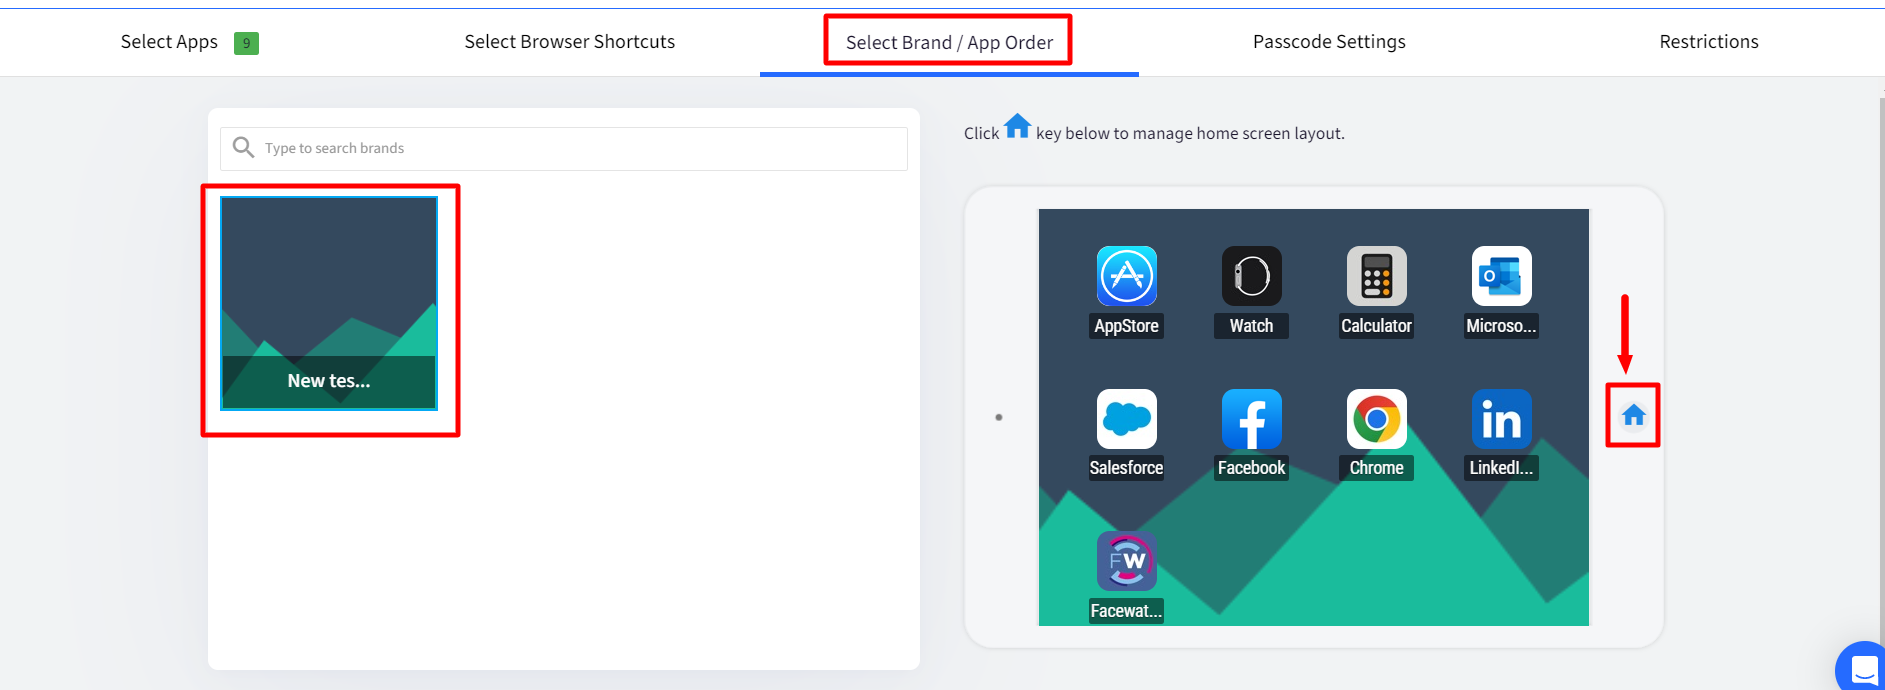
- This opens the Arrange Apps window.
- The left side lists all the applications enabled from the Select Apps section and webclips enabled from the Select Browser shortcuts section.
- Simply drag the apps and drop to the right side image in the order you want them to appear on the device's home screen.
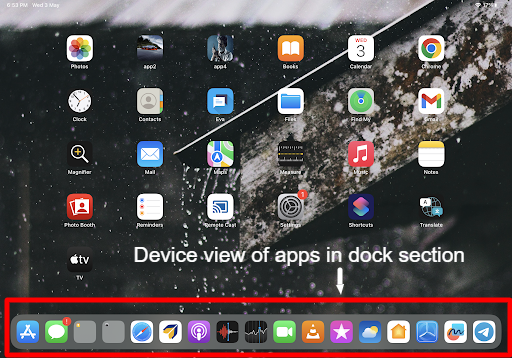
Add and arrange apps in Dock
- To add the apps in the dock, simply drag and drop to the dock section in the preview area.
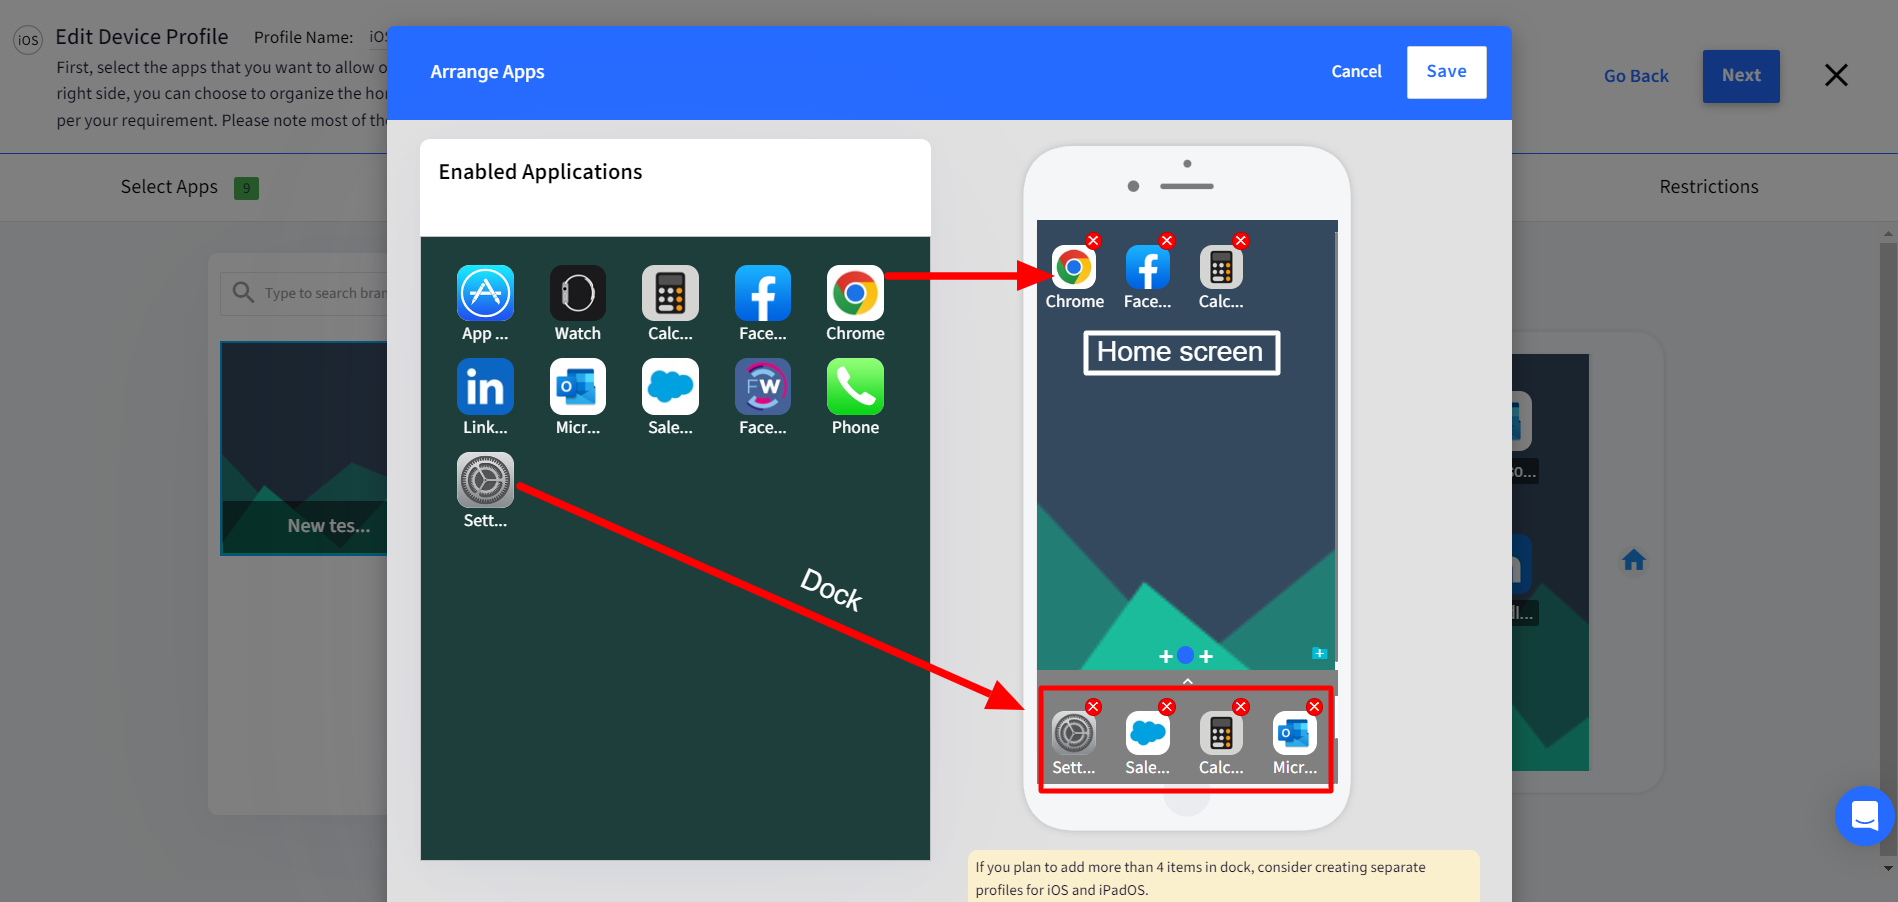
- On iPhone, the dock can take maximum of 4 apps.
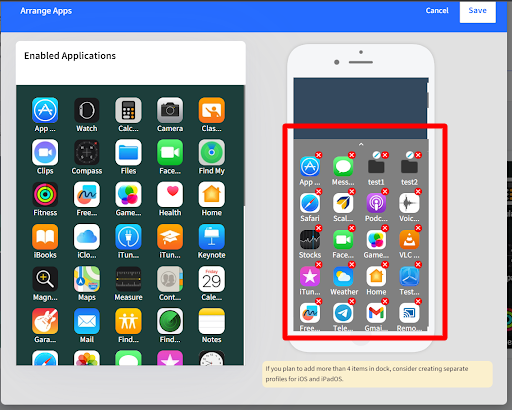
- On iPad device, the dock can be expanded to add and arrange up to 20 apps. On the device, 17 apps will be displayed at a time. Expand the Dock by clicking on it and drag it up to add the apps.
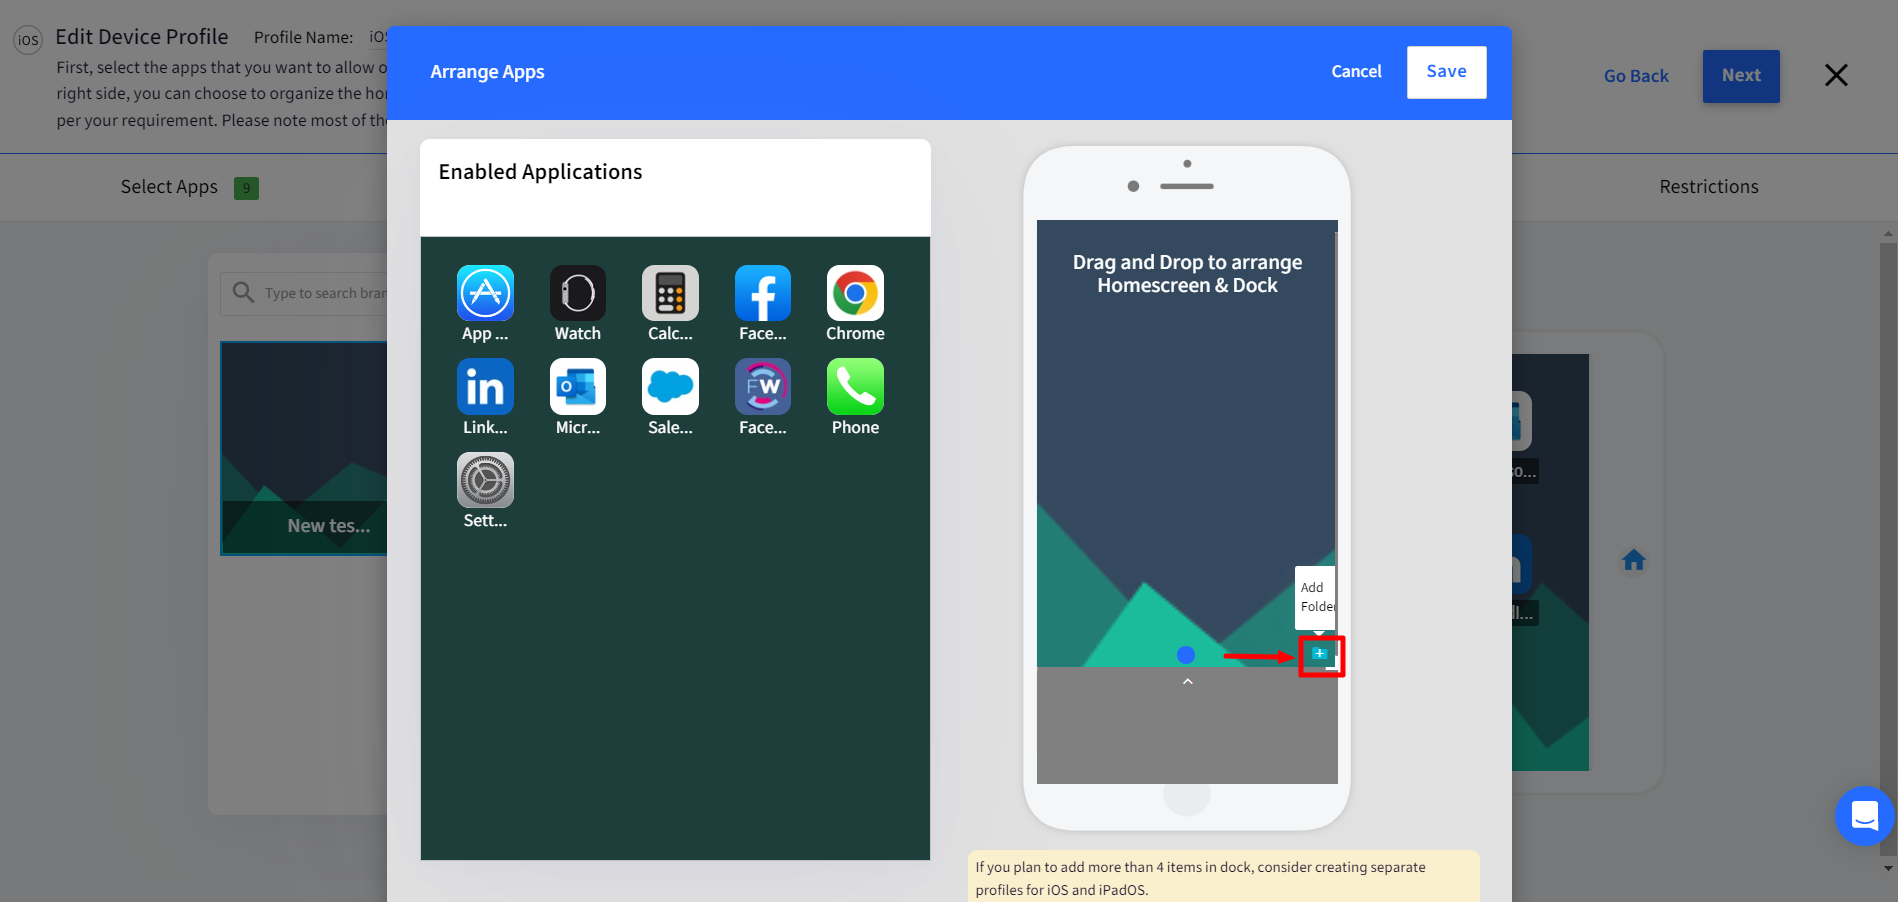
Create and arrange folders
You can create and re-arrange folders on the home screen as well as dock section. To add folder,
- Click on the + sign on the preview image.
- Enter the name of the folder in the text area that appears on top of the preview image,
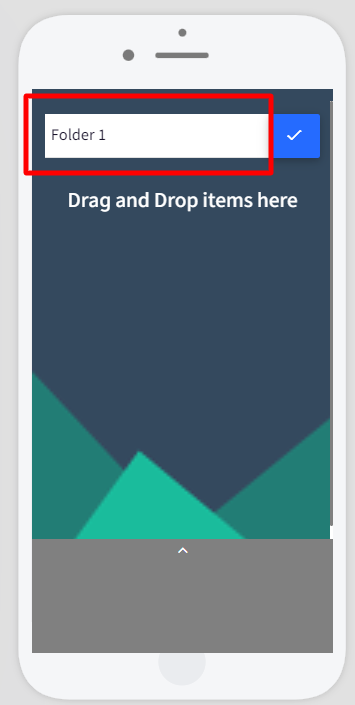
- The apps that you want under the folder, drag them from the enabled applications section on the left side and drop on the right side.
- After adding the apps, click on the right check mark next to the folder name.
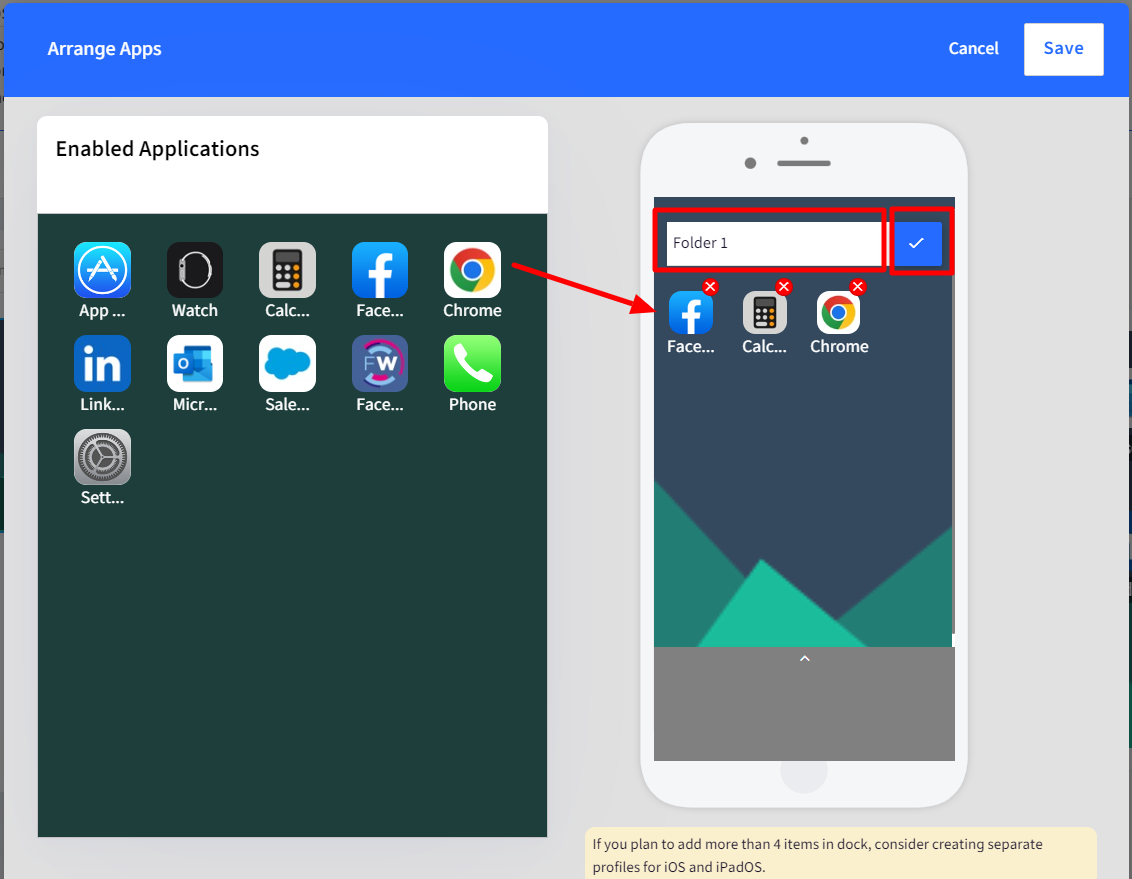
- The folder will be created and start appearing on the home page area.
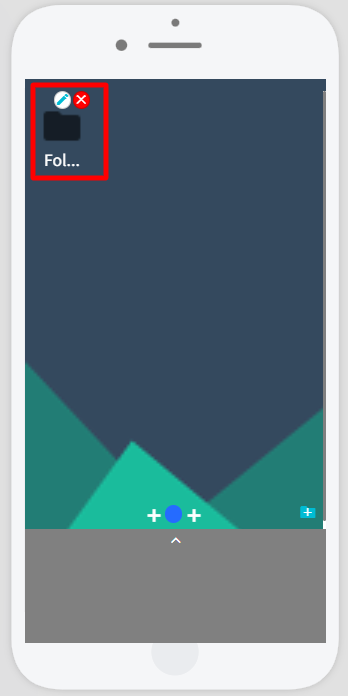
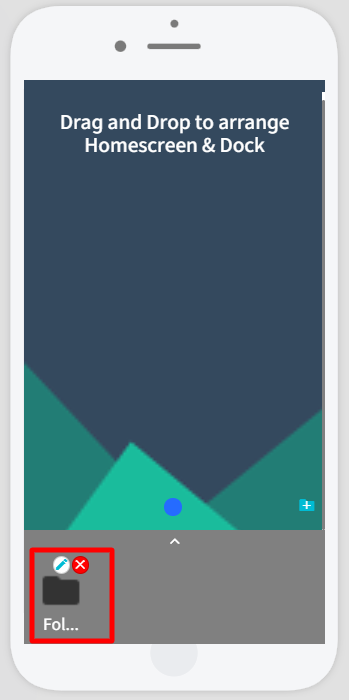
- You can drag and drop the same folder to the dock.
Known Behaviors on Folders
- On iPhone devices, if the dock has more than 4 items and there are folders on the first 4 items then the folders will not be shown and the apps arranged from 5th position onwards will be displayed.
- At least one app should be added inside a folder. Only then the folder will be visible on the device.
- If same app is placed inside a folder and also on home screen/dock, then the item that is placed first on the home screen layout/dock takes priority and show on device accordingly. That is, if folder is placed before the app, then the folder along with app inside will show up on the device and the one placed outside folder will not be visible on the device.
Add multiple pages
You can create additional home pages and add apps on each page. To do so,
- After selecting apps for the first page, you will find two + icons on the home page area.

- Click on it to add a page. The + sign next to the current page will add a page next to the current one, while the one before the current page will add an additional page before the current page. You can add up to 9 pages.
- Drag the apps you want on each page from the enabled applications section and drop them on the right side on the respective pages. You will see a small arrow indicating there are multiple pages.
- You can switch to other pages by clicking on the arrow or on the dots on the home screen. Clicking on the bin icon removes the current page.
.png)
Arrange webclips
You can also arrange webclips (enabled from browser shortcuts) on home screen and dock section. To do so,
- The websites that are in the enabled state under Select Browser shortcuts (in iOS device profile) will appear in the Select Brand / App Order > Arrange apps window, under Enabled Applications.
- Drag and drop on the right side image, the ones that you want on the device's home screen or in the dock section.
Click on the Save button on the top right of the Arrange apps window after making changes.
Step 3: Update Profile
Once all settings are done, click on NEXT and click on UPDATE PROFILE. The Branding and order will be applied on the devices as per the settings done in the device profile.