QR Code or Device Enrollment Configurations are a quick and easy way to invite your users to enroll their personal devices. This lets you create multiple configurations with different Device Profiles for various departments in your organization and easily invite and track enrollments.
Before you Begin
- Make sure you completed the APNs upload part as per Setting Up APNs guide.
- Make sure you have at least one Device Profile as per Create an Apple Device Profile guide.
- Make sure that you have added Users that you want to Invite.
Steps
Creating a QR Code Configuration
- Once you are logged into Dashboard, navigate to Enrollment Configurations > QR Code Configurations
- Click on CREATE to open the QR Code configuration wizard.
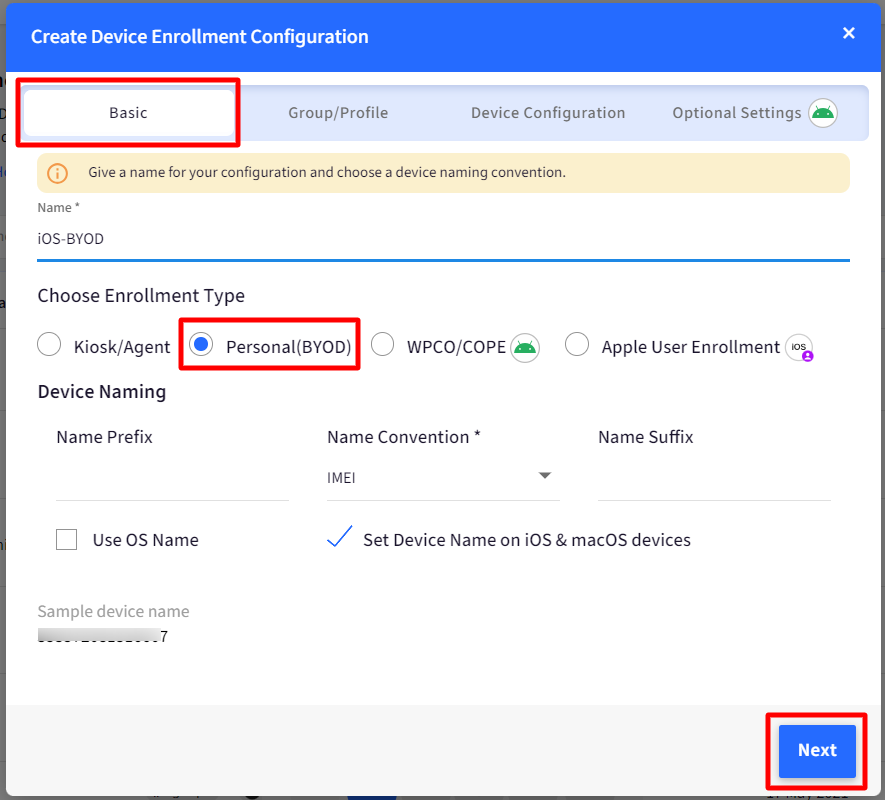
- Under the Basic tab, provide the following details, and click NEXT
- Configuration Name: A name for this configuration
- Enrollment Type: Choose Personal (BYOD) if you want to invite users.
- Device Naming Convention: Choose a naming convention that will be used to auto-generate device names when the devices are enrolled.
- Use OS Name: If this is selected, then the device names are pre-fixed with the OS name.
- Set Device Name on iOS & macOS devices: Users can choose to Set the device name on the device during enrollment. This flag is selected by default.Device Name is based on the naming convention that is generated on the Dashboard
- In the Group/Profile tab, select an iOS Profile or a Group with an iOS Profile and click NEXT

- Device Configuration: Following are the additional settings that can be configured under this:
- Allow Users to Enter a Name for Device: If this is selected, then users are allowed to set the device name from the device when they enroll it.
- Allow Users to Enter Values for Custom Properties: When this flag is selected, users can set values for the custom fields (from the device at the time of enrollment) that are defined through Custom Properties. For each custom field following can also be configured from here:
- Allow: Shows or hides the custom field to the user
- Required: Select if the field is optional or required.
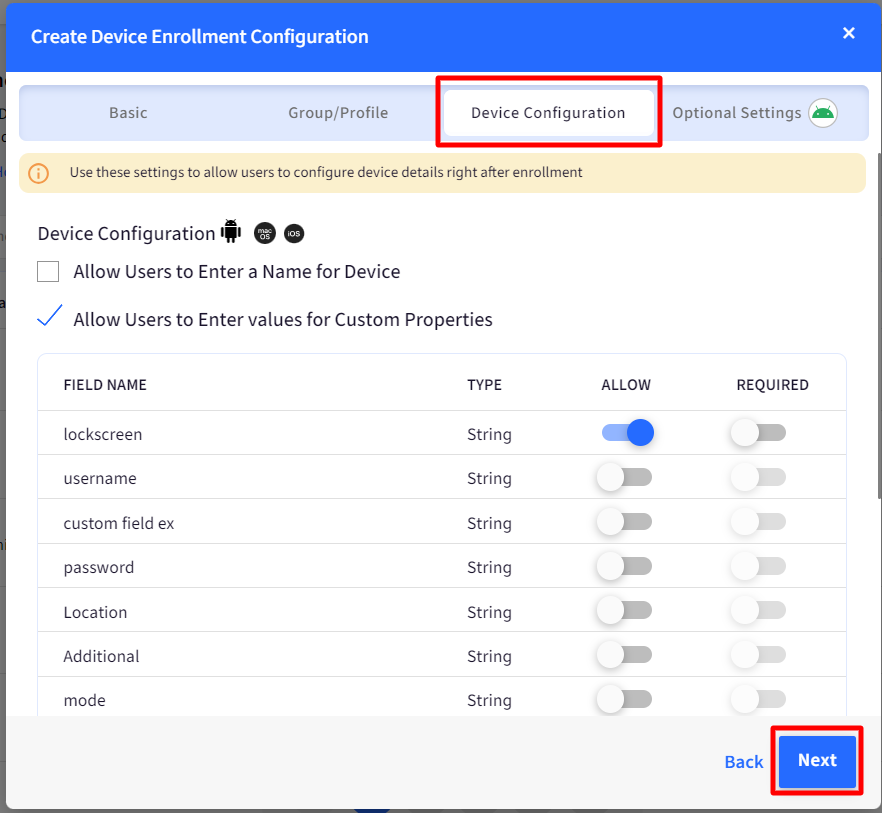
- Optional Settings: These settings are for Android devices. For iOS, these can be skipped. Click Save
- Once the configuration is saved, it will appear in the list. A configuration, when expanded, has the following options,
- Invite: Use this option to start inviting users who can enroll their devices.
- Edit: It helps you in editing the Configuration. Note that editing won’t impact the devices that are already enrolled.
- Deactivate: If you no longer wish to use this configuration or think it is compromised, then you can deactivate the config. Once Deactivated, the configuration can be deleted.
.png) Unlike QR Code configurations for Company Owned devices, there is no static QR Code in this case. The QR Code and/or Enrollment URLs are generated based on the invites.
Unlike QR Code configurations for Company Owned devices, there is no static QR Code in this case. The QR Code and/or Enrollment URLs are generated based on the invites.
Invite Users to Enroll their Devices
Now that you have created a configuration let us go ahead and invite users to enroll their devices.
- Expand the QR Code and click on Invite Users to open the user invite wizard.
.png)
- The first section in the User Invite wizard is to Configure Email. Once you have configured the email content, click NEXT
- Choose Platforms: If this configuration can be used for multiple platforms/enroll, then you can choose the platform. Based on this, the content of the email will be created.
- Edit the Welcome and Thank You Note: You can edit the welcome and thank you note by clicking on the dotted sections.
- Preview: Preview the Email that will be sent to the user

- The next section is to Select Users, where you can select the users to whom the enrollment email should be sent. Click SEND once you have selected the users.
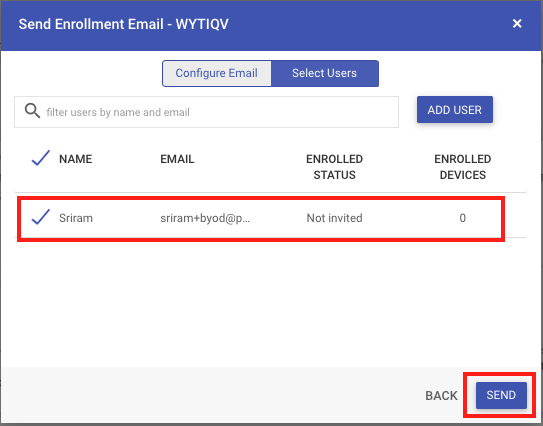 If you had not added/imported the users earlier, you can add the users from this screen by using the ADD USER option.
 - If the email is valid, the users will get an email as shown below,
 Please ask your users/employees to check their Spam folder.
Now that you have invited the user to enroll their devices, please refer to How to Enroll User/Employee Owned Devices to enroll a device.
Frequently Asked Questions
Question: Can we limit the users to enroll only one Device or an iOS with a specific Serial Number?
Answer: Yes. You can control how many devices a user can enroll in or what serial numbers are allowed to enroll by navigating to the Device & User Management > User Management and editing the user properties, as shown below,.png)
Question: Do our users see the following errors while enrolling the devices?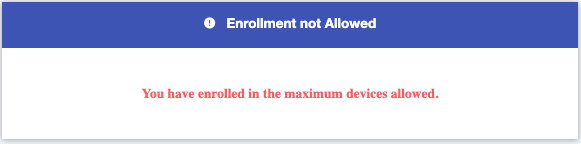
Answer: Make sure that you have not limited the user to enroll only a specific number of devices. You can manage the number of devices that a user can enroll under Device & User Management > User Management. Edit the user who has reported that issue and make sure that they are allowed to enroll the required number of personal devices as shown below,.png)
Question: Our users see an error that says "Profile Failed to Install" once they try to install the profile from the User invite.
Answer: This can happen if you have restricted the user to enrolling an iOS device with a specific serial number and the serial number of the iOS device being enrolled does not match.