Remote Cast for Mac Devices
- 14 Mar 2024
- 7 Minutes to read
- Print
- PDF
Remote Cast for Mac Devices
- Updated on 14 Mar 2024
- 7 Minutes to read
- Print
- PDF
Article Summary
Share feedback
Thanks for sharing your feedback!
Scalefusion supports remote device troubleshooting on its managed Mac devices through its Remote Cast and Control feature. The feature allows the active device screen to be shared between the device user and the IT admin wherein the latter can direct, guide and assist the user to resolve a specific device issue or to raise a ticker for further escalation.
As a result, the Remote Cast & Control feature offers a number of benefits. To name a few:
- IT Admins can easily troubleshoot any problems faced by end users on their Mac devices remotely.
- Educational institutions can conduct guided sessions
In the document, we will describe how Scalefusion's Remote Cast & Control feature is implemented and works on managed Mac devices.
Prerequisites
- Mac OS version: The minimum version should be 10.14 or above.
- The device should be enrolled with Scalefusion.
- Browser: Chrome is recommended browser (on Scalefusion Dashboard) for smooth running of Remote Cast & Control feature on Mac devices
Make sure that you have either an Enterprise Plan subscription or if you are IN-Trial then you have requested access for this feature.
Setup
Step 1: Install & Setup Remote Support app
The first step to use Remote Cast & Control on Mac devices is to install & setup the Remote Support app. The app acts as a primary entity which authenticates user’s device and Remote Cast & Control Session. Please follow the steps below to install:
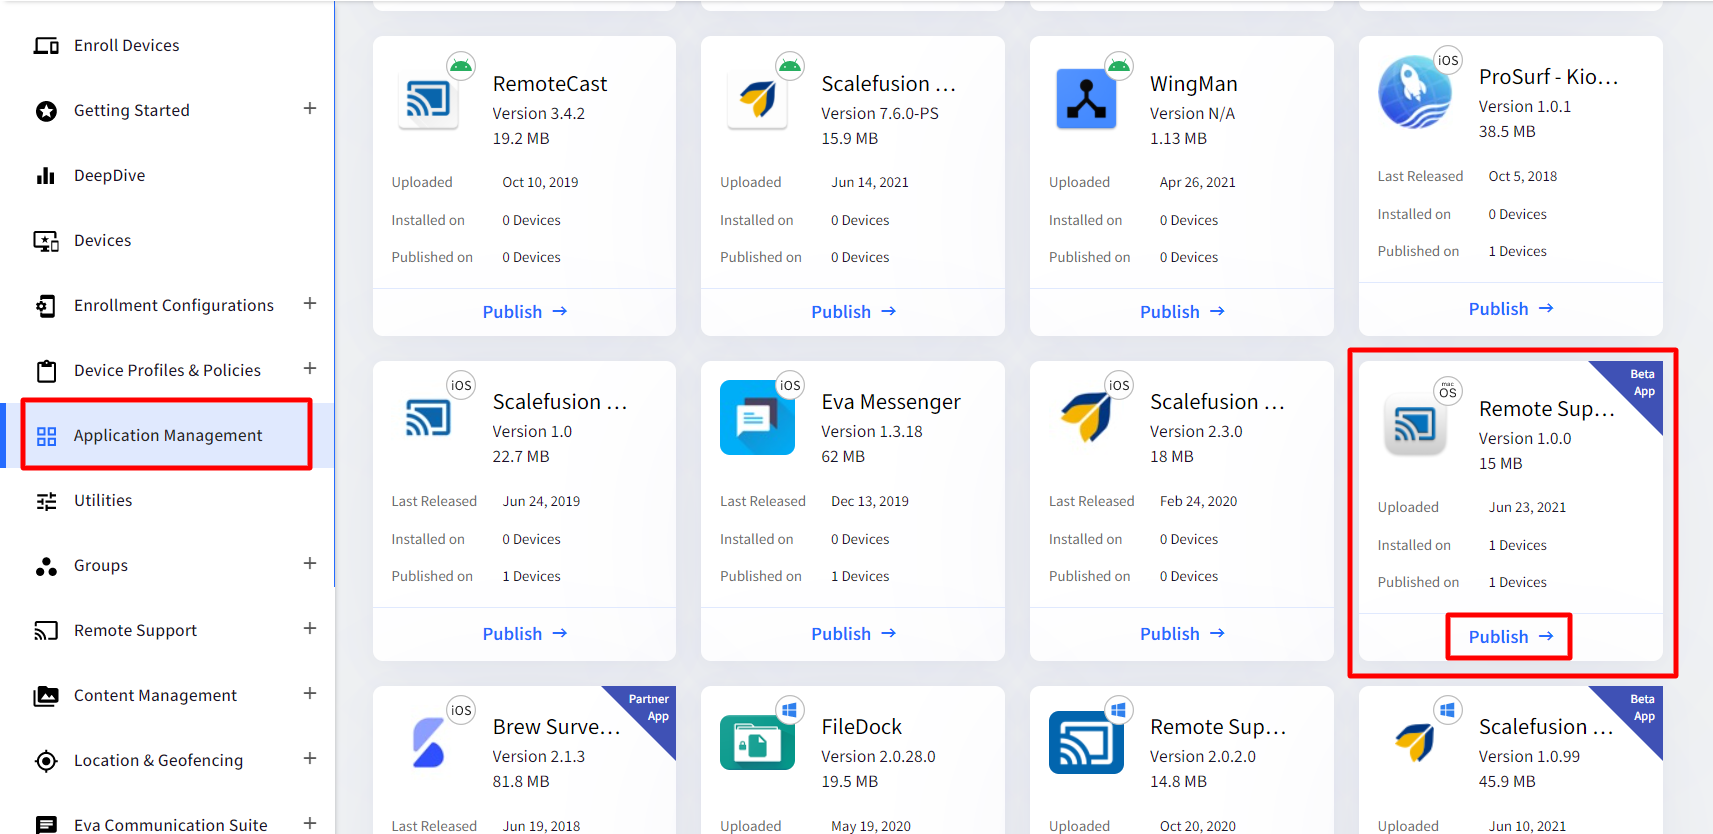
- Navigate to Application Management > Scalefusion Apps. Click on Remote Support App for Mac and select PUBLISH
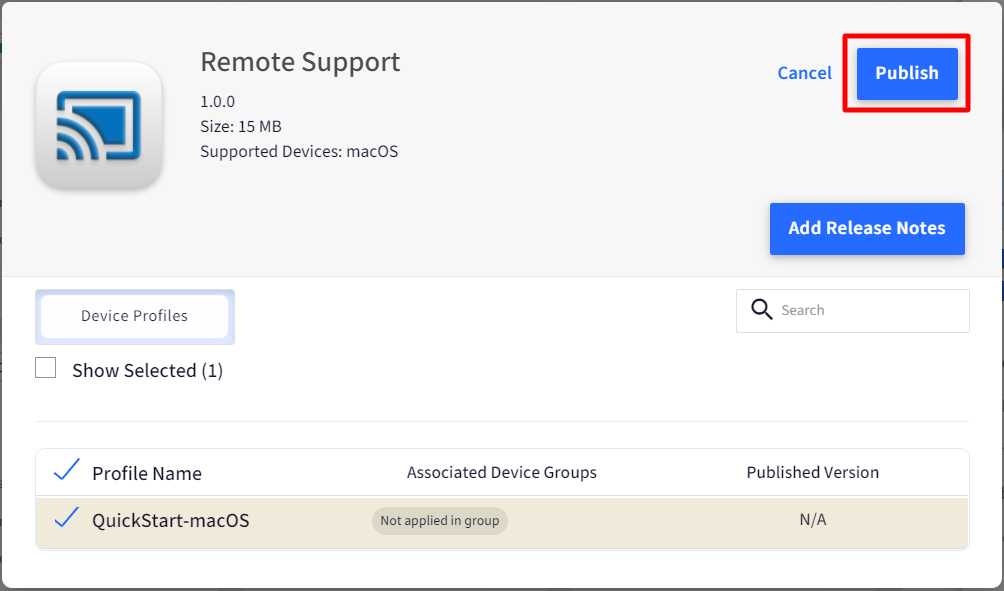
- In the right side panel, click on Publish. In the window, select the Mac Device profiles on which you want to install the application. Click on PUBLISH to confirm the installation.
- It will take few minutes for the app to get downloaded and installed.


Step 2: Granting Permissions on Mac Device
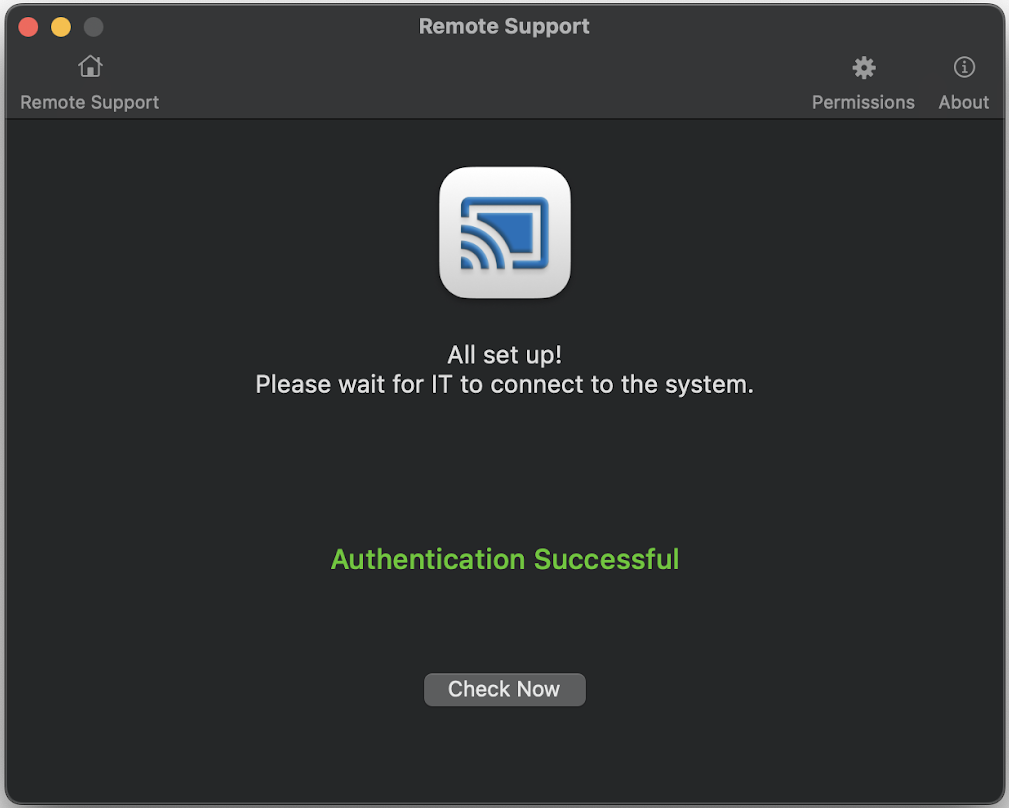
When the Remote Support application is installed on the device and the user launches the Remote Support app, authentication takes place. The authentication is in regards to device being enrolled with Scalefusion or not. If not, an authentication failure message will display.
- Once the authentication is successful, the next step is to grant necessary permissions
- Click on Grant Permissions button

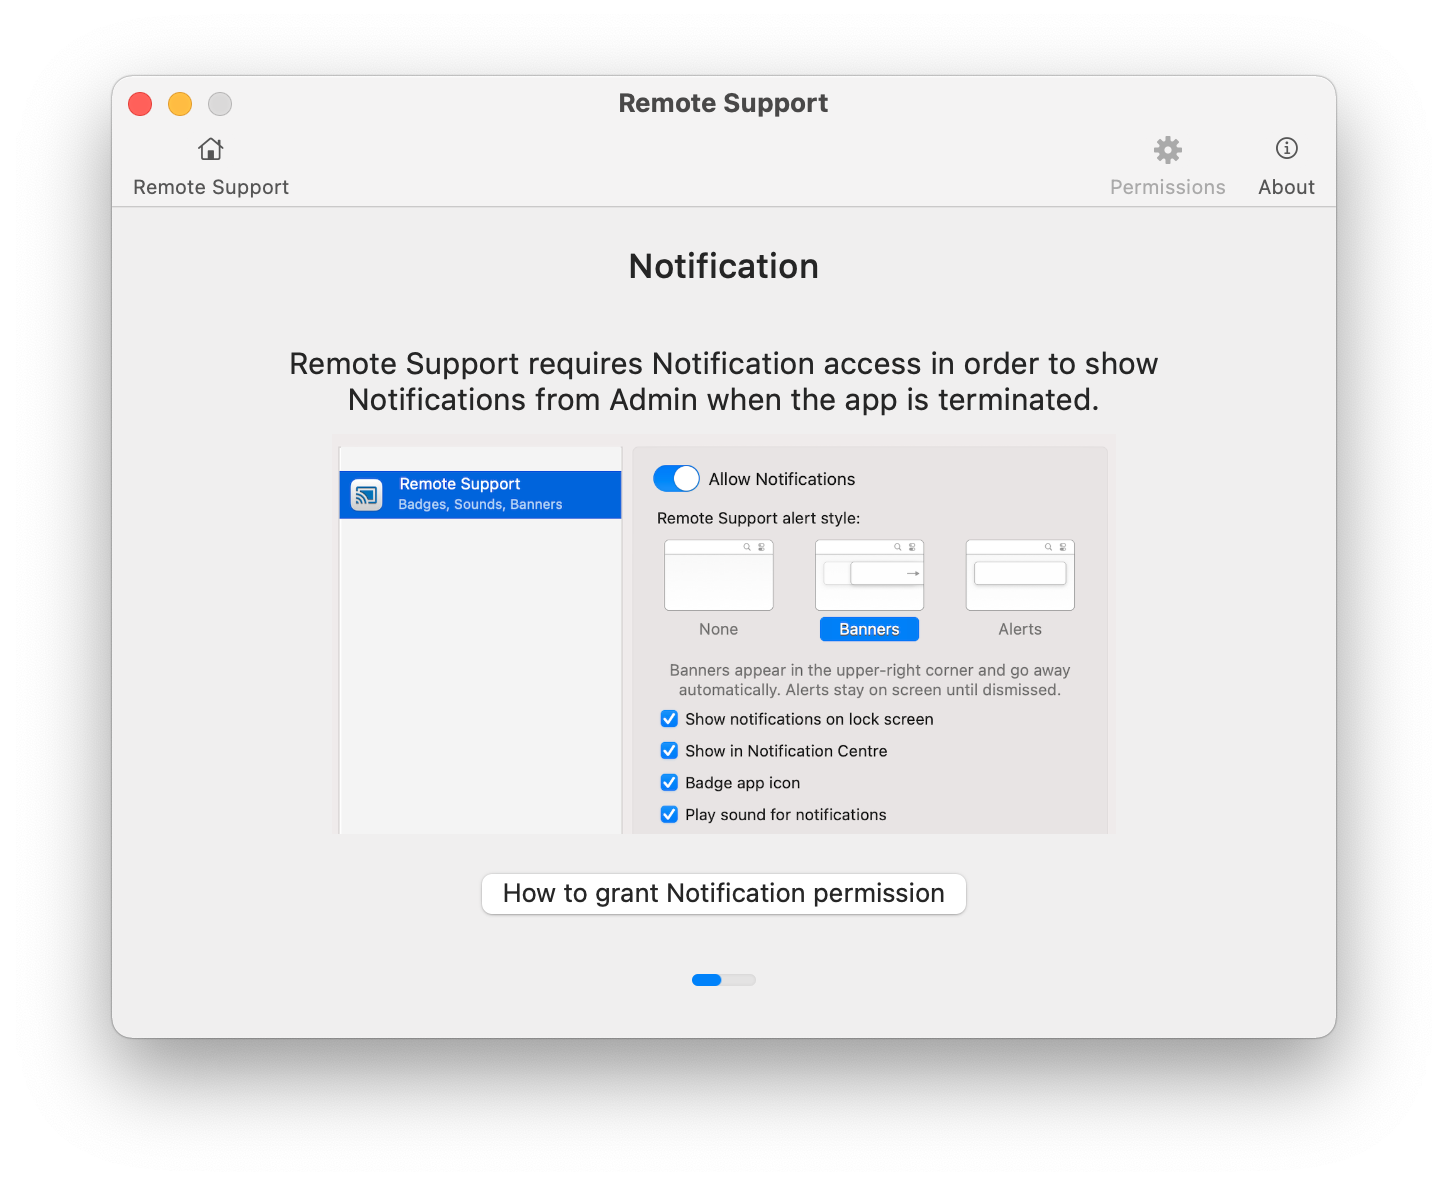
- Notifications Permission: You get the screen that describes how to Grant Notification Permissions which enables Notifications during Remote Support session.
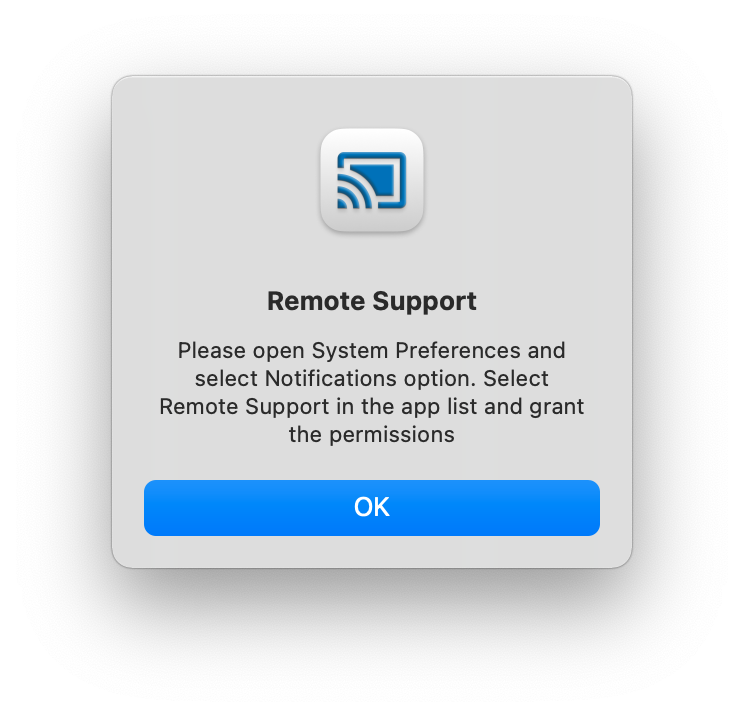
- Here when you click on How to grant Notification permission you get a pop-up on how to grant notifications permission as shown below. Click OK
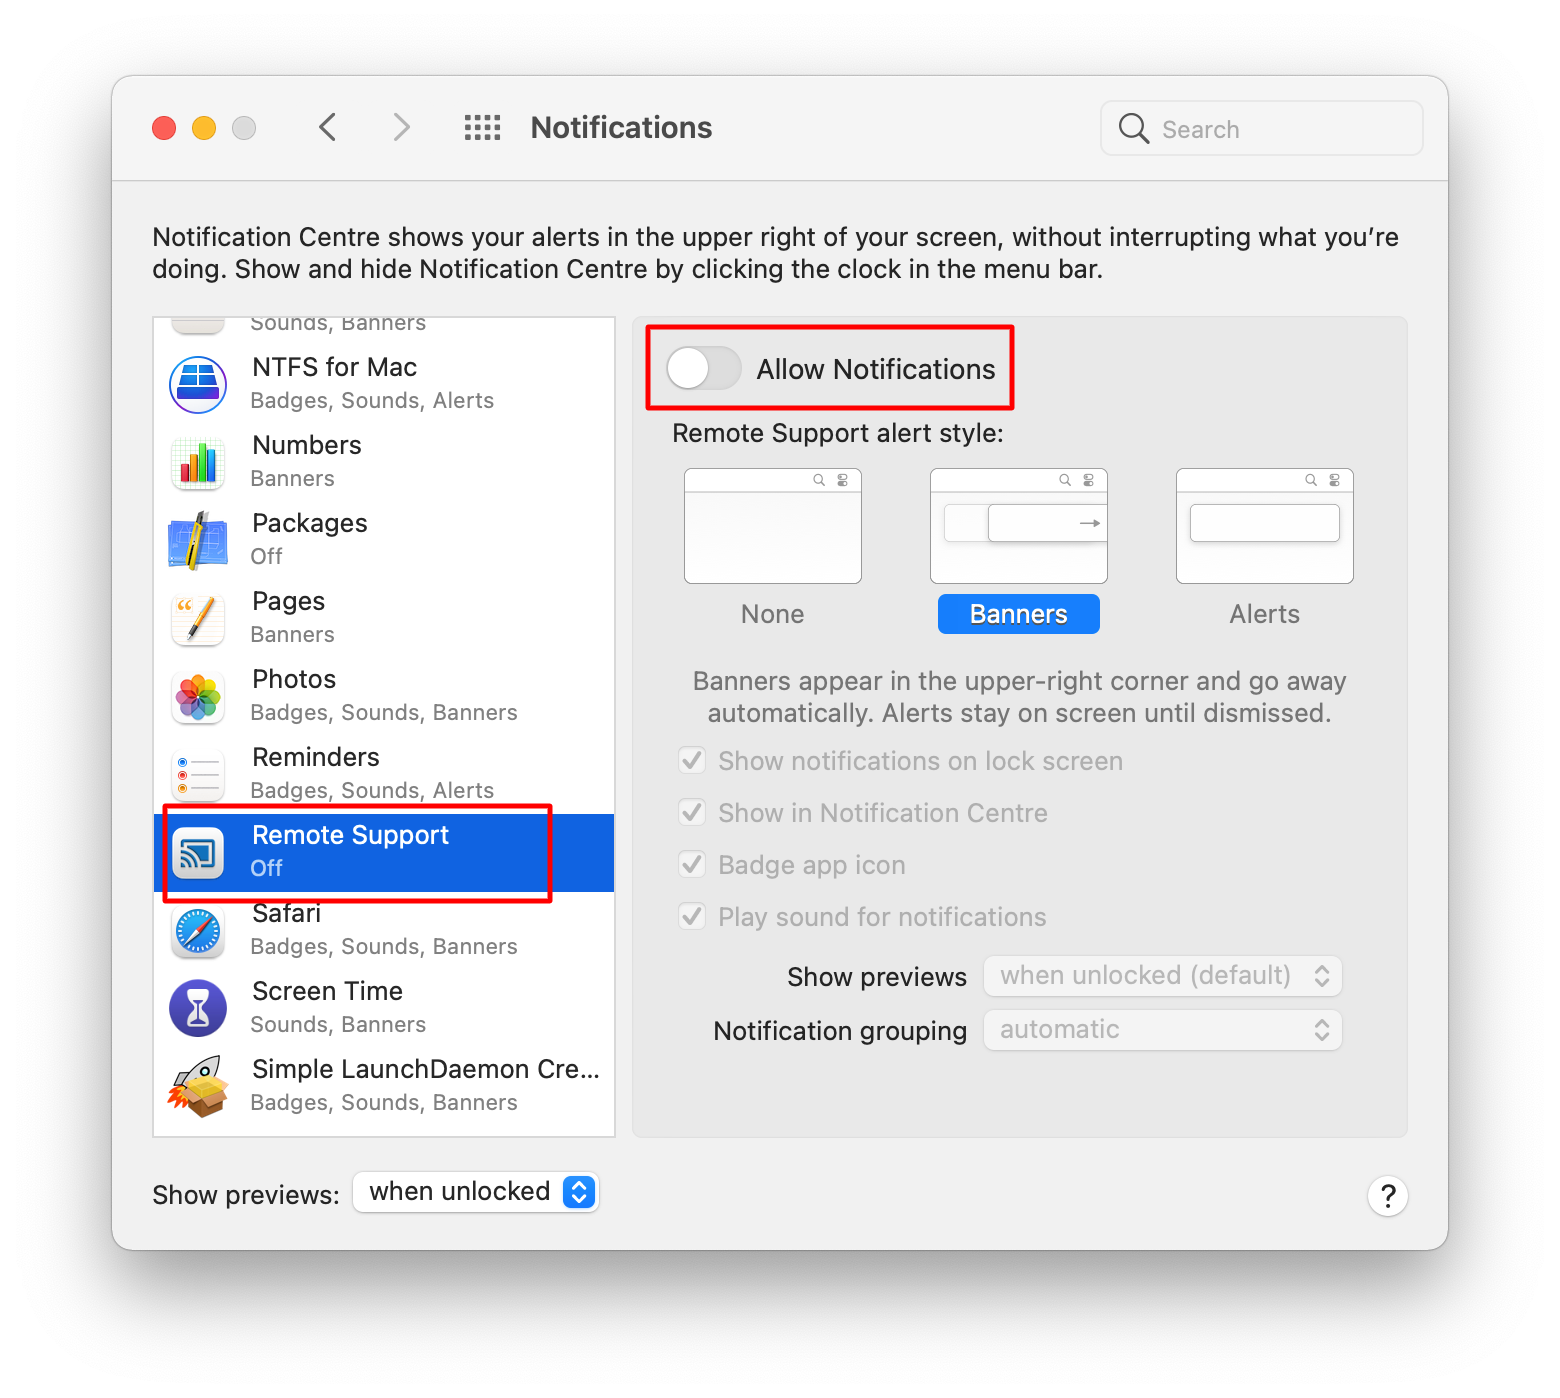
- You will get to the Notifications section under System Preferences. Here, select Remote Support from the list in the left and enable Allow Notifications
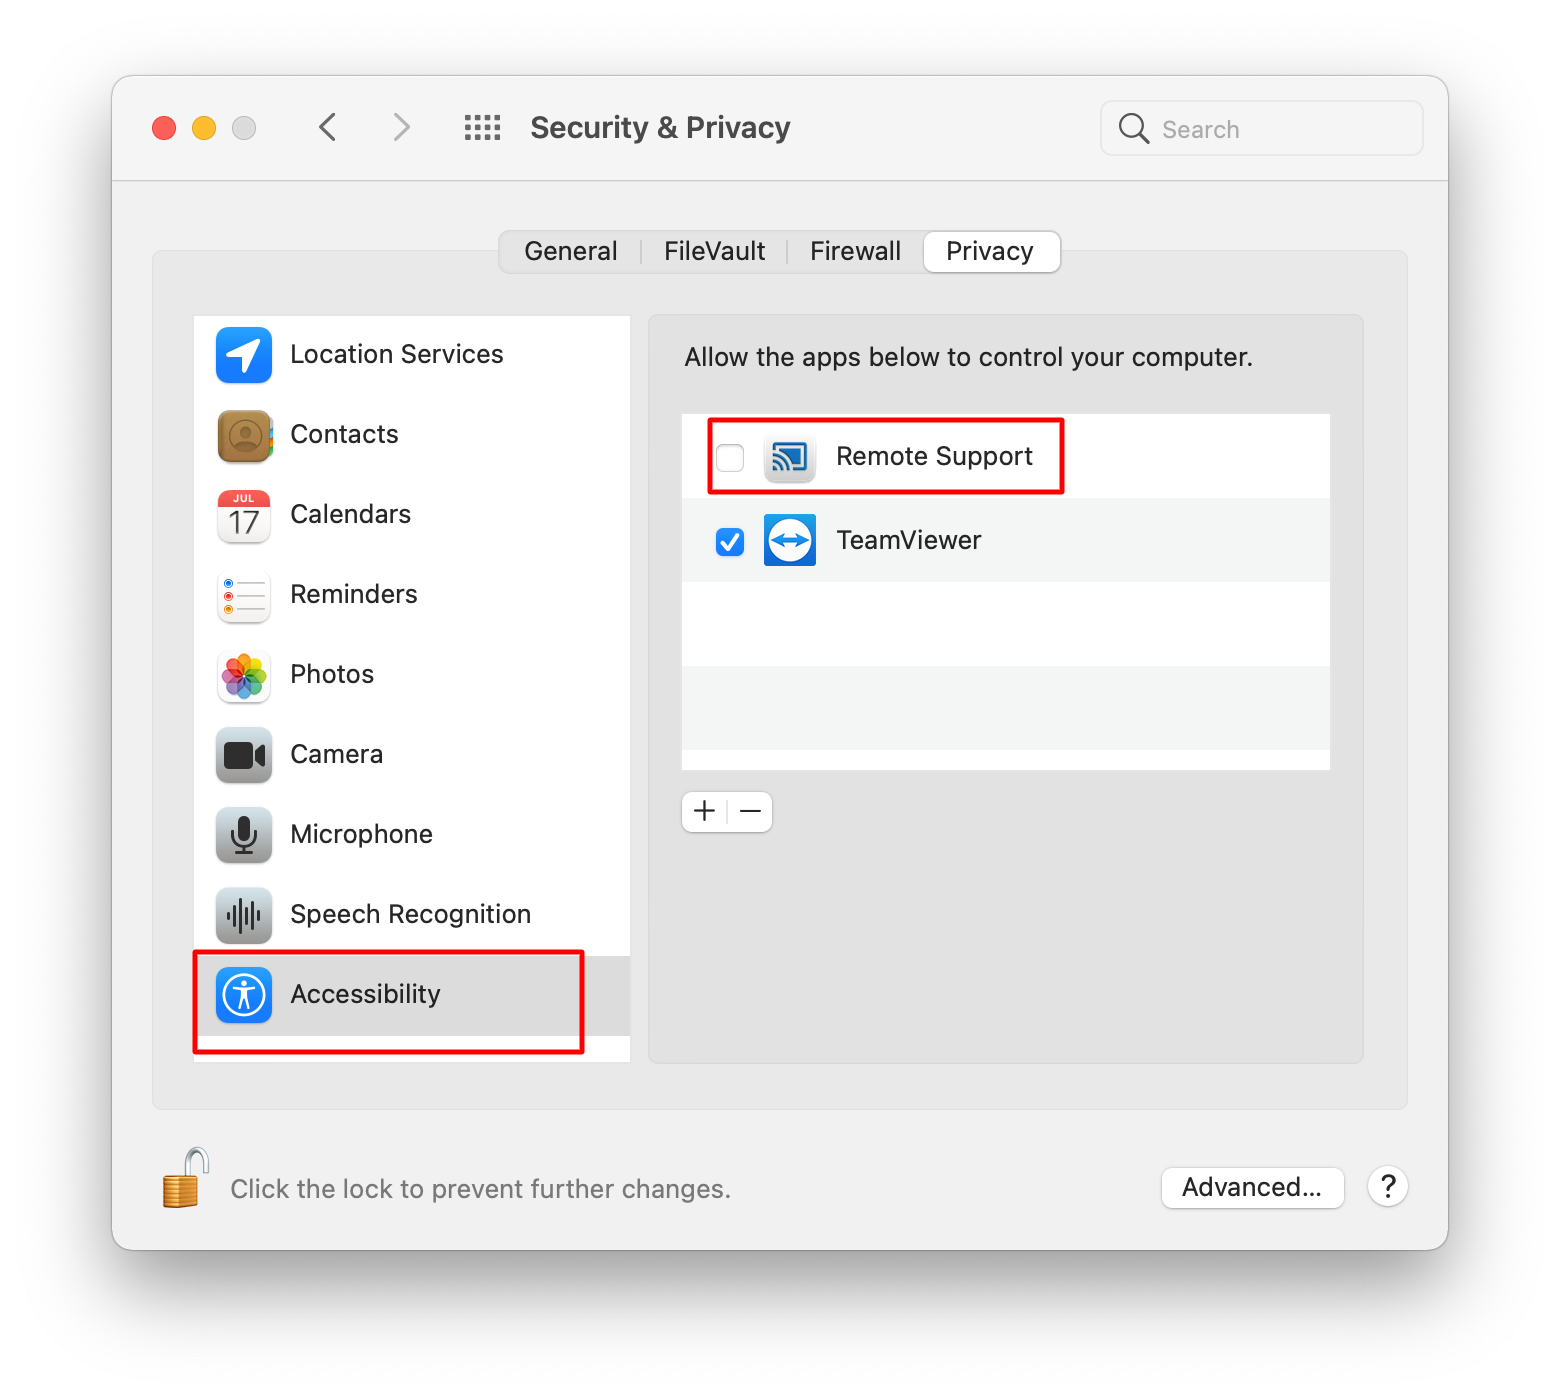
- Accessibility permission: Grant Accessibility permission which allows Remote Control feature where the end user's device can be remote controlled by the admin. You get the screen that describes how to Grant Accessibility Permissions which enables permissions during Remote Support session.

- Clicking Request Access will take you to System Preferences. In this click on Accessibility and enable Remote Support.
- Screen Recording Permissions: By granting this permission admin can record the session. You get the screen that describes how to Grant Screen Recording Permissions which enables it during Remote Support session.
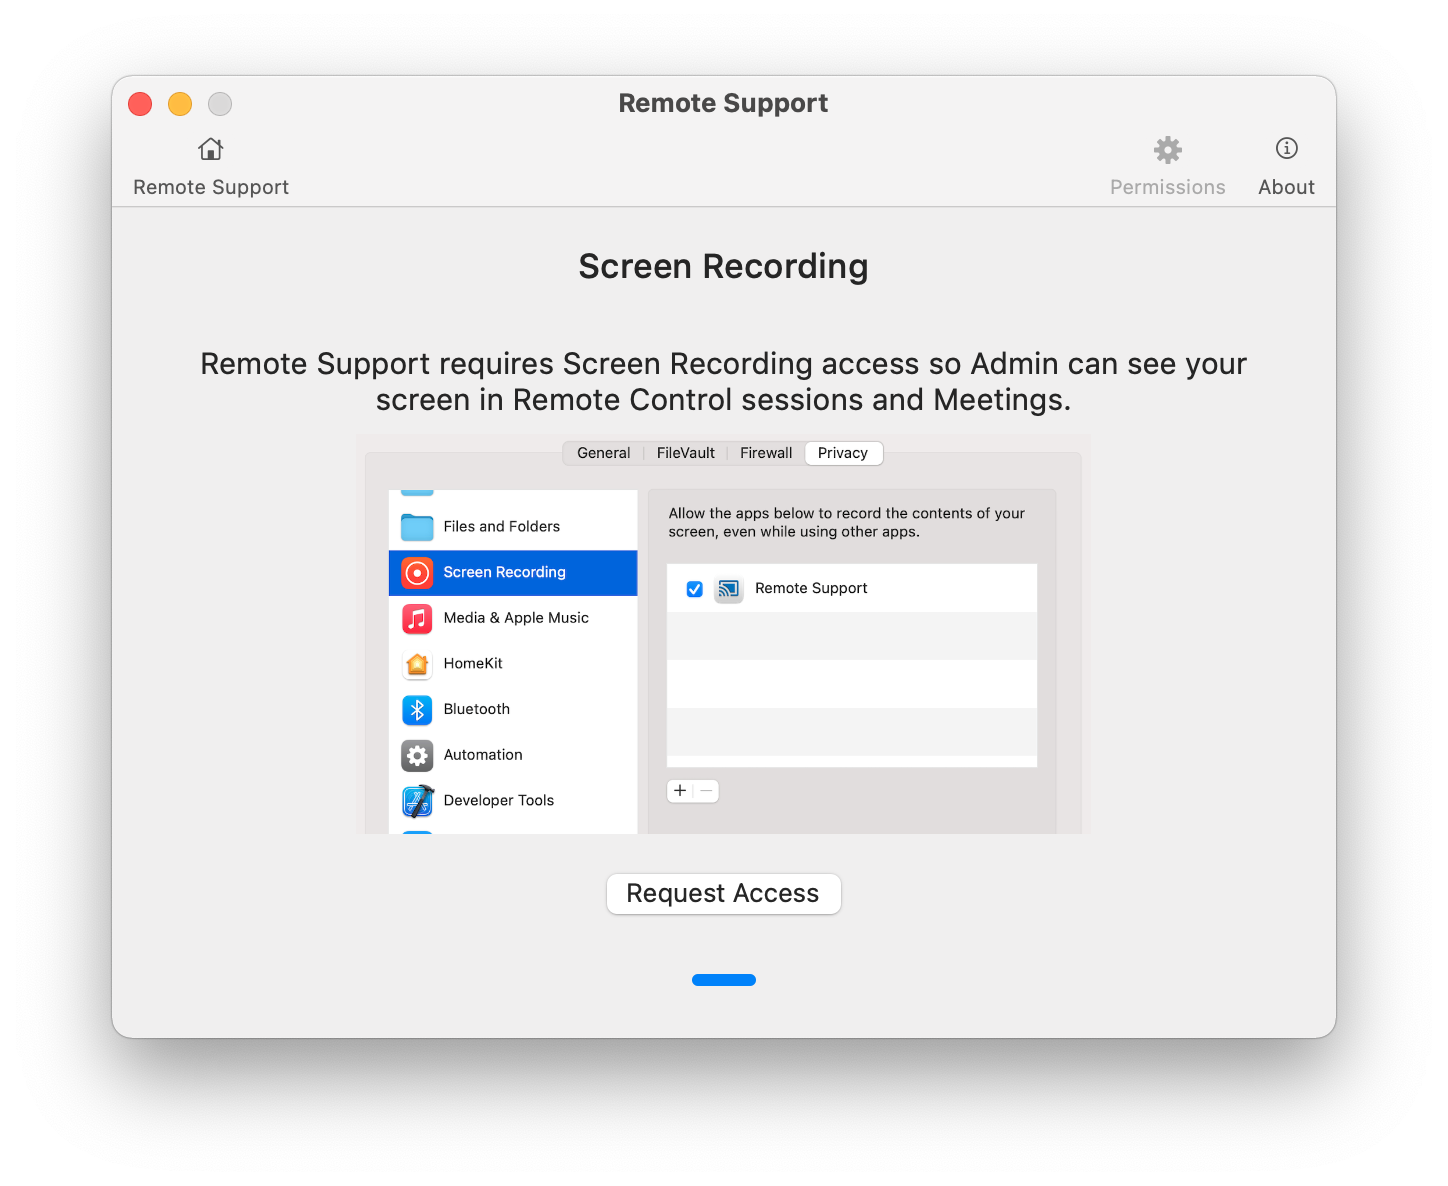


Clicking Request Access will take you to System Preferences where you need to enable Remote Support under Screen Recording.
Step 3: Initiating a Remote Cast Session
Once you have setup the Remote Support application and granted permissions as described in Step 1 and Step 2, follow the steps below to initiate a remote casting session.
- Navigate to Remote Support> Remote Cast & Control on the Dashboard. It will show you the list of devices. Click on Start Session option next to the Mac device you want to start a screen sharing session with.
- The Remote Control column indicates if the device supports remote control feature or not. A cross (X) indicates that the device does not support and a tick (V) mark indicates that the device supports control.A Remote Cast session can also be initiated from Device Details page. On Device Information card there is a shortcut icon for Remote Cast before the Gear icon, clicking on which directly takes you to the Start session screen.
- You will be navigated to the screen casting page with the following components,
- Cast Console: The area where the mirrored screen appears.
- Session Details: Displays the Mac device name and model with which the session will happen
- CREATE TICKET: Create a Service Desk ticket - Supported only if you have integrated your ITSM tool.
- Start Session: Click on this button to start the session.
- Start Recording: Use this option to start recording the session once it is started.
- Click on START SESSION to start the session.
- Wait for the End user to accept the remote session request and start the session.When a remote support session starts, the wallpaper turns to grey and all other open applications on the device are minimized
Additional Settings
When Remote Cast is used in security and privacy concerned domains like tablets with kids or with people in hospital care, if somebody takes a remote cast session, companies normally want to enforce recording of that session as a checkpoint for the agent taking the RCC session to make sure that everything is recorded.
To enable this, following additional settings have been provided that can be configured before starting or during a remote cast session and can be used as global settings for all admins.
To implement these settings, please ensure you have ScalefusionRemote Cast & Control for macOS with v2.0.0 or above
From Dashboard
- Navigate to Settings button available under Remote Cast & Control on Scalefusion Dashboard.

- Clicking on Settings opens a dialog box where admins can configure them.
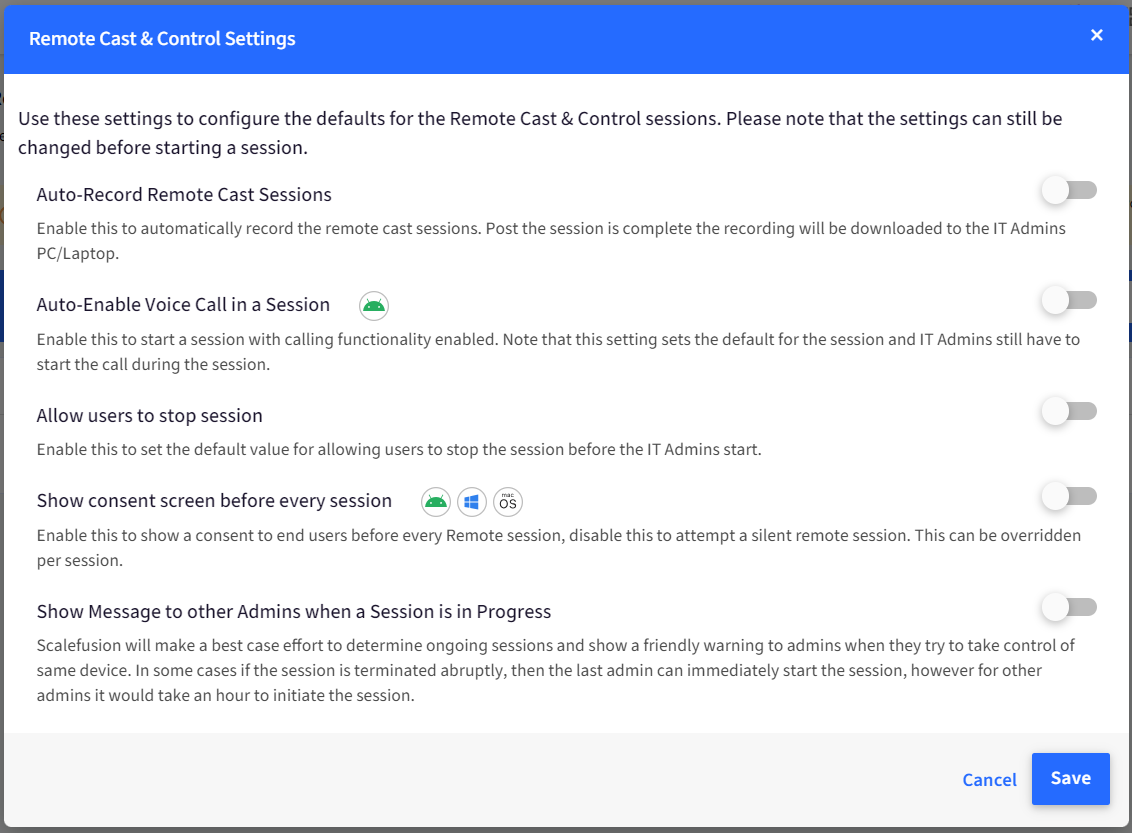
- Following settings are configurable for MacOS devices:
- Auto-Record Remote Cast sessions.Enabling this automatically records the remote cast sessions. After the session is completed the recording gets downloaded to the IT Admins PC/Laptop. If this setting is ON, session recording cannot be stopped.
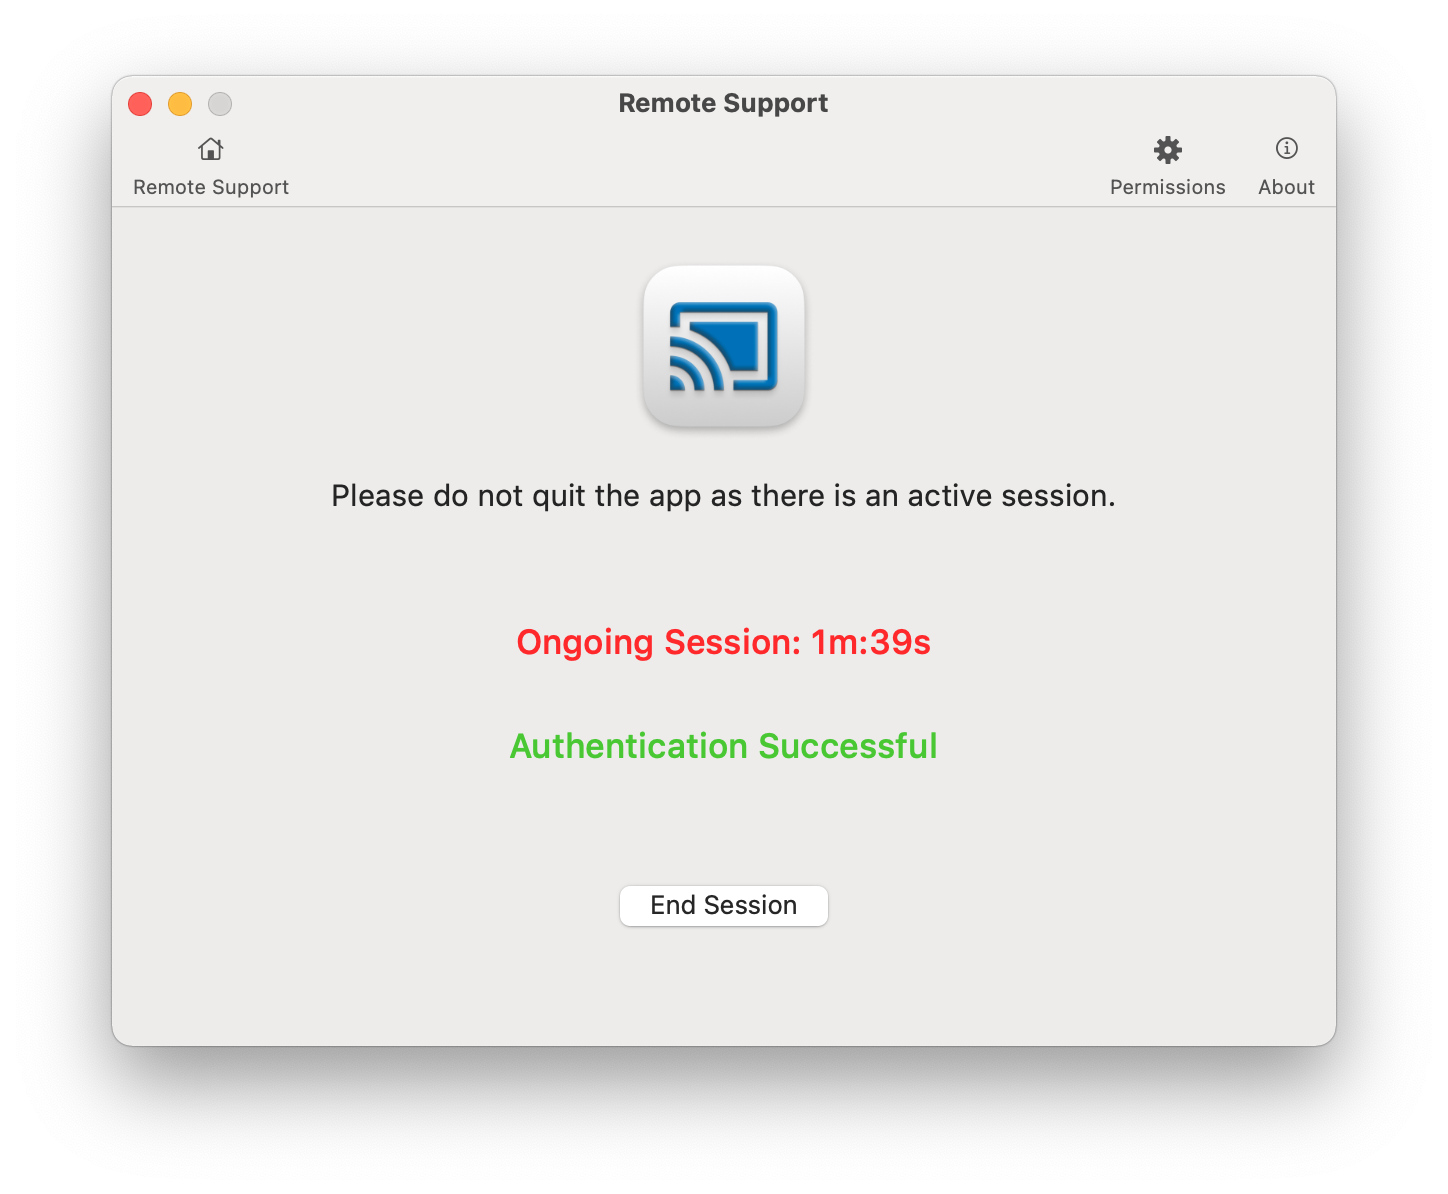
- Allow Users to stop session. This setting when enabled allows users to stop the session from their end. On Remote Cast app's main screen, the users will get the following screen (shown below) and they can click on End Session button to stop the session.
- Show Message to other Admins when a Session is in Progress: If this setting is enabled, IT admins get an alert when another admin tries to take access of a device that already has an ongoing session. In some cases if the session is terminated abruptly, then the last admin can immediately start the session, however for other admins it would take an hour to initiate the session.
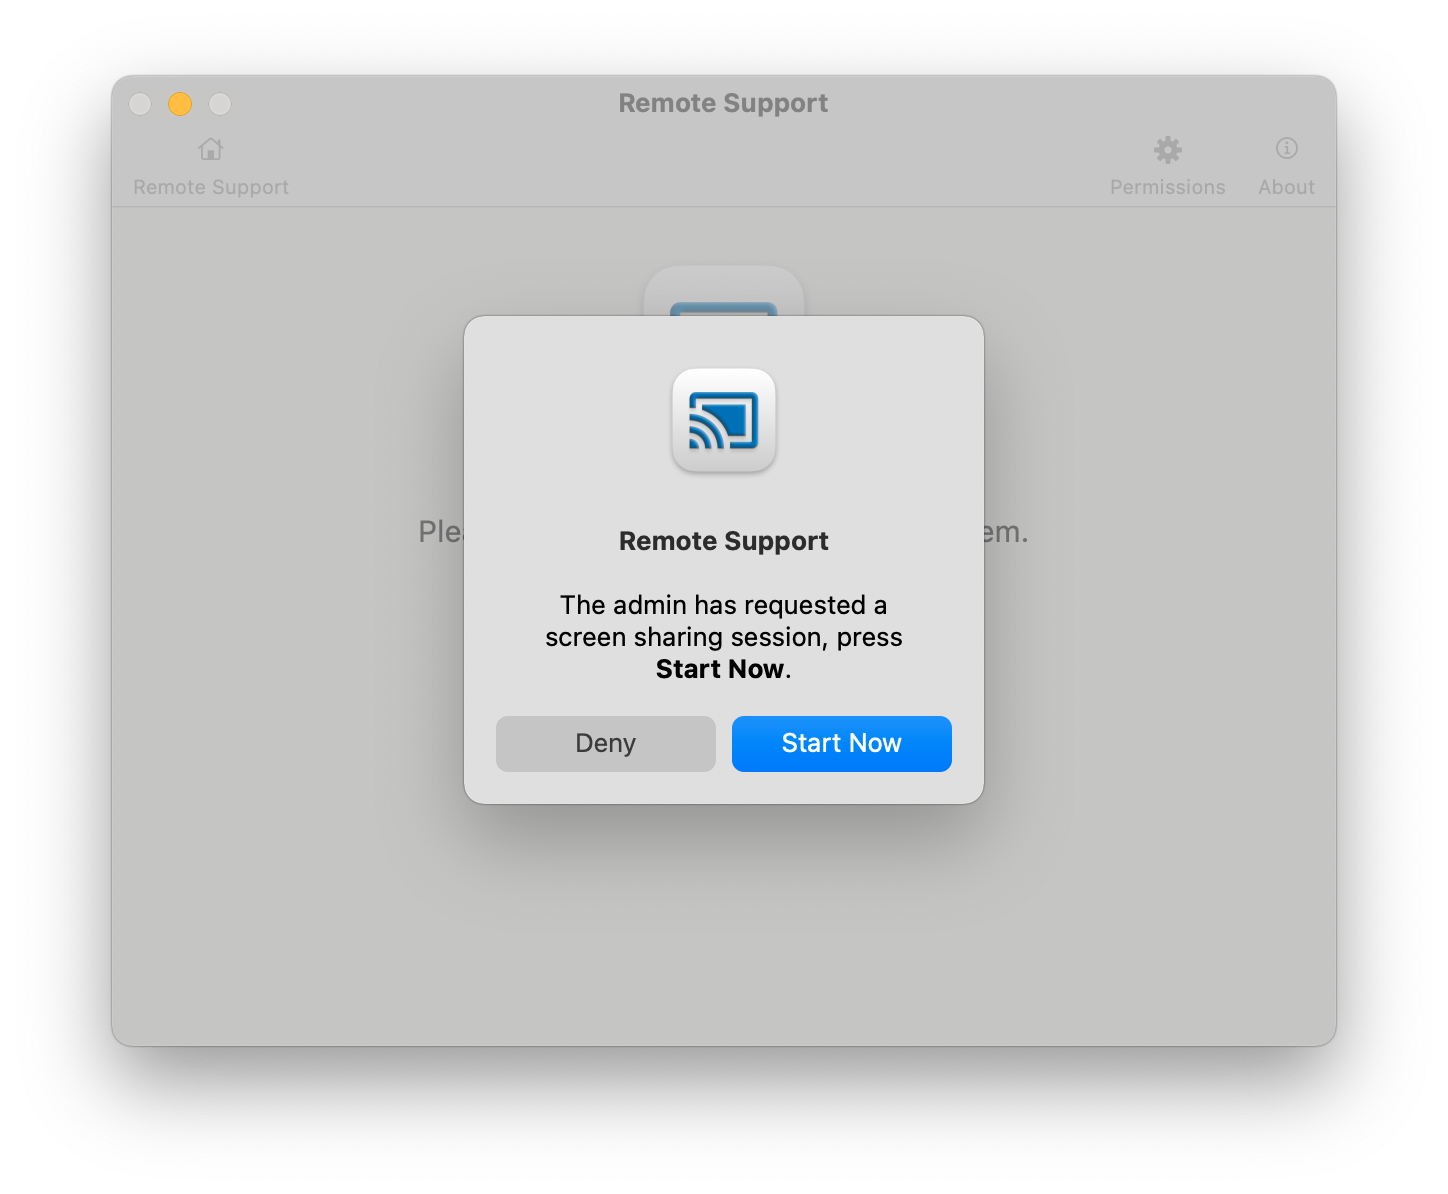
- Show consent screen before every session.Enable this setting to get user's consent before starting a remote cast session, else the session starts directly. The user gets a popup before the start of the session. Clicking on Start now starts the session.


This setting can also be enabled by the admin from Dashboard as soon as session is initiated. On the right of the screen there is a toggle Show Consent to enable this.
Other
Switch user during an active (ongoing) session
Admins can switch from one user to another during an ongoing session without end user's intervention. For this, the fast user switching must be enabled on the user account from which the switch is being attempted. Following settings are to be configured to achieve this:
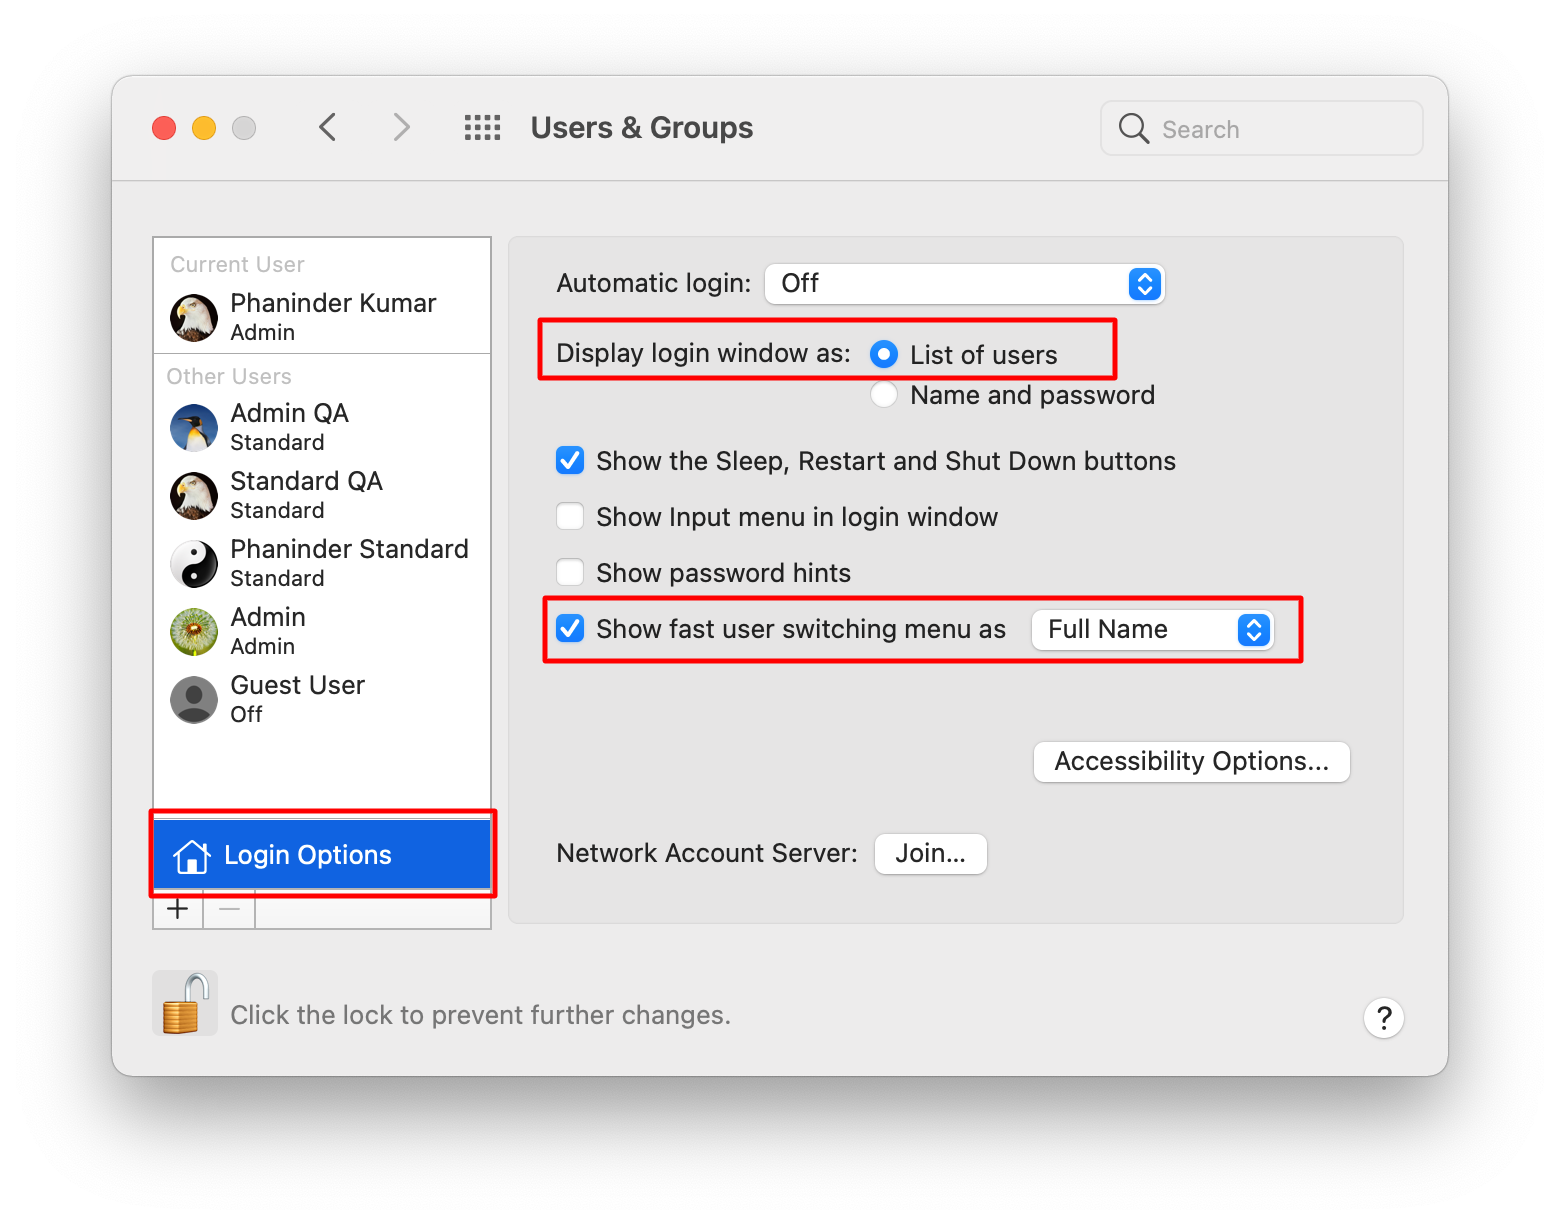
- On the user device, navigate to System Preferences > Users & Groups > Login Options. Here,
- Please ensure Display login window as is set to List of users
- Enable Show fast user switching menu as and select any one option from the drop-down for how it should be shown on the menu bar
- Now, during the Remote Cast session admin can click on the fast switching option location on the top right hand side of the menu bar to select any user to switch to.
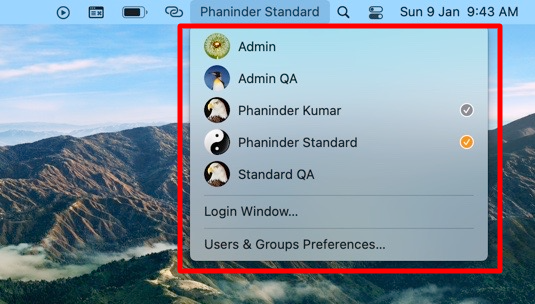
- The remote session will get switched to the selected user.Admin can choose to log out and switch user as well but the screen sharing will be paused and the end user has to manually switch the user account upon which the screen sharing will be resumed.


Known Limitations
- During Remote Control, Mouse Scroll does not work.
- However, as a workaround, it is recommended to change the Scroll Bar settings in System Preferenceon the device.
- Navigate to System Preference on the Mac device > search for scroll in the search bar > click on the Scroll bar behaviour option.
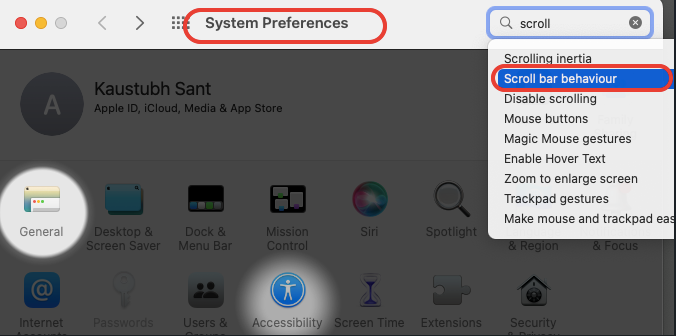
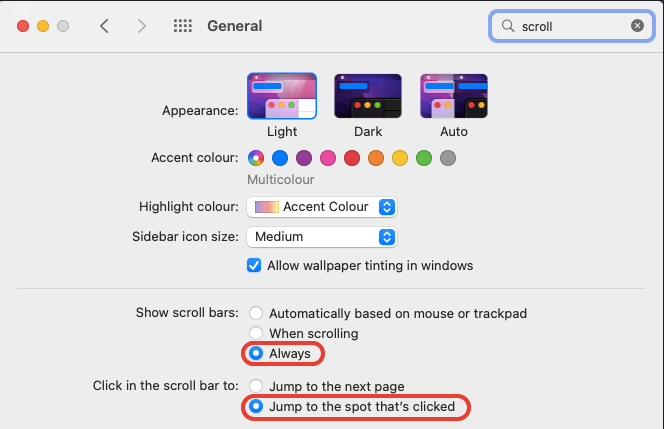
- Change the Show scroll bar option to Always and change Click in scroll bar option to Jump to the spot that's clicked.
- Navigate to System Preference on the Mac device > search for scroll in the search bar > click on the Scroll bar behaviour option.
- However, as a workaround, it is recommended to change the Scroll Bar settings in System Preferenceon the device.
- The key combinations for copy (from user's device) and paste (onto user's device) will not work when admin remotely controls user's devices during a session. However, they do work if admin is copying anything from their own device and pasting onto user's device.
- If admin is using a windows machine for initiating a remote session, then they have to use "Control" Key on their keyboard in order to initiate "Command" key on Mac.


Frequently Asked Questions
Question: I have started session from dashboard but the remote session has not started on the device yet. What can be the reasons?
Answer: If the session does not start on the device side the push notifications may not be getting delivered on macOS devices. Hence, to make the app listen to incoming requests proactively and respond, please perform one of the following:
- Launch the Remote Support application on the device.
- If the app is already launched, then verify if the Check Now button is enabled. If it is enabled, click on it.

Was this article helpful?