Create an iOS Device Profile
- 26 Sep 2023
- 2 Minutes to read
- Print
- PDF
Create an iOS Device Profile
- Updated on 26 Sep 2023
- 2 Minutes to read
- Print
- PDF
Article Summary
Share feedback
Thanks for sharing your feedback!
A Device Profile is a Scalefusion entity, that helps you group the common set of Policies that you want to apply to your device. This is a mandatory requirement for iOS Devices, and you need to have at least one profile.
In this tutorial, we see how to create a basic Apple Device Profile. We will be covering the advanced topics in other sections.
Before you Start
Make sure you completed APNs upload part as per Setting Up APNs.
You are logged into Scalefusion Dashboard.
Video Guide:
Please watch the video below to get a visual walkthrough.
Details
- Once logged in to the Scalefusion Dashboard, navigate to Device Profiles & Policies > Device Profiles.
- Click on CREATE A NEW PROFILE.
- Choose Apple in the dialog that appears.
- Give a name for your Profile. Click on SUBMIT.
- You will be shown the profile creation wizard with the various Policies that can be applied. The page is divided into 4 sections,
- App Selection - Allow or Block the Applications. You can also choose to only Publish applications and not apply any app-specific restrictions.
- Allow Websites - Choose the websites that will be allowed on device.
- Branding - Choose a branding to go with your devices and choose a Home Screen Layout.
- Restrictions - A collection of frequently used restrictions that can be applied to your devices. Please note that this list is limited in the first version and we will be adding all the options.
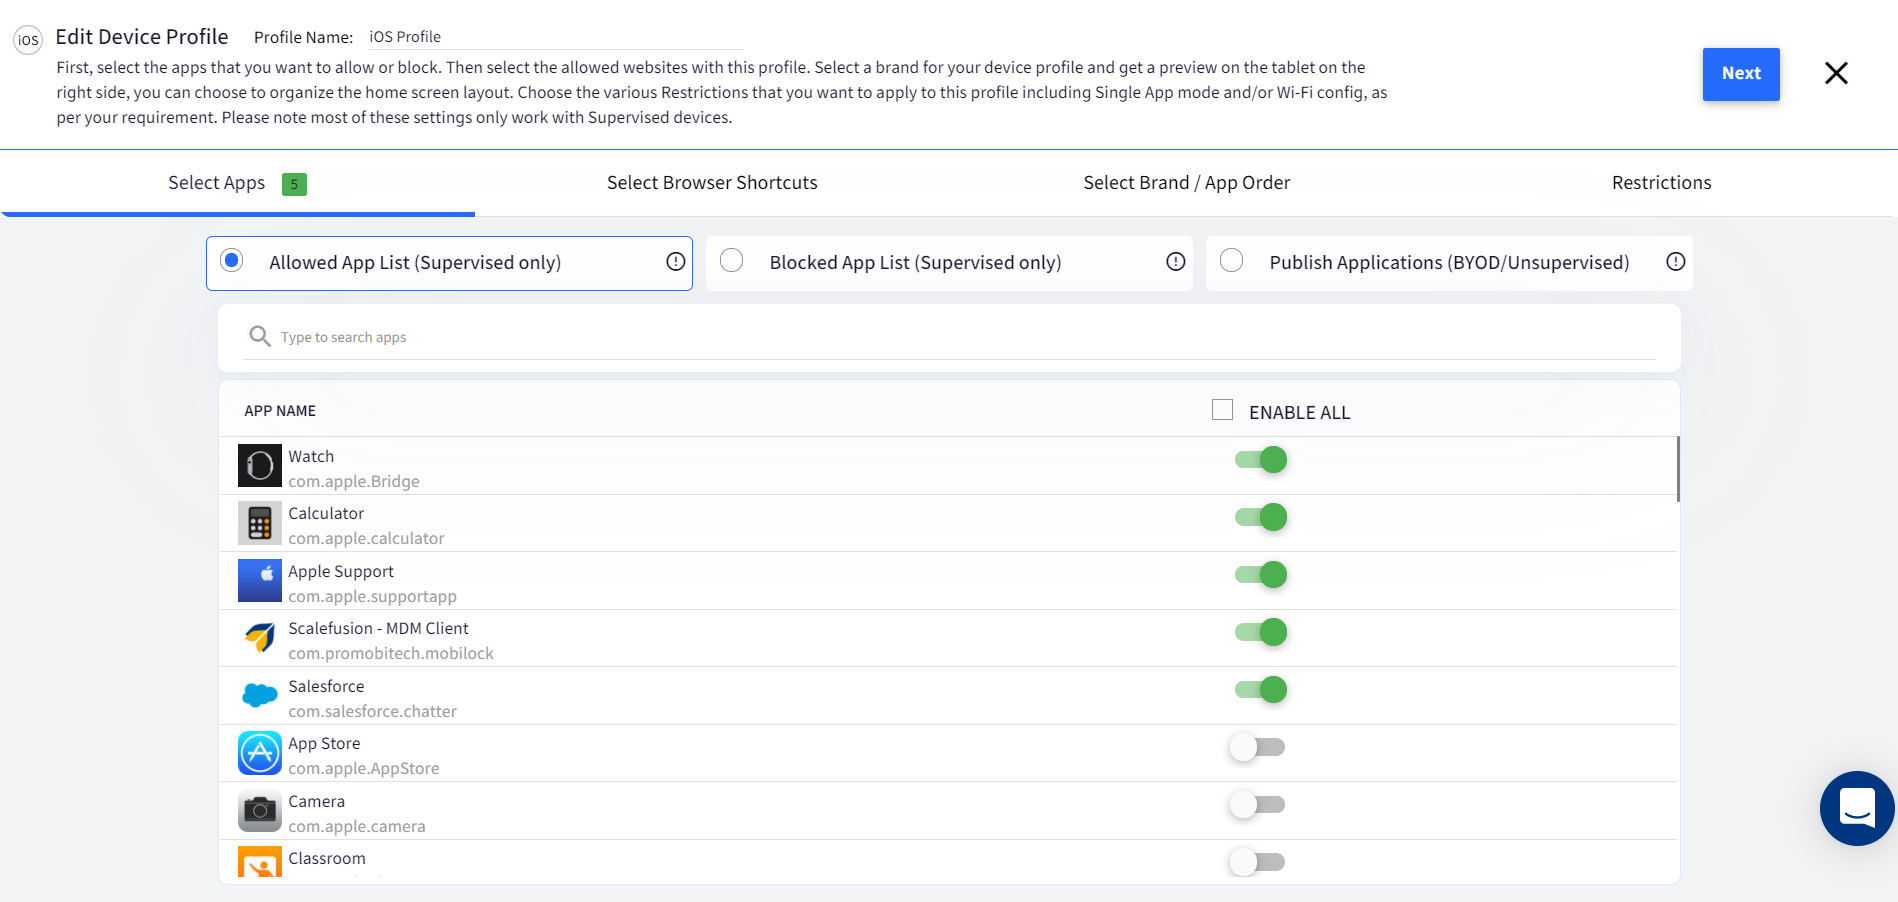
- The first section is about Application Allowing or Blocking. This setting will work only on Supervised devices.
- We have pre-populated a set of commonly found applications across iOS devices. You can either choose to Allow some applications or Block some applications.
- Once you have chosen the Applications, click NEXT.
- This section is about Allowing Websites. Please refer to our tutorial on How to Allow Websites to get an understanding on this. For now please click NEXT.
- This section is about Branding and ordering Home Screen on the devices. Please refer to our tutorial on How to set Branding to get an understanding on this. For now please click NEXT.
- The last section is the Restrictions section. In this section you can control various settings. The various features are elaborated in our other tutorials, for now click CREATE PROFILE.
- Once the Profile is created it will be listed in your Device Profiles section.

Now that you have created a Profile, depending upon your deployment scenario, please refer to,
Was this article helpful?