Configure Email (POP/IMAP) for iOS Devices
- 09 Sep 2023
- 1 Minute to read
- Print
- PDF
Configure Email (POP/IMAP) for iOS Devices
- Updated on 09 Sep 2023
- 1 Minute to read
- Print
- PDF
Article Summary
Share feedback
Thanks for sharing your feedback!
Some organizations, mostly SME's opt for a POP/IMAP based email servers, which gives them full benefits of email and at the same time keeping the costs low.
Scalefusion addresses this by providing you with an easy to use Email Settings section, where you can configure the Email policy for your organization and then push them to Scalefusion managed iOS devices. In this guide, we will see how to create, configure and publish an Email configuration from Scalefusion Dashboard.
Before You Begin
✅ Login to Scalefusion Dashboard
✅ Have access to your organization POP/IMAP Email settings.
✅ Have access to one Scalefusion managed iOS device.
Creating An Email Configuration
Follow these steps to create an email configuration.
- Navigate to Email Utilities ➞ Email Settings. This section will display the existing configurations and the actions that can be performed on them.
- Click on Add New in the upper right corner.
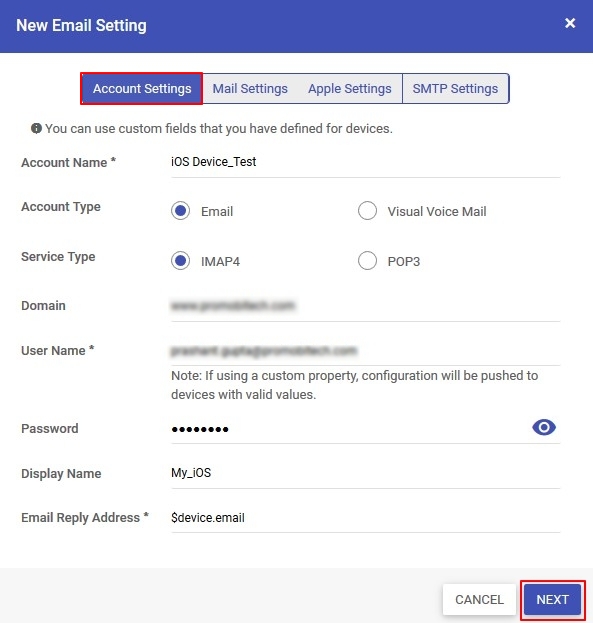
- The Create Email Configuration dialog will be displayed. The dialog has three tabs,
- Account Settings: Configure the mandatory settings in this tab.
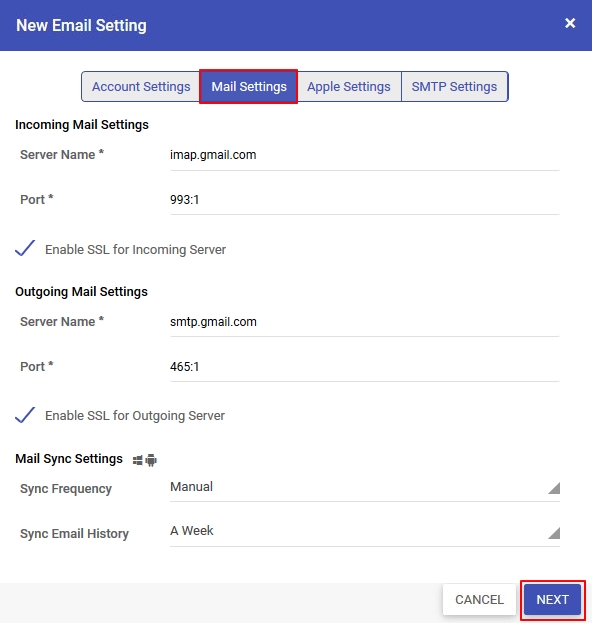
- Mail Settings: Specify the incoming and outgoing email servers.
- Apple Settings: These are Apple-specific settings
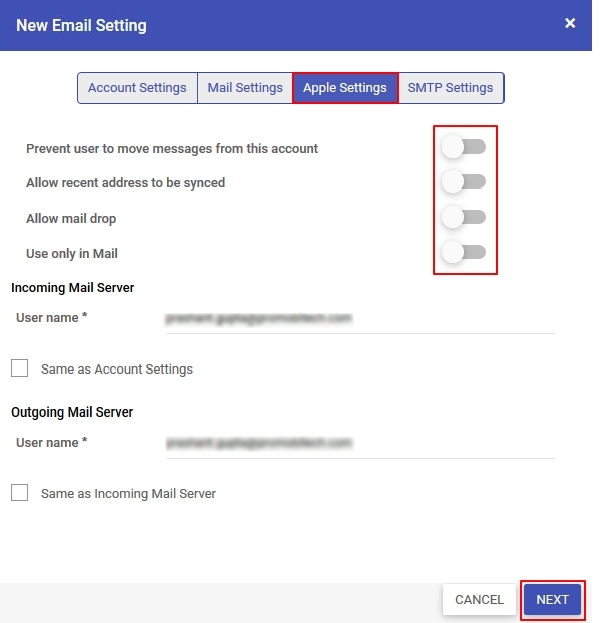
- Prevent users from moving messages from this account: Prohibits the user from forwarding an email to another account. Also, the user cannot reply to a mail from a different account other than the one it originated from.
- Allow a recent address to be synced: Displays this email account in the Recent Addresses list.
- Allow Mail Drop: Allows you to send an attachment through Mail Drop. Mail Drop lets you send attachments up to 5GB.
- Use only in Mail: Enabling this option will make this account unavailable for sending mail from any app other than the Apple Mail app.
- SMTP Settings (optional): Configure SMTP Alternative settings in this section.
.jpg)
- Account Settings: Configure the mandatory settings in this tab.
- Click on Save.


.jpg)
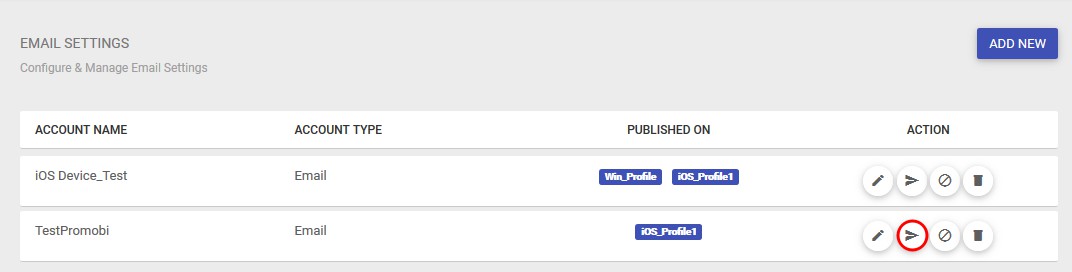
Once the configuration is saved, it will display in the list as shown below.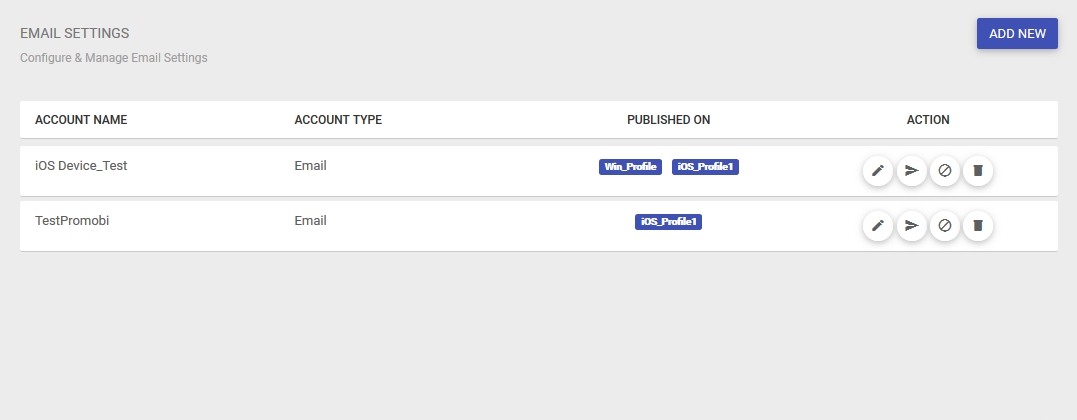
Publishing An Email Configuration
The next step is to publish the email configuration on your iOS device. To publish the email configuration:
- Under the Email Settings page, click on the Publish icon of the respective Account Name.
- From the list of Device Profiles, select the profile where you want to apply the configuration and select Publish.
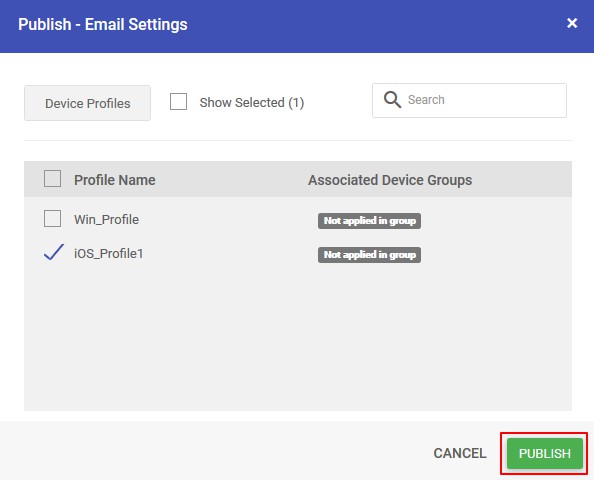
- Click on Publish in the bottom right corner. This will push the configuration on the device(s) in that profile and setup the Mail client on the device.


Was this article helpful?