Browser based Enrollment of Company Owned iOS Devices
- 28 Sep 2023
- 2 Minutes to read
- Print
- PDF
Browser based Enrollment of Company Owned iOS Devices
- Updated on 28 Sep 2023
- 2 Minutes to read
- Print
- PDF
Article Summary
Share feedback
Thanks for sharing your feedback!
In addition to enrolling devices with QR codes, Company-owned iOS devices can now be enrolled into Scalefusion with an Enrollment URL and code through the Safari browser, as well.
This document explains how it can be done.
This enrollment method lets you enroll the devices in Company Owned Device Management mode. If you are looking to let your employees enroll their personal devices, please refer to our How to Enroll a User/Employee Owned device.
Before you Start
- Make sure you completed the APNs upload part as per Setting Up APNs guide.
- Make sure you have at least one Device Profile as per Create an Apple Device Profile guide.
- Make sure you have at least one QR Code configuration as per Create a QR Code Configuration guide.
Steps on iOS Devices
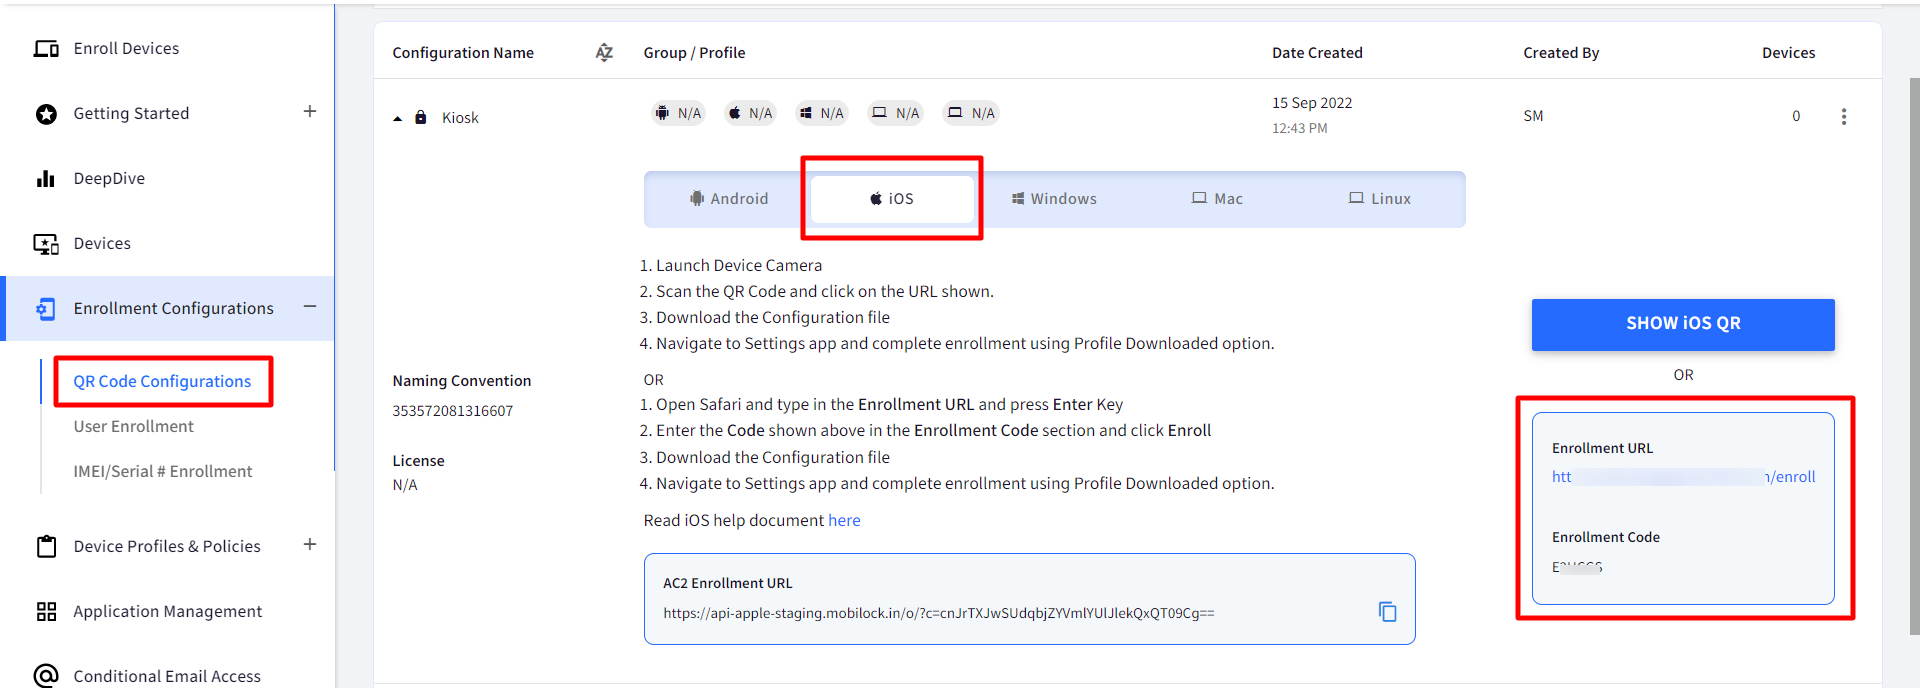
- Start by logging into the Dashboard and navigate to Enrollment Configurations > QR Code Configurations
- Expand the Configuration that you want to use. Under the iOS tab, you will find the Enrollment URL and Enrollment Code on the right-side.
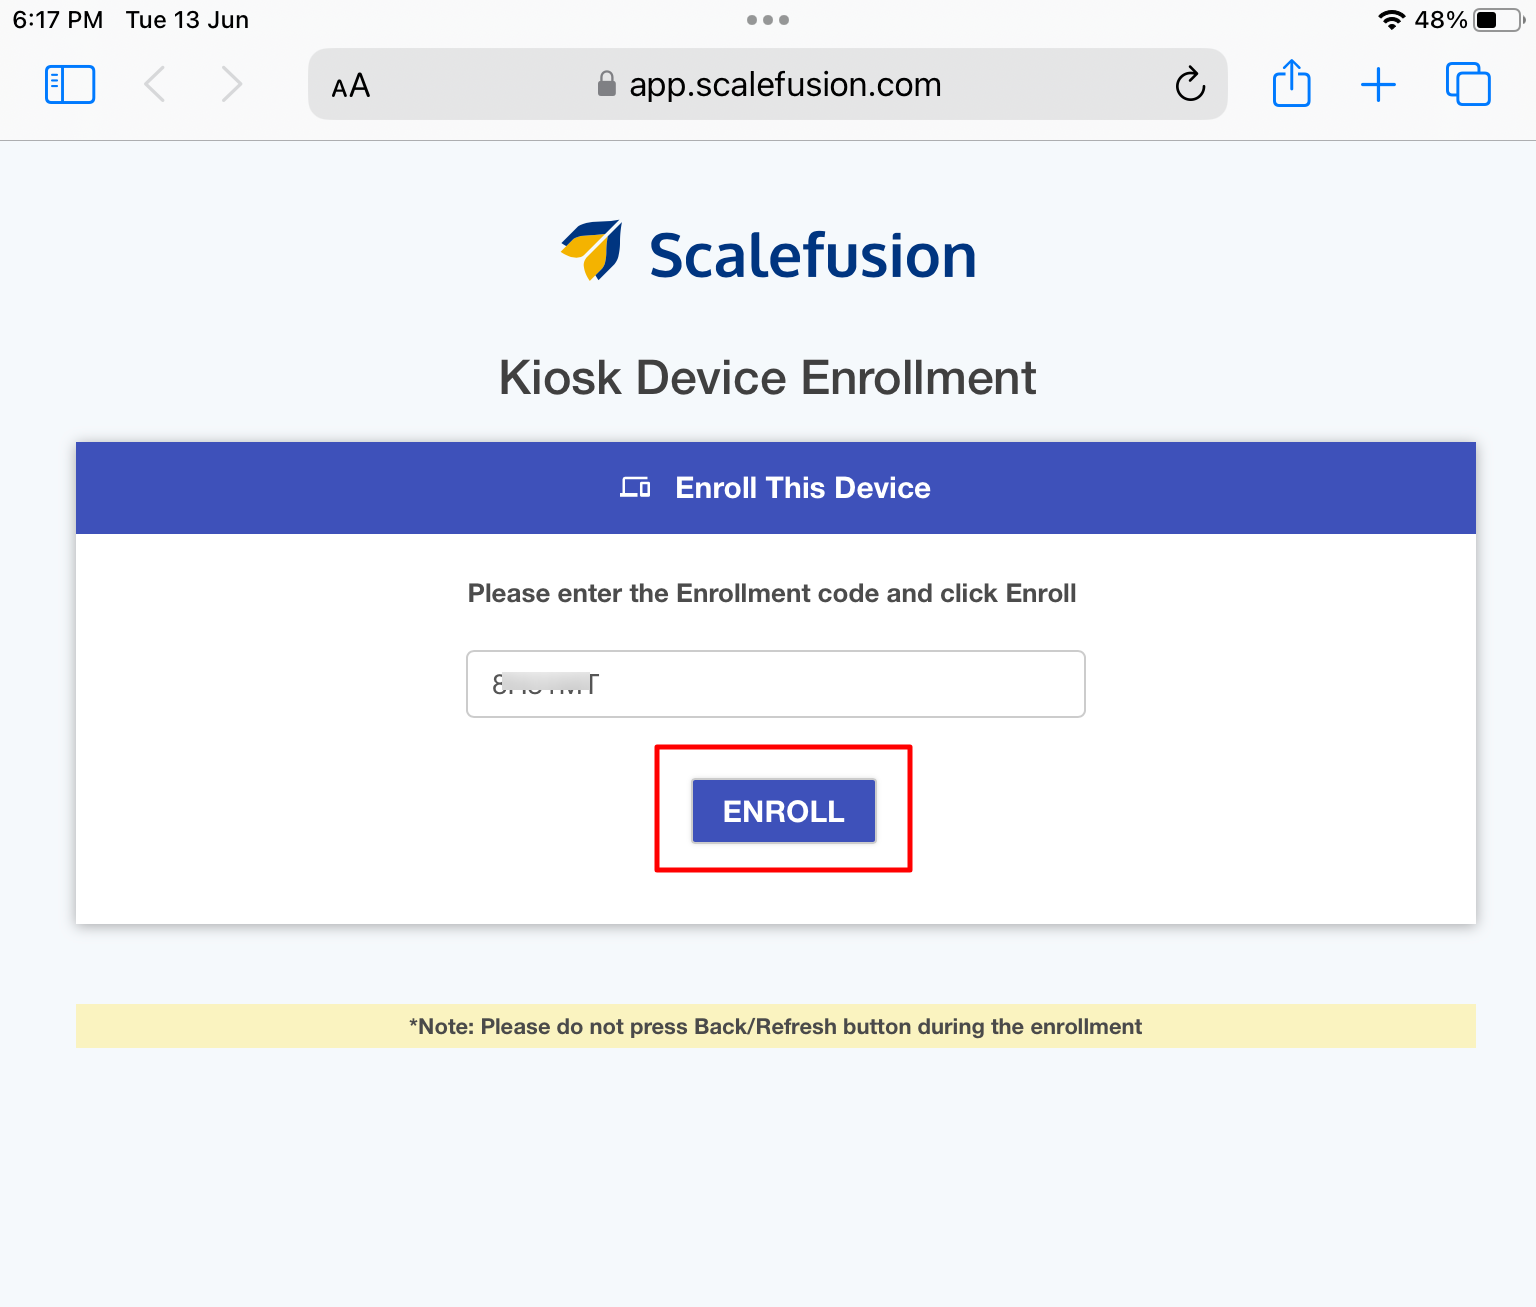
- On the iOS Device, open Safari type in the Enrollment URL, and press Enter Key

- Enter the Code shown in the Enrollment Code section (under QR code configuration on Scalefusion Dashboard) and click on Enroll.
- If it's a User Authenticated Enrollment, the next screens will ask you to enter the user's email ID and OTP for user authentication. Visit here to learn more. If it is useless enrollment, the next steps will be as follows:
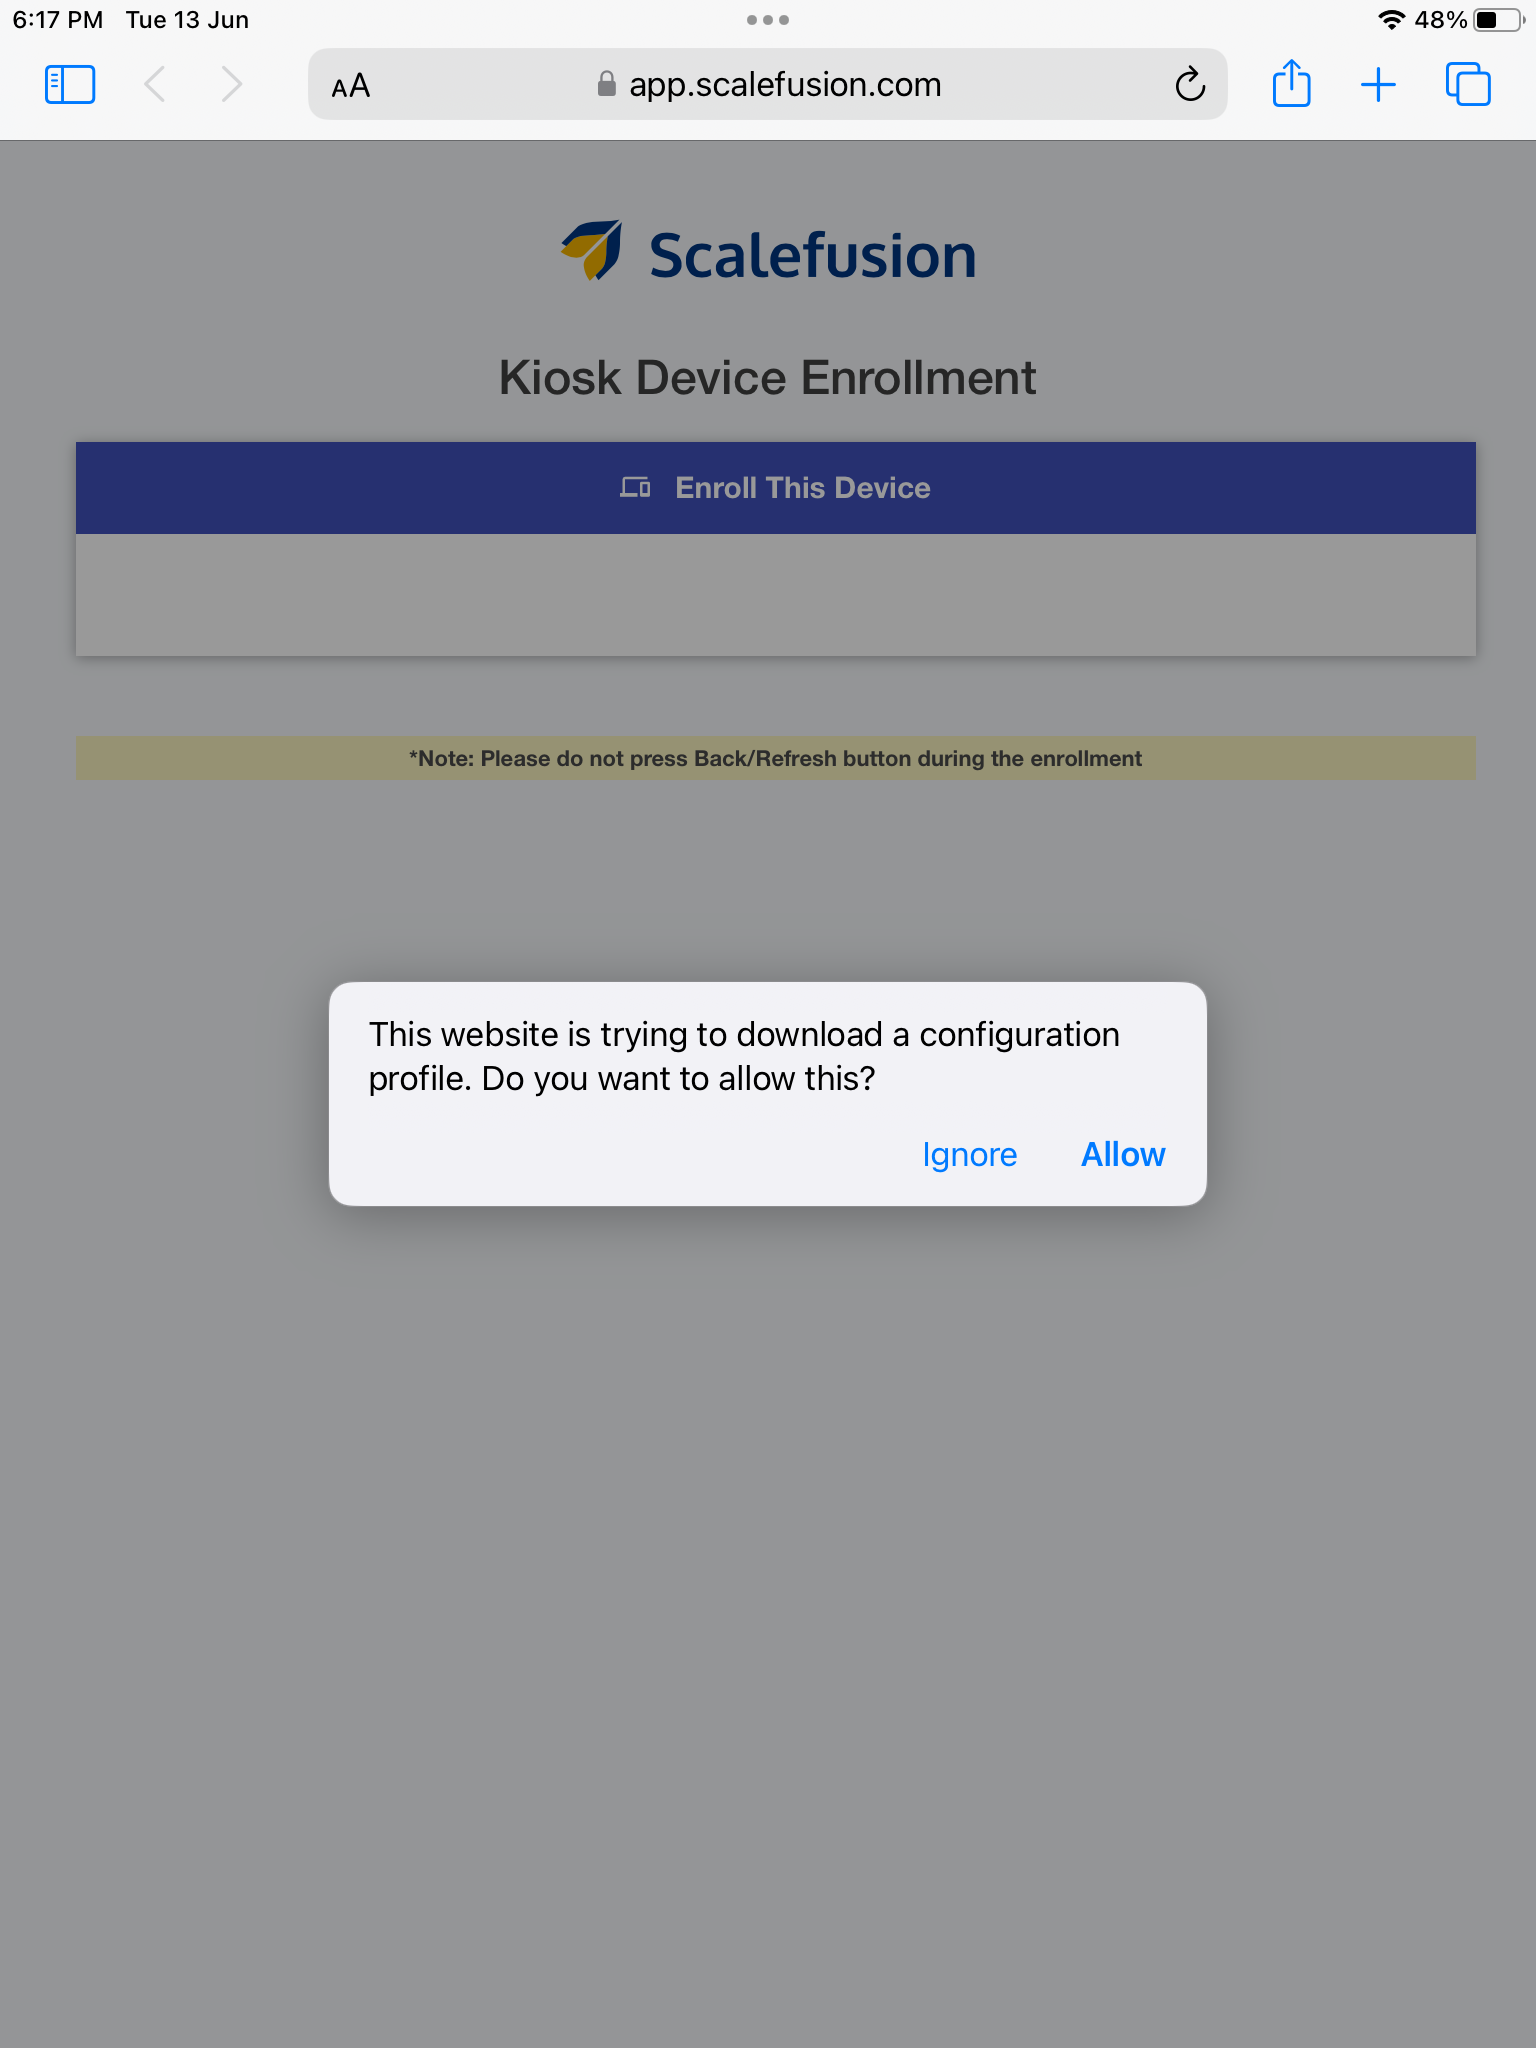
- A dialog box will be displayed informing that the Settings app will be opened. Click on Allow.
- At this point, the MDM Profile will be downloaded, and you will see an alert asking you to navigate to Settings to complete setup. Click on Close.
- Press the Home key on the device and launch the Settings app.
- In the Settings app, find and click on the Profile Downloaded option. This is normally located below the Apple ID menu item in Settings.
- On the next screen, click on Install on the top right.
- This will start enrolling the device, and if the initial checks pass, then you will be shown a warning page informing you that Scalefusion will be remotely managing the device. Click on Install again.
- A dialog will be shown to confirm if you Trust this server. Click on Trust.
- This will start signing into the Scalefusion, and once completed, you will see a screen with the Done option.
- Clicking on Done will complete the flow, and you should see the set of policies and applications that you had allowed in the Device Profile have been applied to the device.


Was this article helpful?