Android Enterprise Setup with Any Email
- 25 Mar 2024
- 6 Minutes to read
- Print
- PDF
Android Enterprise Setup with Any Email
- Updated on 25 Mar 2024
- 6 Minutes to read
- Print
- PDF
Article Summary
Share feedback
Thanks for sharing your feedback!
Android Enterprise (AFW) provides a streamlined mechanism to enroll, manage, and secure your company-owned as well as employee-owned (BYOD) devices. For setting up Android Enterprise to manage Android devices, you'll need to register Scalefusion as your Enterprise Mobility Management (EMM) provider with Google.
This document describes in detail how to register with Android Enterprise.
Before you begin
- You will need an Email id. It could be:
- A non-corporate/personal Gmail id.
- A corporate email id (recommended).
- A Google Workspace email id (recommended).
Steps to Register
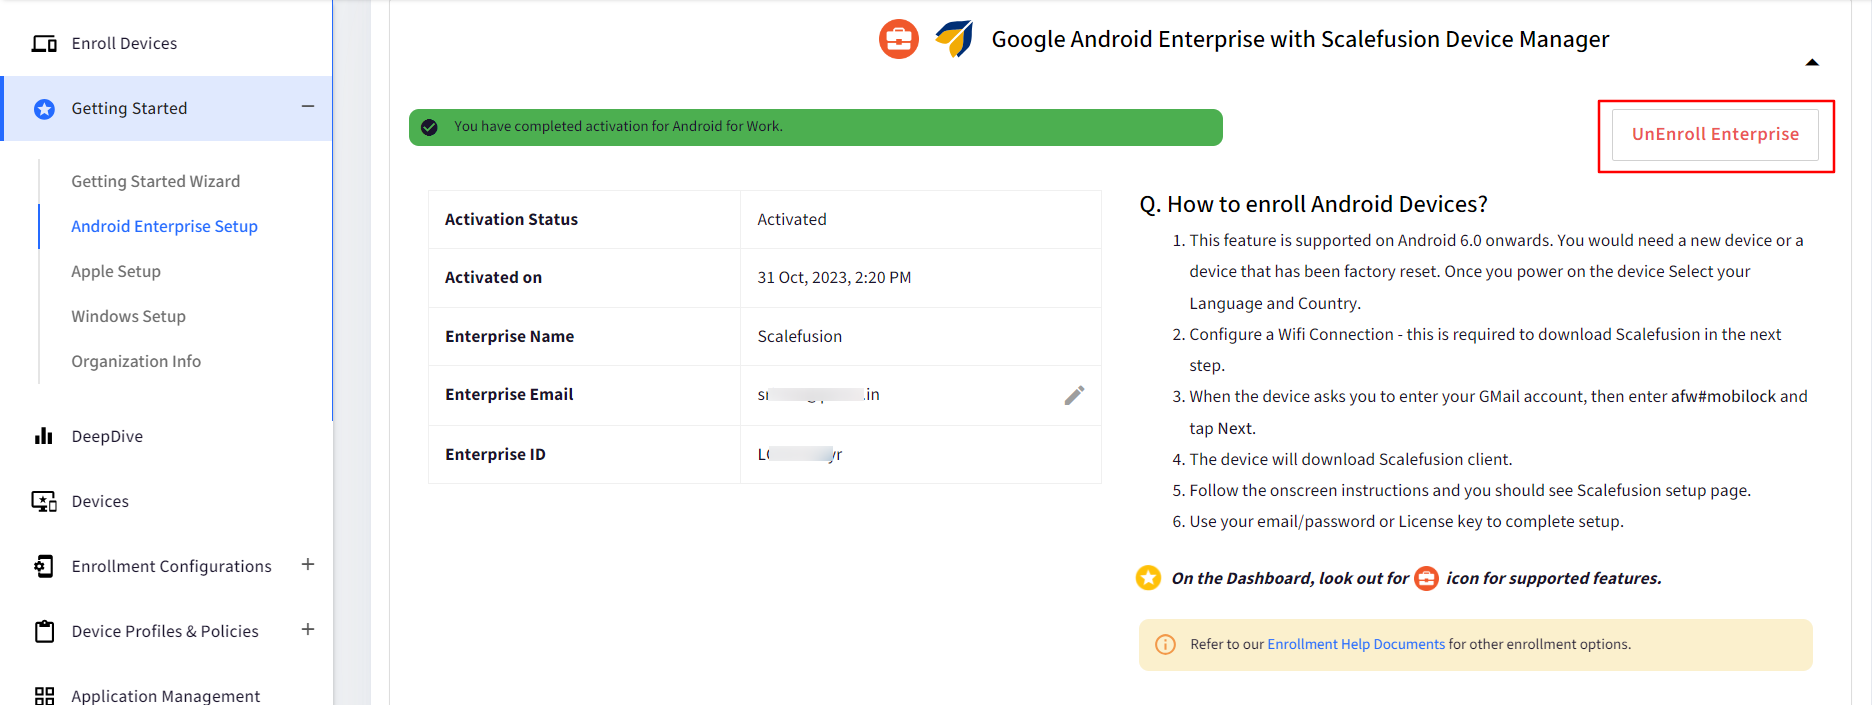
- Log into the Scalefusion dashboard and navigate to Getting Started > Android Enterprise Setup.
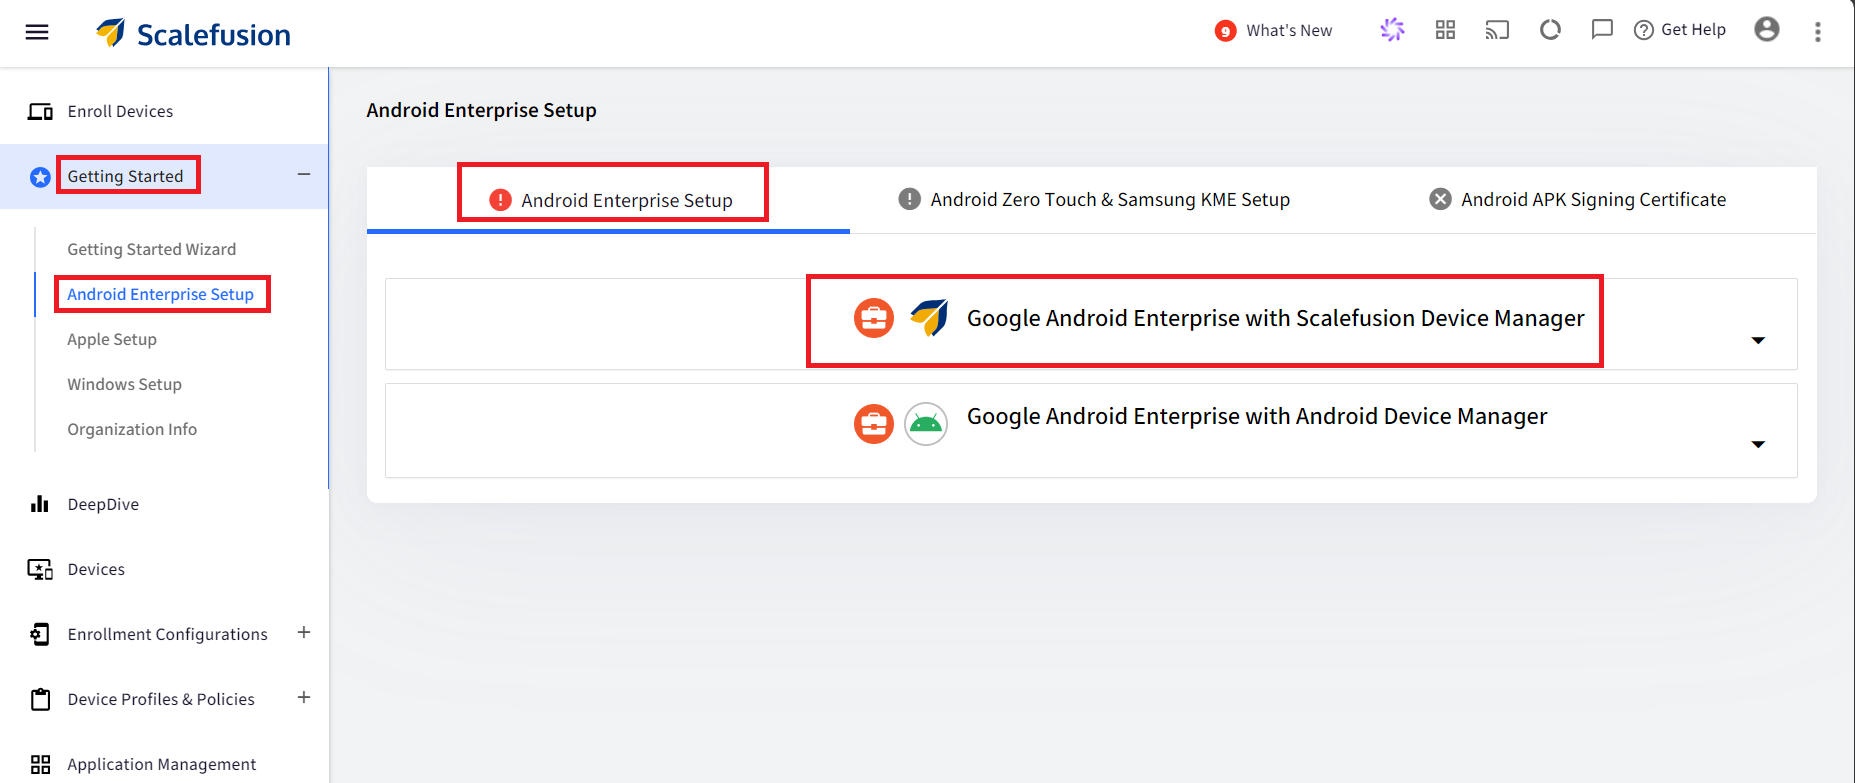
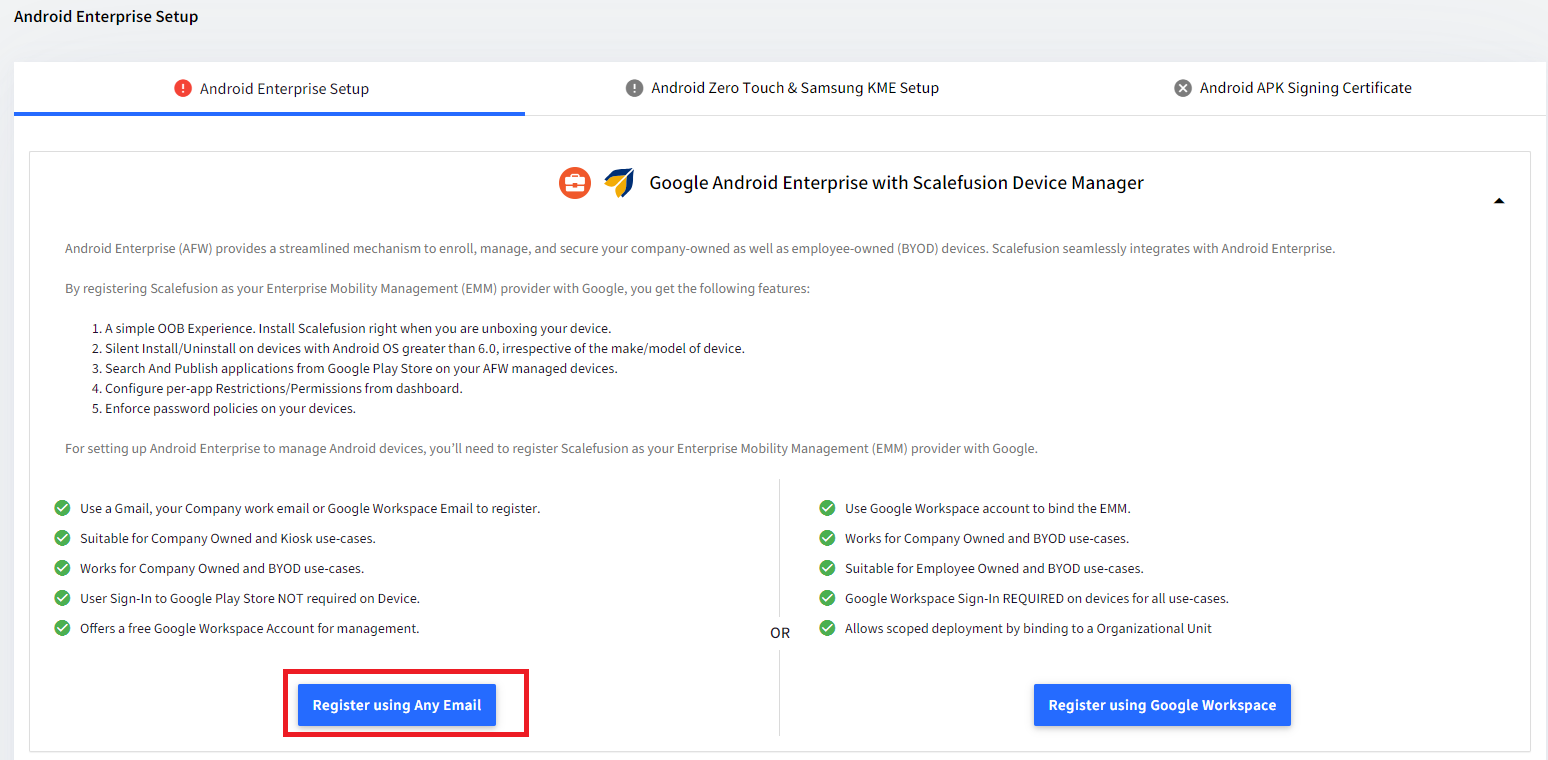
- In the section, Google Android Enterprise with Scalefusion Device Manager, click on Register with Any Email button.


(A) Set up Android Enterprise using a non-corporate/personal Gmail ID
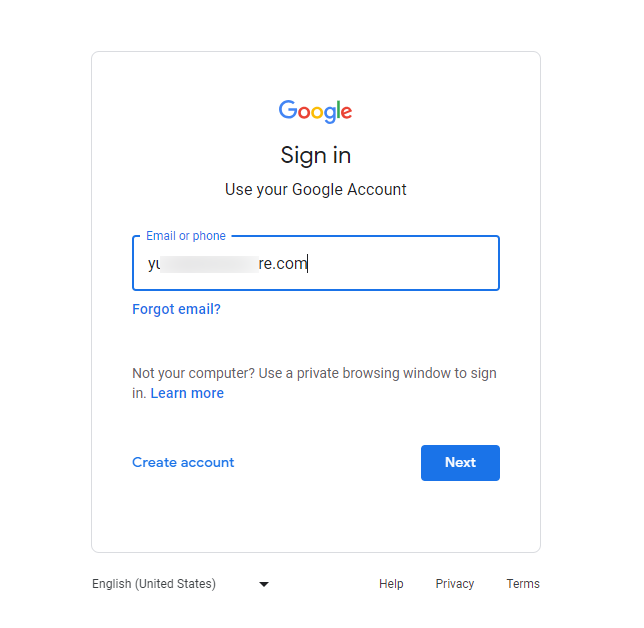
- Once you click on Register with Any Email, you will be taken to the following screen where you will have to enter your email id.
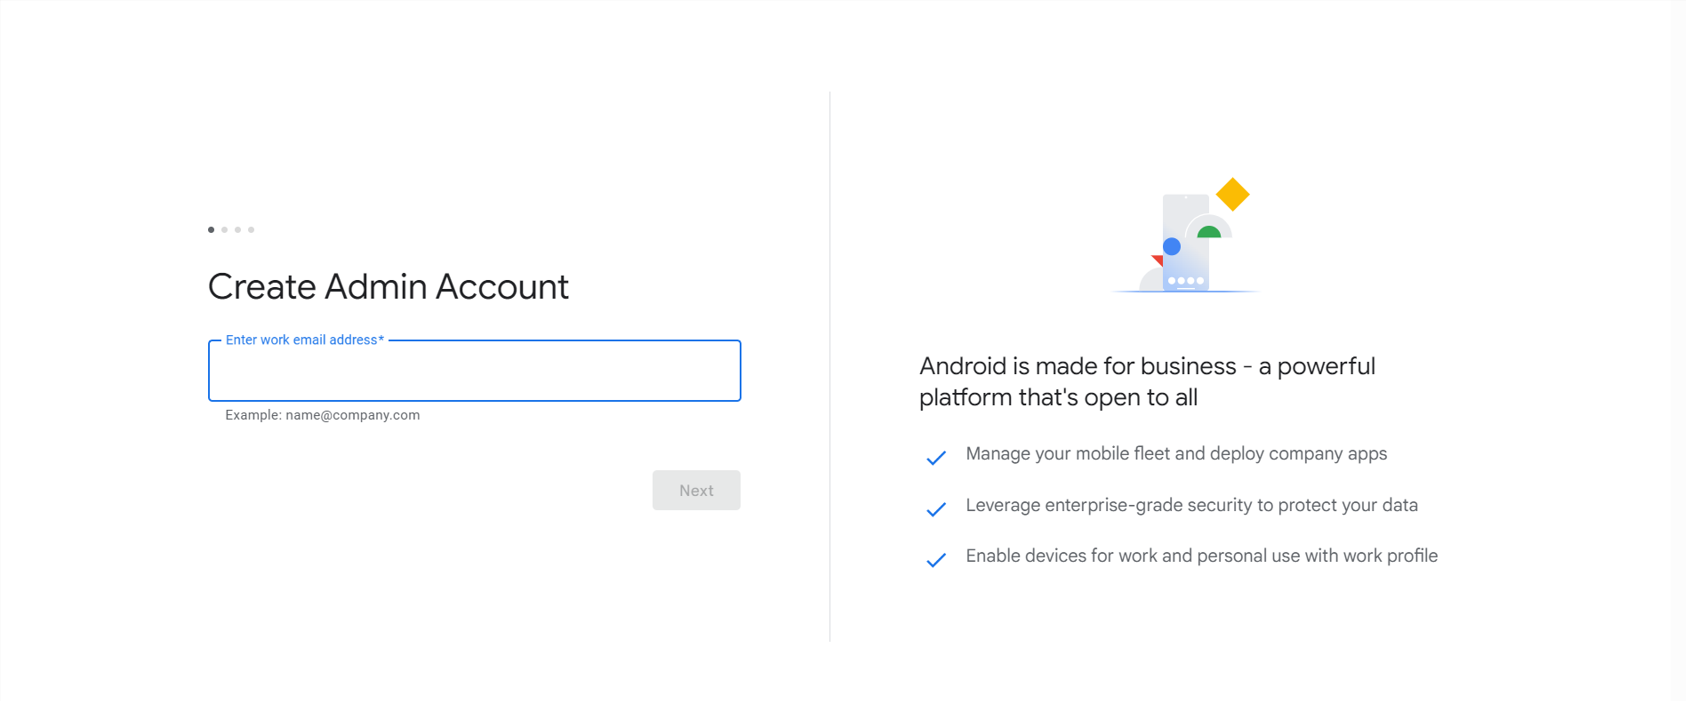
- Enter your non-corporate/personal Gmail id and click on Next.
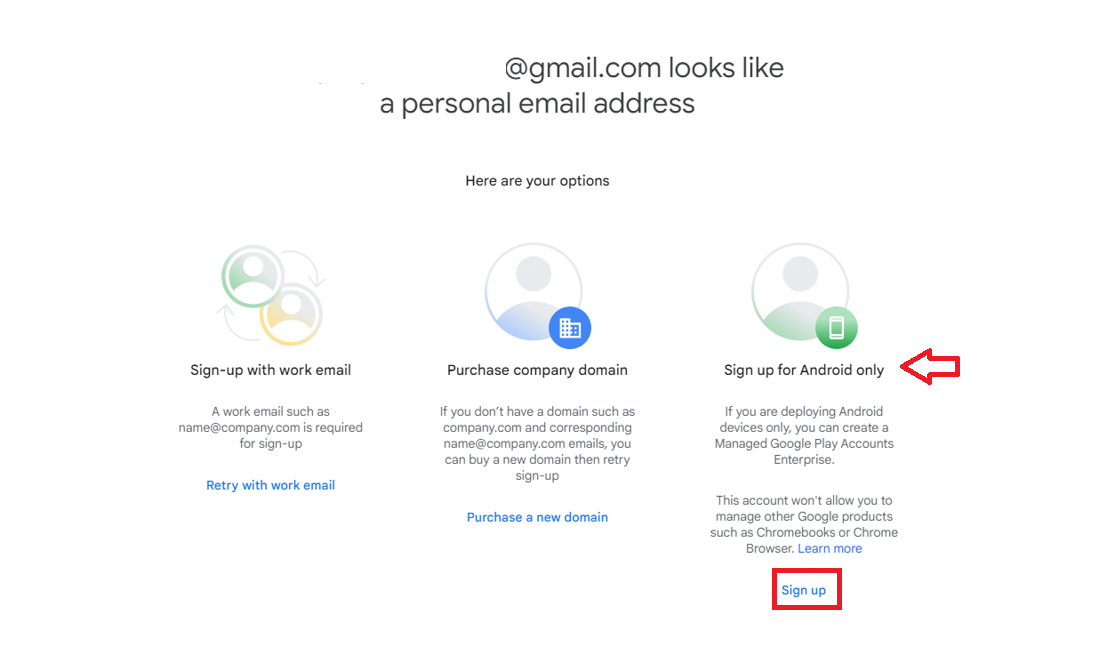
- You will be shown the below screen where you will see the 3 options. If you do not have a work email or do not wish to purchase the company domain, please click on Sign up option under Sign up for Android Only.
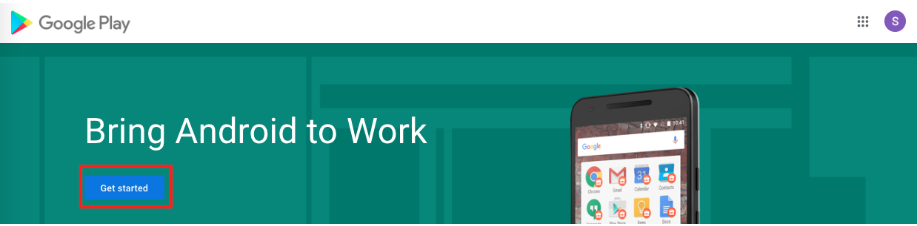
- You will be redirected to Managed Google Play page. Click on Getting Started.
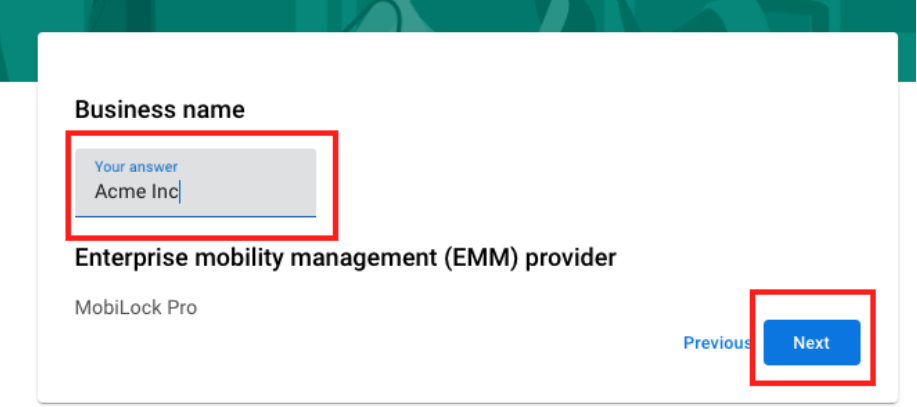
- Enter your organization/company name and click on Next.
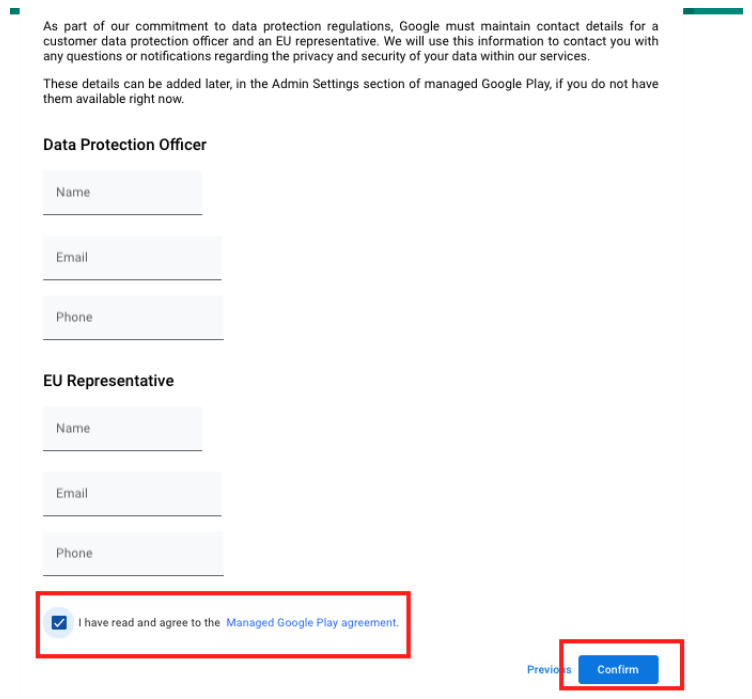
- On the next screen, fill in the DPO and EU representative details as applicable. If you do not have DPO details or if these are not applicable for your organization, select I have read and agree to Managed Google Play agreement and click on Confirm.
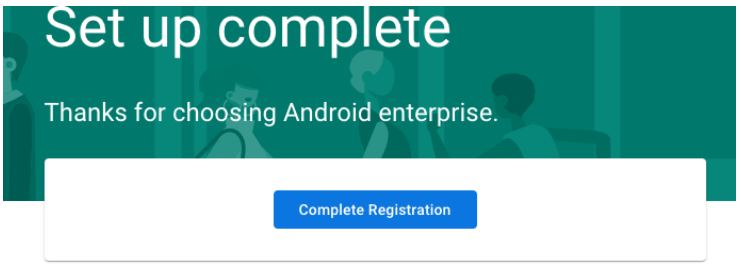
- The following screen confirms that the registration is complete. Click on Complete Registration to navigate back to Scalefusion portal.
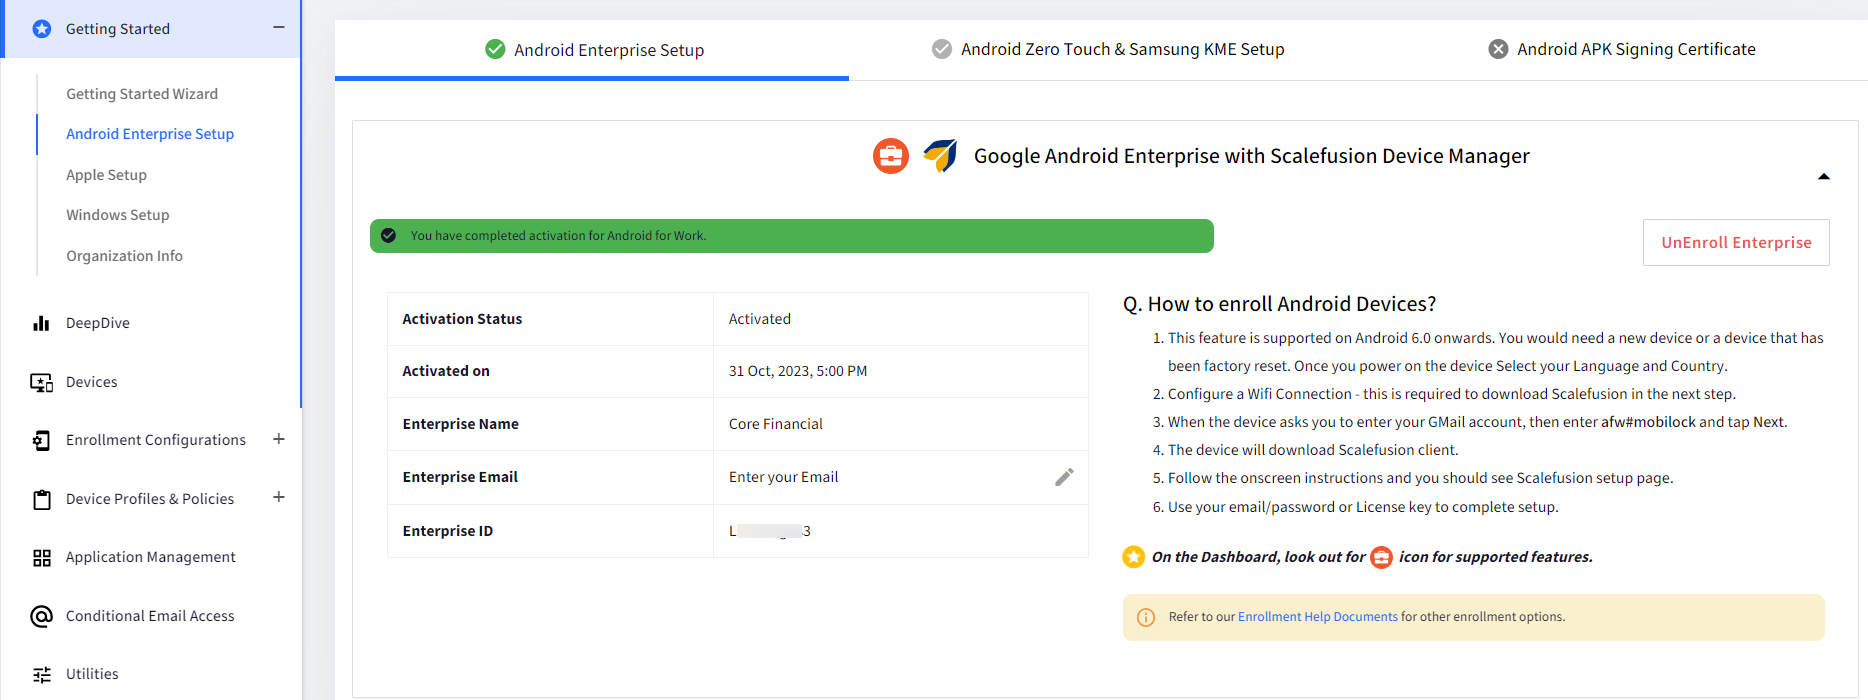
- On the Scalefusion portal you will see the following screen. The Gmail account that you used for enrolling, along with Google-assigned Enterprise ID will be displayed here.
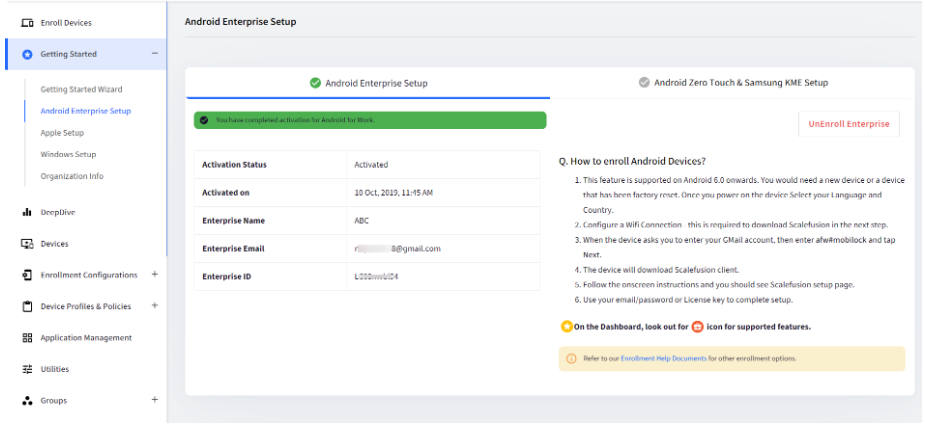


This completes the Android Enterprise Setup using non-corporate/personal Gmail. Now you are ready to start using Scalefusion to manage your corporate and employee-owned devices. Refer to our Company Owned Device Management guide or Employee-Owned Device Management guide for further steps.
Please save the Google Account/Gmail address that you have used to bind the Android Enterprise safely. You would need this to accept Android Enterprise Terms and Services that may be updated from time to time.
Once you have completed the setup, please follow our guide to manage your Android Enterprise account to add additional owners and safeguard your binding from being deleted.
Please be aware that Google intends to phase out the use of non-corporate/personal Gmail accounts for Android Enterprise setup in the future. Once we receive official communication from Google, this document will be revised accordingly. It's important to note that any setups you've already completed will remain unaffected unless Google communicates otherwise.
(B) Set up Android Enterprise using a corporate email ID (recommended).
- Once you click on Register with Any Email, you will be taken to the following screen where you will have to enter your corporate email id.
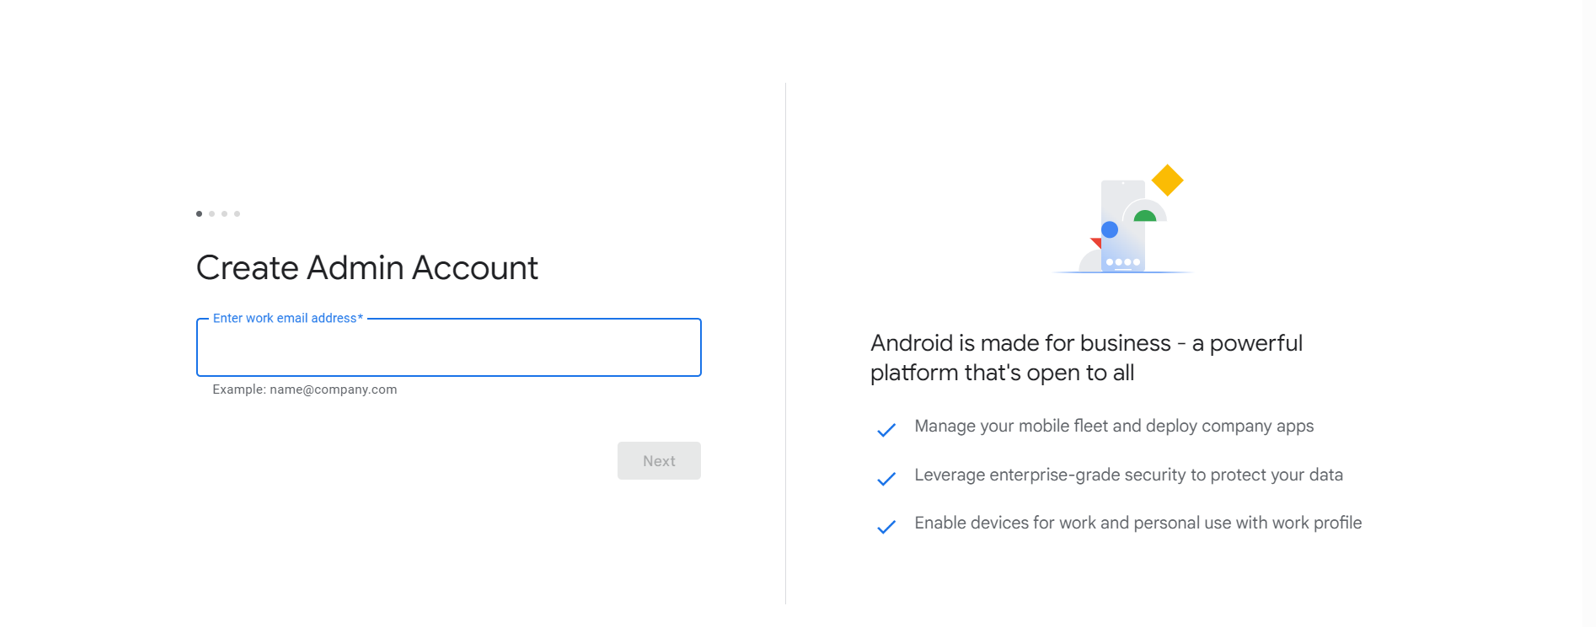
- Enter your corporate email id and click on Next.
- You will see a screen as below saying that an email has been sent to verify your corporate email id.
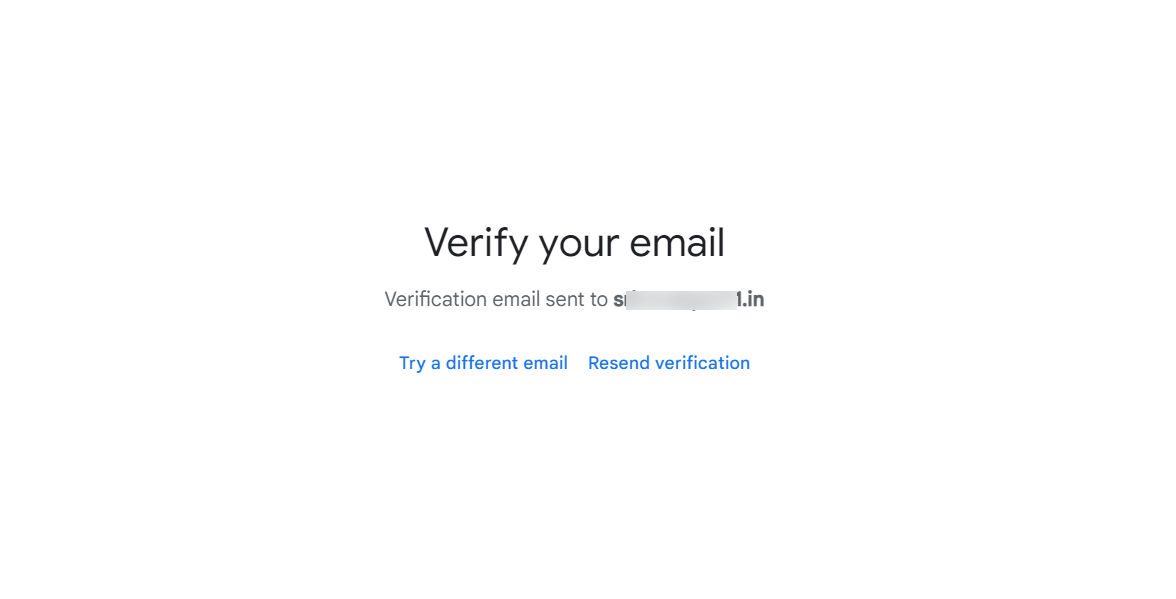
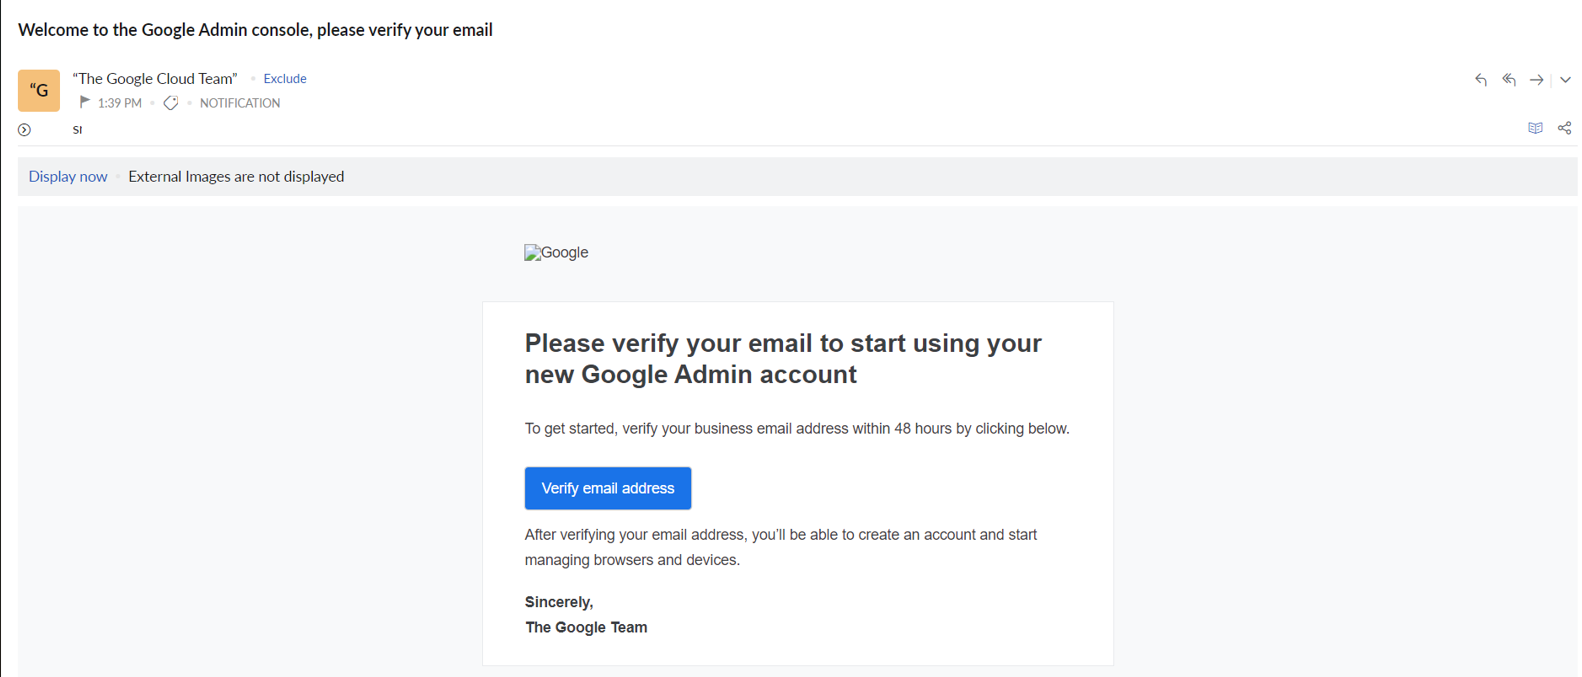
- Please check your inbox (or your Spam folder) for the email.
- Open the received email and click on Verify email address.
- You will be asked to sign in again.
- A verification code will be sent to your email.
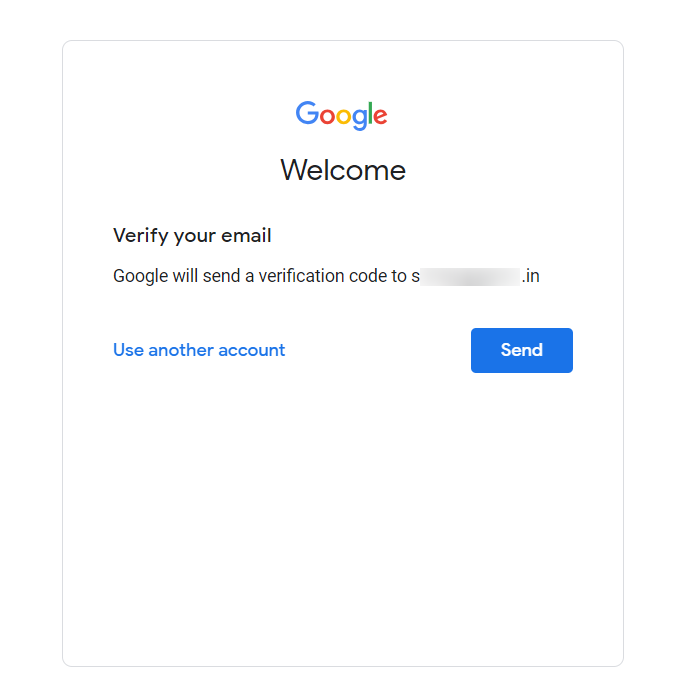
- Enter the code and proceed further.
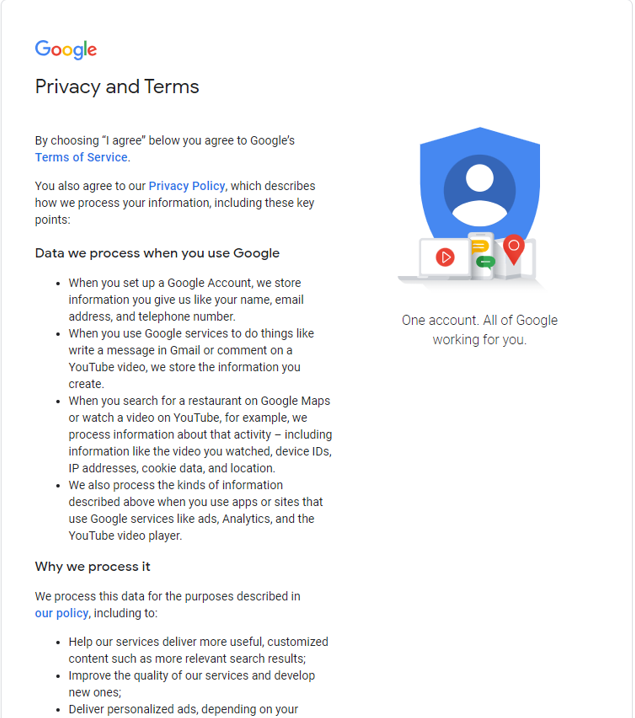
- Accept the Google's Privacy and Terms.
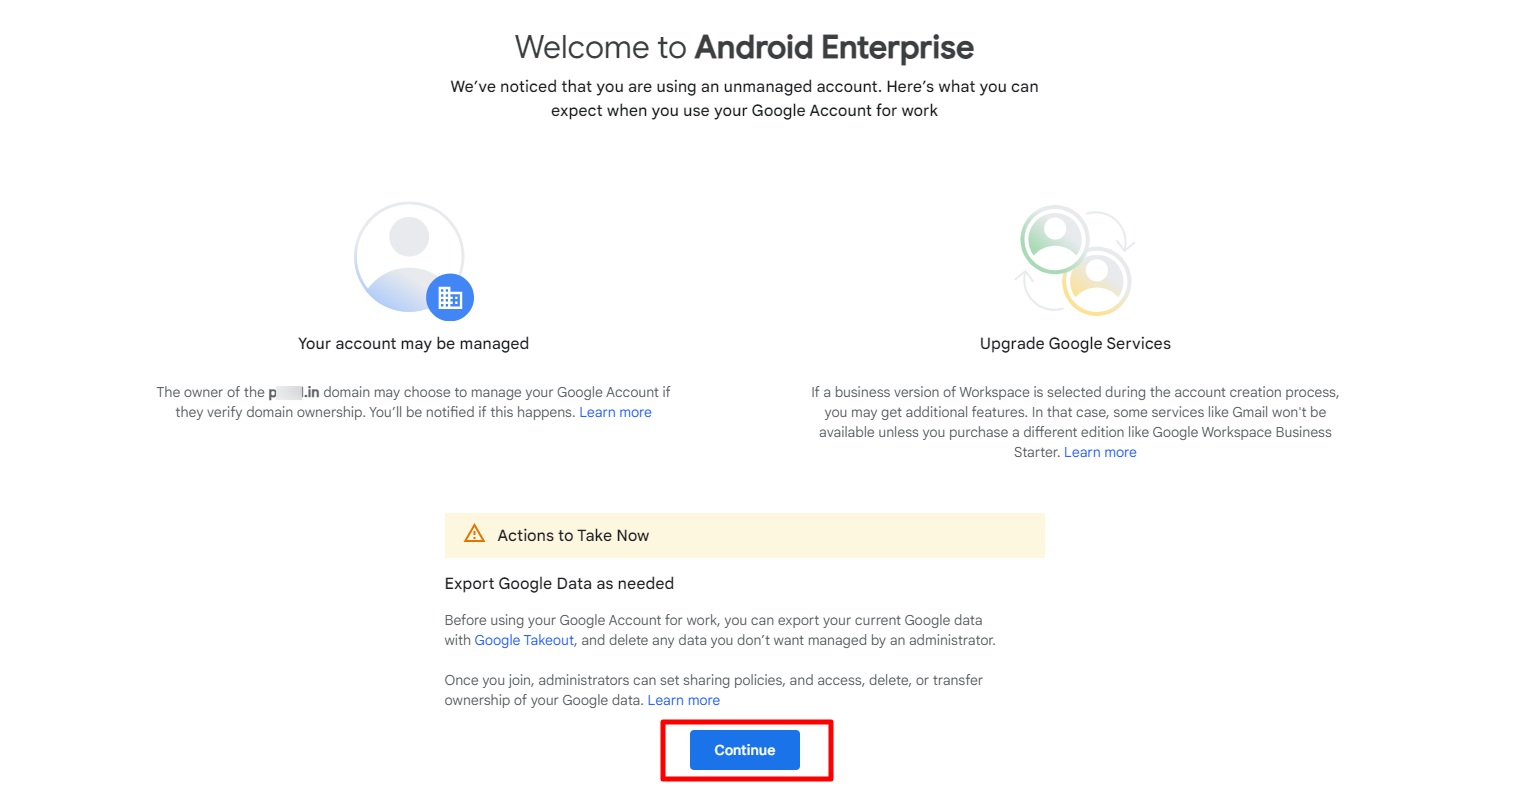
- In the next screen, click on Continue.
- Add the subscriptions in the next screen. The first three subscriptions- Android Enterprise, Google Workspace Essential Starter and Chrome Browser Cloud Management are free. Select these three and click on Next.

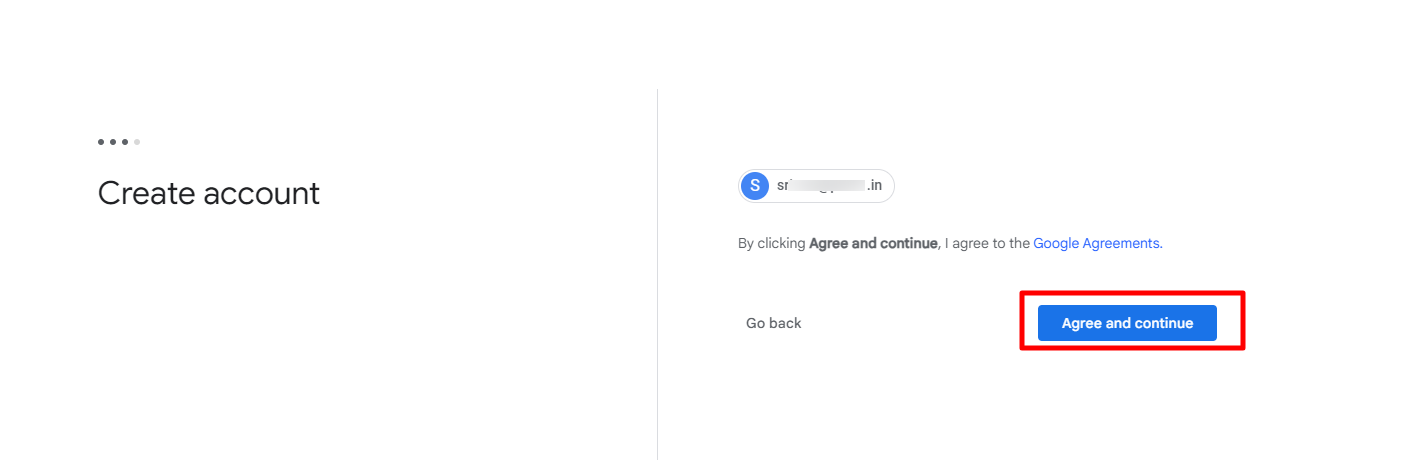
- Click on Agree and Continue.
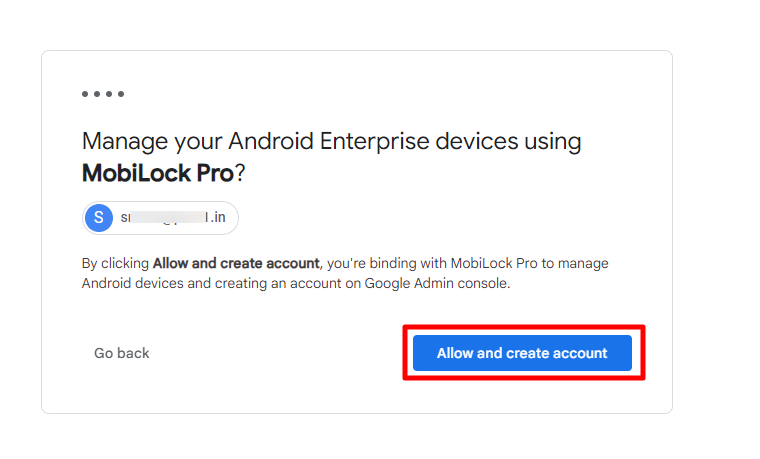
- On the next screen, click on Allow and create account. This will create your free Google Workspace account for Android Enterprise management.
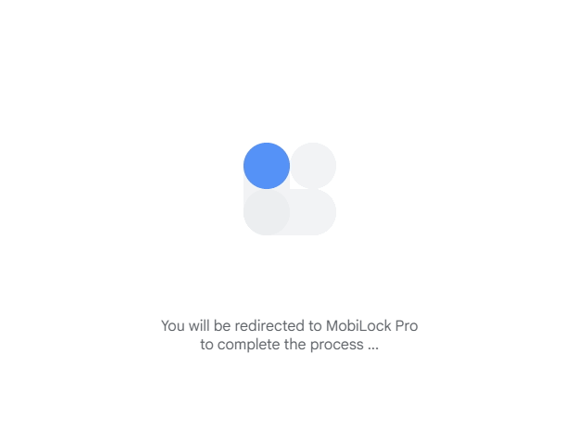
- You will be redirected back to the Scalefusion dashboard.
- On the Scalefusion dashboard the Android Enterprise set up will be complete. You will notice that the Enterprise email field will show as empty and hence, it is recommended to add the corporate email id here (it is recommended that you add the same email id that you would have used to do the set up) so as not to forget it.


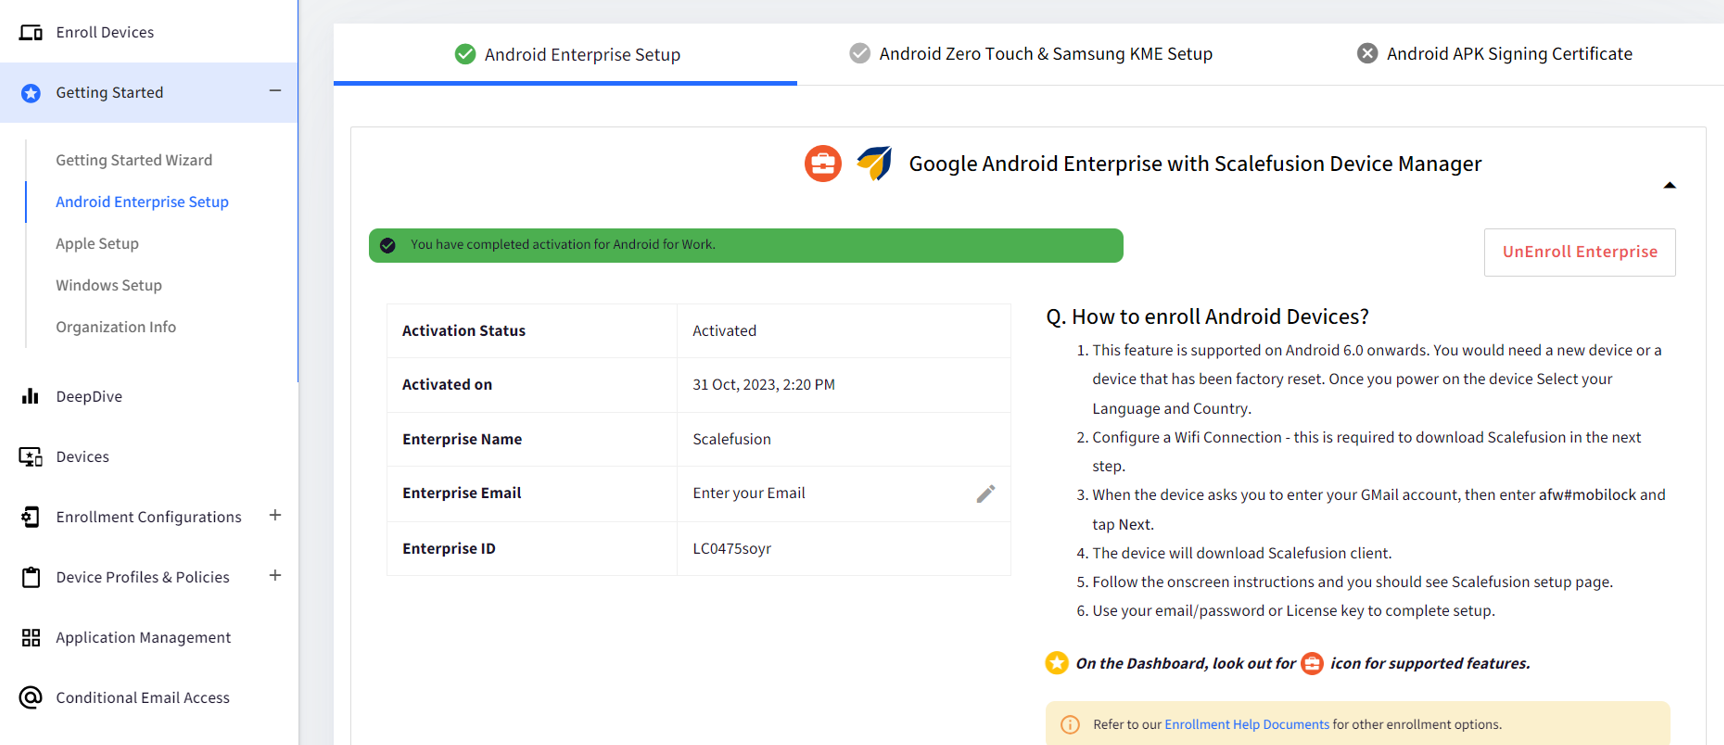
This completes the Android Enterprise Setup using your Corporate Email ID. Now you are ready to start using Scalefusion to manage your corporate and employee-owned devices.
(i) Check your newly created Google Workspace account.
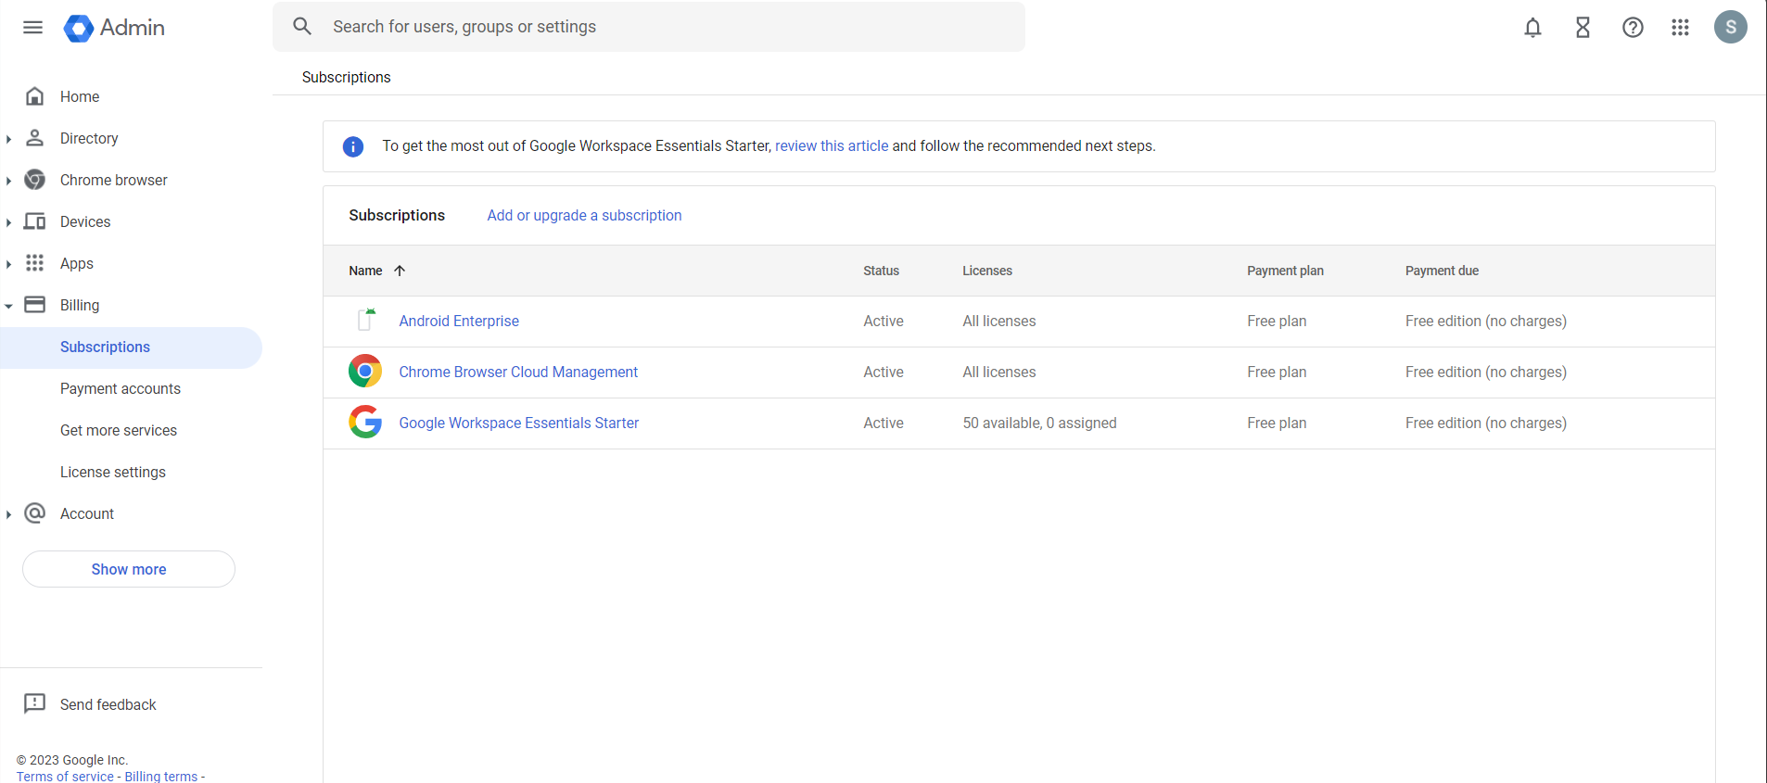
- Log into https://admin.google.com/ with your corporate email id that you have used to complete Android Enterprise set up.

- Click on Manage subscriptions to see the subscriptions added to this free account. These will be the same subscriptions that you would have selected during the set up. (Refer point 11 in the previous section above.)

(C) Set up Android Enterprise using a Google Workspace email id (recommended).
If your organization is already using a Google Workspace account, you can also use this email id to complete the Android Enterprise set up.
- Once you click on Register with Any Email, you will be taken to the following screen where you will have to enter your Google Workspace email id.
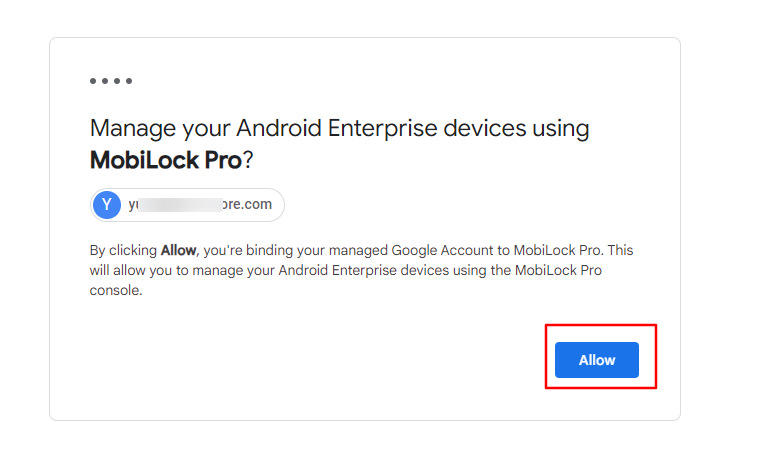
- In the next screen click on Allow.
- You will be redirected to Scalefusion dashboard next.
- On the Scalefusion dashboard the Android Enterprise set up will be complete. You will notice that the Enterprise email field will show as empty and hence, it is recommended to add the Google Workspace email id here (that you have used to do the set up) so as not to forget it.
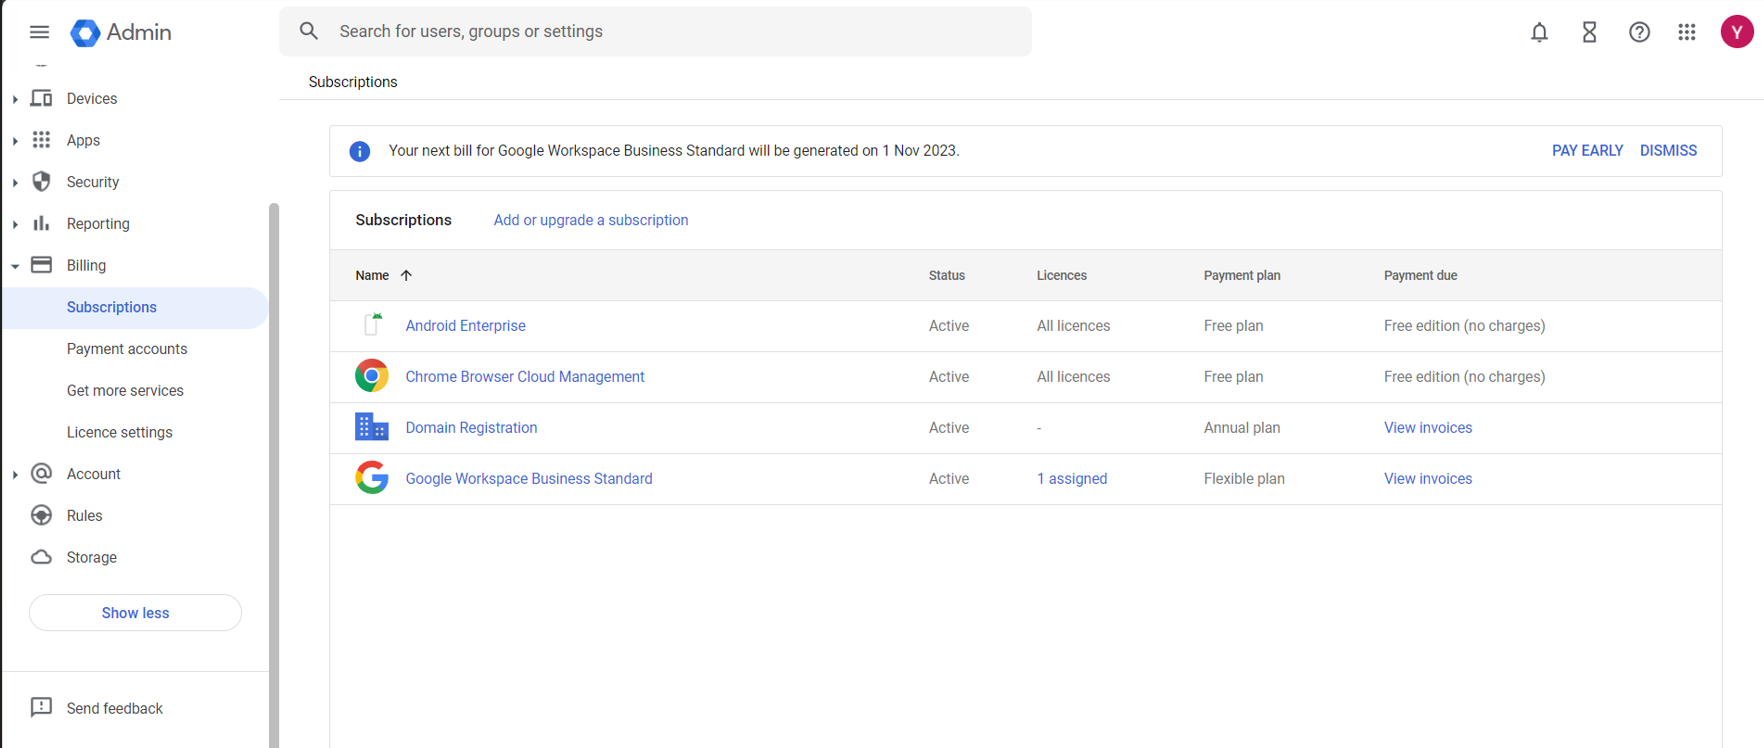
- In your Google Workspace Admin account navigate to Billing > Subscriptions, here you will be able to see the new subscriptions added for free, mainly, Android Enterprise and Chrome Browser Cloud Management.
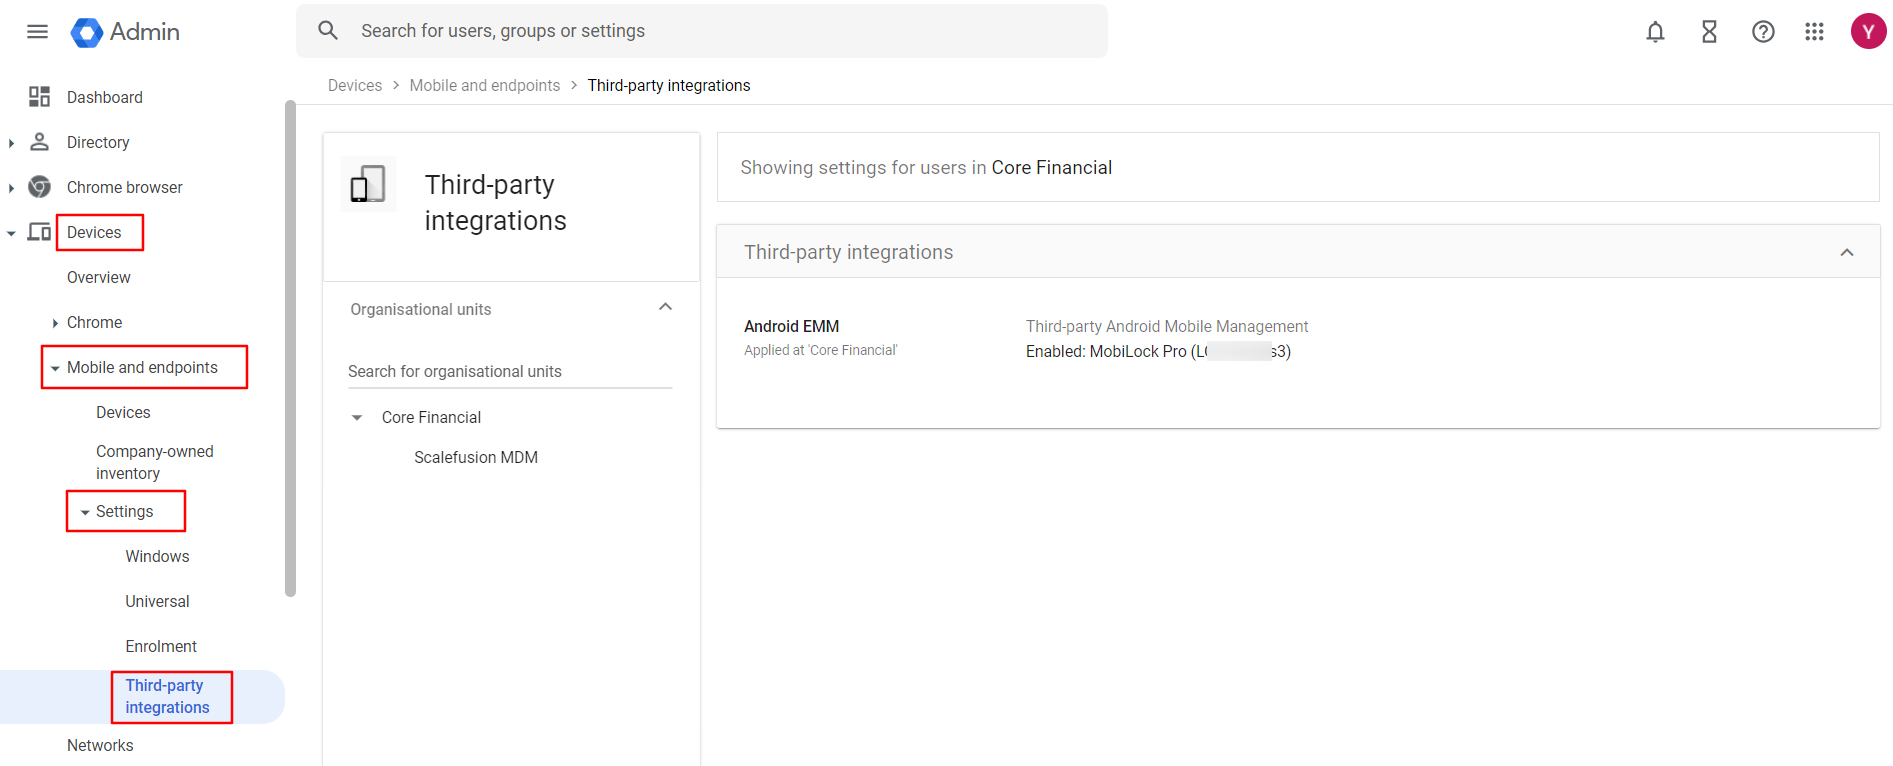
- In Third-party integrations under Devices, you will also see that Scalefusion (MobiLock Pro) has been automatically populated as the Android EMM service provider, along with the Enterprise ID.


This completes the Android Enterprise Setup using your Google Workspace ID. Now you are ready to start using Scalefusion to manage your corporate and employee-owned devices.
Unenroll and delete the Android Enterprise Setup
You can unenroll and remove the Android Enterprise Setup anytime. To do so please follow the below steps:
(i) Unenroll and delete the Android Enterprise set up done with non-corporate/personal Gmail ID
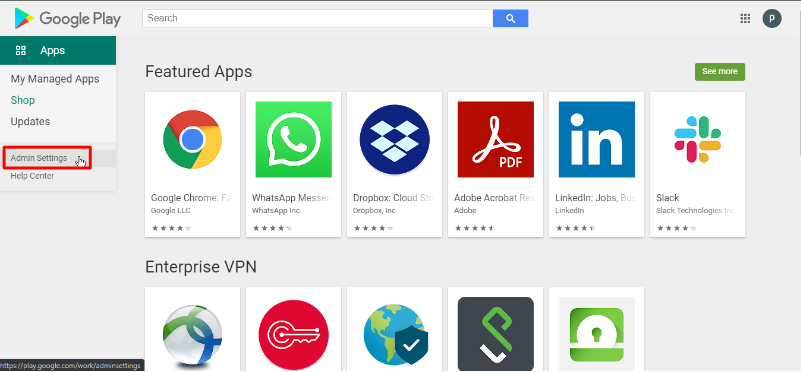
- Log into https://play.google.com/work with the same Gmail credentials that were used for registering into Android Enterprise Setup.
- Click on Admin Settings on the left panel.
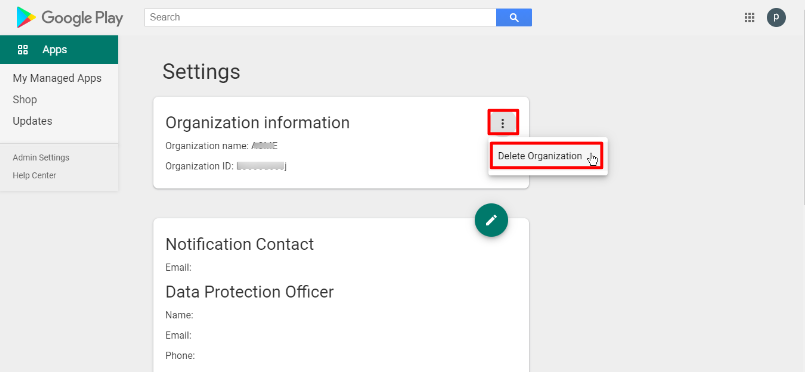
- In Organization Information, click on the 3 dots menu and click on Delete Organization under it.
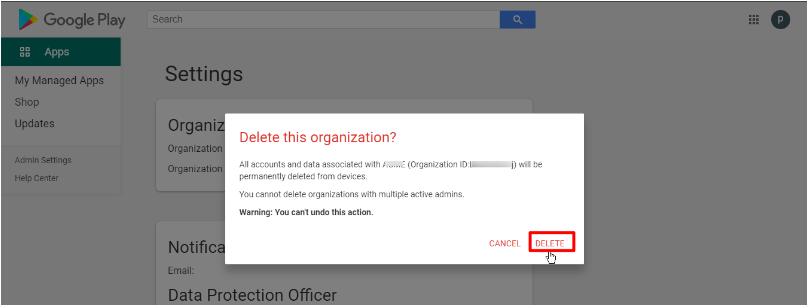
- A confirmation box will come up. Confirm the action by clicking on Delete.
- Now login to Scalefusion Dashboard and navigate to Getting Started > Android Enterprise Setup. Here, click on UnEnroll Enterprise.
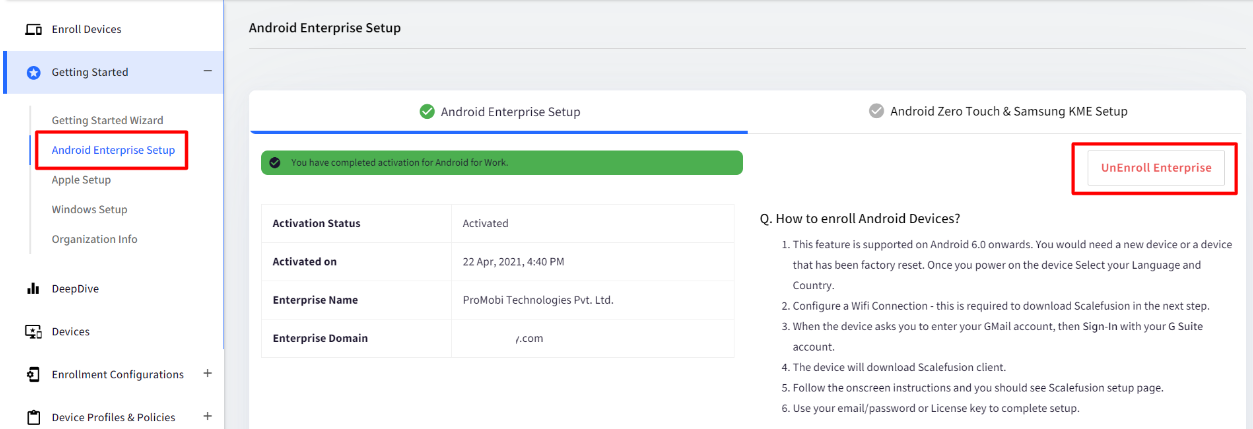
- You will be asked to enter your Scalefusion Dashboard login password to confirm. Enter the password and click SUBMIT.
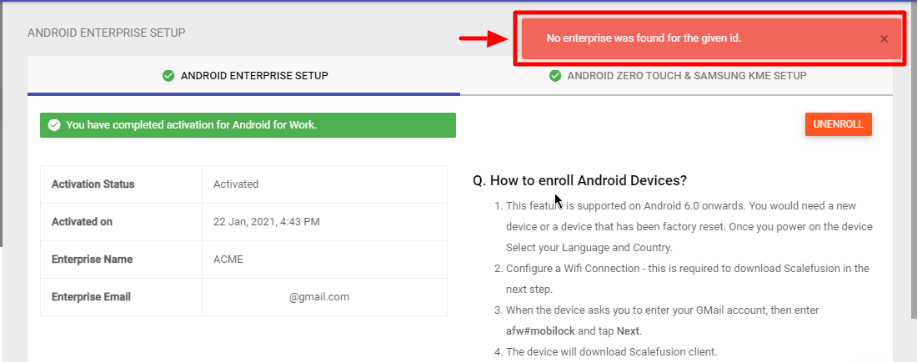
- You will see a message No enterprise was found for the given id. This is because the organization has been deleted. Refresh the page.
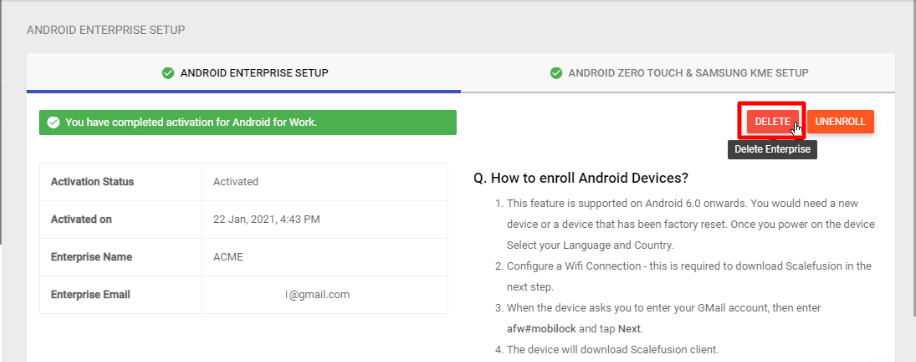
- On refreshing, the Delete Button will appear. Click on this button.
- On the confirmation box, click OK.
- This completes the unenrollment and deletes the Android Enterprise Setup from your account.


(ii) Unenroll and delete the Android Enterprise set up done with a corporate email ID
- Navigate to Getting Started > Android Enterprise Setup.
- Click on UnEnroll Enterprise button.
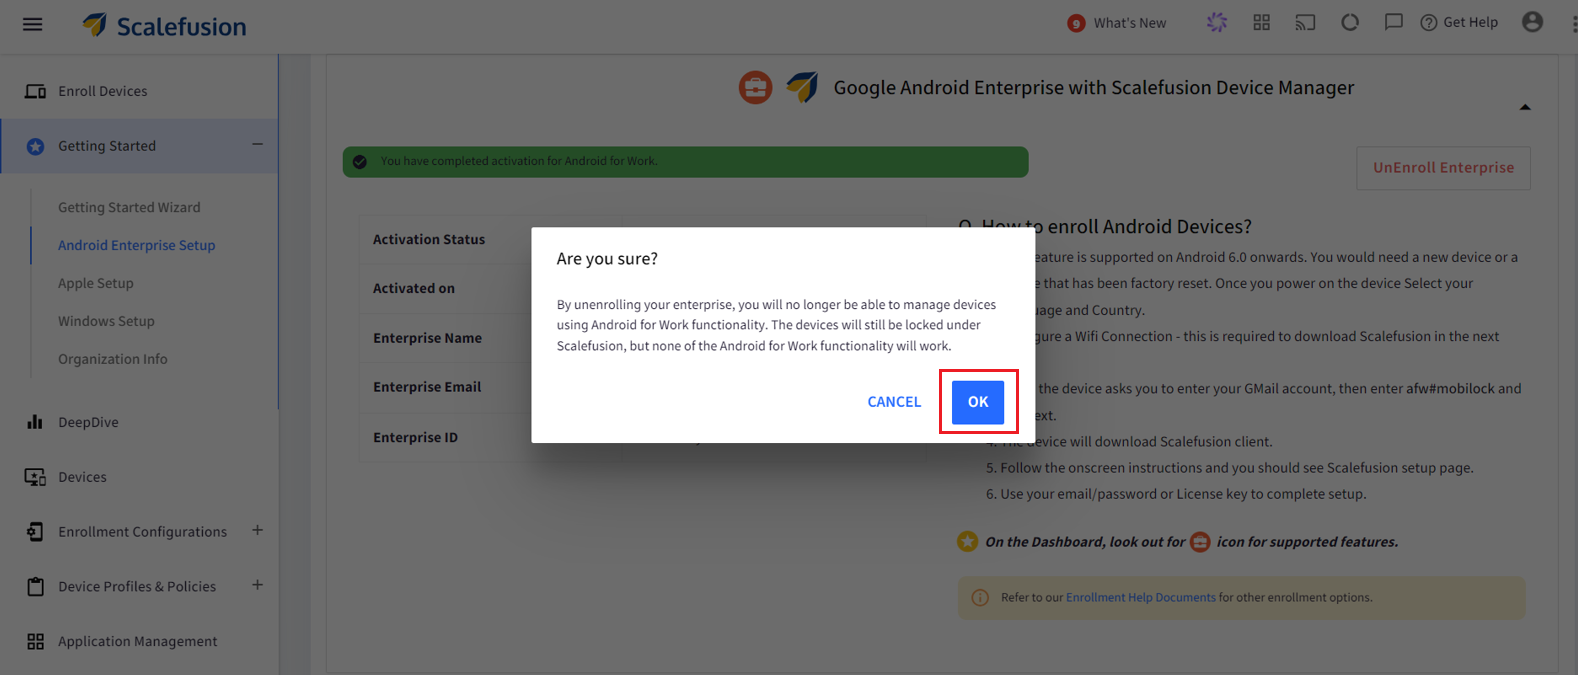
- Click OK in the pop-up that is shown.
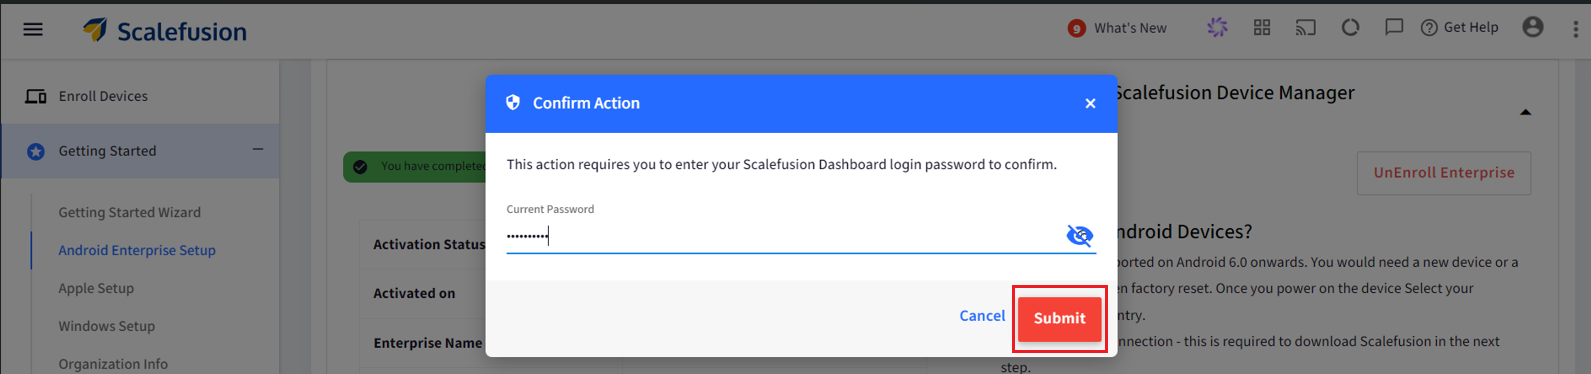
- Enter your Scalefusion dashboard password and click on Submit.
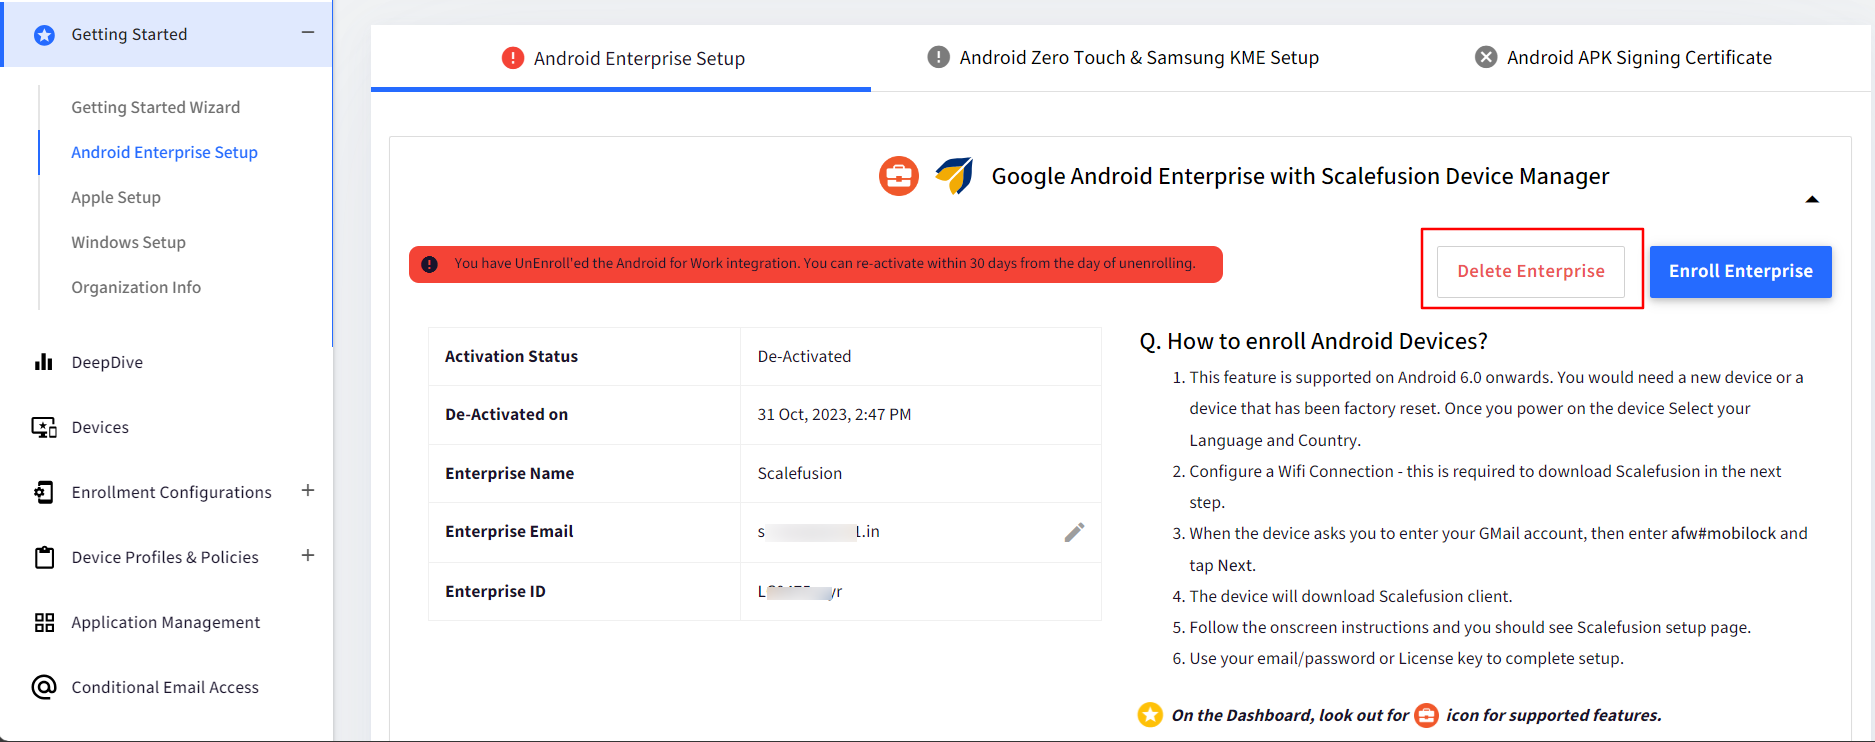
- You will see that a new button Delete Enterprise will be visible now.
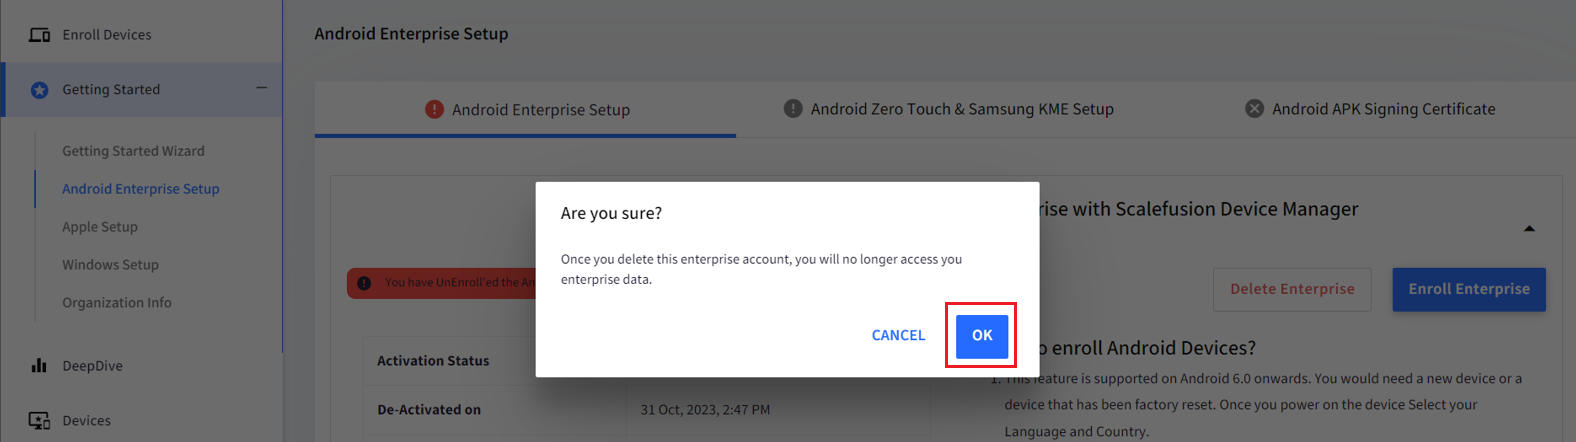
- Click on Delete Enterprise button and click on OK in the pop-up window.
- Next, log into https://admin.google.com/ and use the corporate email id that was used for Android Enterprise set up.
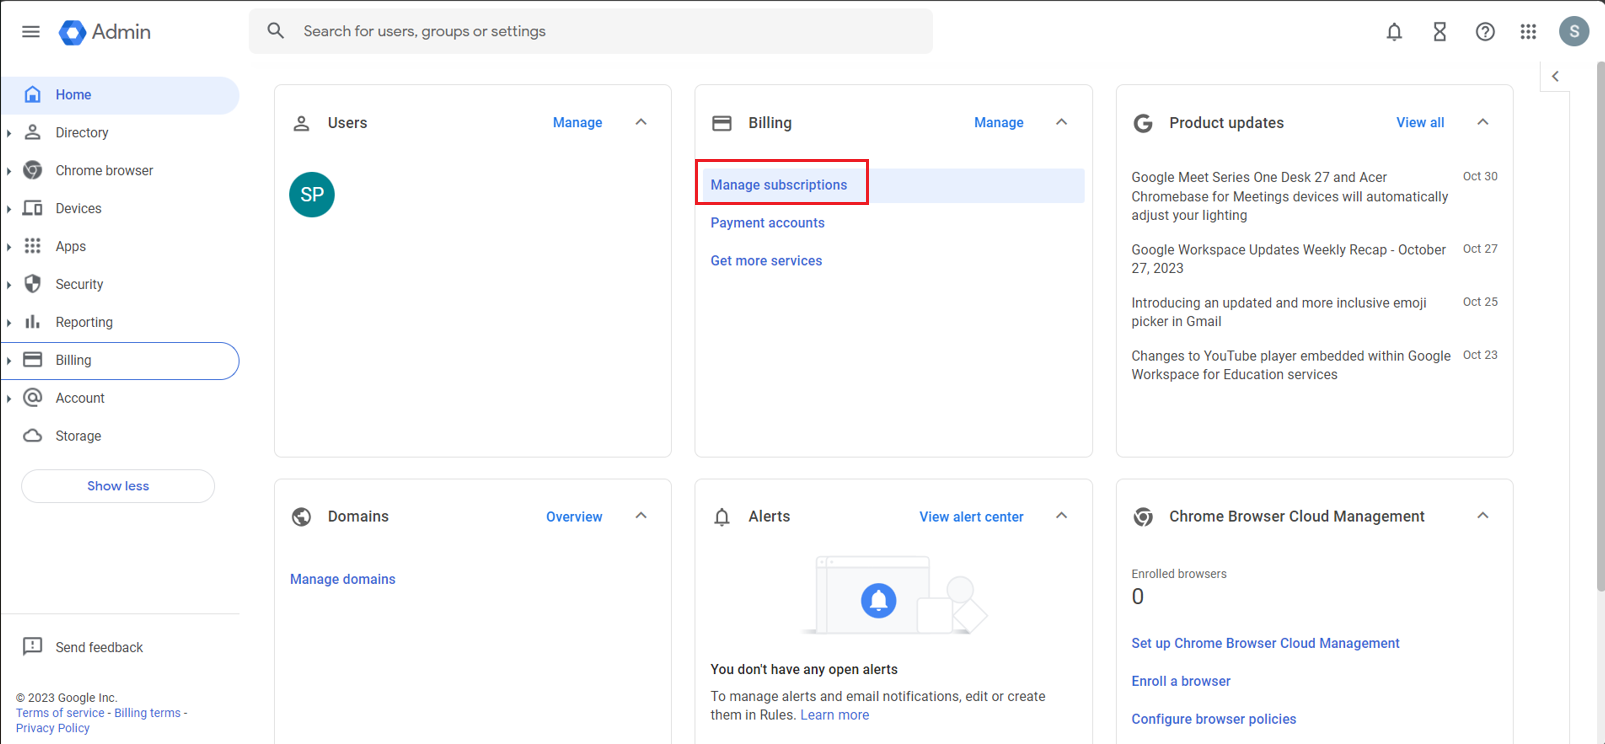
- Click on Manage Subscriptions.
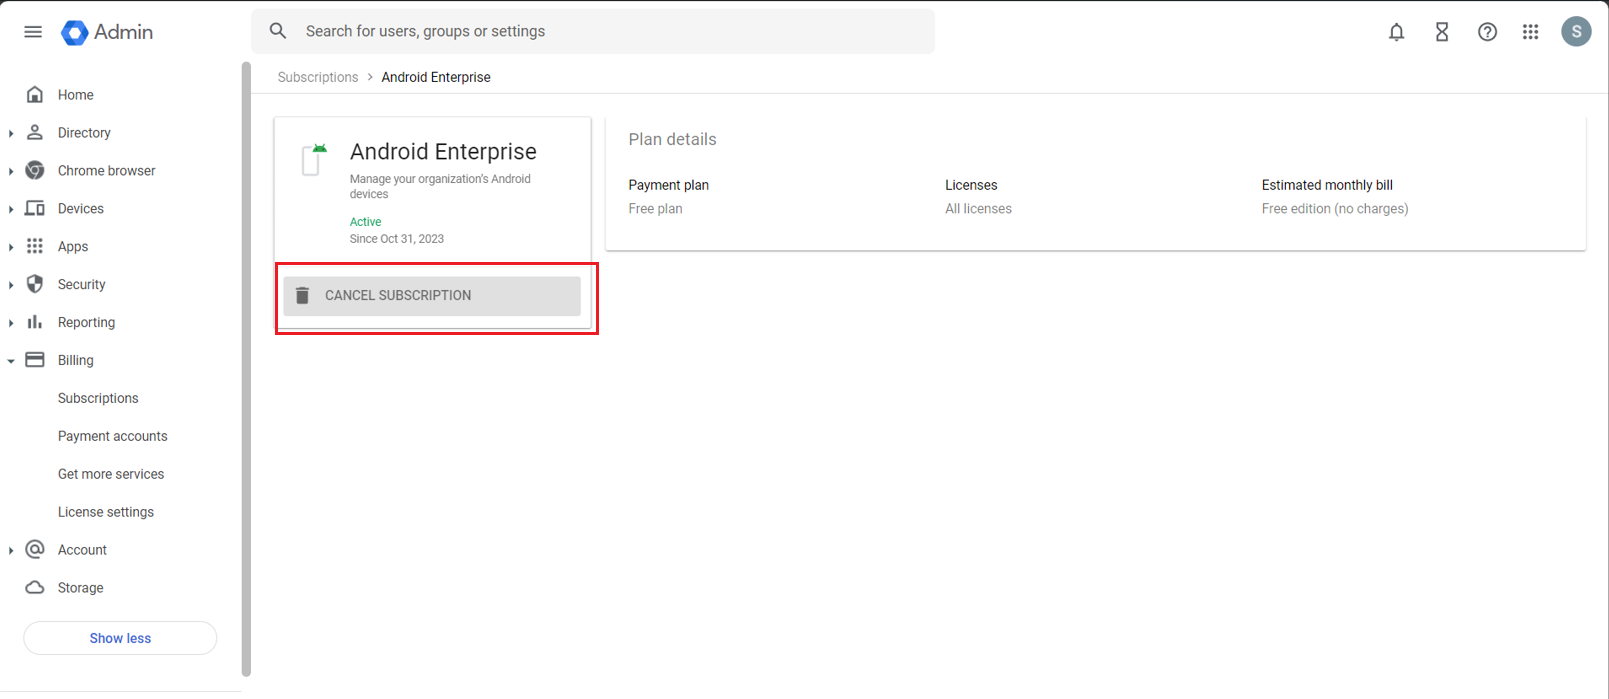
- Select the Android Enterprise subscription and in the next page click on Cancel Subscription.
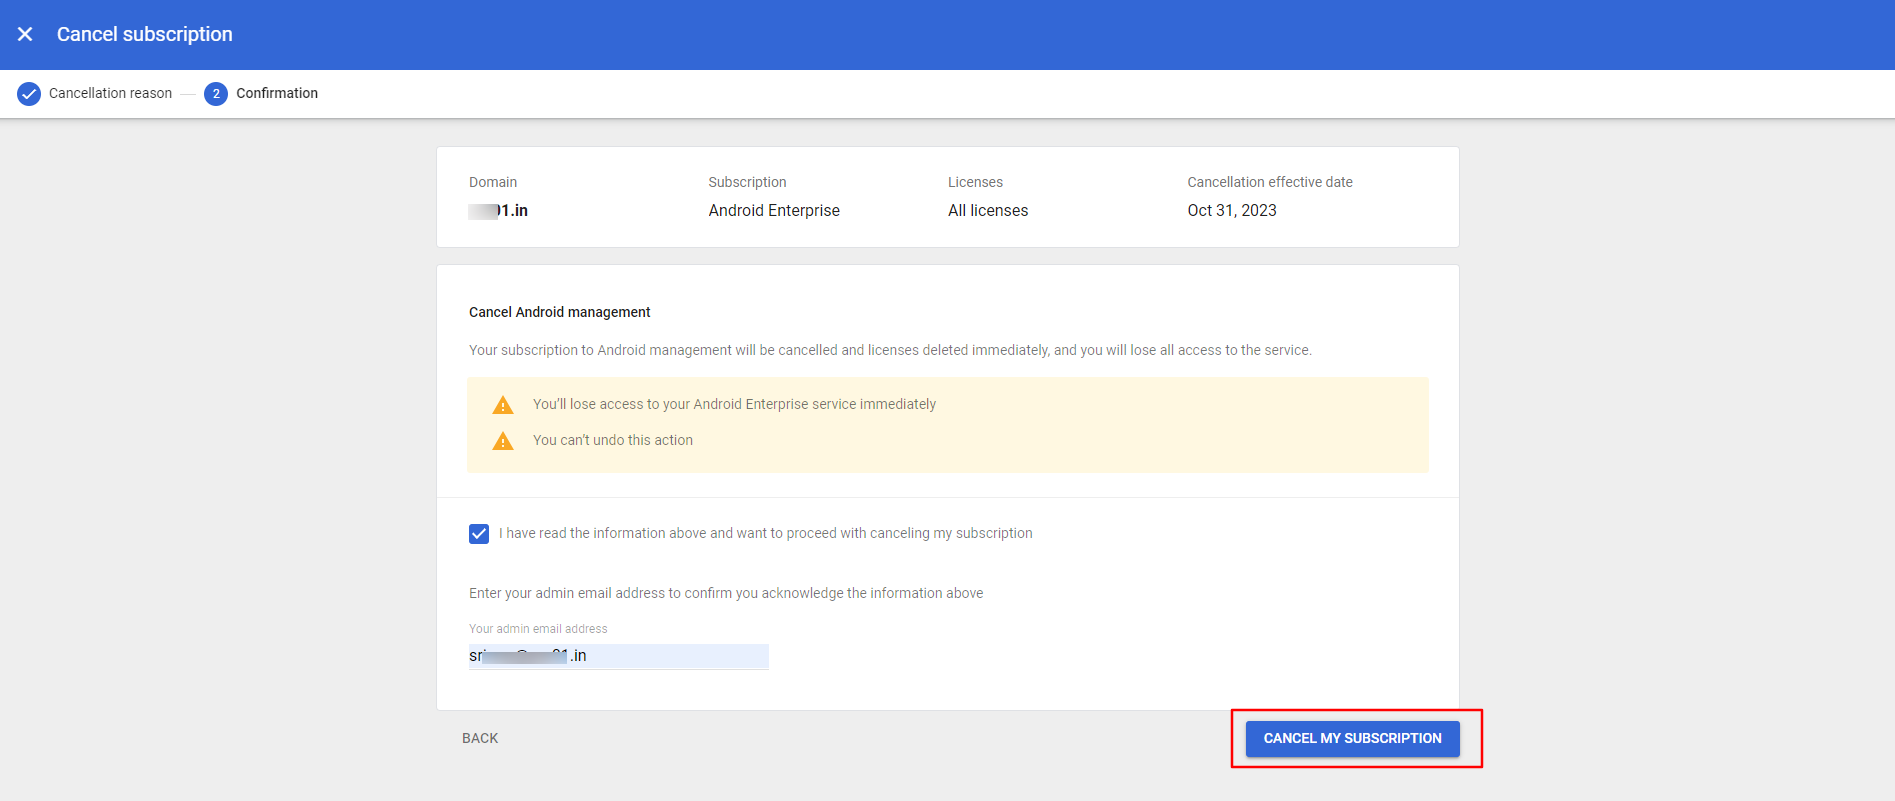
- Follow the prompts on the screen and cancel the subscription.
- This will remove the Android Enterprise registration from the Scalefusion dashboard also and you can redo the set up again.


(iii) Unenroll and delete the Android Enterprise set up done with Google Workspace ID
You can remove the Android EMM Provider from the Third-Party Integrations section in your Google Workspace Admin console.
- Follow the same steps to unenroll from Android Enterprise set up on the Scalefusion dashboard as shown in the point (ii) above.
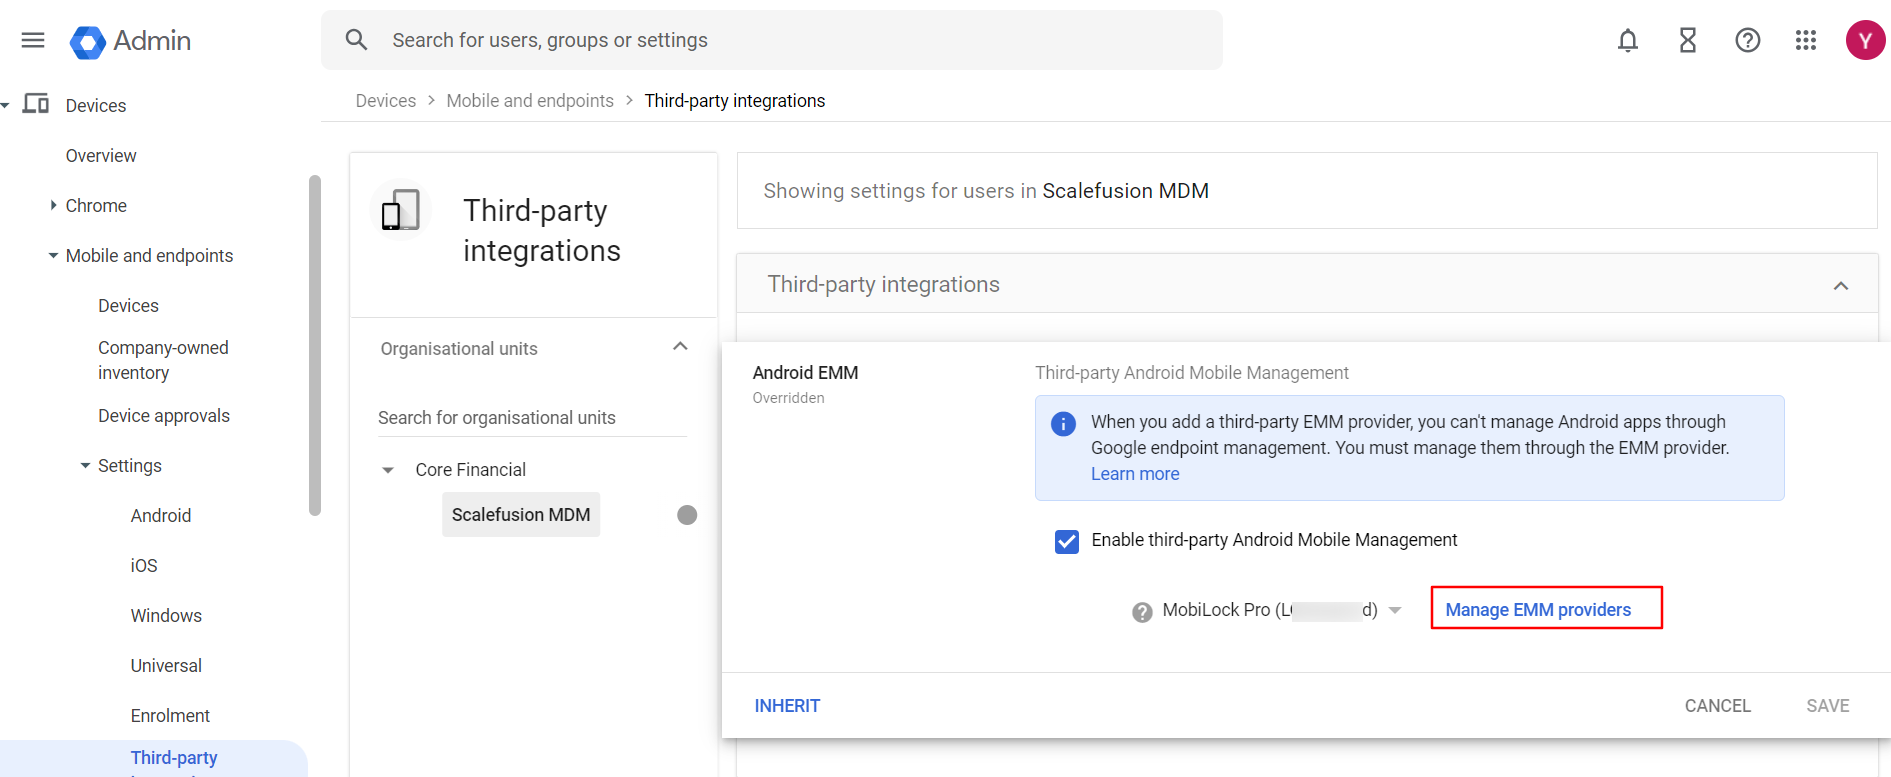
- Login to your Google Workspace Admin console and navigate to Third-Party Intergrations section.
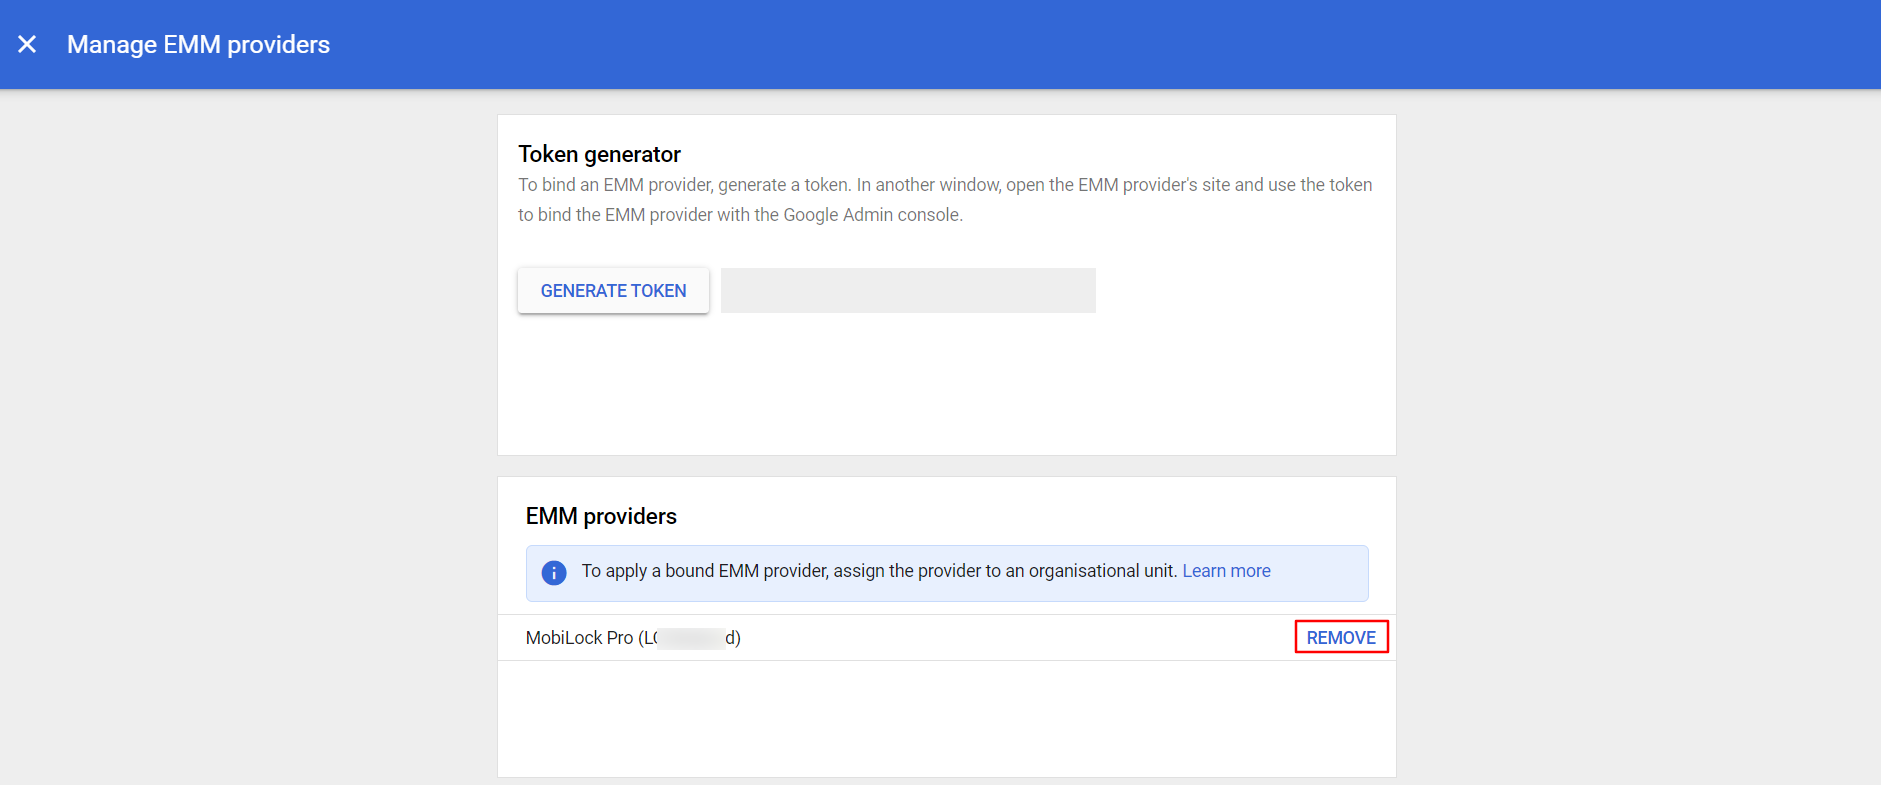
- Click on Manage EMM providers option.
- On the next screen, click on Remove.

This completes the unenrollment and deletes the Android Enterprise Setup from your account.
Should you require further assistance or guidance while configuring, feel free to contact our Support team. Reach out to them via our live web chat or send an email to support@scalefusion.com
Was this article helpful?